Welcome to ESP32 WiFi Camera Lite repository
1.Development environment
ESP32IDF development environment setup
Installation link: Standard Setup of Toolchain for Windows - ESP32-S3 - — ESP-IDF Programming Guide v5.3.2 documentation
ESP-IDF requires the installation of some prerequisite tools to build firmware around ESP32-S3, including Python, Git, cross compiler, CMake and Ninja compilation tools.
1. Installation prerequisites
Please note that the installation path of ESP-IDF and ESP-IDF tools cannot exceed 90 characters. Too long installation paths may cause build failures.
The installation path of Python or ESP-IDF must not contain spaces or brackets.
Unless the operating system is configured to support Unicode UTF-8, Python or ESP-IDF installation paths cannot include special characters (non-ASCII characters)
2. ESP-IDF Tool Installer
The easiest way to install the ESP-IDF essential tools is to download an ESP-IDF Tool Installer.
Online download link: dl.espressif.com.cn/dl/esp-idf/?idf=4.4
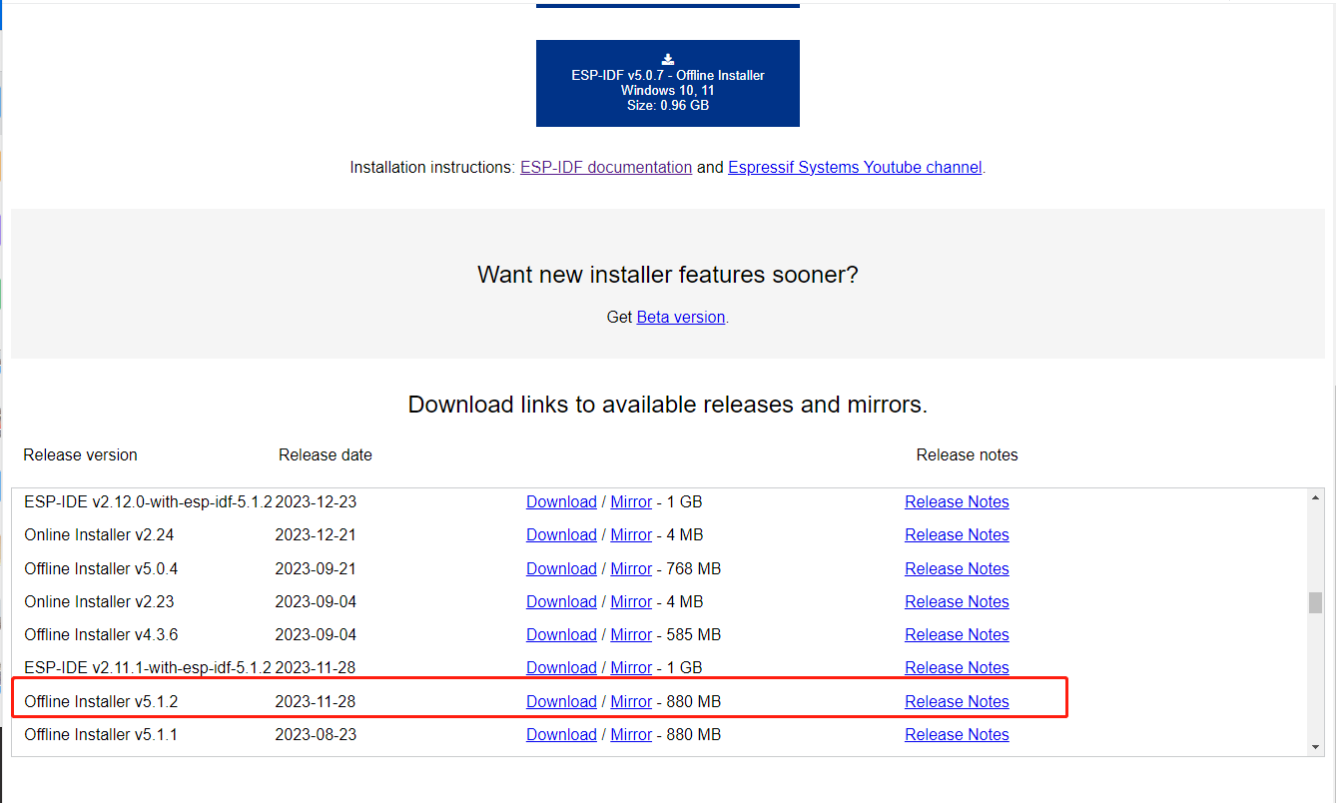
Drag to the 5.1.2 version below, or select other versions, but some functions may need to be replaced with the corresponding version of the function.
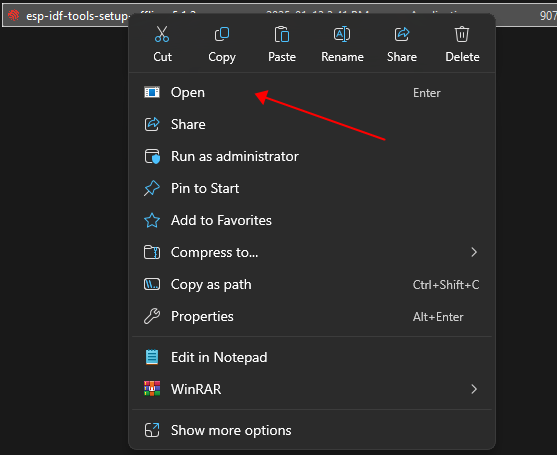
After installing the esp-ide tool, install a git.
Link: Git for Windows
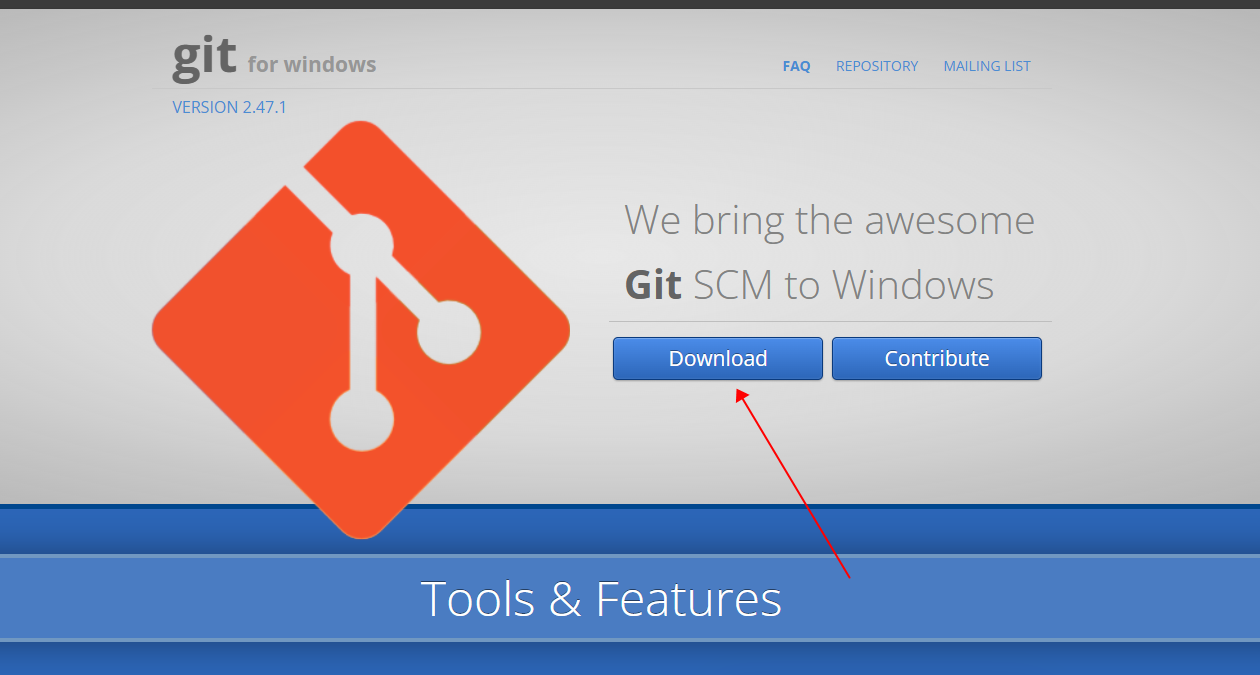
After downloading, open the installation,
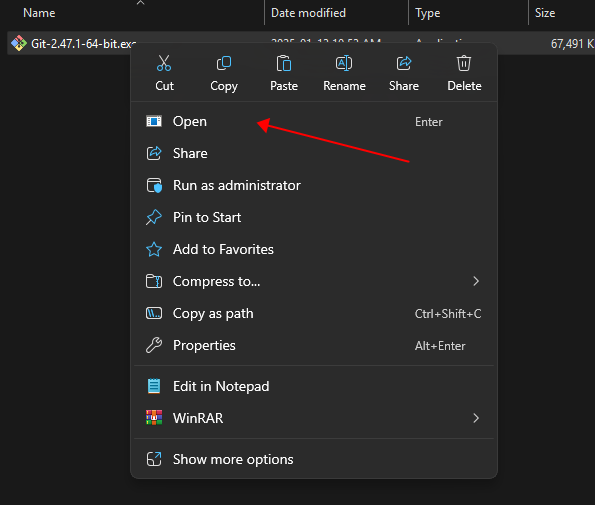
Select the installation path,
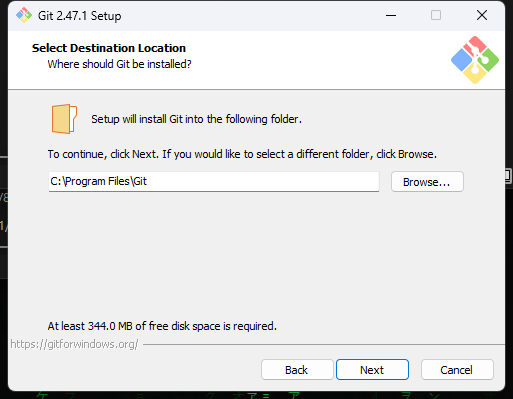
Always next,
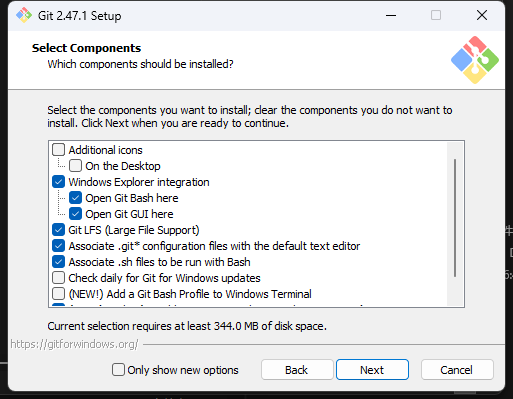
Go to the back and install. After the installation is successful, a folder like this will appear on the C drive (it may also be on other drive letters)
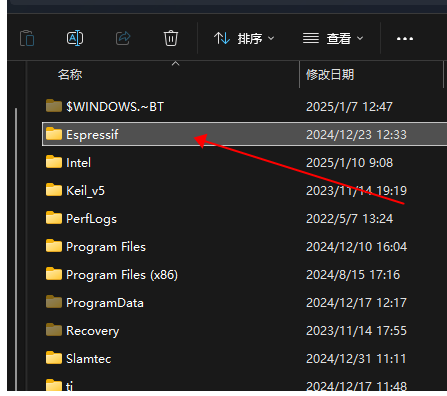
This means that the installation is successful.
3. Start the ESP-IDF environment
At the end of the installation, if Run ESP-IDF PowerShell Environment or Run ESP-IDF Command Prompt (cmd.exe) is checked, the installer will start ESP-IDF in the selected prompt window.
Double-click to open the esp-ide software that appears on the desktop.
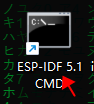
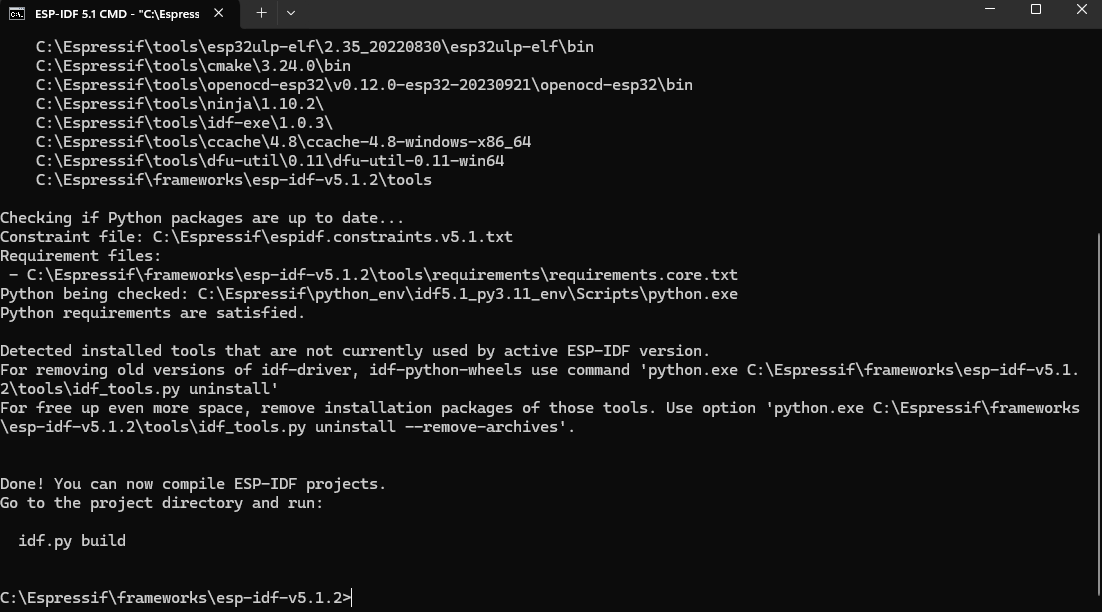
The path to our esp32 environment is at the bottom: C:\Espressif\frameworks\esp-idf-v5.1.2
4. Start creating a project
Now, you are ready to develop ESP32-S3 applications. You can start from the get-started/hello_world project in the examples directory in ESP-IDF.
Copy the get-started/hello_world project to the local ~/esp directory:
xcopy /e /i examples\get-started\hello_world hello_world
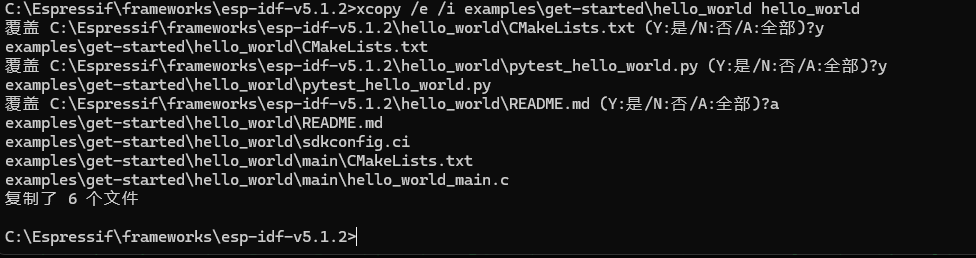
You can see that it has been created,
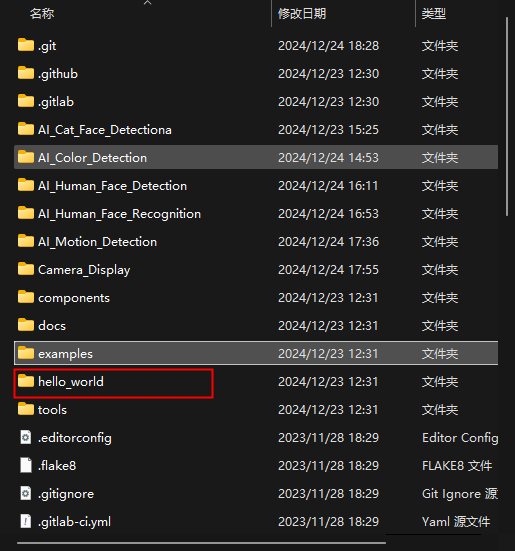
Configure the new project,
xxxxxxxxxxcd hello_world

After opening a new project, you should first use idf.py set-target esp32s3 to set the "target" chip. Note that this operation will clear and initialize the previous compilation and configuration of the project (if any). You can also directly configure the "target" as an environment variable (you can skip this step in this case).
xxxxxxxxxxidf.py set-target esp32s3
Setting successful:
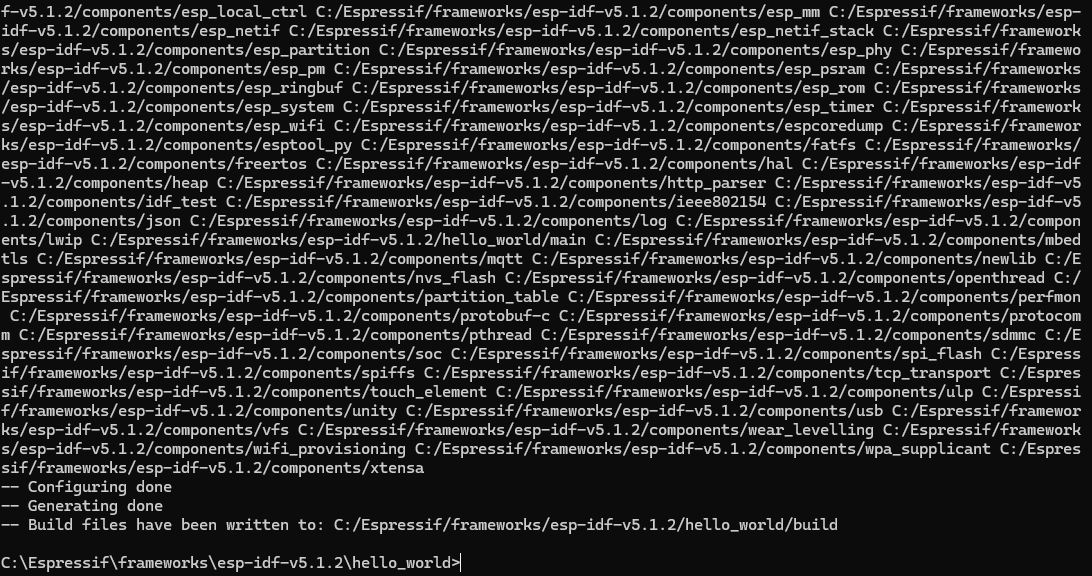
Compile the project,
xxxxxxxxxxidf.py build
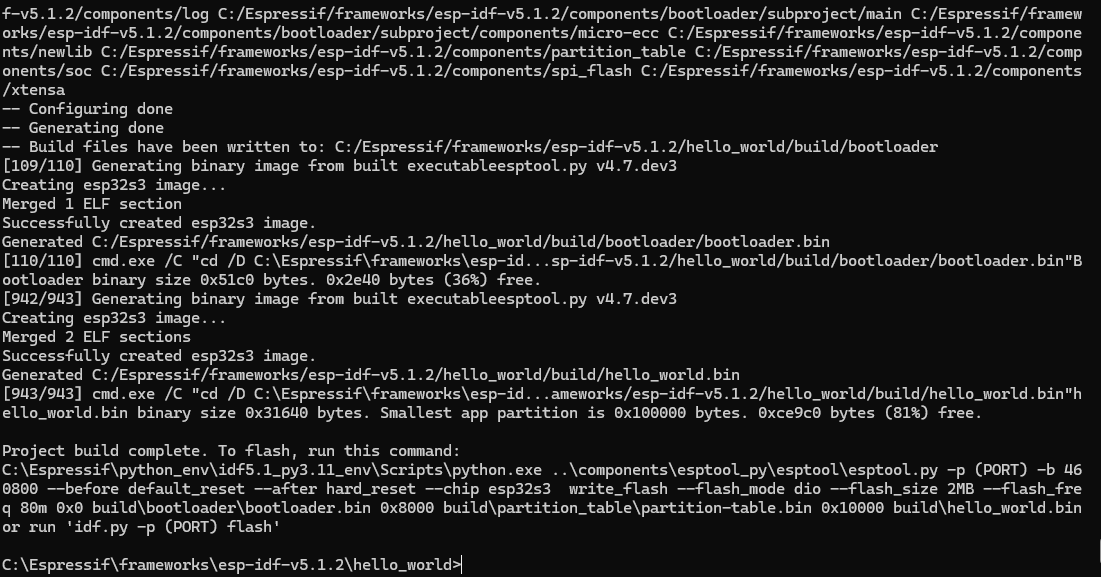
If everything goes well, a .bin file will be generated after the compilation is complete.
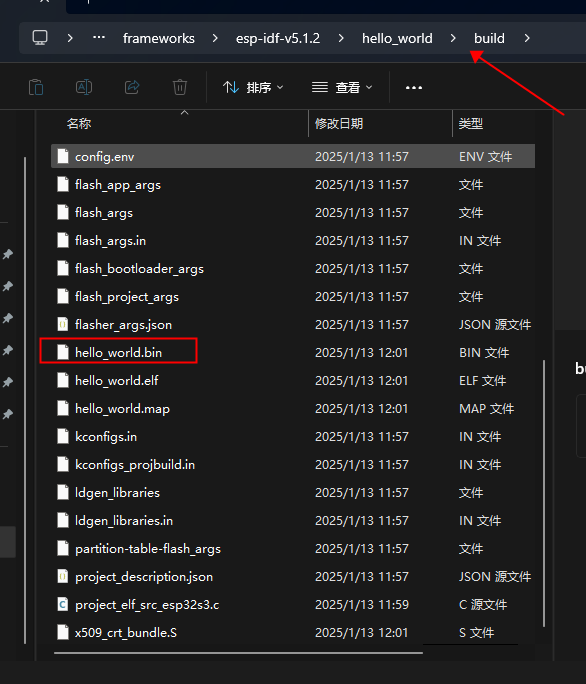
It will be stored in the build folder.
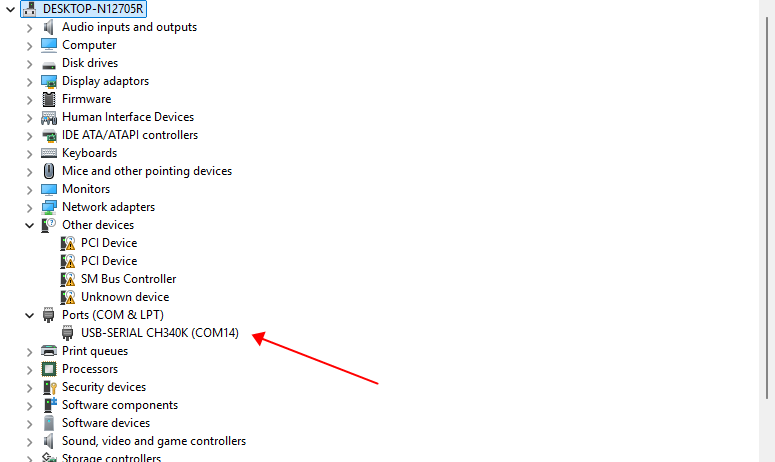
Connect the device to the computer, and you can directly use the COM port to burn. Open the computer's device manager to check what port is recognized.
Enter the following command in the terminal to write the program in.
xxxxxxxxxxidf.py -p com14 flash
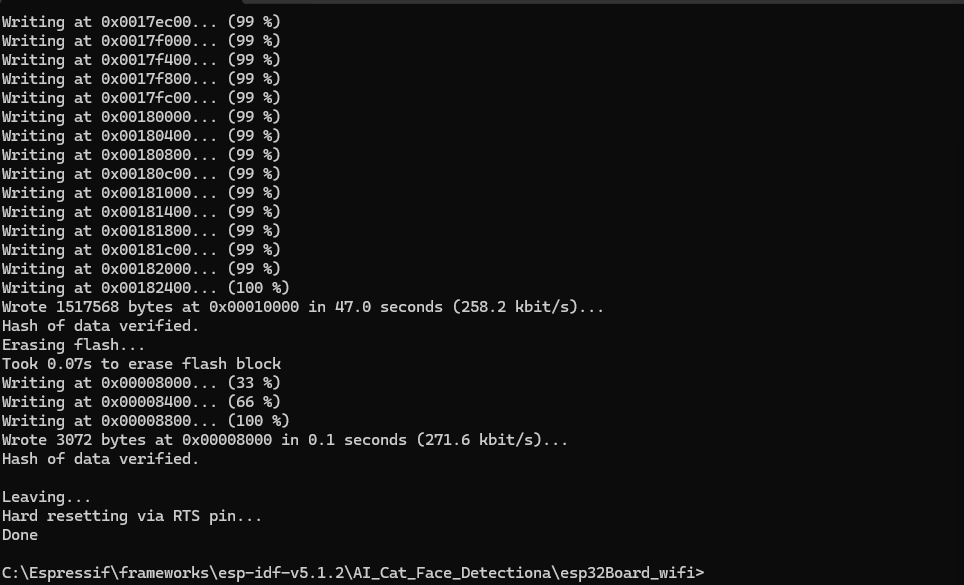
If the above log appears, the download is successful.