Welcome to ESP32 WiFi Camera Lite repository
STM32
STM32 camera configuration
Note: esp32 camera needs to be burned with factory firmware. If you have not flashed the firmware after receiving the esp32 camera, it is not necessary. The factory default firmware, before using iic communication, you can use the serial port to configure the esp32 camera to the network, and iic is used for data reading
1. Experimental preparation
- stm32 series microcontroller
- wifi camera
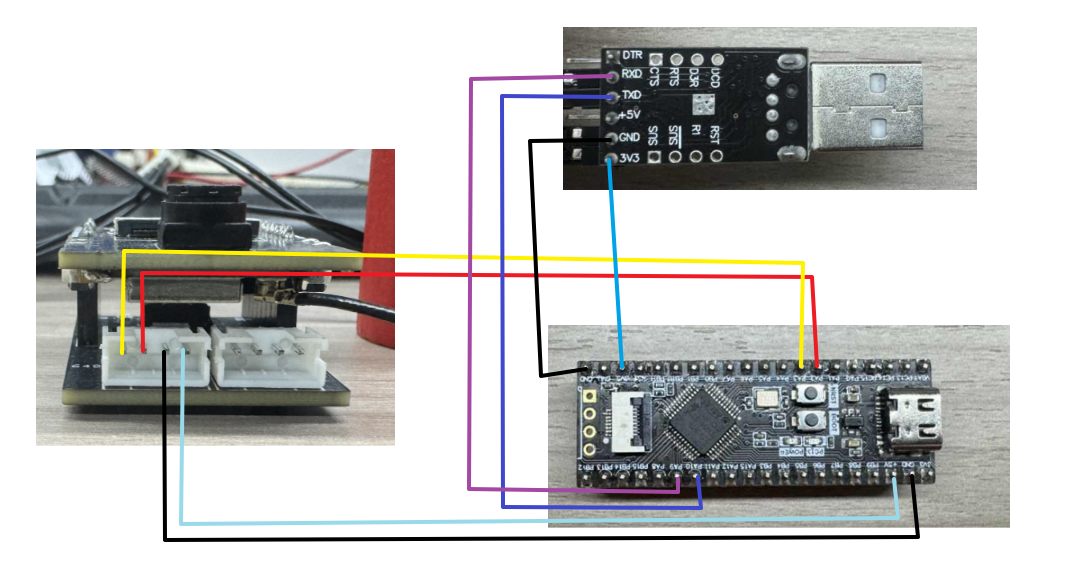
2. Wiring diagram
| STM32 | ESP32 camera |
|---|---|
| PA2 | RX |
| PA3 | TX |
| GND | GND |
| 5V | 5V |
| STM32 | USB to ttl module |
|---|---|
| PA9 | RX |
| PA10 | TX |
| GND | GND |
| 5V | 5V |
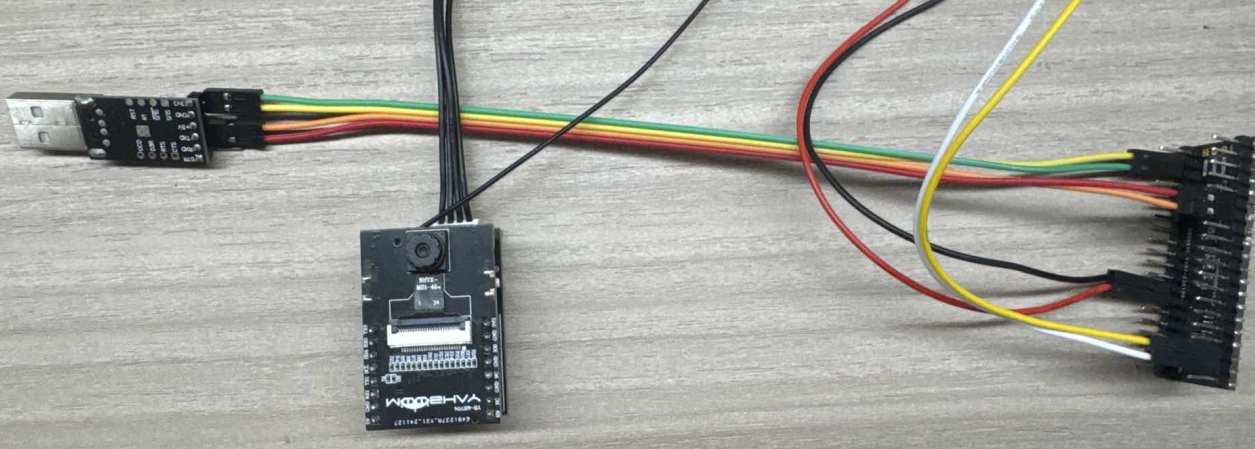
Physical connection diagram:
3. Experimental steps and experimental results
- Check whether the program runs normally
- In the main function, change to the corresponding ai mode.

- You can modify the WiFi name and password you want to connect to, as well as the name of the hotspot in the esp32_wifi.cpp file

- Download the program of this project to the STM32 board
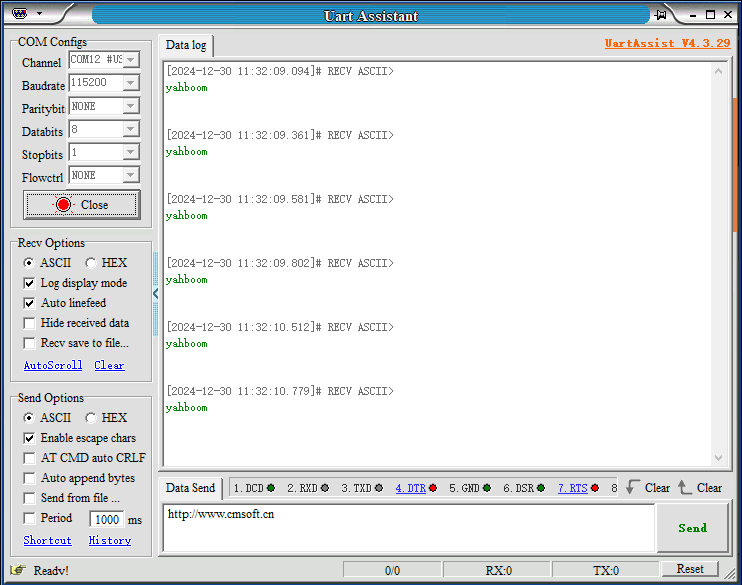
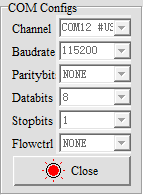
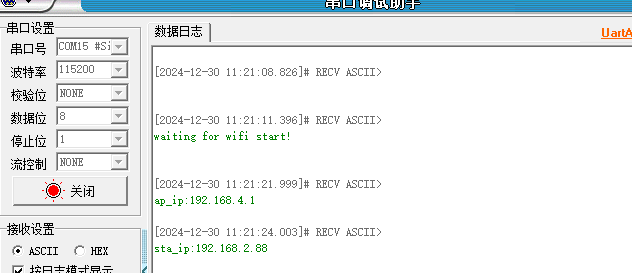
- Open the serial port assistant on the computer, open the computer to detect the serial port of STM32, as shown below
After pressing the reset button of STM32, the serial port assistant will print out the corresponding information
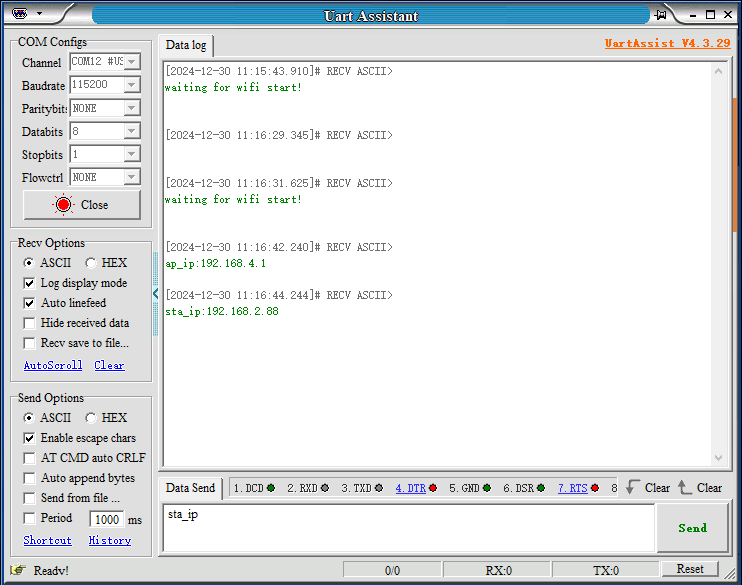
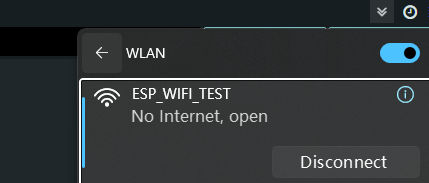
- Open the camera and connect to the hotspot released by esp32 (you can also log in directly using sta_ip(192.168.2.88))
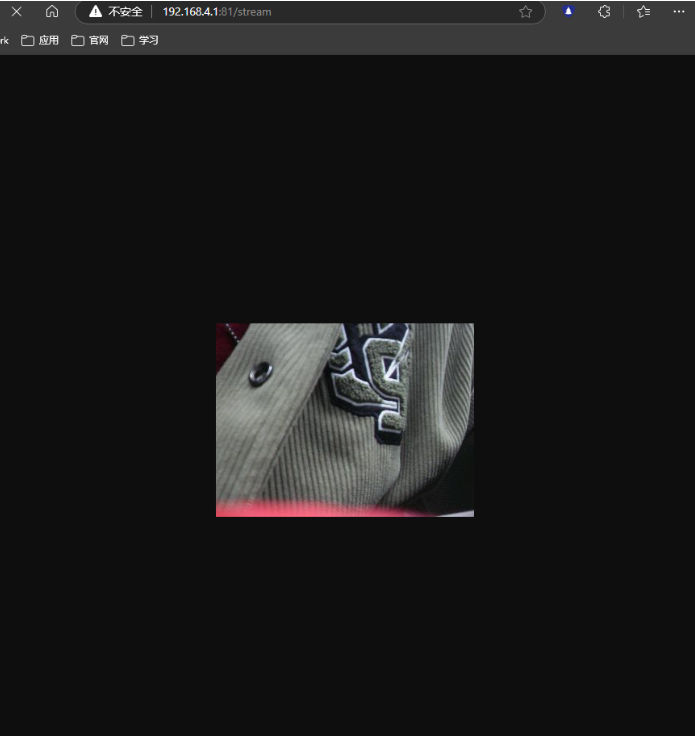
Then enter through the browser http://192.168.4.1:81/stream This accesses the camera screen
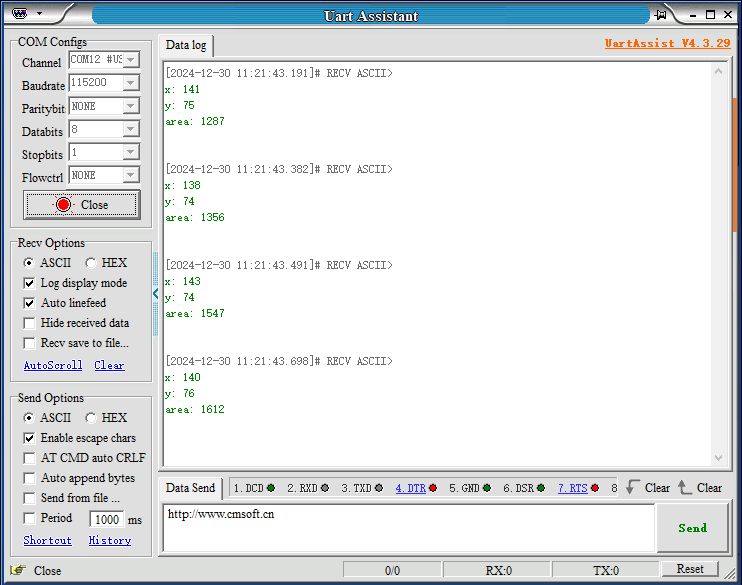
- Identify cats and dogs. If the recognition is successful, the current center coordinates will be printed out, and the cat image will be placed in front of the previous screen.
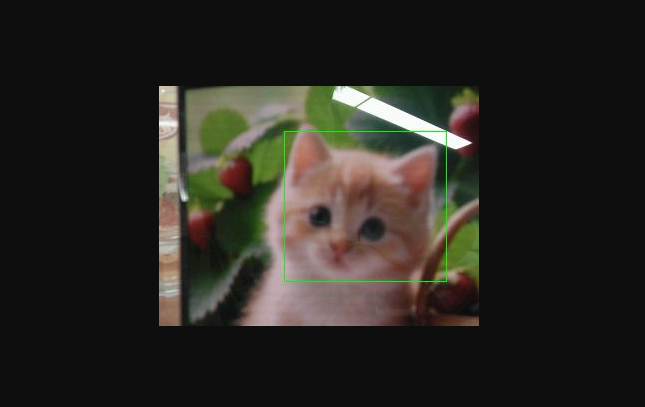
At the same time, the terminal will print out the current coordinates and the selected area
Face recognition mode
When switching to face recognition mode,

Compile and download to the STM32 motherboard, open the serial port debugging assistant
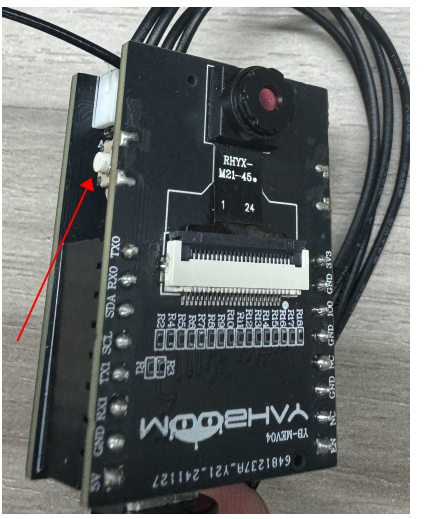
Recognize face. When you see a face, press the key button to record the face
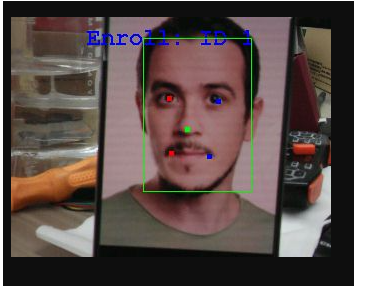
The following picture appears, which means the recording is successful, and the face 1 is recorded
At this time, you can press and hold the button for two seconds, then release it and press the button again to recognize the current face
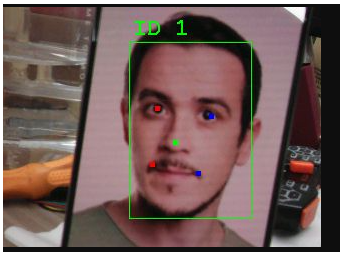
At the same time, the terminal will print out the current center coordinates and the recognized face.

Color detection mode
When switching to face recognition mode,

Compile and download to the STM32 motherboard, open the serial port debugging assistant
Recognize the color. Press the button and a box will appear. You can use this box to select the color you want to use.
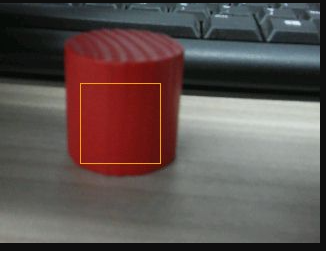
Press and hold the button for two seconds, release it and press it again to identify the currently selected color, and a red frame will appear.
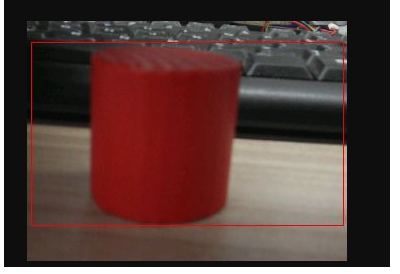
At the same time, the terminal will print out the current center coordinates.
QR code detection
When switching to QR code mode,

Compile and download to the STM32 motherboard, open the serial port debugging assistant
Use the WeChat applet on your mobile phone to search for the QR code generator. A QR code will be generated for the corresponding text and saved to the album. The following is the identification of the QR code.
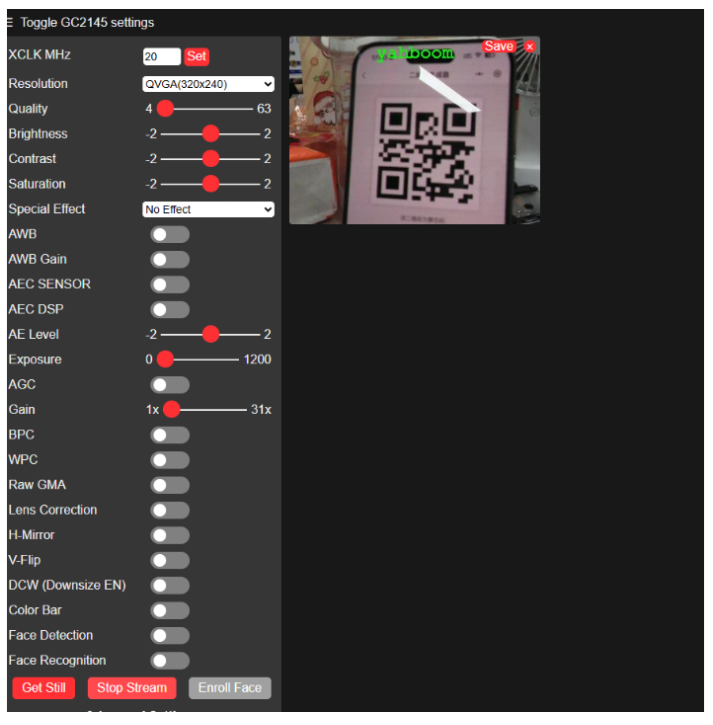
At the same time, the terminal will print out the recognized text.