Welcome to ESP32 WiFi Camera Lite repository
Jetson
jetson configure camera
Note: esp32 camera needs to be burned with factory firmware. If you have not flashed the firmware after receiving the esp32 camera, it is not necessary. The factory default firmware, before using iic communication, you can use the serial port to configure the network for the esp32 camera, and iic is used for data reading
1. Experimental preparation
- A Jetson master control
- An esp32 camera
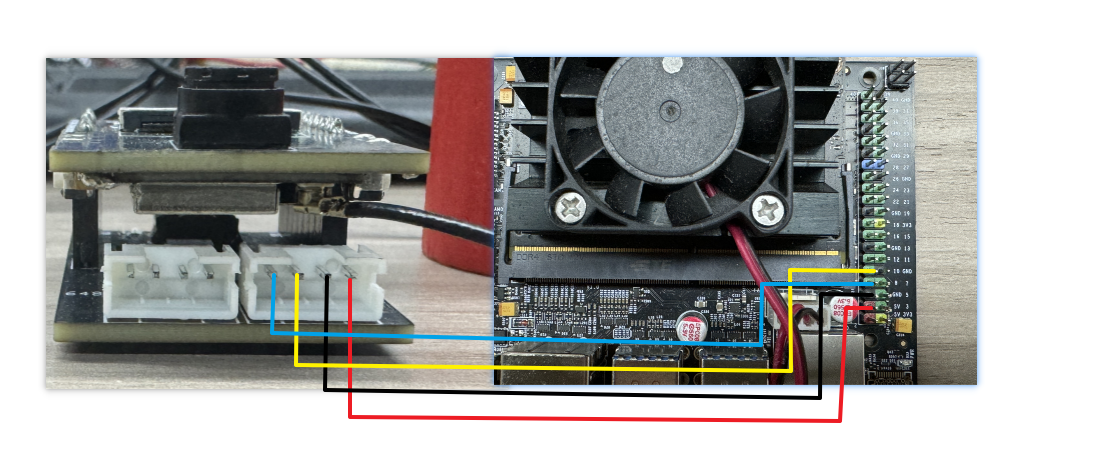
2. Wiring diagram
| jetson | esp32 camera |
|---|---|
| BOARD8 | RX |
| BOARD10 | TX |
| GND | GND |
| 5V | 5V |
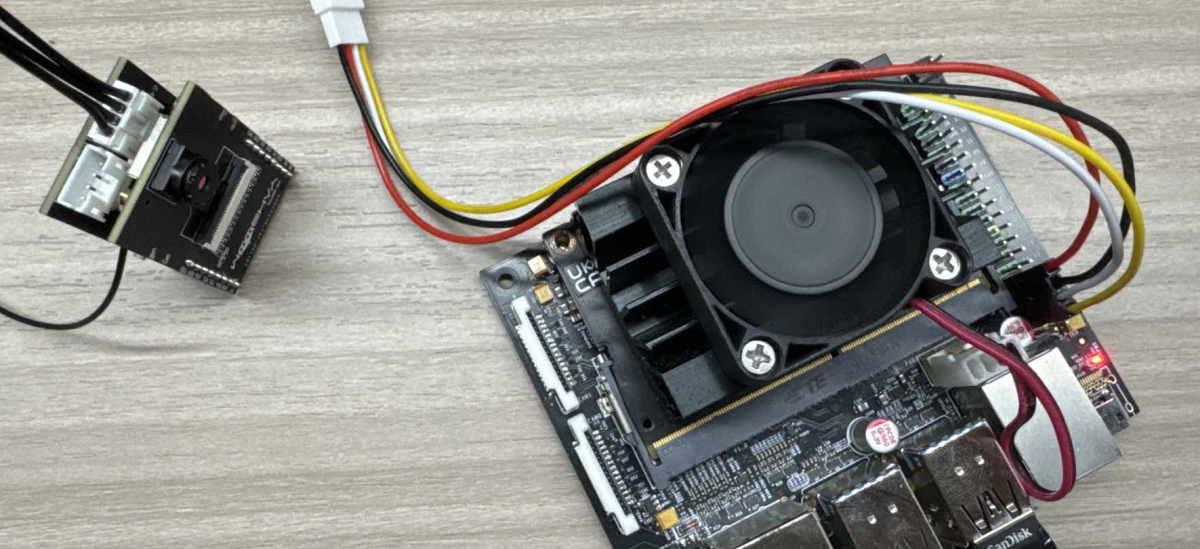
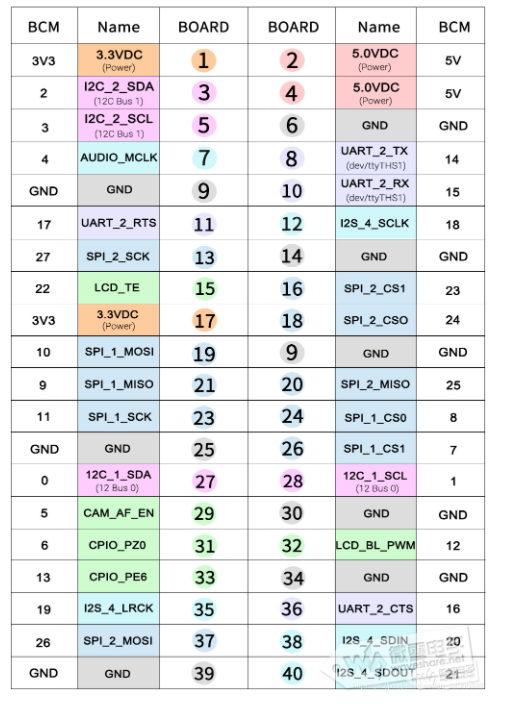
Jetson pin diagram:
3. Experimental steps and results
- Open a new jetson terminal and send the source code of this experiment to jetson
- Open the code just uploaded and modify it to the wifi name and password you want to connect to. You can also modify the name of the hotspot, as well as the corresponding wifi mode and ai mode.

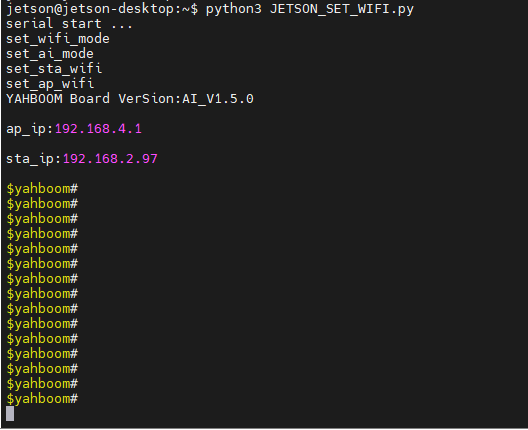
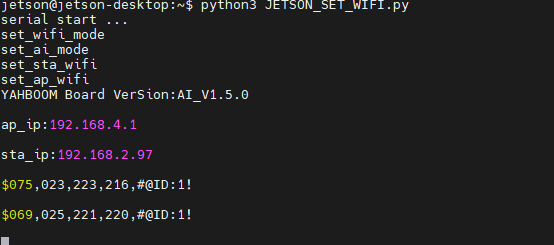
- Execute the following command, and the IP address of the current network connection and the address of the hotspot will be returned
sudo chmod 777 /dev/ttyTHS1python3 JETSON_SET_WIFI.py
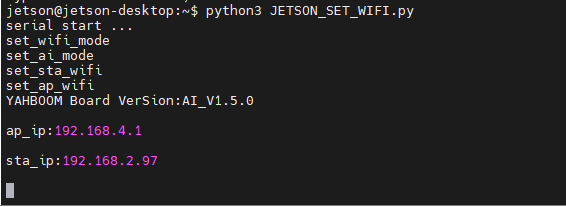
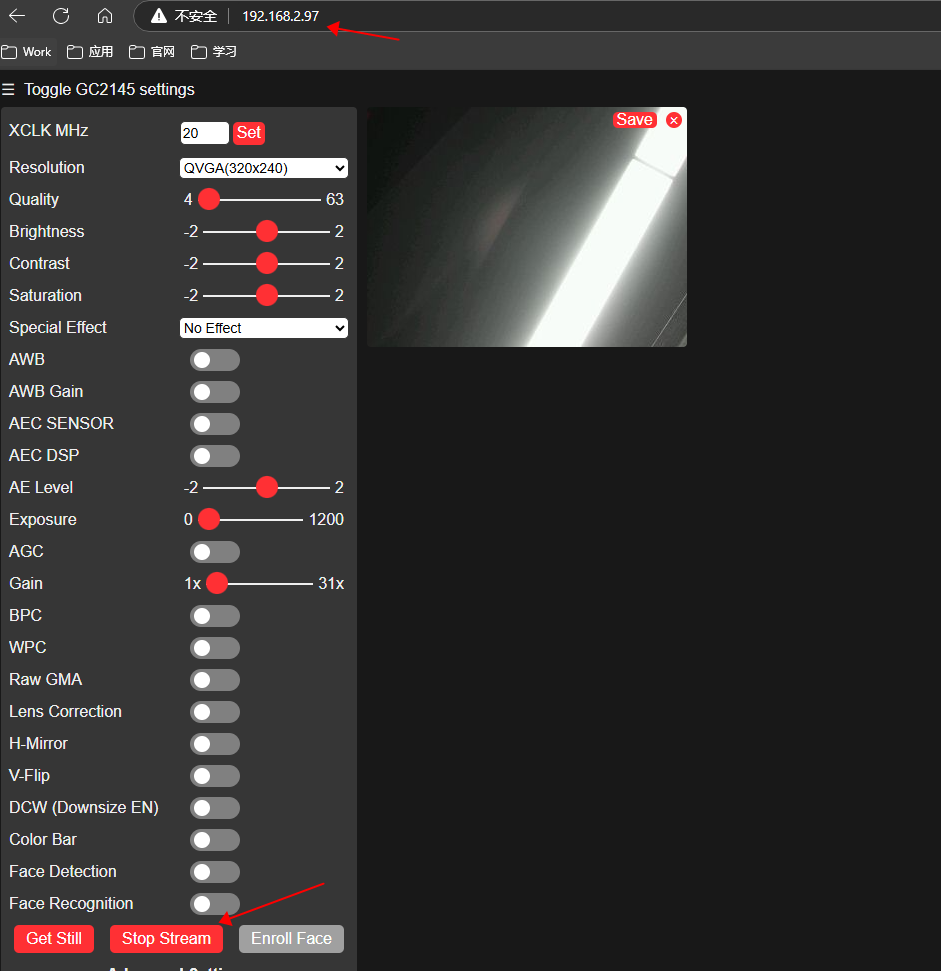
- You can view the camera screen on the web page according to the above two addresses. When using ap_ip, you need to connect to the hotspot of the esp32 camera. When using sta_ip, the computer needs to be in the same network. Enter 192.168.2.97 through the browser below This access camera screen
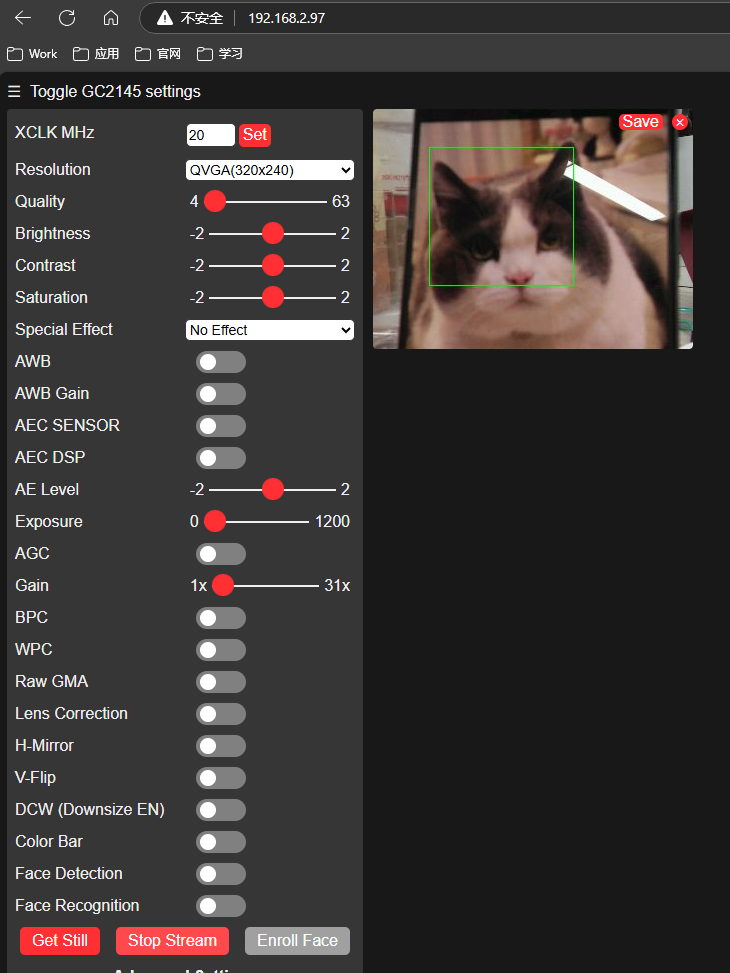
- Because we set it to cat and dog mode, we put the cat or dog in front of the camera and select the cat or dog.
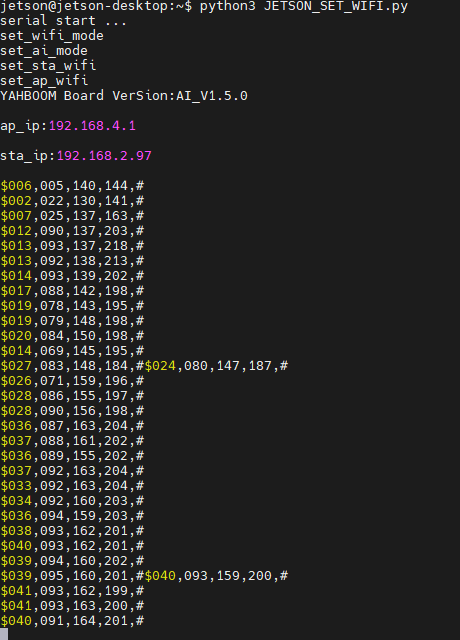
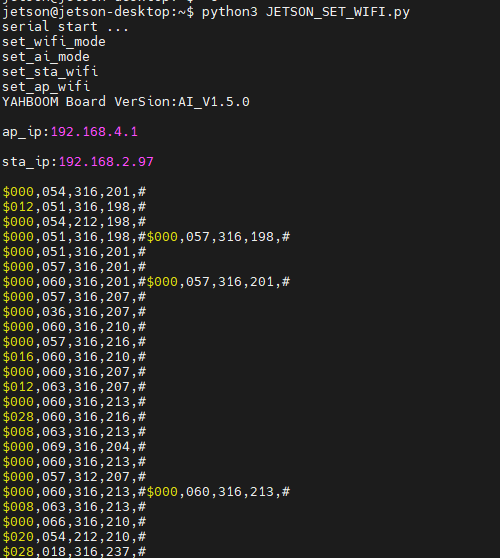
At the same time, the terminal will print out the current upper left corner coordinates and lower right corner coordinates.
Face recognition mode
When switching to face recognition mode, the terminal will additionally print the current face id

xxxxxxxxxxsudo chmod 777 /dev/ttyTHS1python3 JETSON_SET_WIFI.py
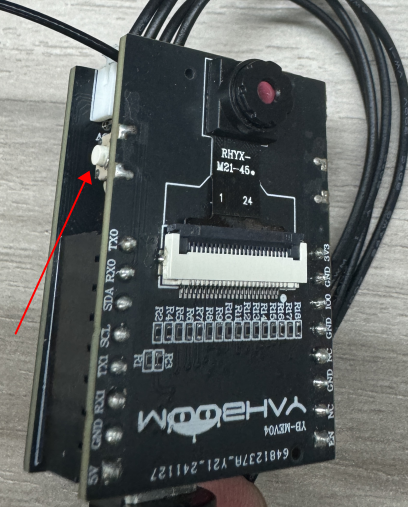
Recognize face. When you see a face, press the key button to record the face
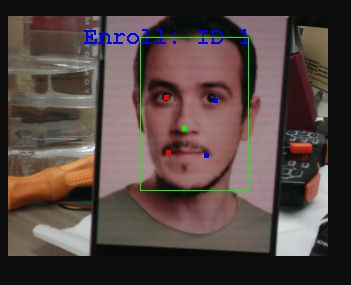
The following picture appears, which means the recording is successful, and the face 1 is recorded
At this time, you can press and hold the button for two seconds, then release it and press the button again to recognize the current face
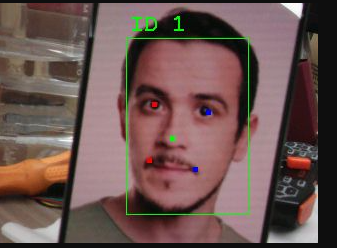
At the same time, the terminal will print the coordinates of the upper left corner and the lower right corner, as well as the recognized face.
Color detection mode
When we switch to color detection mode,

xxxxxxxxxxpython3 I2C_TEST.py
Recognize the color. Press the button and a box will appear. You can use this box to select the color you want to use.
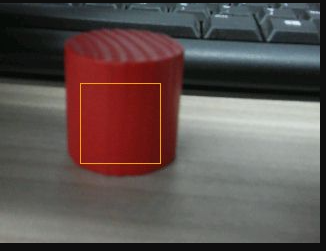
Press and hold the button for two seconds, release it and press it again to identify the currently selected color, and a red frame will appear.
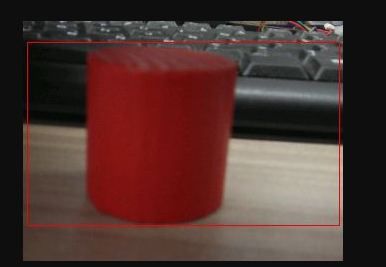
At the same time, the terminal will print out the current upper left corner coordinates and lower right corner coordinates.
QR code detection mode
When we switch to QR code detection mode,

Use the WeChat applet on your mobile phone to search for the QR code generator. A QR code will be generated for the corresponding text and saved to the album. The following is the identification QR code.
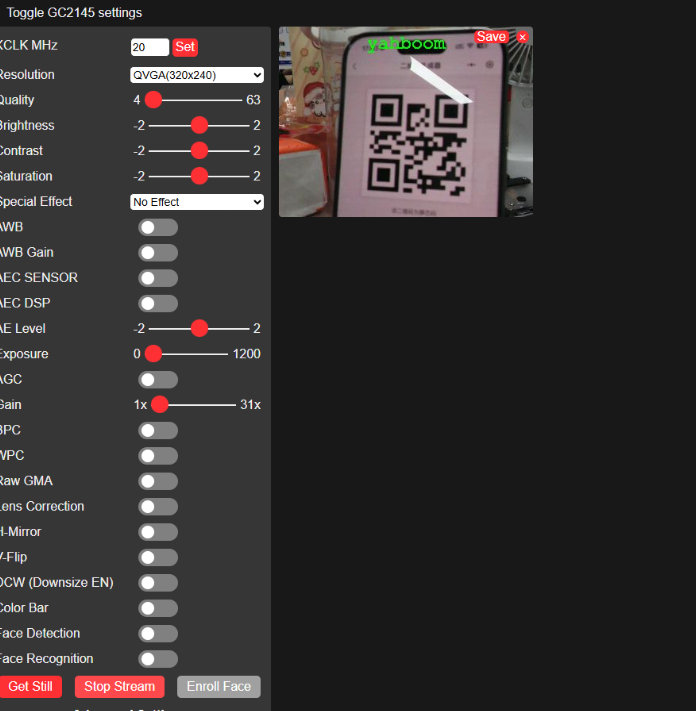
At the same time, the terminal will print out the recognized text.