Welcome to ROS-WiFi Camera Module repository
1. Open Source CV Getting started
1.Opencv Source CV Getting started
1 、OpenCV synopsis
What is OpenCV? Its full name is Open source Computer Vision Library, an open source computer vision library. As shown in the above figure, what we see is the logo of OpenCV, which is composed of three small circles with distinct R, G, and B colors. In other words, it is an open source API library for computer vision. This also means that,
(1)Whether it is scientific research or commercial applications, it can be used for development;
(2)The source code of all API functions is publicly available, and you can see the program steps implemented internally;
(3)You can modify the source code of OpenCV and compile it to generate specific API functions that you need.
The image processing on ROSMASTER utilizes certain functions of OpenCV's function library, or it can be said that its existence is indispensable in the vast majority of image processing design fields. As early as many years ago, OpenCV has shown great skills in intrusion detection, specific object tracking, object detection, face detection, facial recognition, facial tracking and other fields, and these are just the tip of the iceberg in its application. Since we recognize the versatility of OpenCV, in this chapter of the course, we will introduce you to several basic image processing functions that we use in our course, as well as some common functions. Here, we will first have a rough understanding of these knowledge, and then we will teach you two practical projects: color recognition and tracking, and face recognition and tracking. However, the powerful application functions provided by OpenCV go far beyond that. If you are interested in developing OpenCV computer vision libraries and want to learn more, the following are several websites for you to refer to and study:
OpenCV Official homepage:https://www.opencv.org
OpenCV Chinese forums:http://www.opencv.org.cn
OpenCV CSDN forums:https://bbs.csdn.net/forums/OpenCV
2、OpenCV Image reading and display
2.1、Image Reading:
img = cv2.imread('yahboom.jpg', 0) The first parameter is the path of the image, and the second parameter is how to read this image.
cv2.IMREAD_UNCHANGED:Keep the original format unchanged:-1;
cv2.IMREAD_GRAYSCALE:Read the image in grayscale mode, which can be represented by 0;
cv2.IMREAD_COLOR:,Read in a color image, which can be represented as 1; Default value
cv2.IMREAD_UNCHANGED:Read in an image and include its alpha channel, which can be represented as 2。
2.2、Image display
cv.imshow('frame', frame):Open a window named frame and display frame data (image/video data) Parameter meanings:
The first parameter represents the name of the window to be created and opened
The second parameter represents the image to be displayed
2.3、Code and actual effect display
Running programs
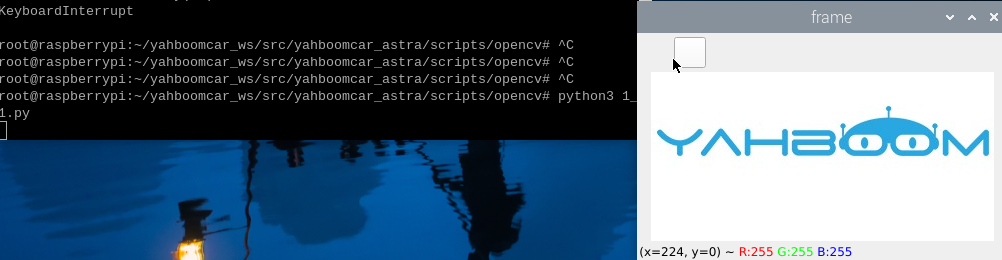
cd ~/yahboomcar_ws/src/yahboom_esp32ai_car/scripts/opencv/python3 1_1.pyxxxxxxxxxximport cv2 as cv•if __name__ == '__main__': img = cv.imread('yahboom.jpg') while True : cv.imshow("frame",img) action = cv.waitKey(10) & 0xFF if action == ord('q') or action == 113: break img.release() cv.destroyAllWindows()After running the program, the effect image:
3、OpenCV image writing
3.1、Function method:cv2.imwrite('new_img_name', img)
Parameter meanings:
The first parameter is the name of the saved file
The second parameter is the saved image
3.2、Code and actual effect display
xxxxxxxxxxcd ~/yahboomcar_ws/src/yahboom_esp32ai_car/scripts/opencv/python3 1_2.py
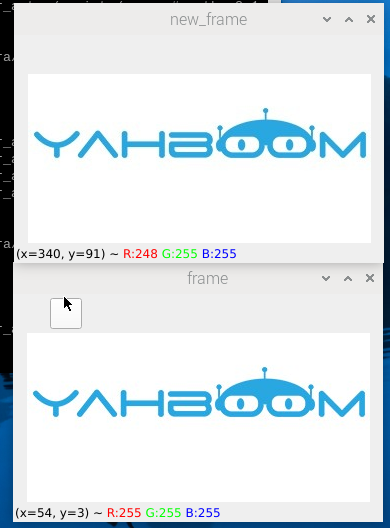
xxxxxxxxxximport cv2 as cv•if __name__ == '__main__': img = cv.imread('yahboom.jpg') cv.imwrite("yahboom_new.jpg",img) new_img = cv.imread('yahboom_new.jpg') # while True : cv.imshow("frame",img) cv.imshow("new_frame",new_img) action = cv.waitKey(10) & 0xFF if action == ord('q') or action == 113: break img.release() cv.destroyAllWindows()After running the program, the effect image
4、OpenCV pixel operation
4.1、Pixel operation, we can change any position to a new pixel color.
Firstly, we need to read the image and then modify the value of bgr by assigning an area in black.
4.2、Code and actual effect display
Running programs
xxxxxxxxxxcd ~/yahboomcar_ws/src/yahboom_esp32ai_car/scripts/opencv/python3 1_4.py
xxxxxxxxxximport cv2if __name__ == '__main__': img = cv2.imread('yahboom.jpg') (b,g,r) = img[100,100] print(b,g,r) i=j=0 for j in range(1,255): img[i,j] = (0,0,0) for j in range(1,255): img[i,j] = (0,0,0) while True : cv2.imshow("frame",img) action = cv2.waitKey(10) & 0xFF if action == ord('q') or action == 113: break img.release() cv2.destroyAllWindows()After running the program, the effect image
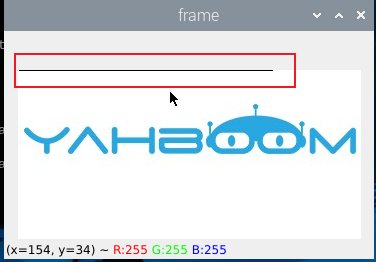
The red box represents the modified pigment values.