Welcome to Tiny:bit Pro repository
3.10 Machine code following
3.10 Machine code following
1. Learning Objective
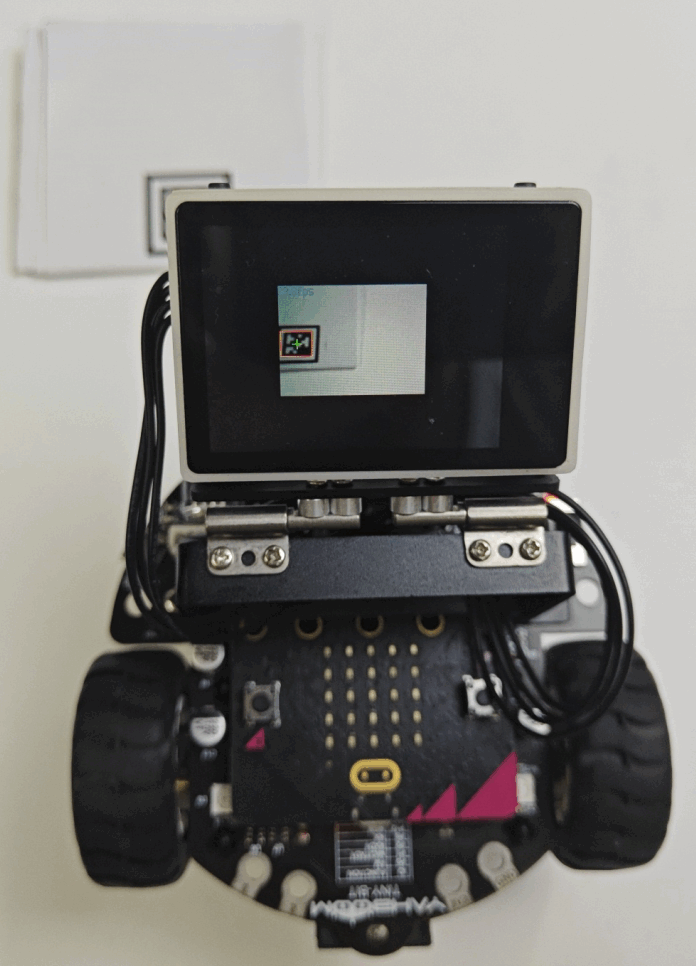
In this course. We will learn how to make k210 vision module performs machine code following.
When the machine code is detected, a box appears on the display, move the machine code, the car will follow the machine code forward left right and backward movement.
2. Preparation for Class
- Remove the TF card from the k210 vision module and insert it into the card reader.
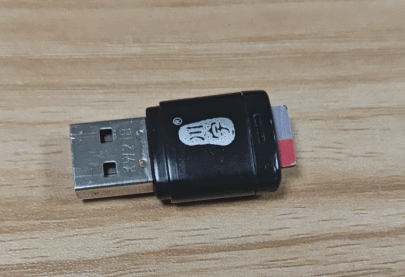
- Plug the card reader into the computer, and wait for the computer to recognize the USB disk.
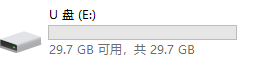
- Then, enter the TF card. You will see following content.

- Go to the k210 folder, find the 3.10_follow_apriltag.py file from the folder and copy it to the root directory.
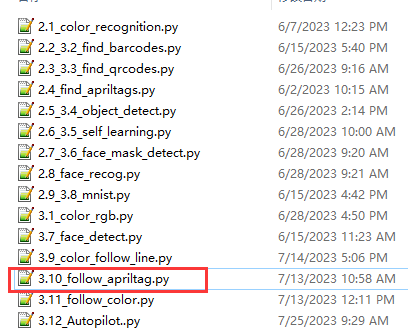
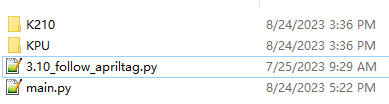
Delete the original main.py file.
Then, re-name the 3.10_follow_apriltag.py file as the main.py file.
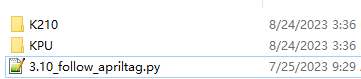
- After re-name, pull out the card reader, remove the TF card and insert it back into the k210 vision module.
3. Programming Methods
Online programming: first copy this URL https://makecode.microbit. and enter the online programming interface.
Click Extension, copy the package URL: https://github.com/YahboomTechnology/K210-Module.git to the input field, click Confirm to add package,
Click Extension again, copy the package URL: https://github.com/YahboomTechnology/Tiny-bitLib to the input field, click Confirm to add the package.
Finally you can use the K210 Vision Module package and Tinybit's building blocks.
4. Blocks
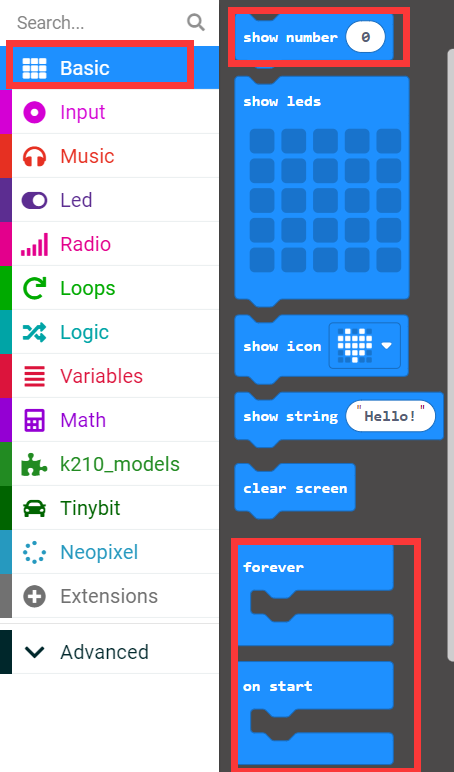
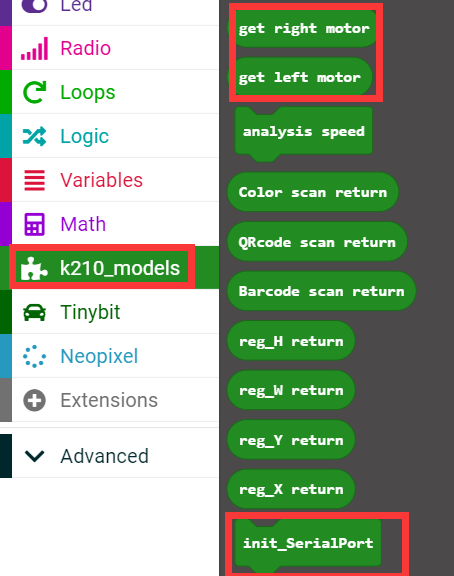
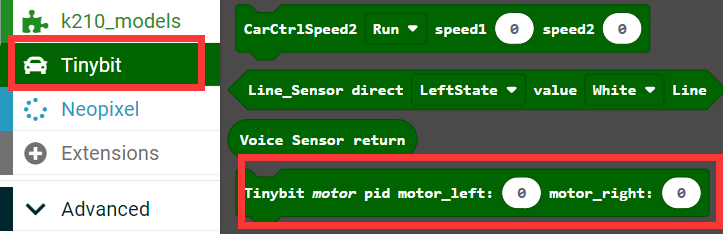
5. Code
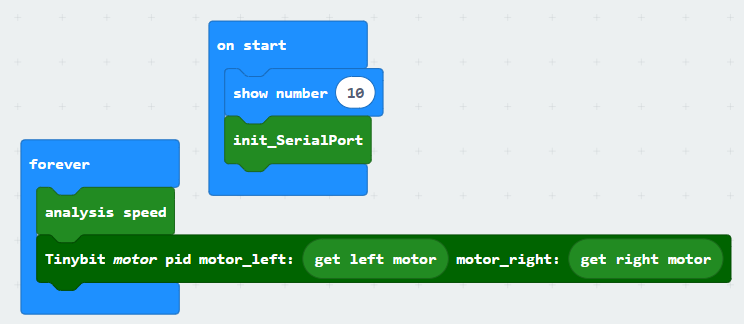
6. Download code
Connect the Micro:bit board to the computer via microusb cable, the computer will pop up a USB stick.
Then, select the k210_follow_apriltag.hex code and right click to send it to the Micro:bit U disk.
Wait until sending is complete and unplug the Micro:bit usb cable. Plug the Micro:bit board into the car.
7. Experimental phenomena
After starting robot car. The microbit dot matrix display scrolls to display the number 10. Wait for the screen to display the camera picture. Then, use the camera to take a picture of the machine code. When the machine code is detected, a red box will appear on the screen. At this time, we move the machine code so that the machine code moves within the range of the camera.
When the red frame at the top of the screen, the car will move forward;
When the red frame at the bottom of the screen, the car will go backward;
When the red frame at the left side of the screen, the car will turn left;
When the red frame at the right side of the screen, the car will turn right.
The car will move with the machine code.
Note: Do not move the machine code too fast, and ensure that the machine code moves within the range of the screen.
As shown in the figure below, when the red frame is in the middle, the car does not move.
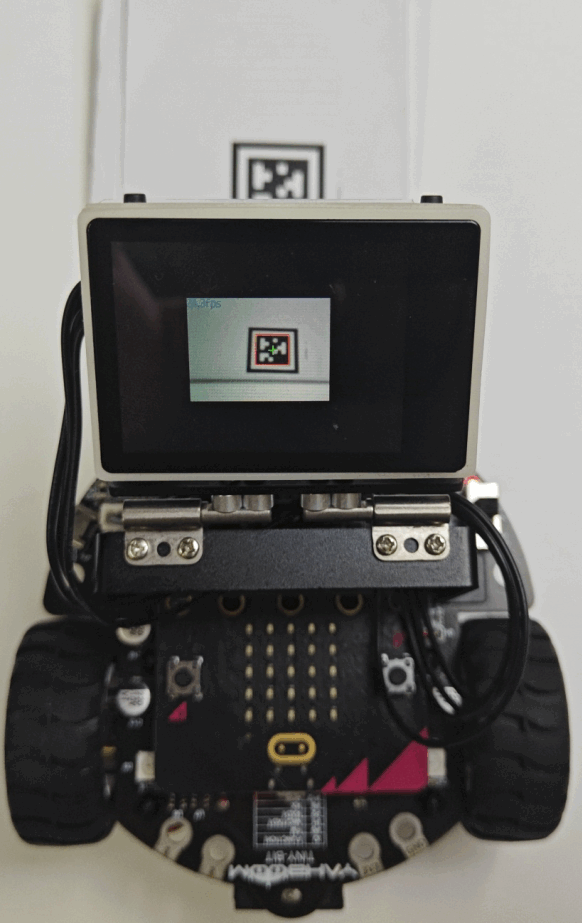
When the red frame at the top of the screen, the car will move forward.
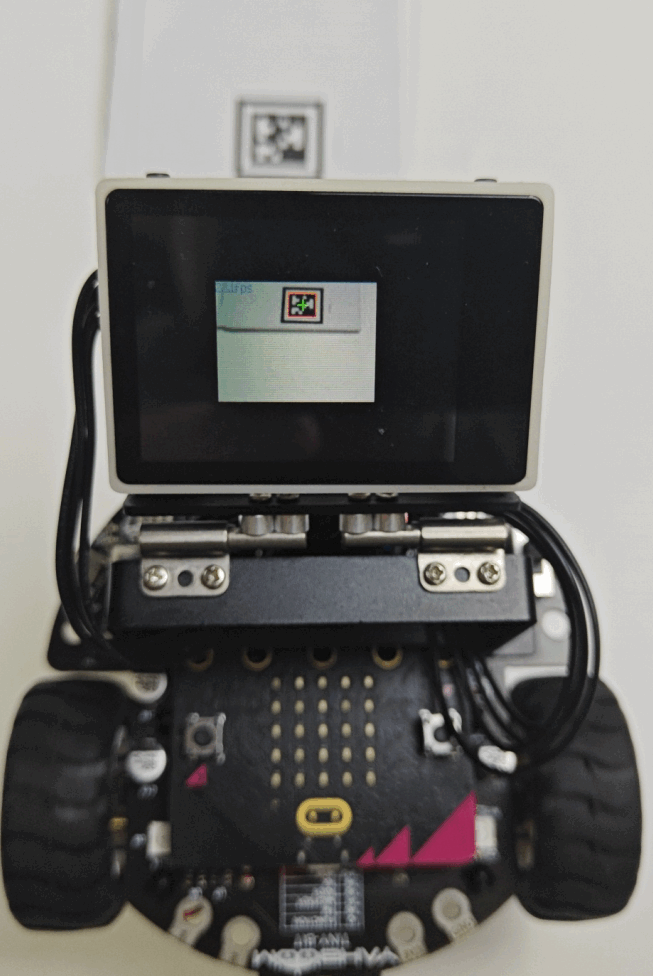
When the red frame at the bottom of the screen, the car will move backward.
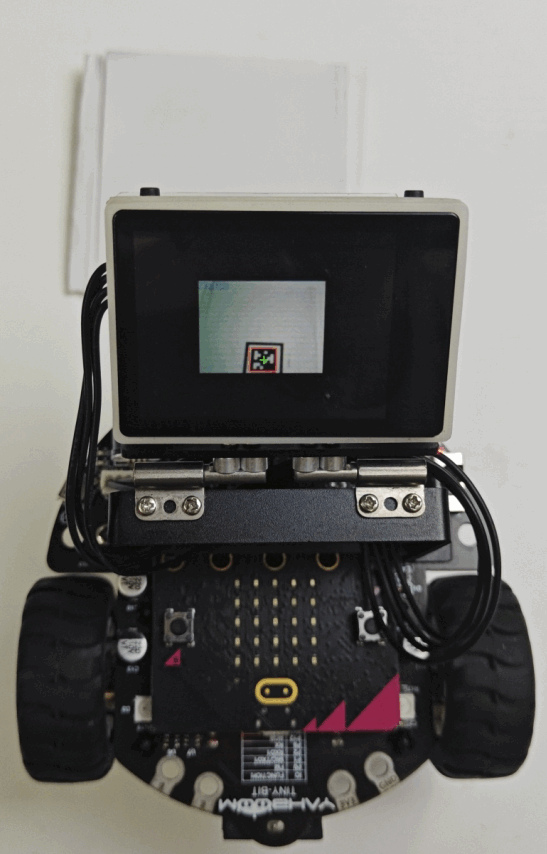
When the red frame at the right side of the screen, the car will turn right.
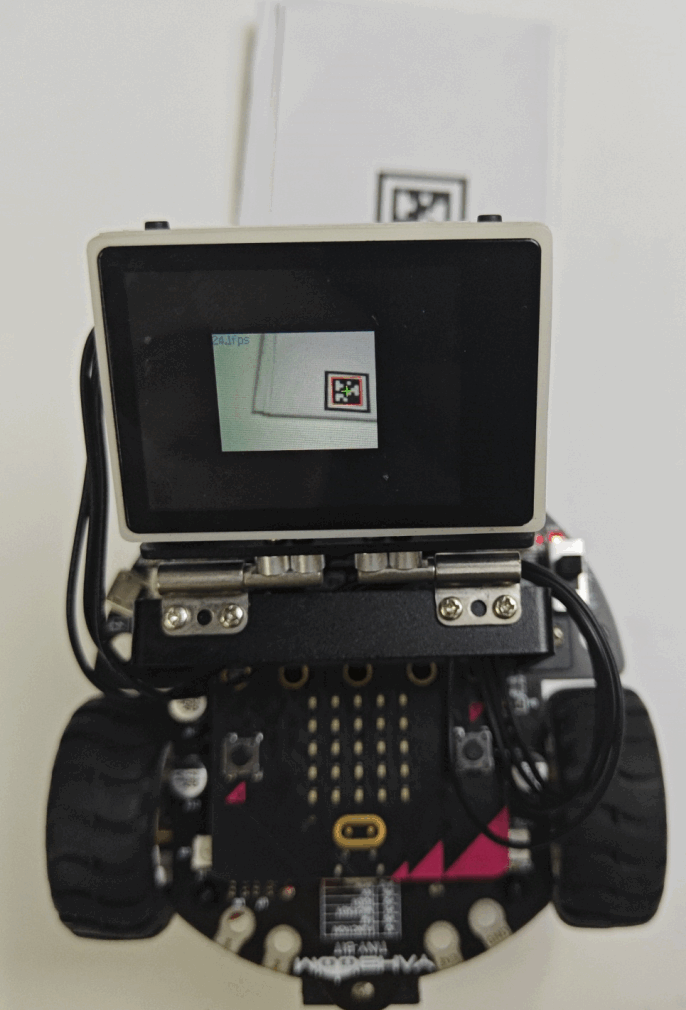
When the red frame at the left side of the screen, the car will turn left.