Welcome to Tiny:bit Pro repository
3.12.2 Autopilot
Tinybit Pro autopilot
Tinybit Pro autopilot1. Learning objectives2.Preparation for class3.Programming Methods4.Blocks5. Some important source code analysis5.1 Open the source code5.2 Partial source code analysis6. Download code7.Experimental phenomena8.Note
1. Learning objectives
In this course, we mainly learn how to let Tiny:bit Pro complete the recognition of different road signs while using the line tracking sensor to track the line.
2.Preparation for class
2.1 Remove the TF card from the k210 vision module and insert it into the card reader.
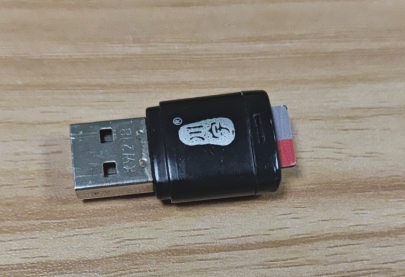
2.2 Plug the card reader into the computer, and wait for the computer to recognize the USB disk.
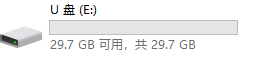
2.3 Then, enter the TF card. You will see following content.

2.4 Go to the k210 folder, find the 3.12_Autopilot.py file and tinybit_AI.kmodel file from the folder and copy it to the root directory.
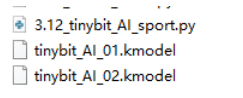
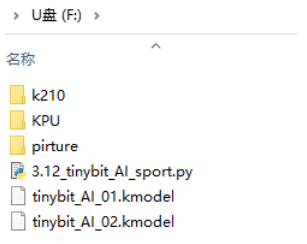
2.5 Delete the original main.py file. Then, re-name the 3.12_Autopilot.py file as the main file.
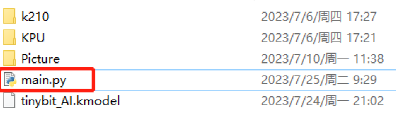
2.6 After re-name, pull out the card reader, remove the TF card and insert it back into the k210 vision module.
3.Programming Methods
Online Programming: First, copy this URL https://makecode.microbit.org/ and open it in your computer browser to enter the online programming interface. Click on "Extensions", copy the software package URL: https://github.com/YahboomTechnology/K210-Module.git to the input field, click "Confirm to add the software package", then click "Extensions" again, copy the software package URL: https://github.com/YahboomTechnology/Tiny-bitLib to the input field, click "Confirm to add the software package", and finally you can use the K210 vision module software package and the building blocks of Tinybit.
Offline Programming: First, install the MakeCode offline programming software. After installation, open it and enter the offline programming interface. Click on "Extensions", copy the software package URL: https://github.com/YahboomTechnology/K210-Module.git into the input field, click "Confirm" to add the software package. Then click "Extensions" again, copy the software package URL: https://github.com/YahboomTechnology/Tiny-bitLib into the input field, and click "Confirm" to add the software package. Finally, you can use the K210 Vision Module software package and the building blocks of Tinybit.
4.Blocks
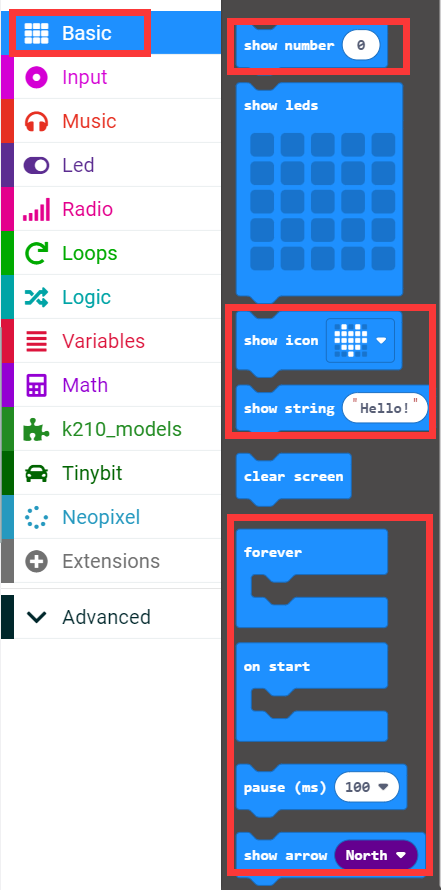
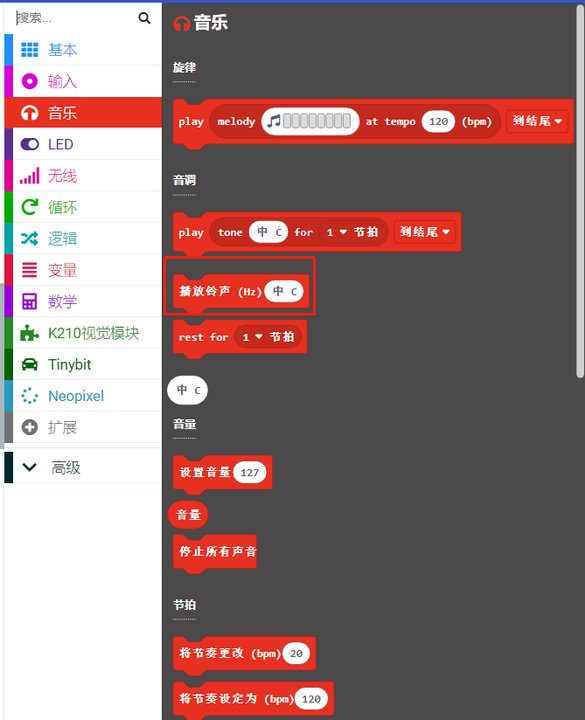
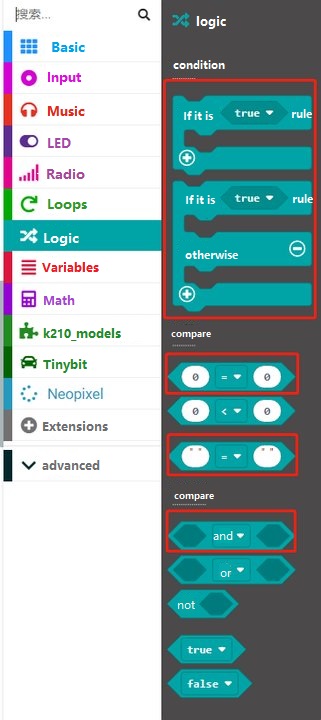
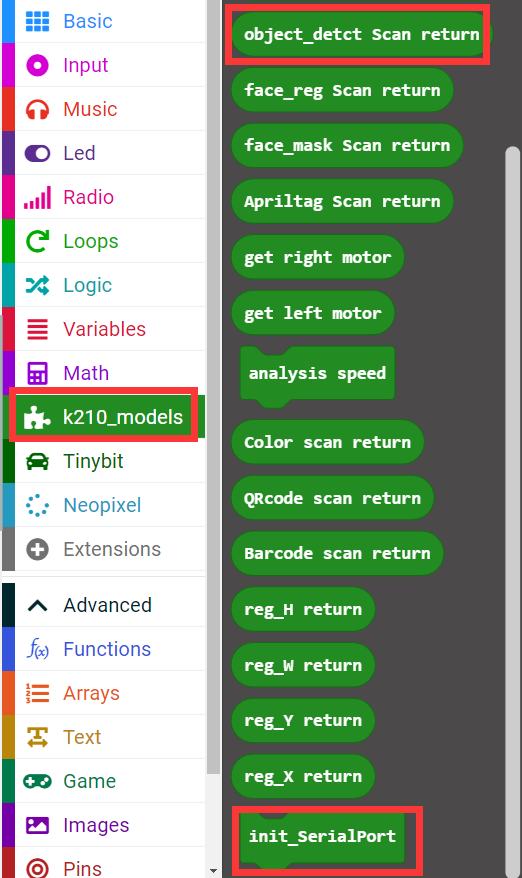
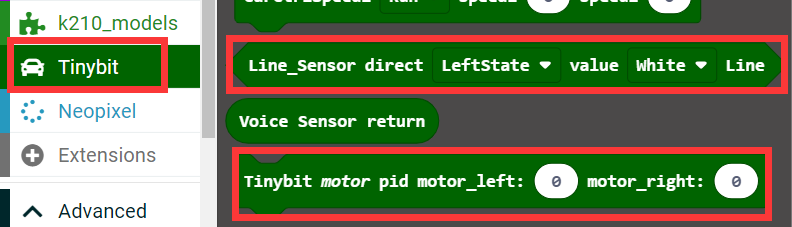
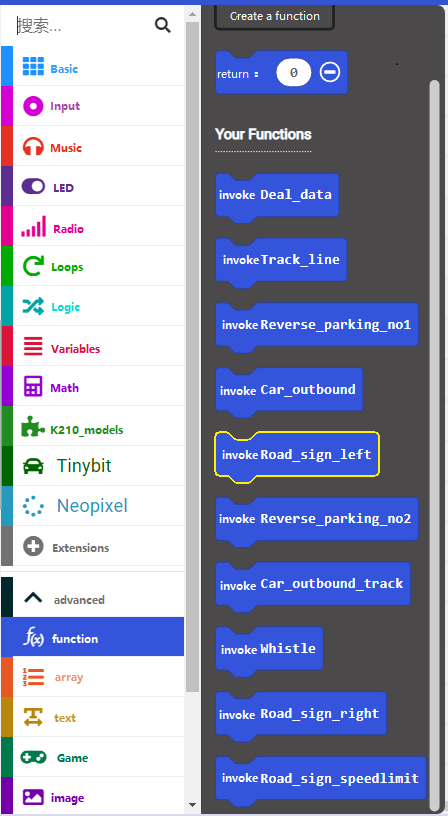
5. Some important source code analysis
5.1 Open the source code
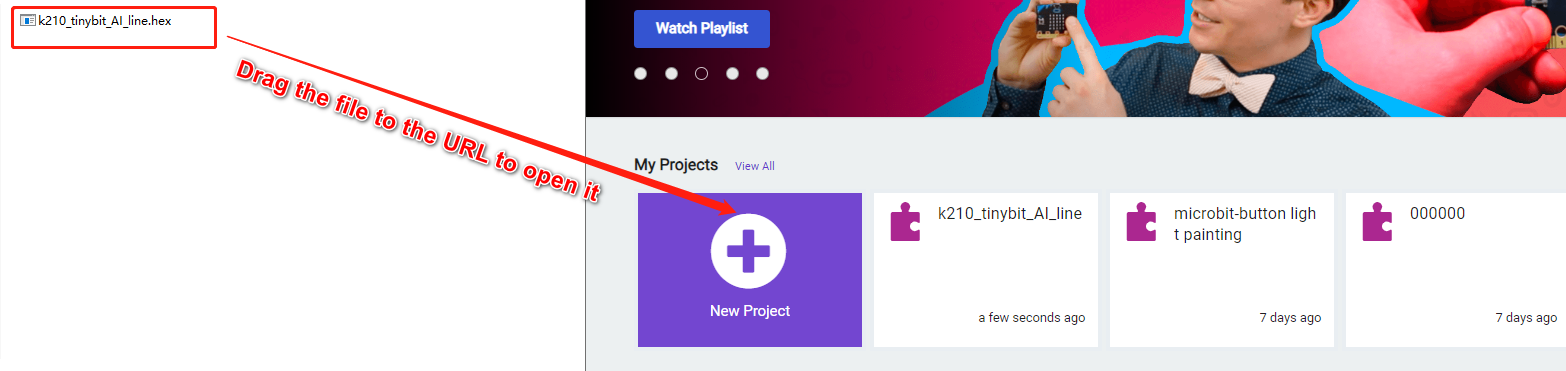
This tutorial only shows a small part of the source code, not all the source code. If you want to see all the source code of this tutorial, first open the makecode offline software or an online programming website. Take the online programming website as an example.
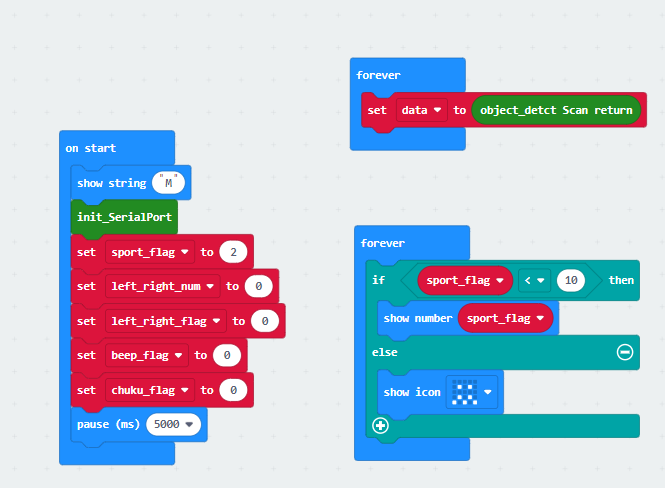
5.2 Partial source code analysis
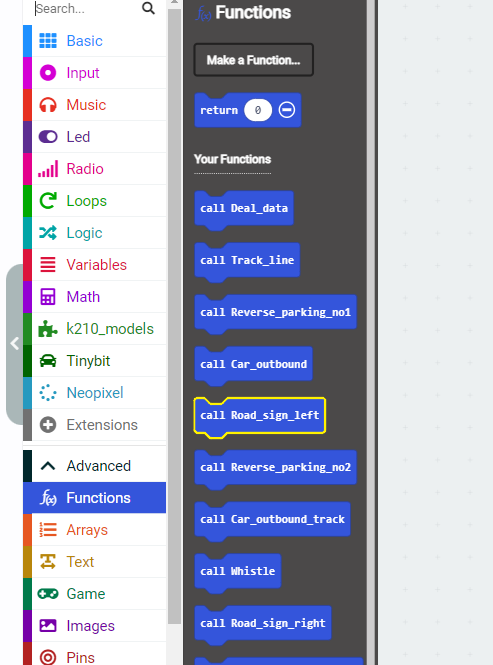
Function Analysis
- Deal_data: Analyze the data of different road signs recognized by k210
- Track_line: normal line patrol movement, if no road signs are recognized, this function is usually called for movement
- Reverse_parking_no1: When the k210 recognizes the number 1, it drives the car back into the No. 1 parking lot
- Car_outbound: The storage is reversed successfully, stop for 2 seconds, then go out of the warehouse, and then carry out the process of patrolling the line after leaving the warehouse
- Road_sign_left: After the k210 recognizes the road sign of the left turn, it will perform the processing of the left turn priority line inspection
- Reverse_parking_no2: This is when the k210 recognizes the number 2, the car is driven back into the No. 2 parking lot
- Car_outbound_track: This is the processing of line inspection after leaving the warehouse, and it will return to normal line inspection after a period of time
- Road_sign_right: After the k210 recognizes the right-turn road sign, it will perform right-turn priority patrol processing
- Whistle: k210: recognize the horn icon, drive the car to whistle
- Road_sign_speedlimit: Recognize the speed limit sign, drive the car to enter the speed limit movement
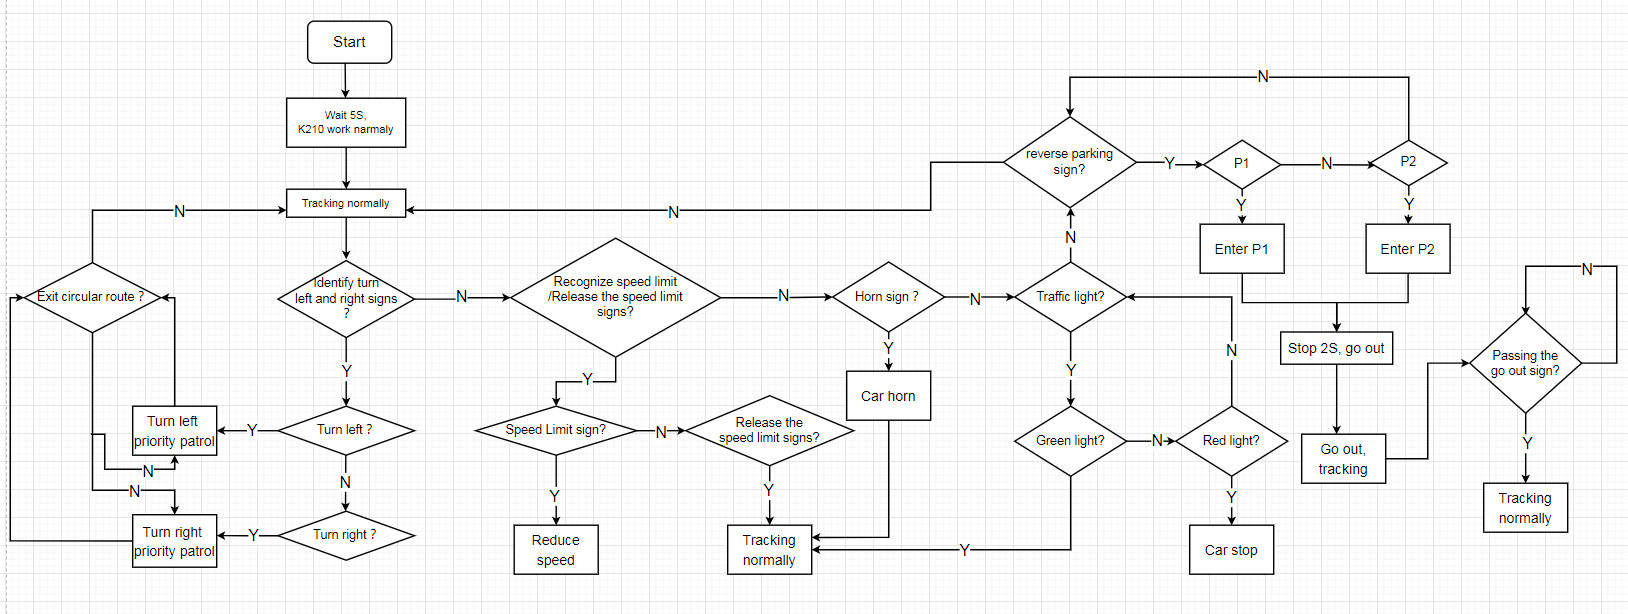
The flow chart of this program, as shown below
6. Download code
Connect the Micro:bit board to the computer via microusb cable, the computer will pop up a USB stick.
Then, select the k210_Autopilot.hex code and right click to send it to the Micro:bit U disk.
Wait until sending is complete and unplug the Micro:bit usb cable. Plug the Micro:bit board into the car.
7.Experimental phenomena
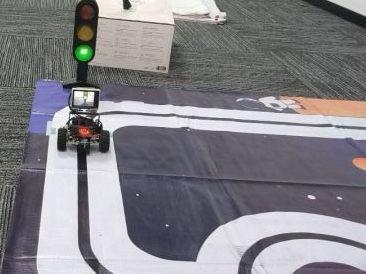
After starting the car, the car will move forward along the black line on the map. When the camera recognizes the road sign, the corresponding path planning movement will appear.
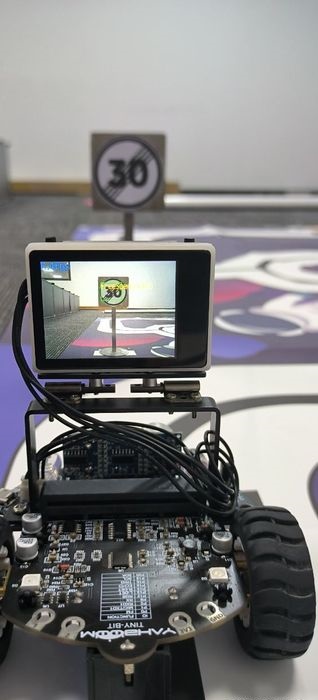
- When the speed limit sign is recognized, the car will follow the line at a speed that does not exceed the speed limit sign.
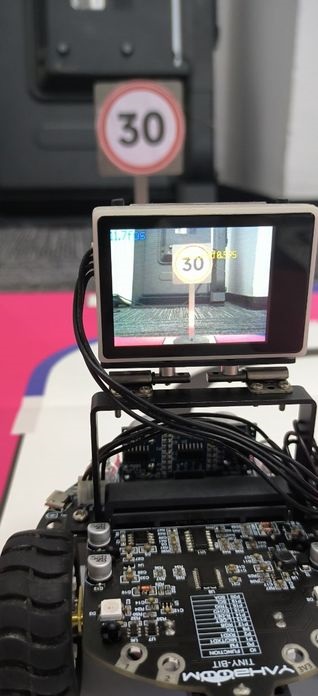
- When the speed limit sign is recognized, the car will return to the normal line patrol movement.
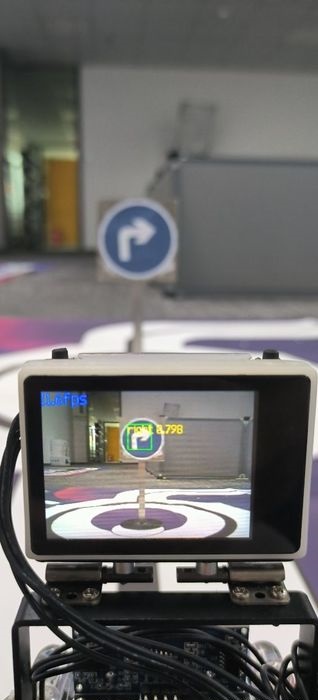
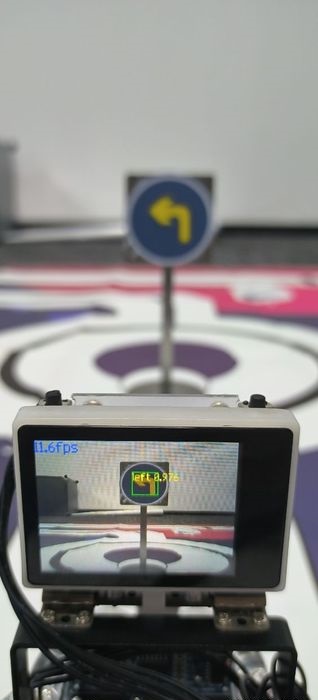
- When a turn left/right sign is recognized, the car will make a priority turn left/right tracking movement.
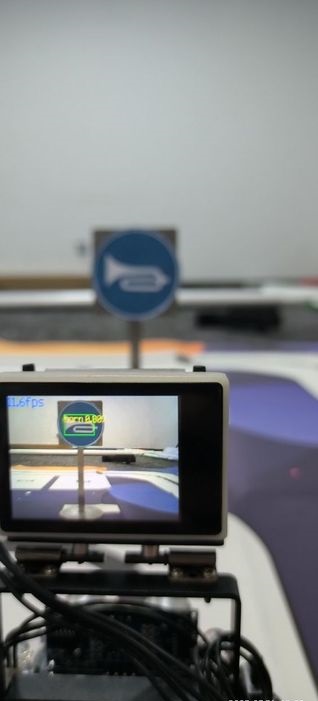
- When the honk is recognized, the car will whistle.
- Recognize traffic lights, red lights will stop, green lights will continue to move forward.
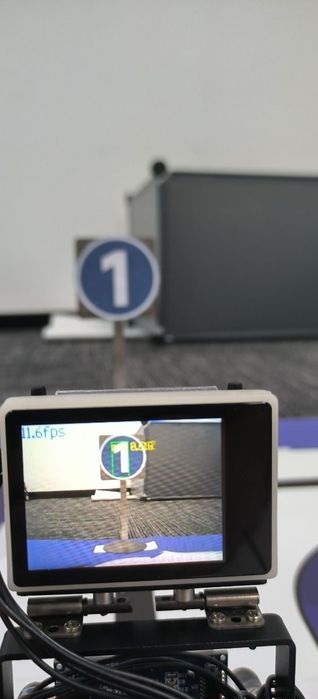
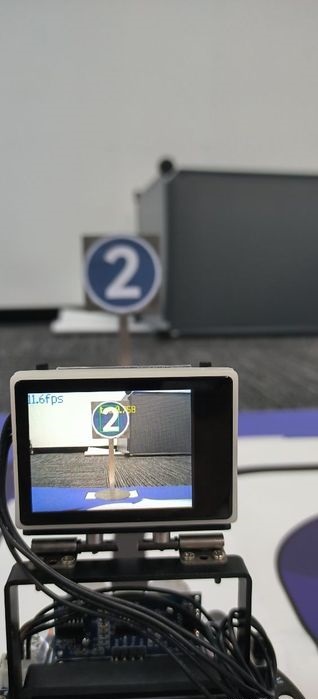
Recognize parking No. 1 and parking No. 2.
When car recognizes parking No. 1, it will enter parking No. 1;
When car recognizes parking No. 2, it will enter parking No. 2; after 2 seconds, the car will come out and continue to tracking.
8.Note
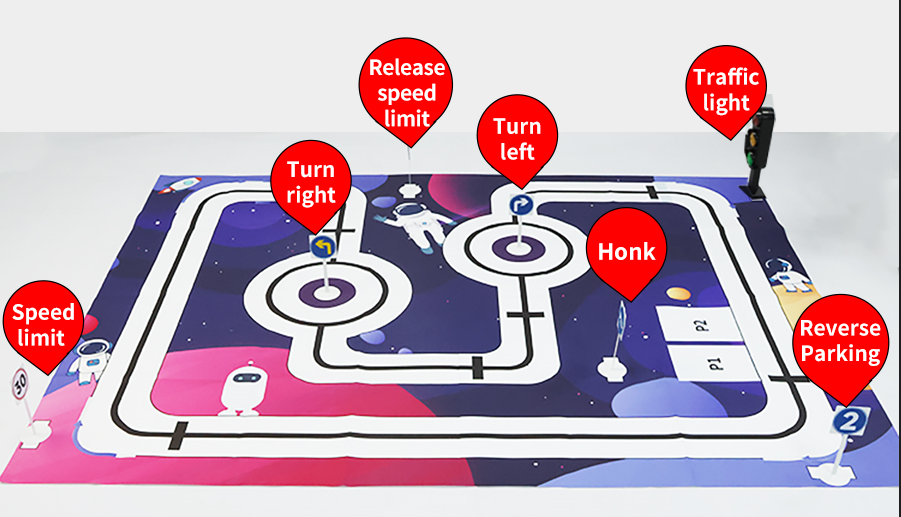
- The location of the road sign on the map, as shown below.
- Please make sure the battery is fully charged, otherwise it will not work normally
- If the road signs cannot be recognized, you can adjust the bracket of the k210 or the distance of the road signs
- You must use the road sign model provided by Yahboom, refer to the pictures in the road sign folder, other road signs cannot be recognized.
- Under normal circumstances, the motor is very smooth. If the motor freezes and the resistance is large, these conditions indicate that the motor is broken.
- The map must be kept clean without too many stains, otherwise it will affect the normal use
- When tracking, the environment should not be too bright or too dark.