Welcome to AI Voice Interaction Module repository
For STM32
STM32 serial communication
Note: The voice interaction module needs to be burned with factory firmware. If the voice chip has not been flashed with firmware after receiving it, it does not need to be burned
1. Experimental preparation
- STM32F103C8T6 minimum core board
- Voice interaction module
- 4pin DuPont adapter cable
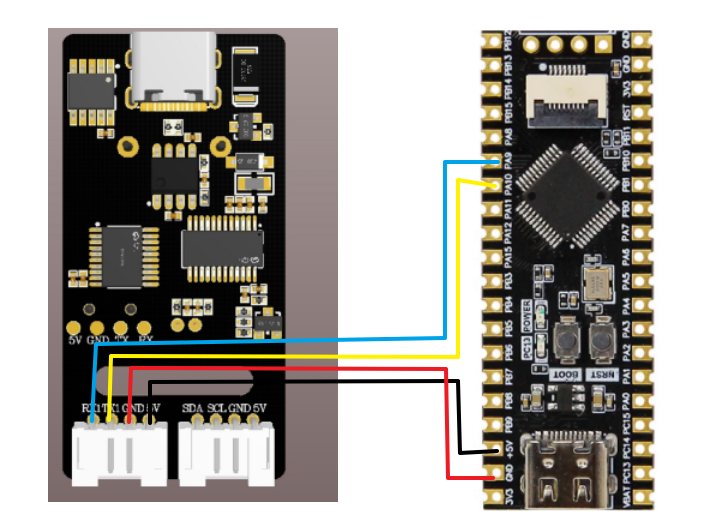
2. Wiring diagram
| STM32 | Voice interaction module |
|---|---|
| PA9 | RX |
| PA10 | TX |
| GND | GND |
| 5V | 5V |
3. Program download
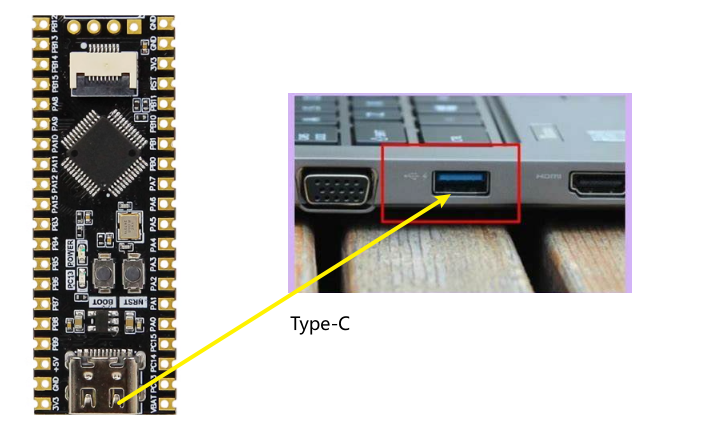
- Connect the stm32 motherboard and the computer with a Type-C data cable
- Open the stm32 firmware burning tool FlyMcu.exe, select the corresponding device port, bit rate 115200, and burn the program to the development board, as shown below
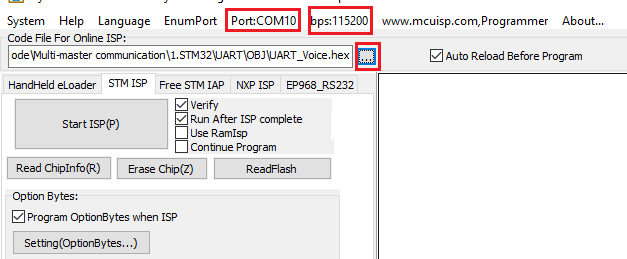
- Click the three dots and select the hex file under the OBJ file in the iic folder under the stm32 communication source code.

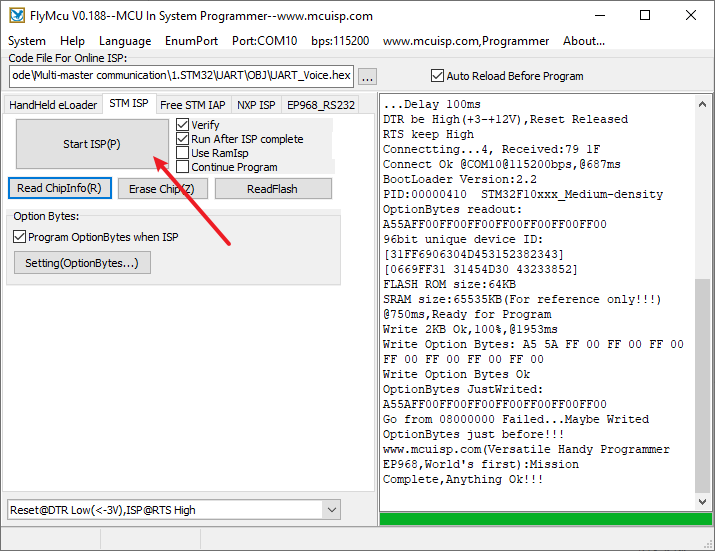
- Select the option below in the software

- Click Start Programming to write the program to the stm32 development board
4.Achieve the effect
- After the burning is completed, we power on the stm32 development board again, press the stm32 reset button, and you can hear the voice module broadcast "Initialization completed", which means that the program is running normally
- You can select the broadcast content by modifying the code in the program as shown below
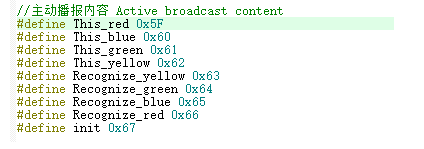
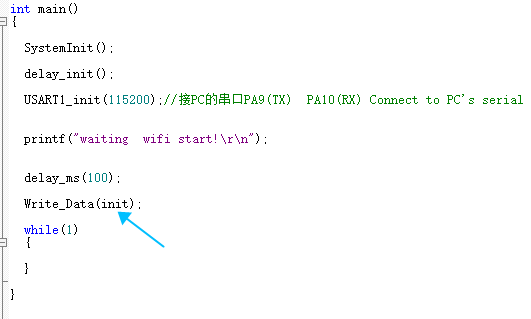
- The broadcast content can be viewed according to the Command Word Broadcast Word Protocol List V3_EN file provided in the attachment.
The first and second bytes AA FF represent the frame header of the protocol, the third byte FF represents the broadcast function, and the fourth is the ID of the broadcast content. Here you can see "I am ready" is 67 in hexadecimal, so the program sends 0x67 to register 0x03 to broadcast the corresponding content. The fifth byte is the end frame.

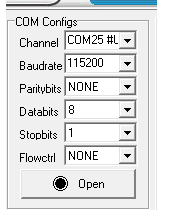
- Open the serial port debugging assistant provided in the attachment, select the corresponding port, and set the baud rate to 115200
- Open the serial port assistant, when I say the wake-up word to wake up, say "close light", the debugging assistant will reply with the receiving ID: 10
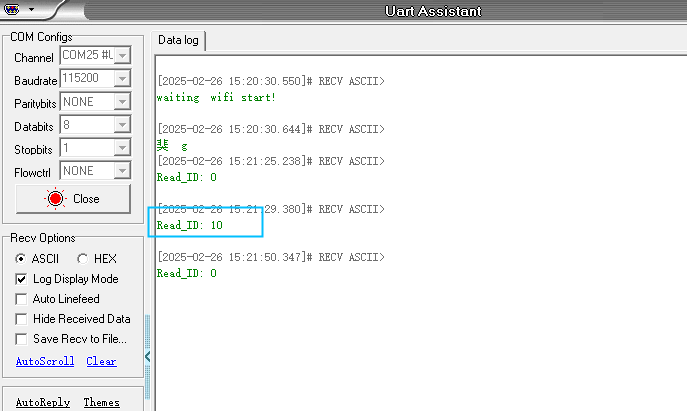
- At this time, you can open the attached Command Word Broadcast Word Protocol List V3_Chinese file to view the "Turn off the light" protocol

The first and second bytes AA FF represent the frame header of the protocol, the third byte represents the ID of the ten function words of the chip, and the fourth is the command word ID. Here you can see "close light" is hexadecimal 0A, so decimal will return 10. The fifth byte is the end frame.
- Say other command words, the serial port debugging assistant will also print the corresponding command word ID, you can try it yourself