Welcome to 310 Motor repository
2. STM32CubeMX Install - Use
STM32CubeMX installation
STM32CubeMX installation1、Software download1.1、Download URL1.2、Choosing a platform1.3、Filling in information2、Software Installation2.1、Open the installer2.2、Installation Process - Setup3、Software configuration3.1、Open the application3.2、Sign-up - Login to your account3.3、Installing the firmware package4、Software Usage4.1、Chip selection4.2、Pin layout and configuration4.3、Clock configuration4.4、Project management4.5、Generative engineering5、Project folder5.1、Demo5.2、Writing the code
1、Software download
The development tool used for the tutorial is the STM32CubeIDE software,STM32CubeMX is integrated in the STM32CubeIDE software, so learning STM32CubeMX is beneficial to understand the STM32CubeIDE graphical configuration interface.
1.1、Download URL
ST Official website:https://www.st.com/content/st_com/en/stm32cubemx.html
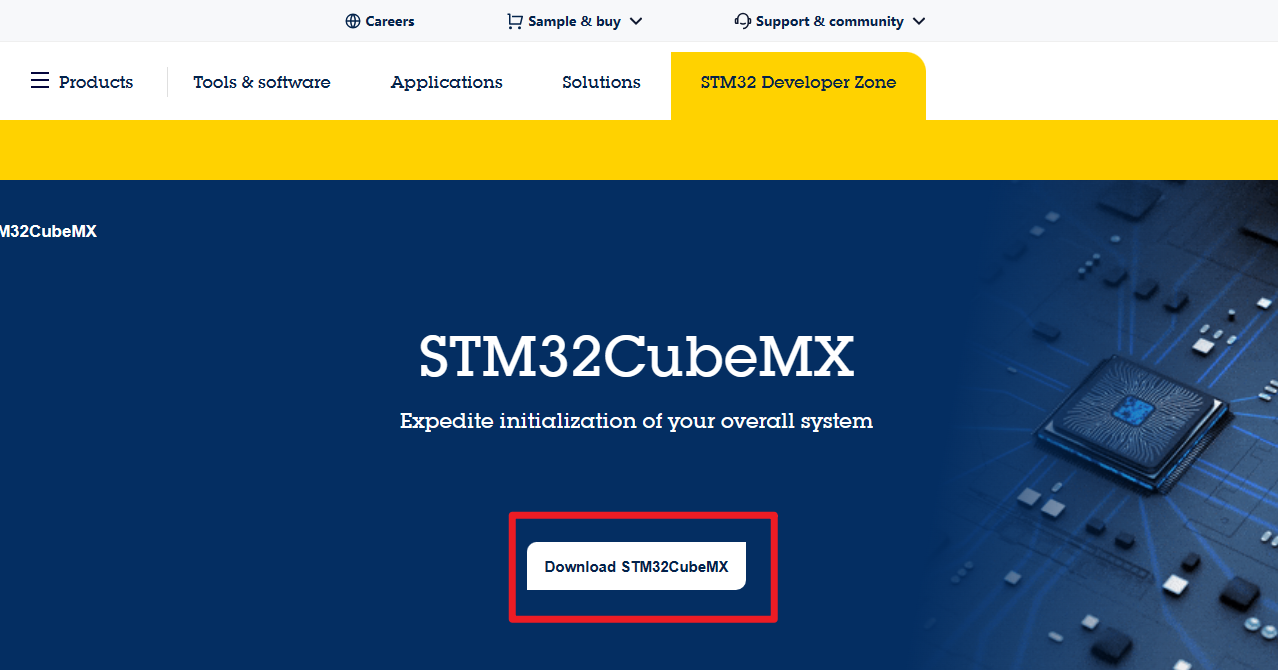
1.2、Choosing a platform
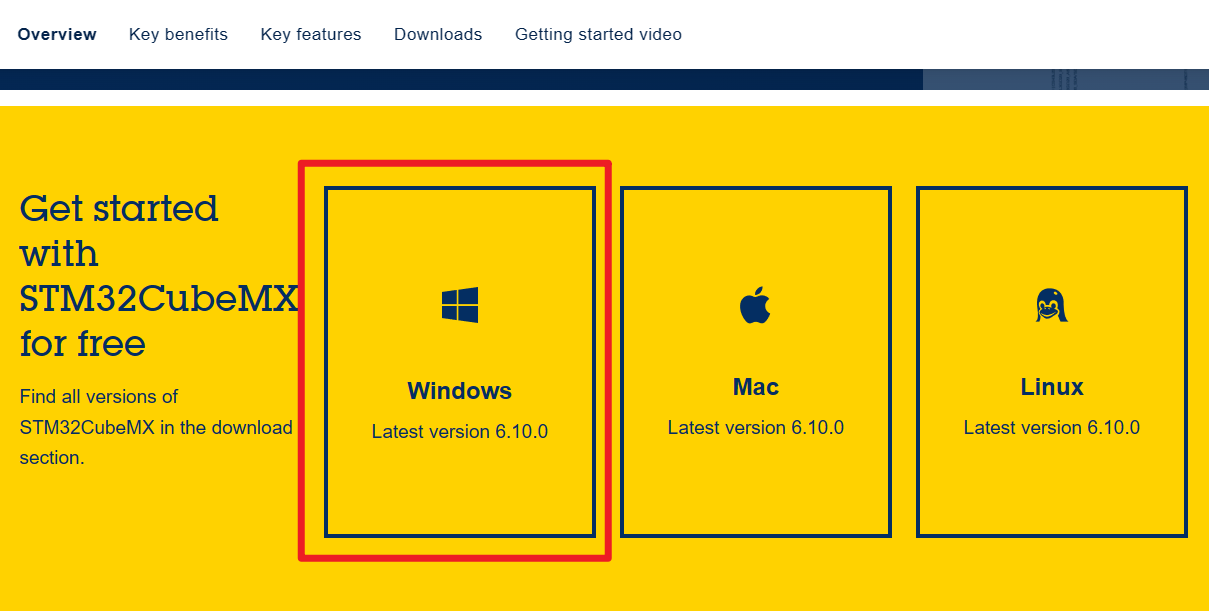
platform:Windows
1.3、Filling in information
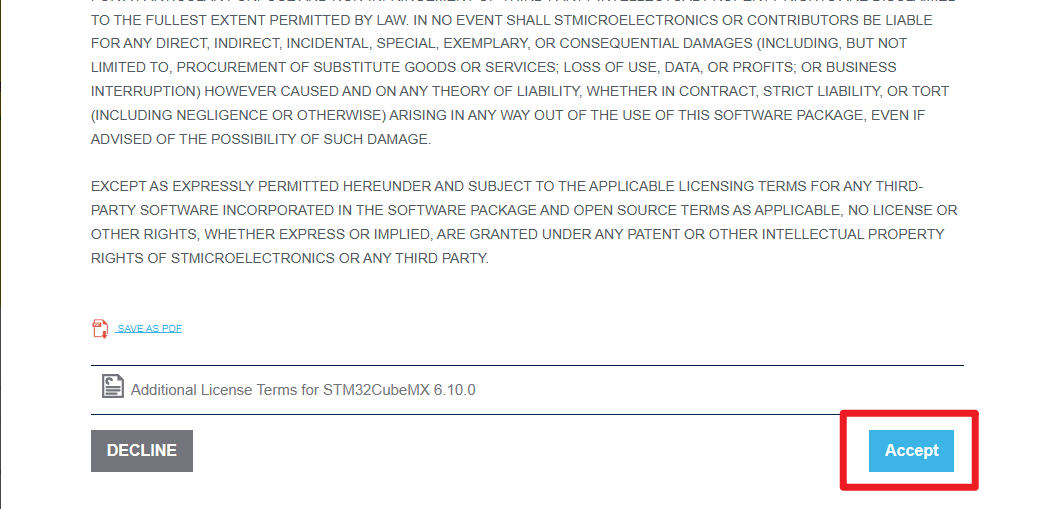
Agree to the agreement
Filling in information
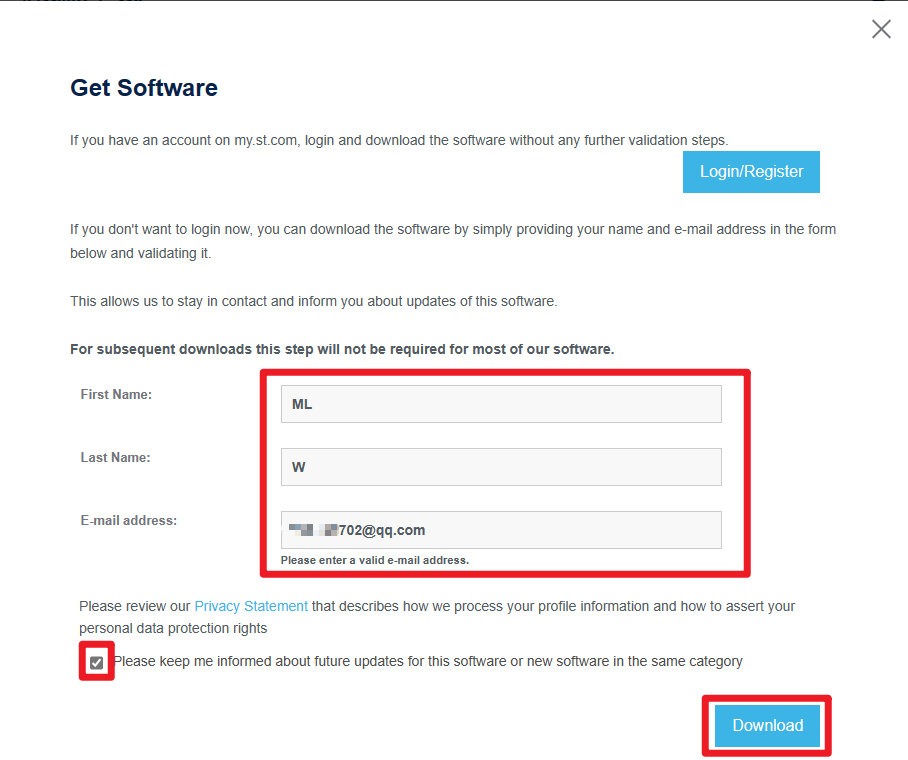
The email address needs to be filled in accurately, and the software download link will be sent to you by email
Complete submission

Email to download the installer
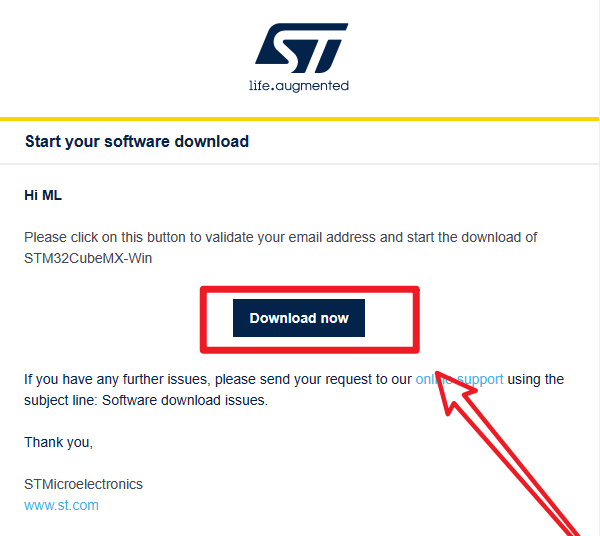
xxxxxxxxxxClick on the link to go to the official website, the website will automatically jump out of the software compressed package download window
2、Software Installation
2.1、Open the installer
Administrator
Open the installation package as an administrator
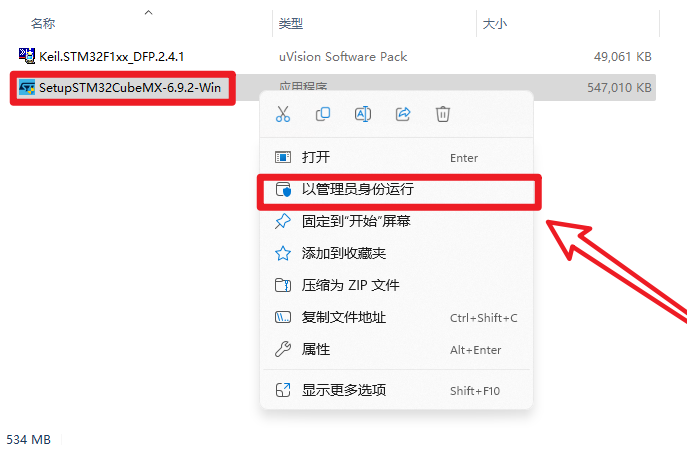
xIf you open the software installation package, then you see "NSIS ERROR: error launching installer" error:Please put the package in the path without Chinese characters
2.2、Installation Process - Setup
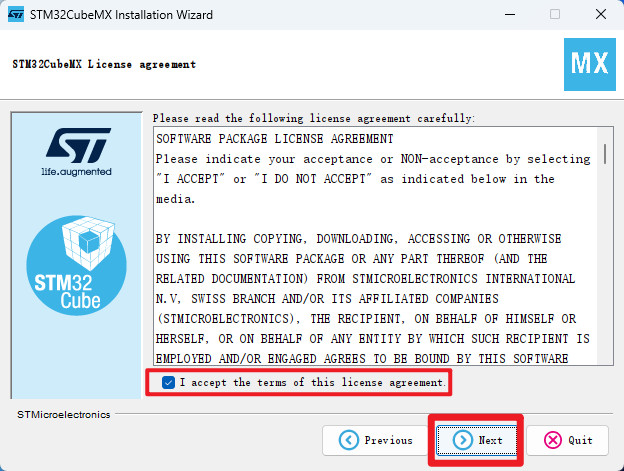
Next
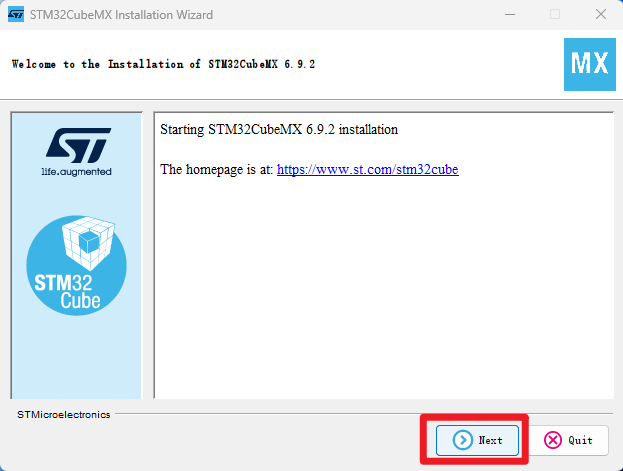
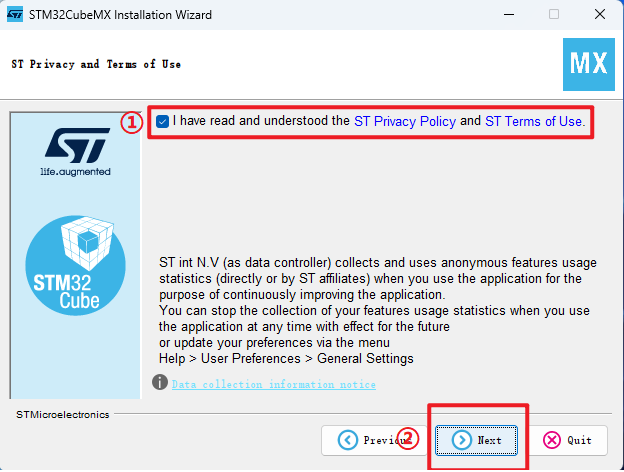
Check the Agreement and Privacy Policy→ Next
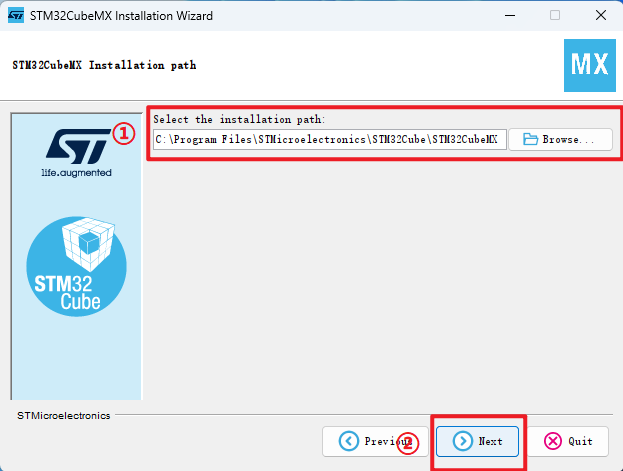
Location of installation → Next
xxxxxxxxxxThe following are recommended to use the default installation location of the software and the path does not contain Chinese characters
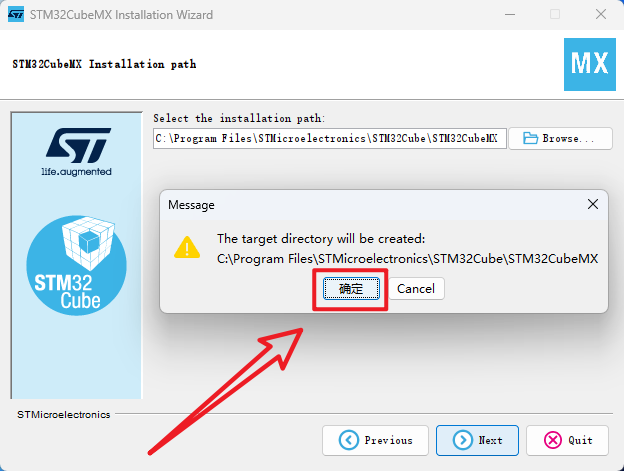
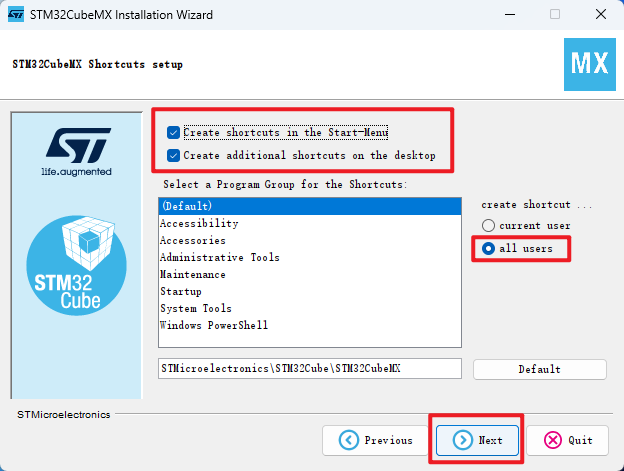
Waiting for installation → Next
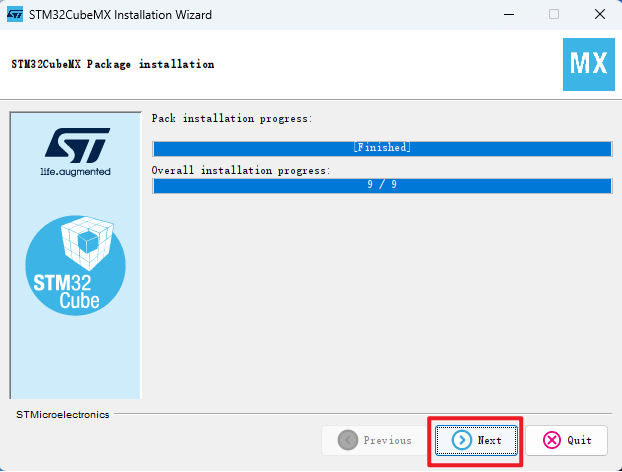
Installation Completed
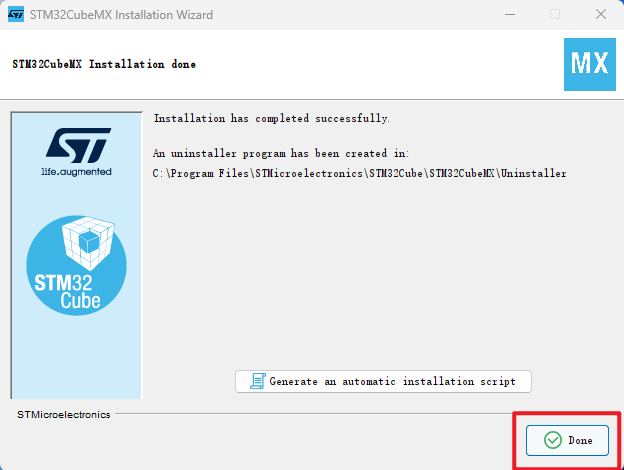
3、Software configuration
Familiar with software options and functions.
3.1、Open the application
Click on Left mouse button:Double click the desktop "STM32CubeMX" app
3.2、Sign-up - Login to your account
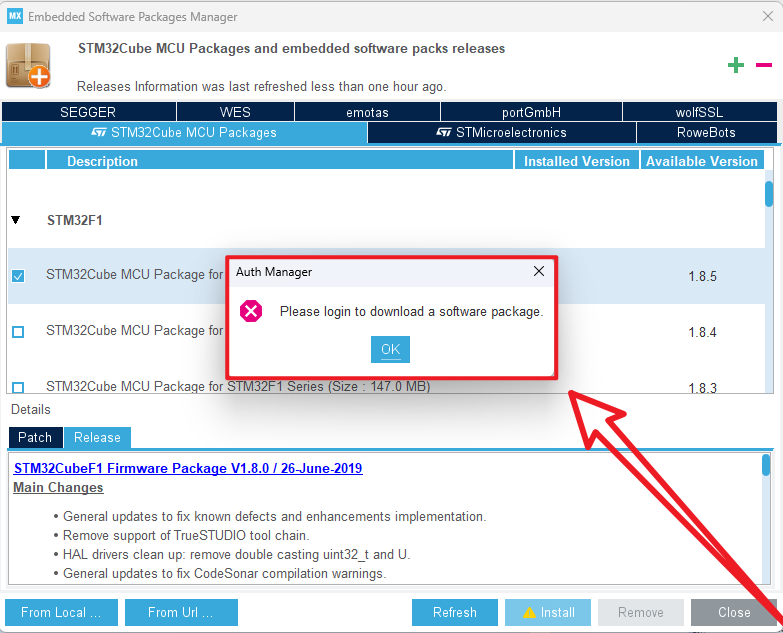
Unable to download firmware package without login account.
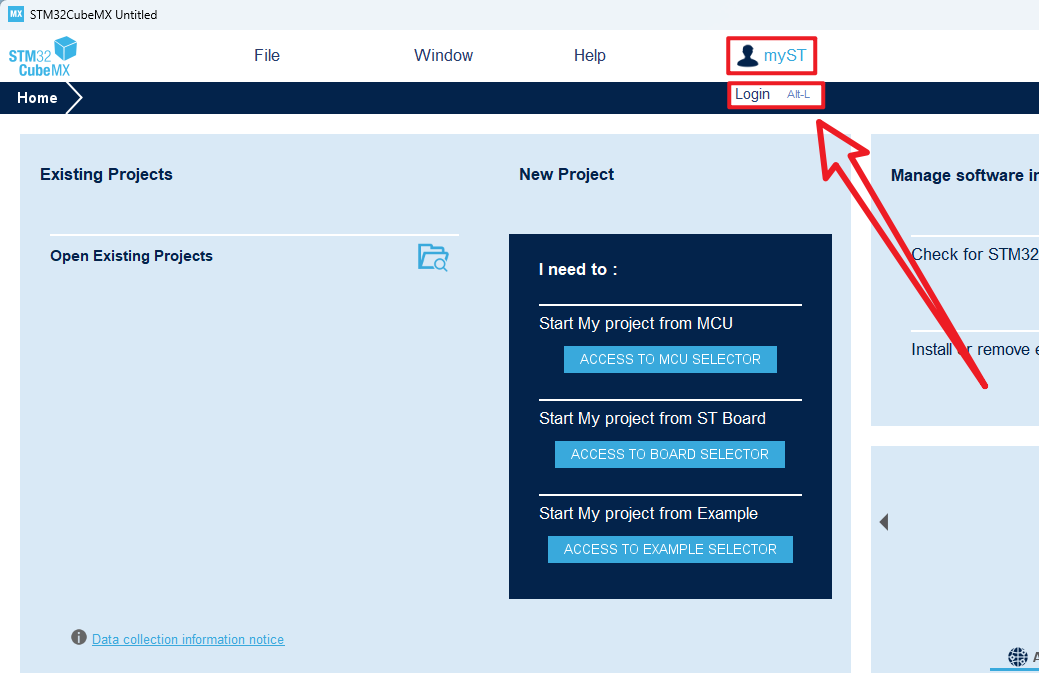
Create an account
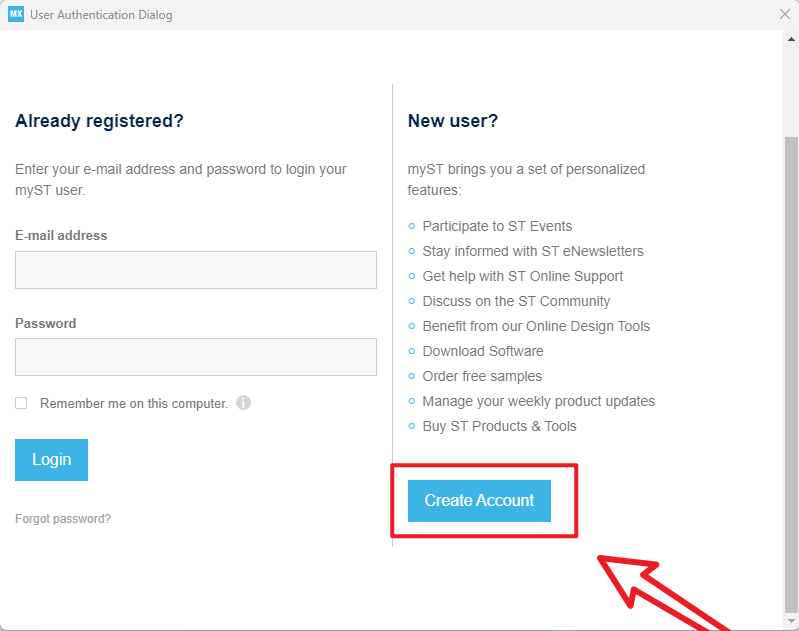
Fill in the information and submit it
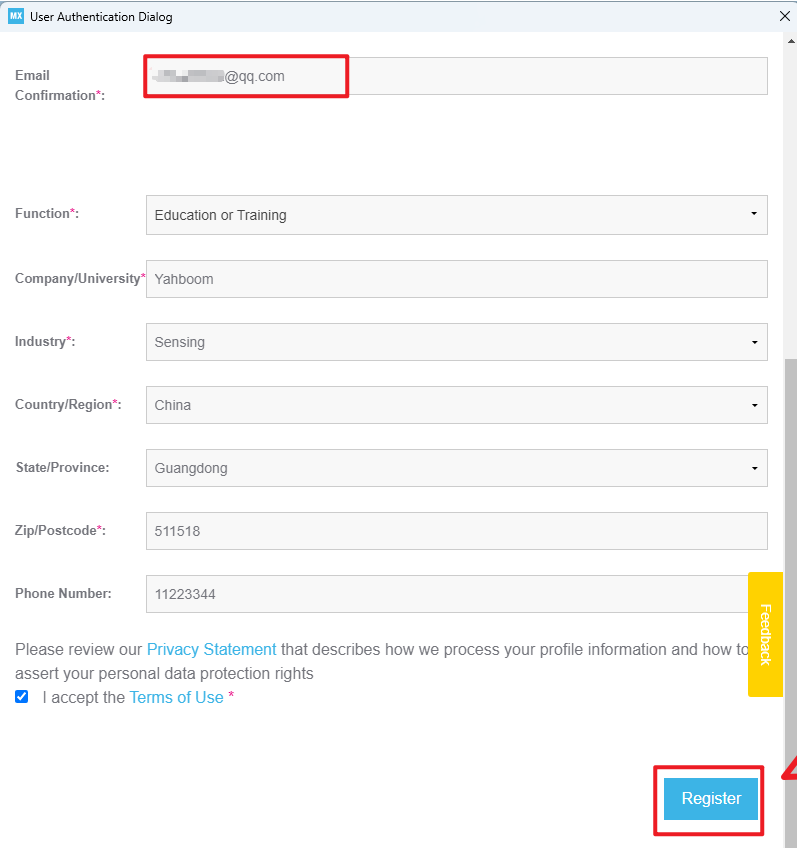
xxxxxxxxxxEmail information Fill in accurate information
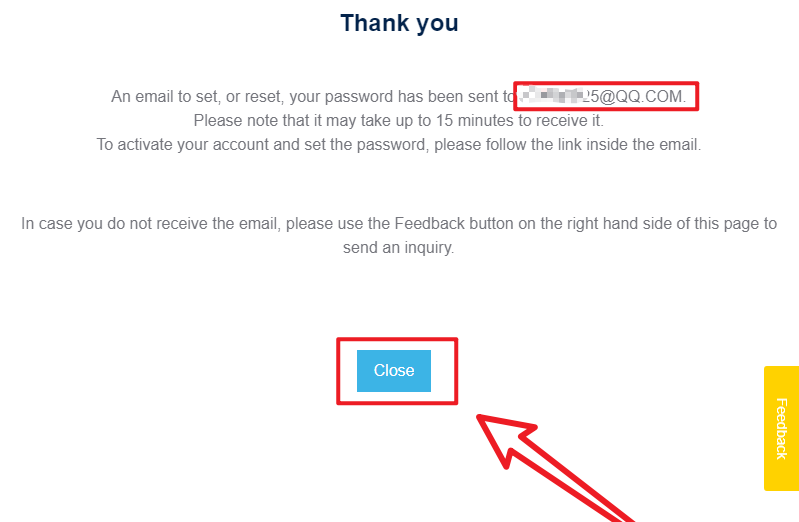
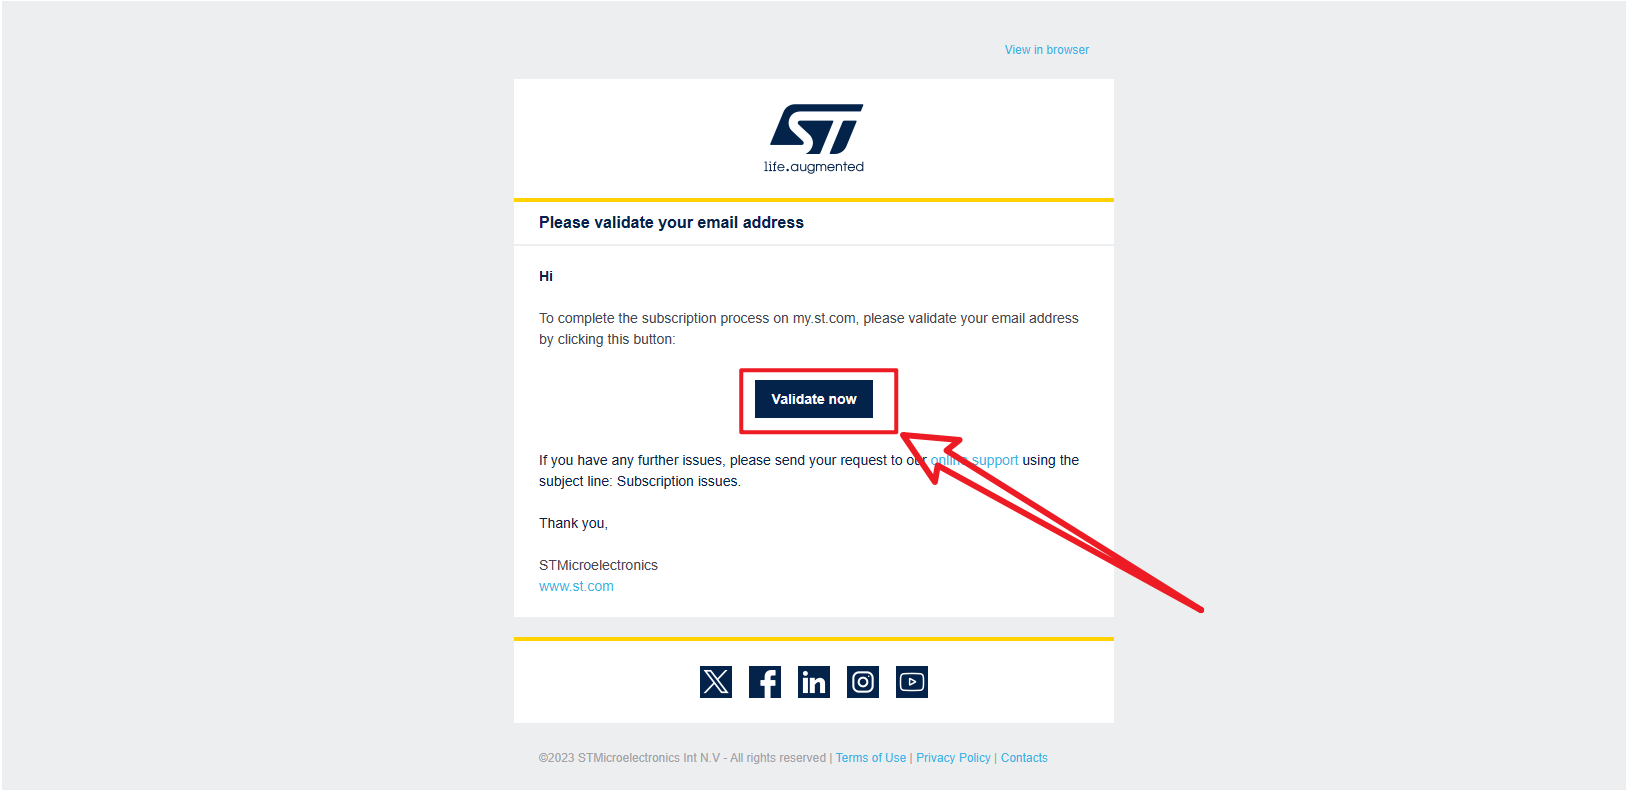
Verify email
Set a password and submit
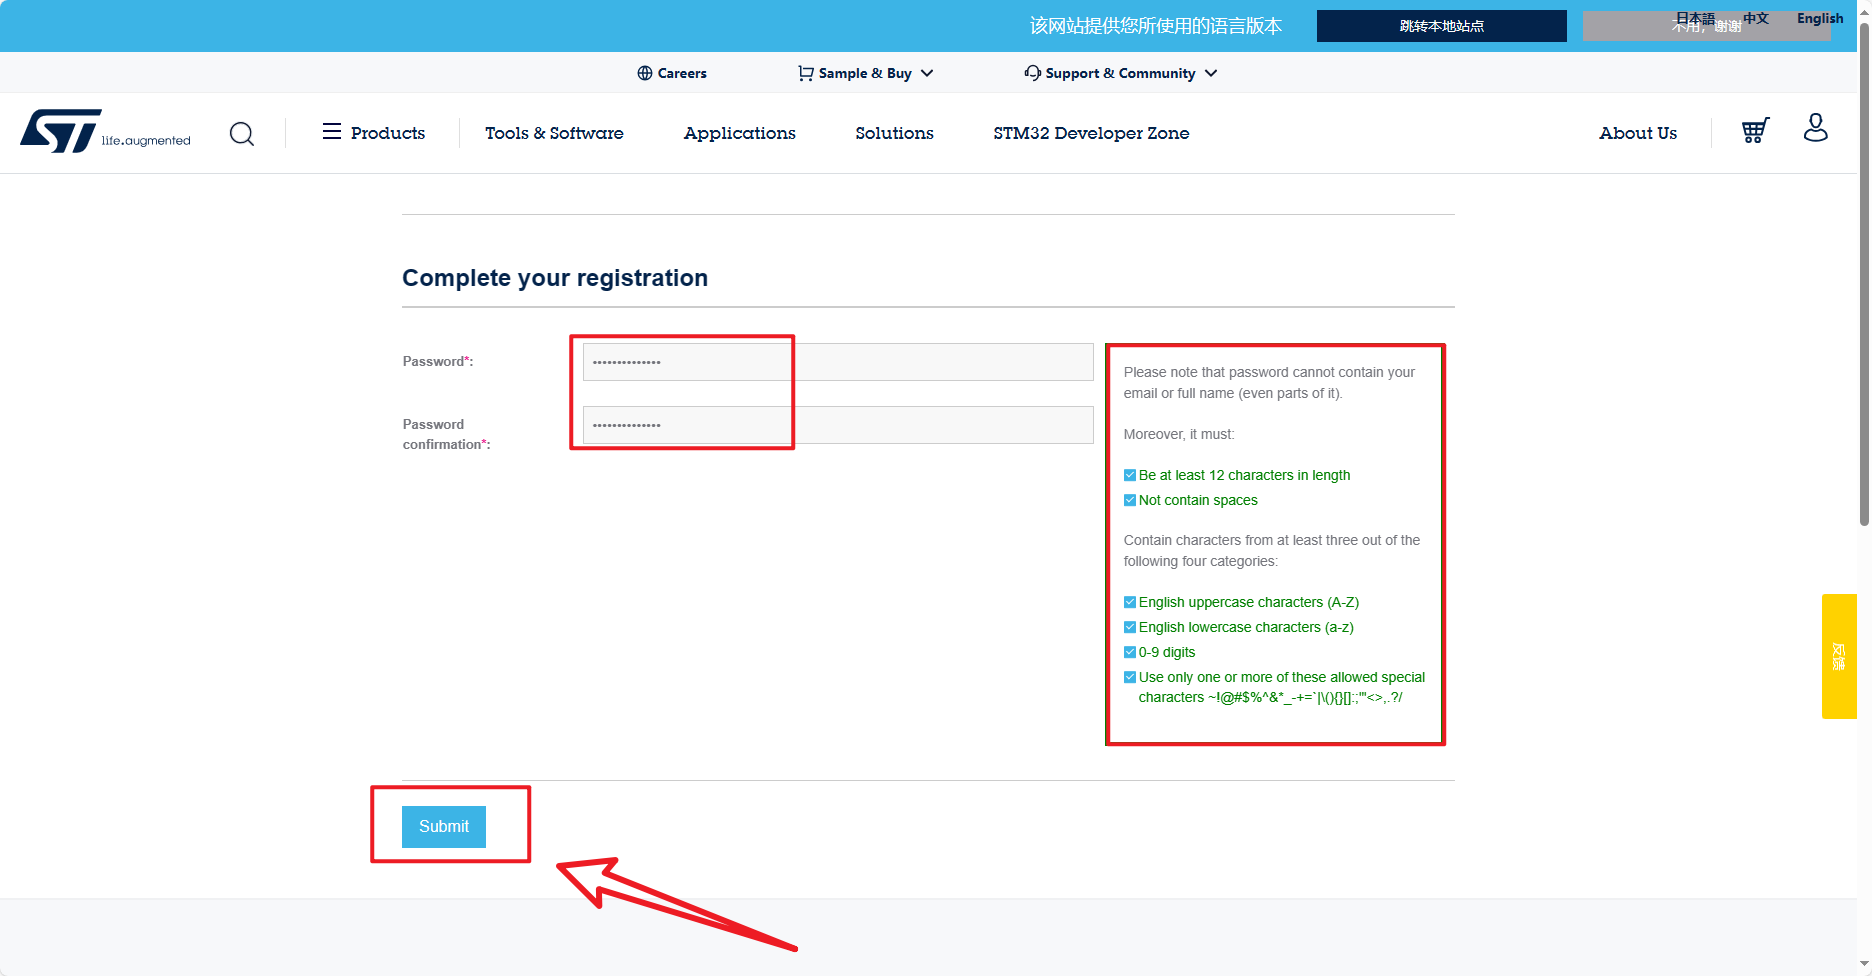
xxxxxxxxxxOn the right is the password format requirement. Sometimes if the submission is unsuccessful, wait a few minutes or re-enter this page.
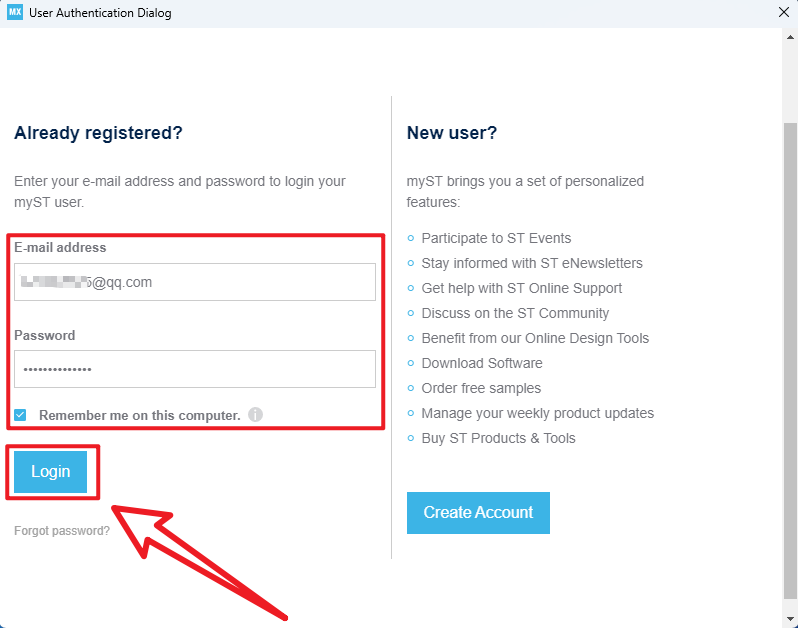
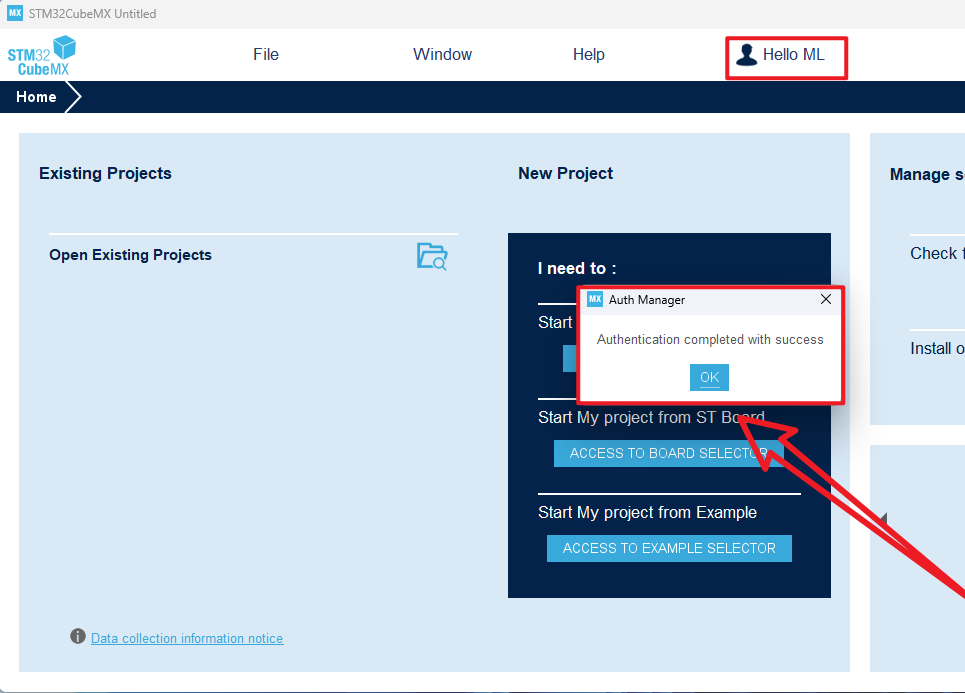
Login account
xxxxxxxxxxOn the right is the password format requirements, sometimes if the submission is not successful, wait a few minutes or re-enter this page
3.3、Installing the firmware package
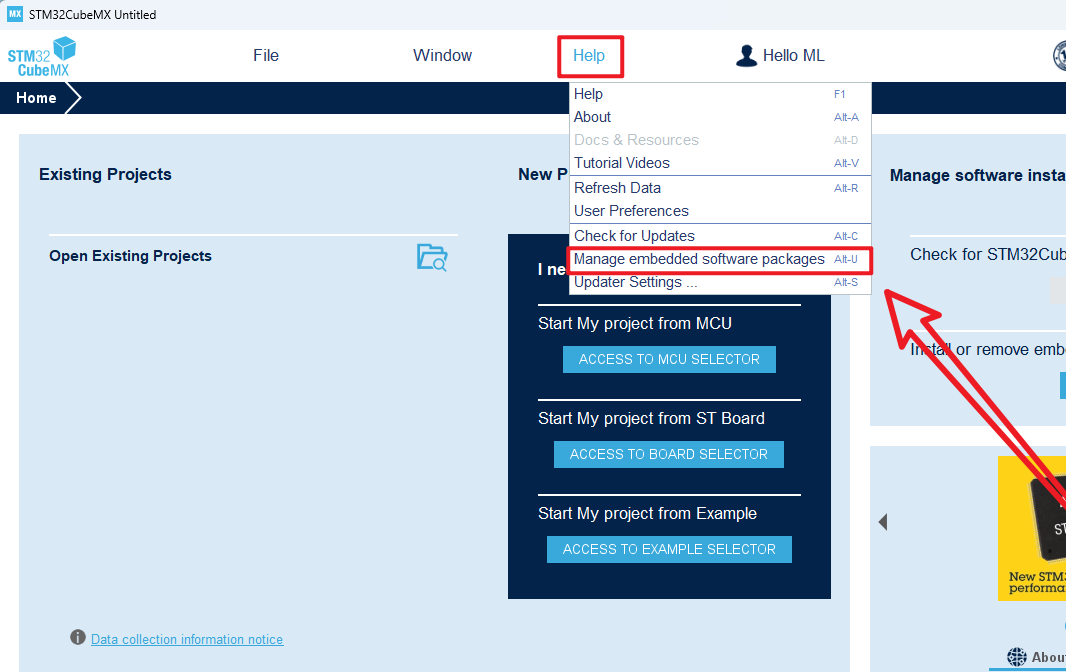
Help → Manage embedded software packages
Install the latest STM32F1 firmware package
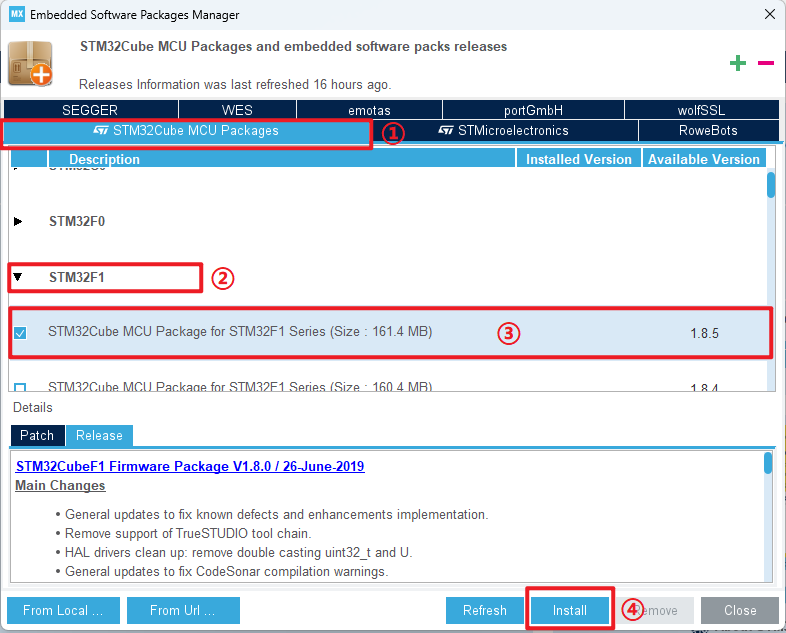
xxxxxxxxxxInstall or uninstall is to check the box in front of the chip firmware package, click this option will not have install and uninstall options
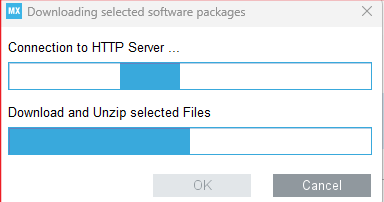
Waiting to download
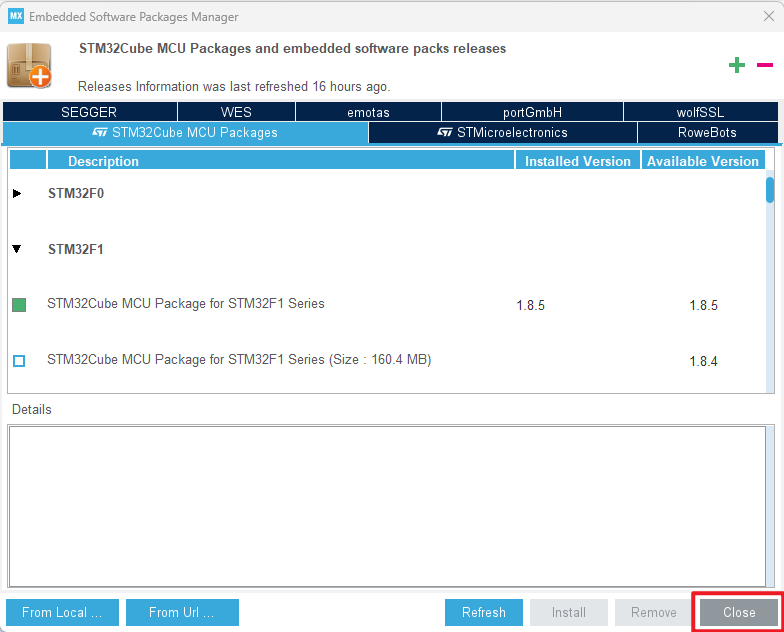
Close the screen
Not logged in account prompt
xxxxxxxxxxLogin to your account before downloading
4、Software Usage
Using STM32CubeMX is mainly used for STM32 configuration and initialization code generation.
xxxxxxxxxxThis article mainly introduces the common function options, and will not demonstrate the peripheral driver
4.1、Chip selection
Chip selection
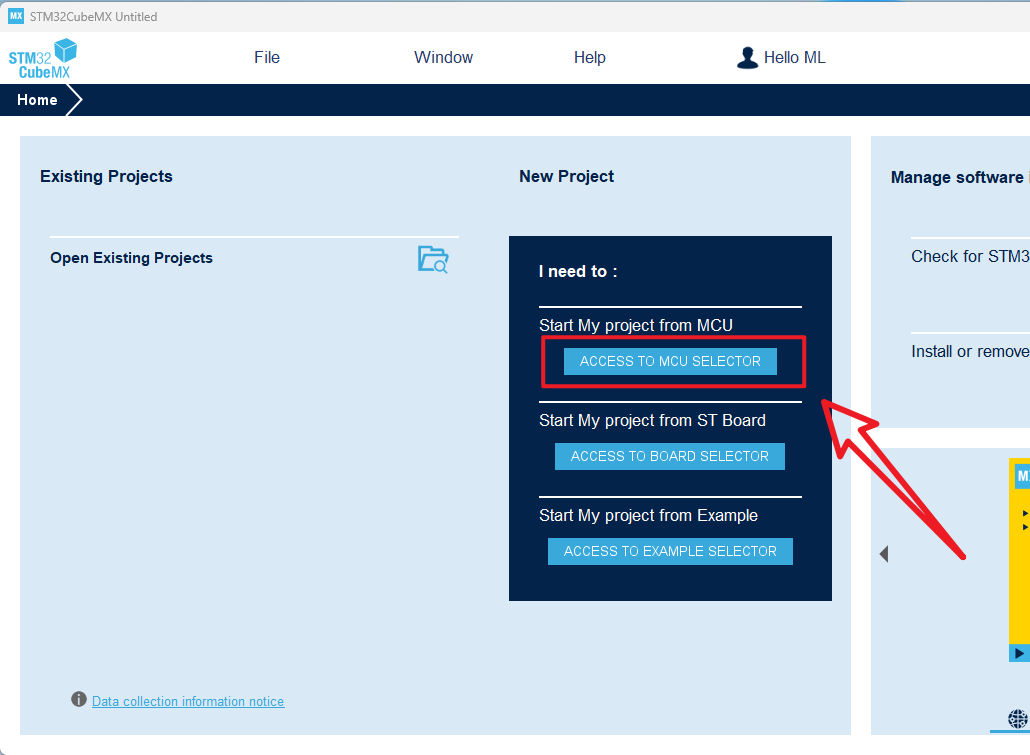
Introduction
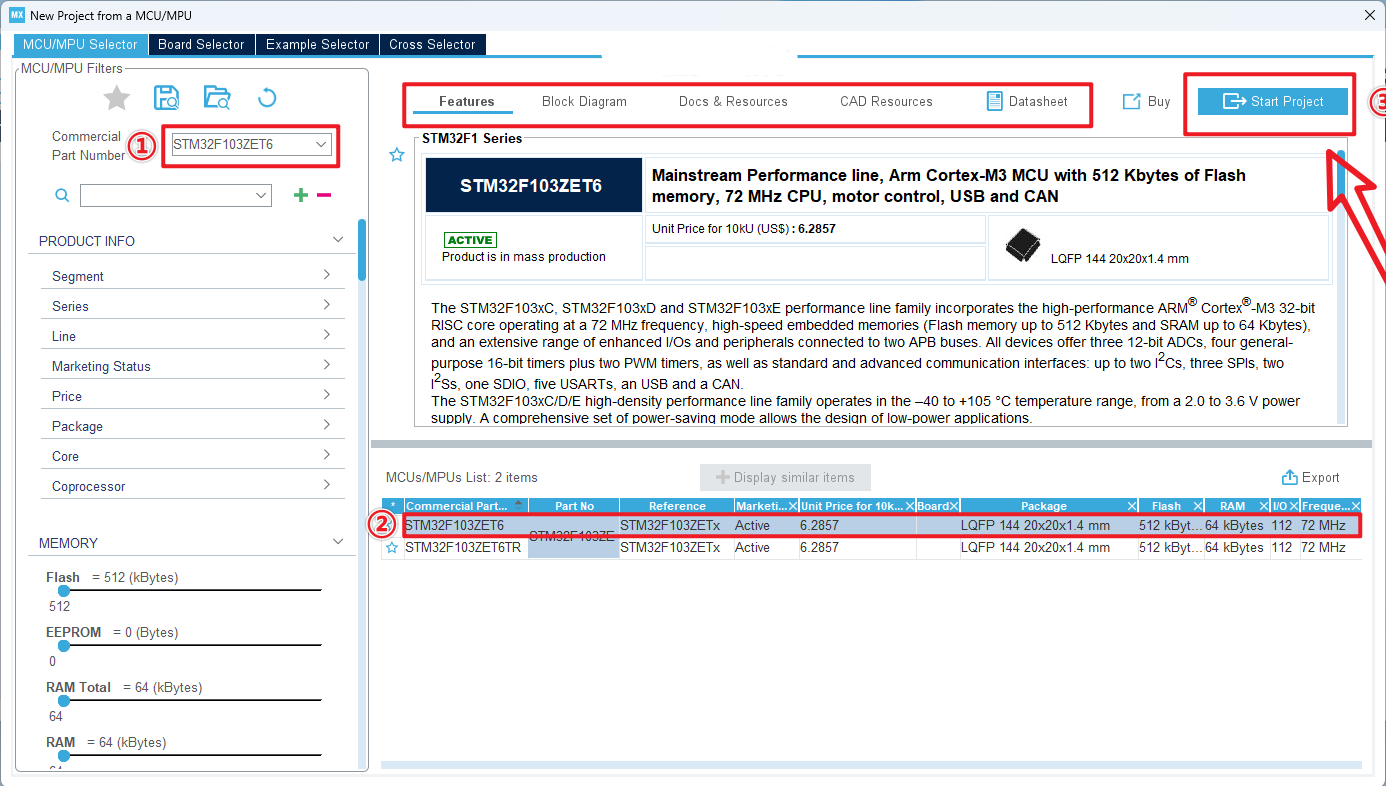
xxxxxxxxxxDouble-click the left mouse button on the specific chip model to enter the engineering interface
4.2、Pin layout and configuration
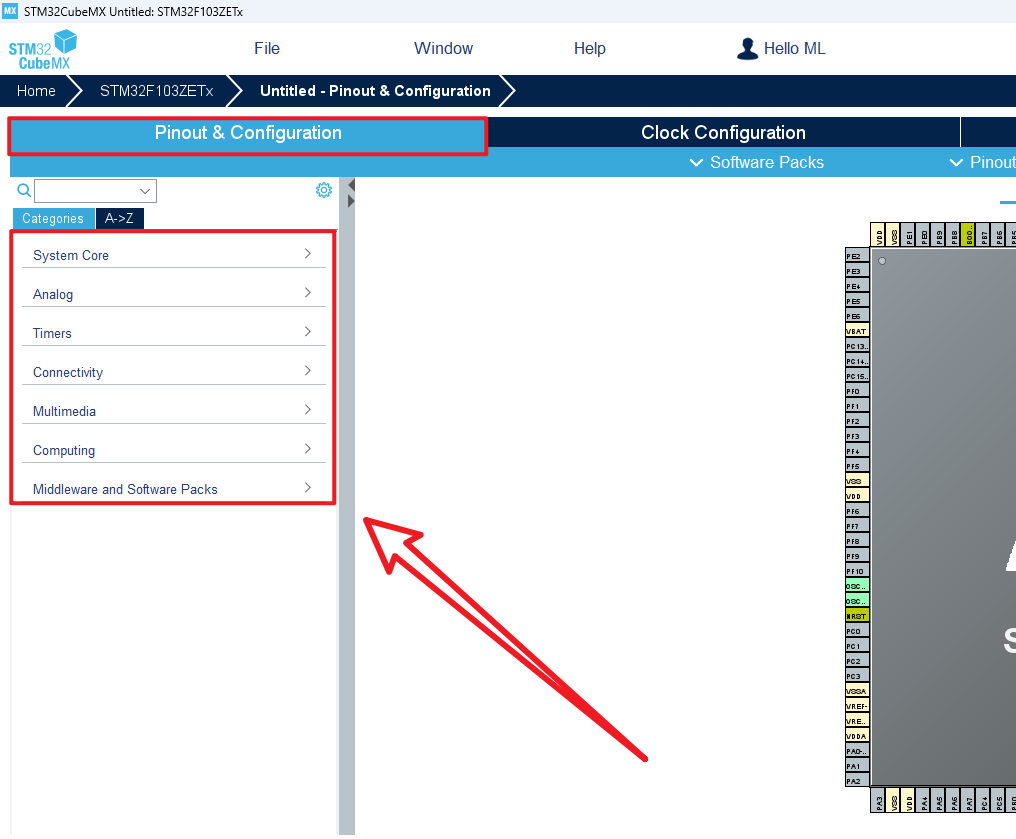
xxxxxxxxxxSystem Core:Configure DMA (DMA controller), GPIO (General Input and Output), IWDG (Independent watchdog), NVIC (Nested Vector Interrupt controller), RCC (Clock controller), SYS (system debug), WWDG (window watchdog)Analog:Configure ADC (analog to digital conversion), DAC (digital to analog conversion) peripheralsTimers:Configure RTC(real-time clock) and TIM (timer) peripheralsConnectivity:Configure CAN, I2C, SPI, USART, USB and other connection peripheralsMultimedia:Configure I2S and other audio data transmission peripheralsComputing:Configure the CRC check peripheralMiddleware and Software Packs:Configure middleware such as RTOS
4.3、Clock configuration
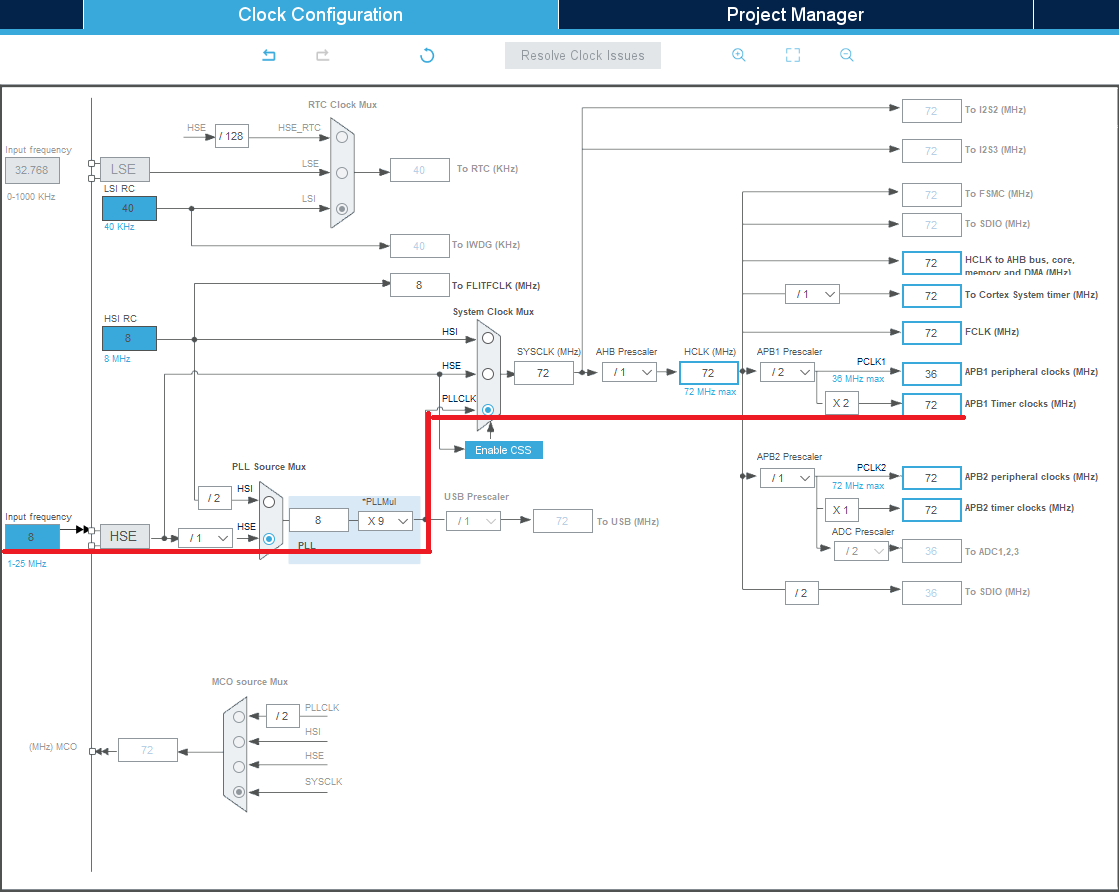
xxxxxxxxxxRefer to the options involved in the red line
4.4、Project management
Project
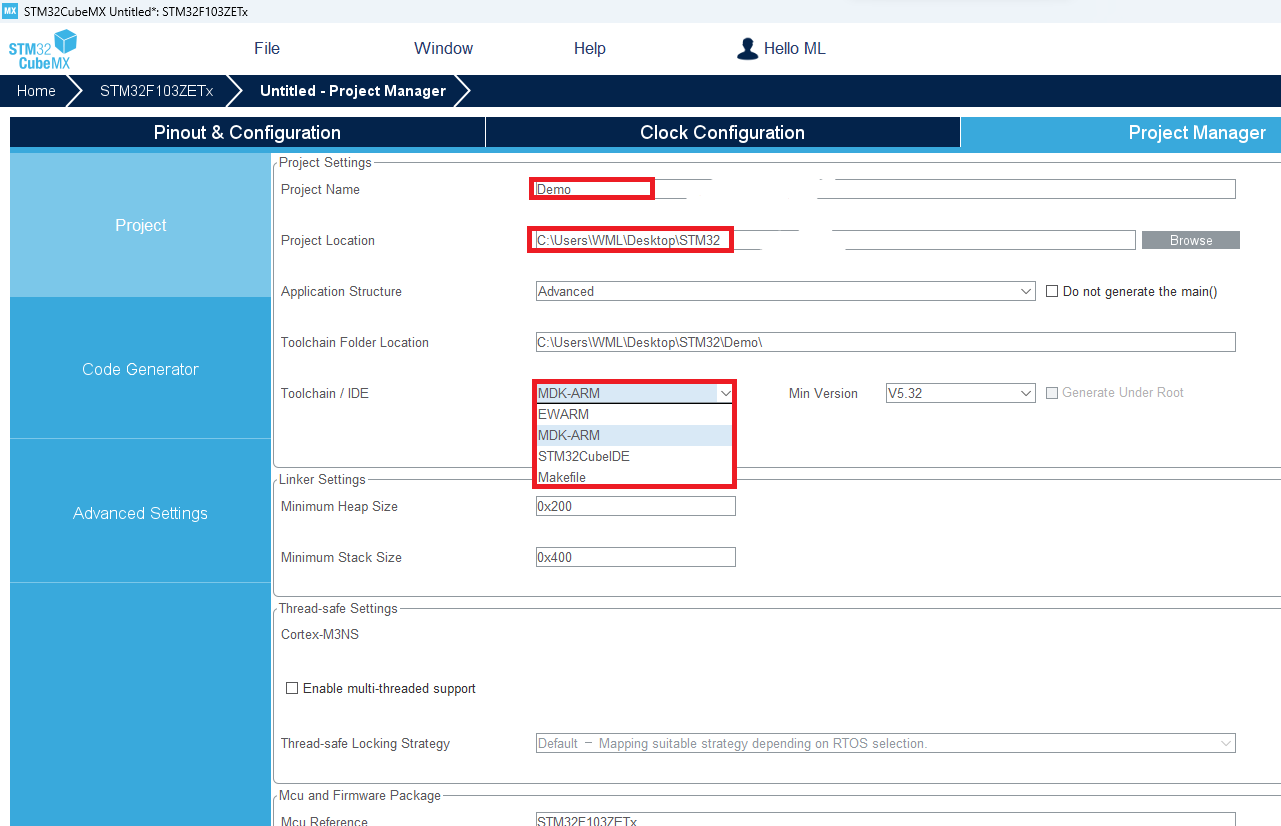
xxxxxxxxxxSTM32CubeMX can generate MDK-ARM, STM32CubeIDE, EWARM and other project filesMDK-ARM project file is generated here
Code Generator
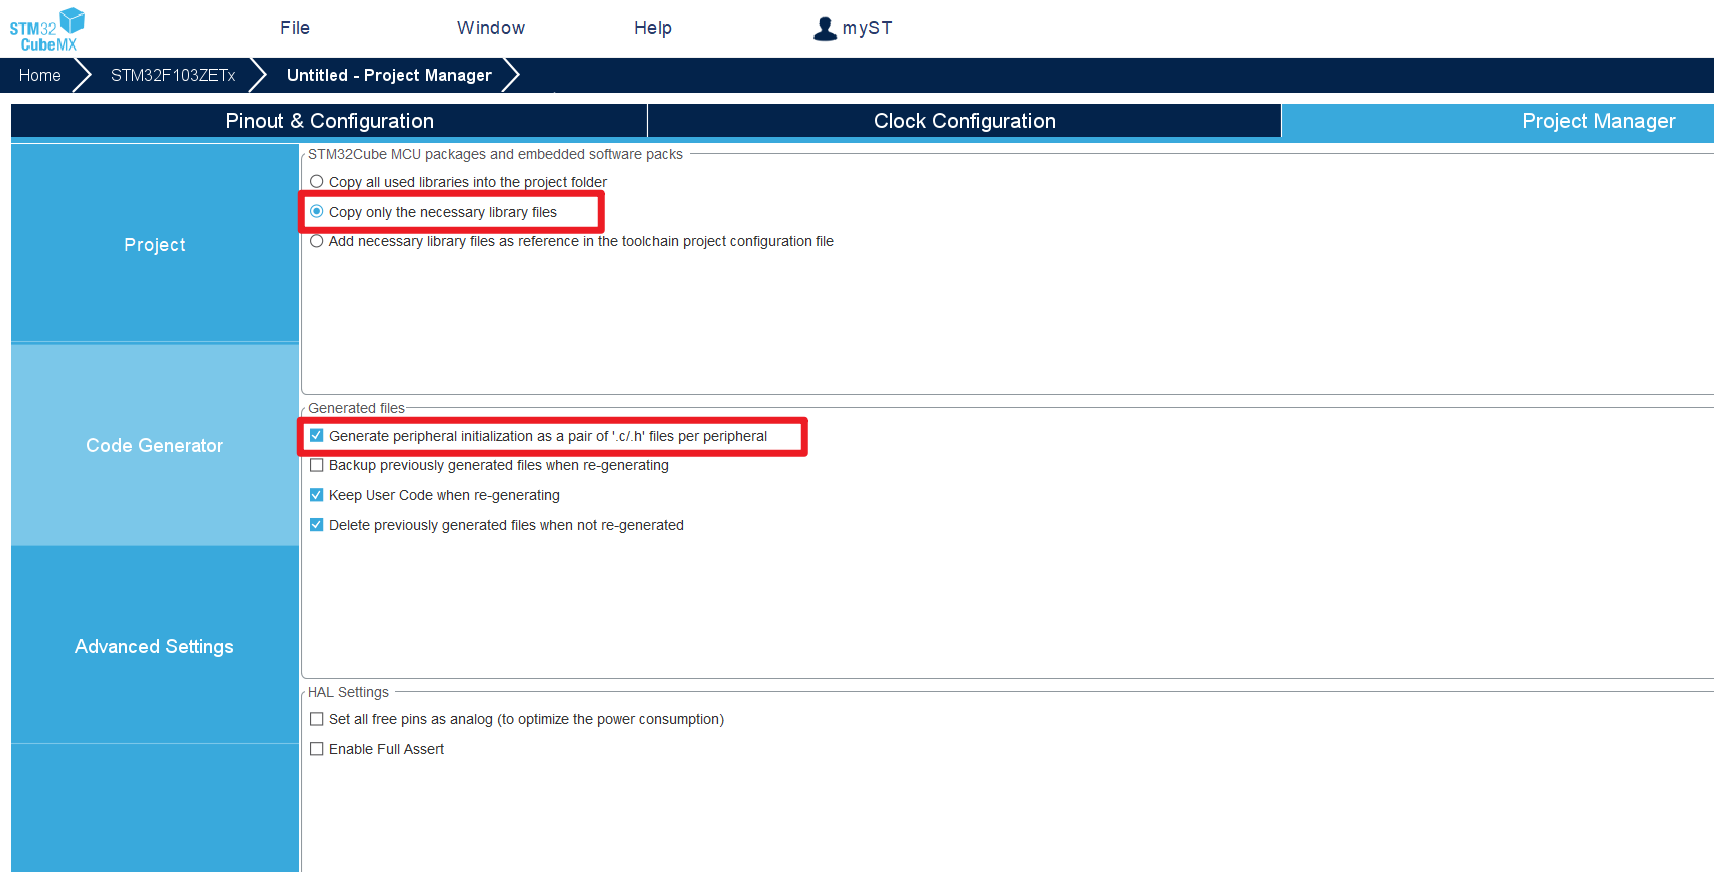
Advance Settings
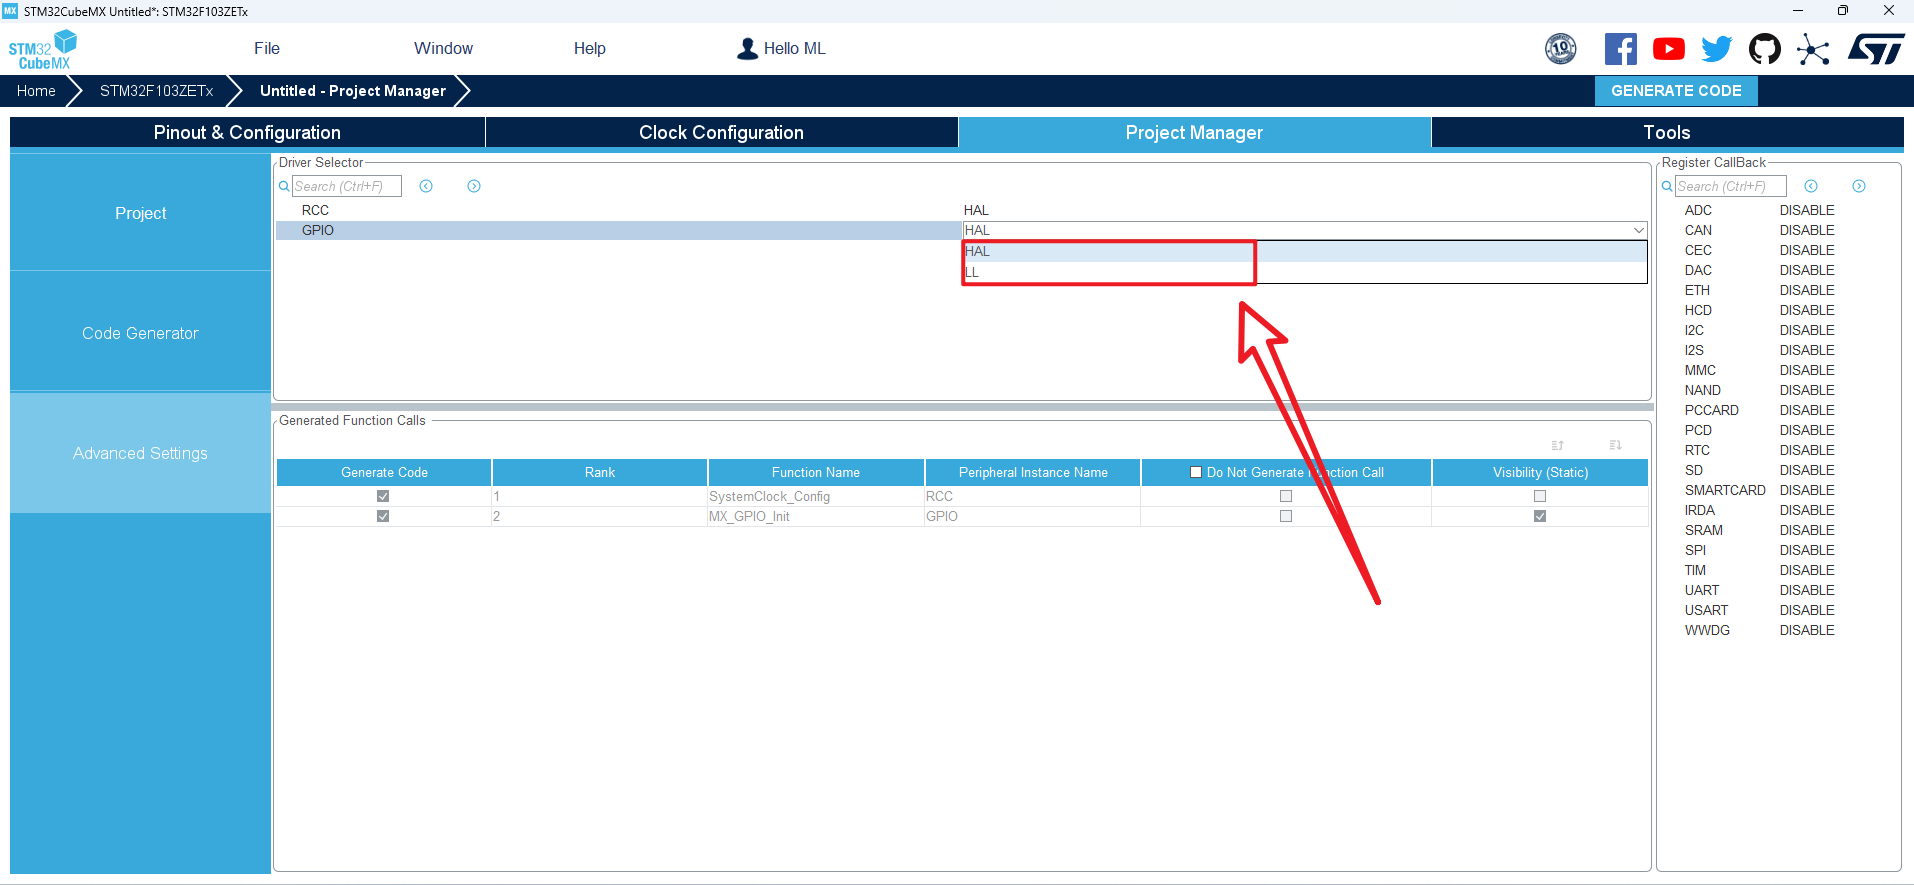
xxxxxxxxxxChoose the library to use for your initialization code: the HAL library is demonstrated here
4.5、Generative engineering
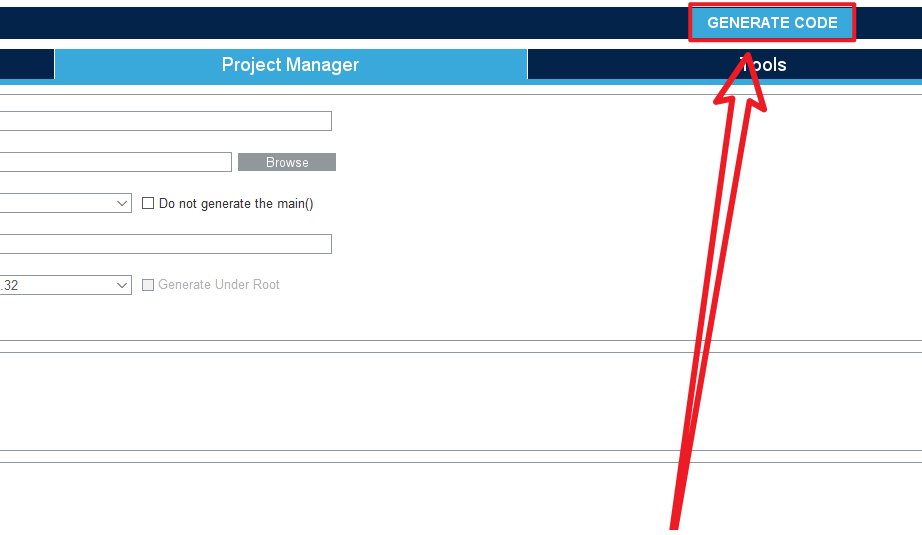
Open the project folder
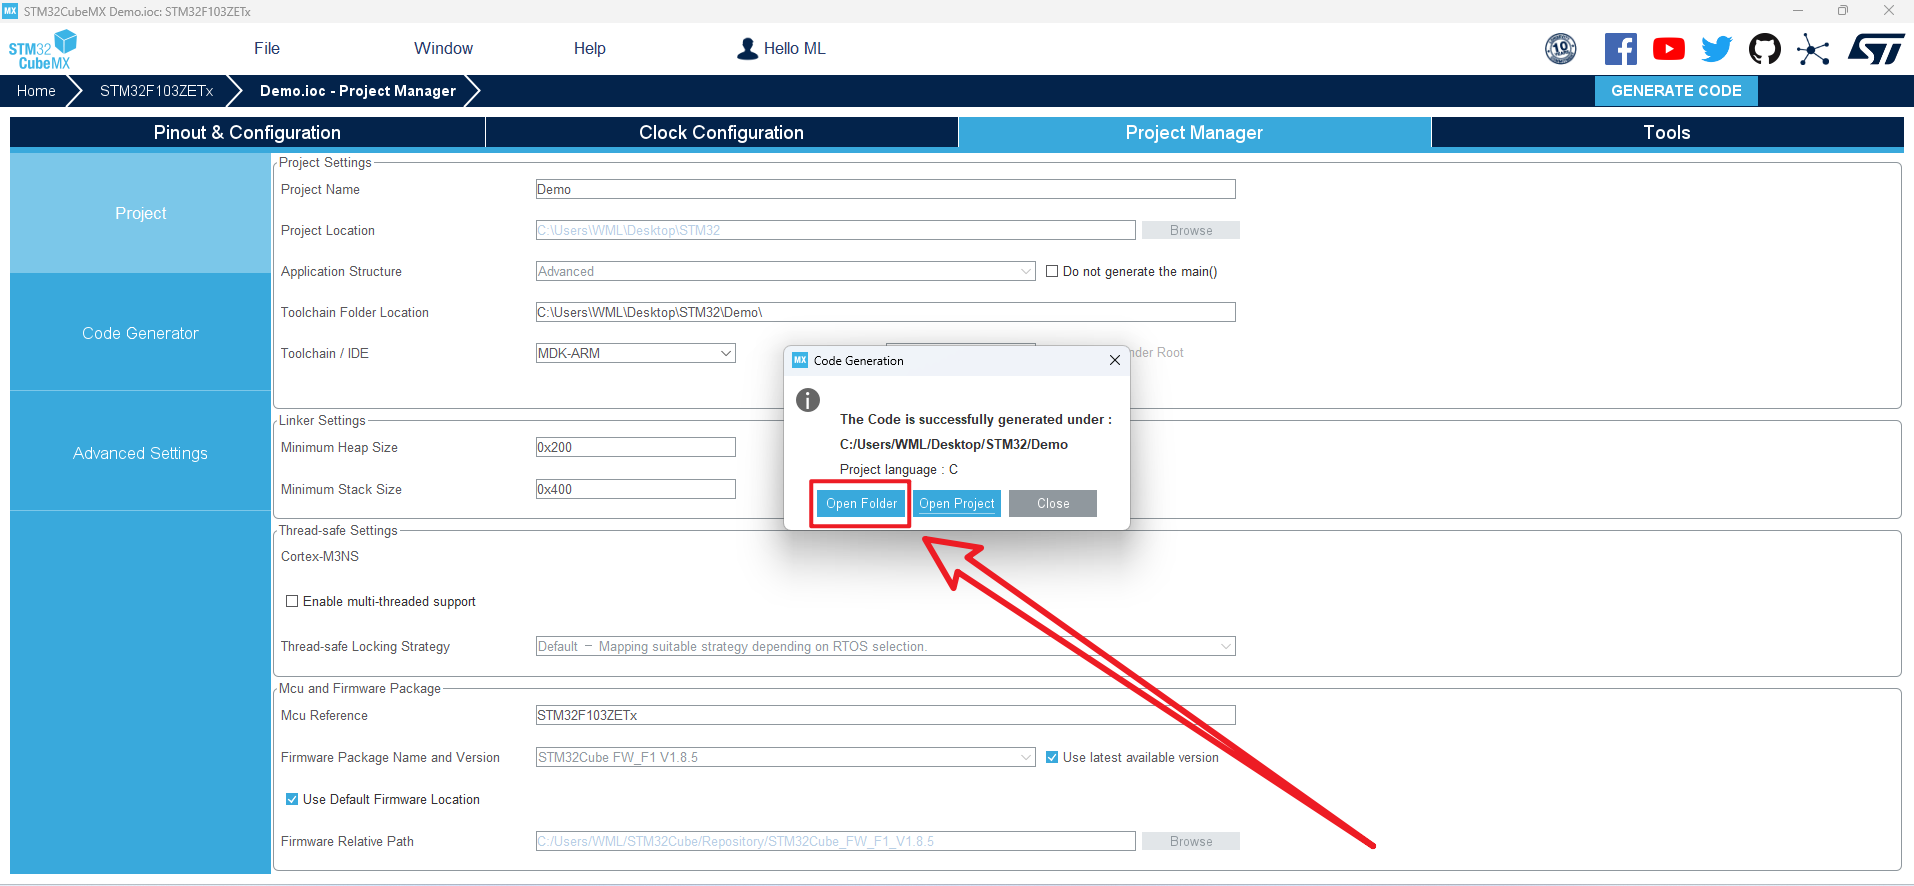
5、Project folder
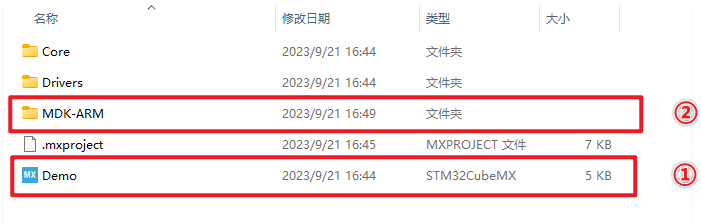
5.1、Demo
①:Use the STM32CubeMX software to open the file and reconfigure the project
②:Corresponding MDK-ARM project file
5.2、Writing the code
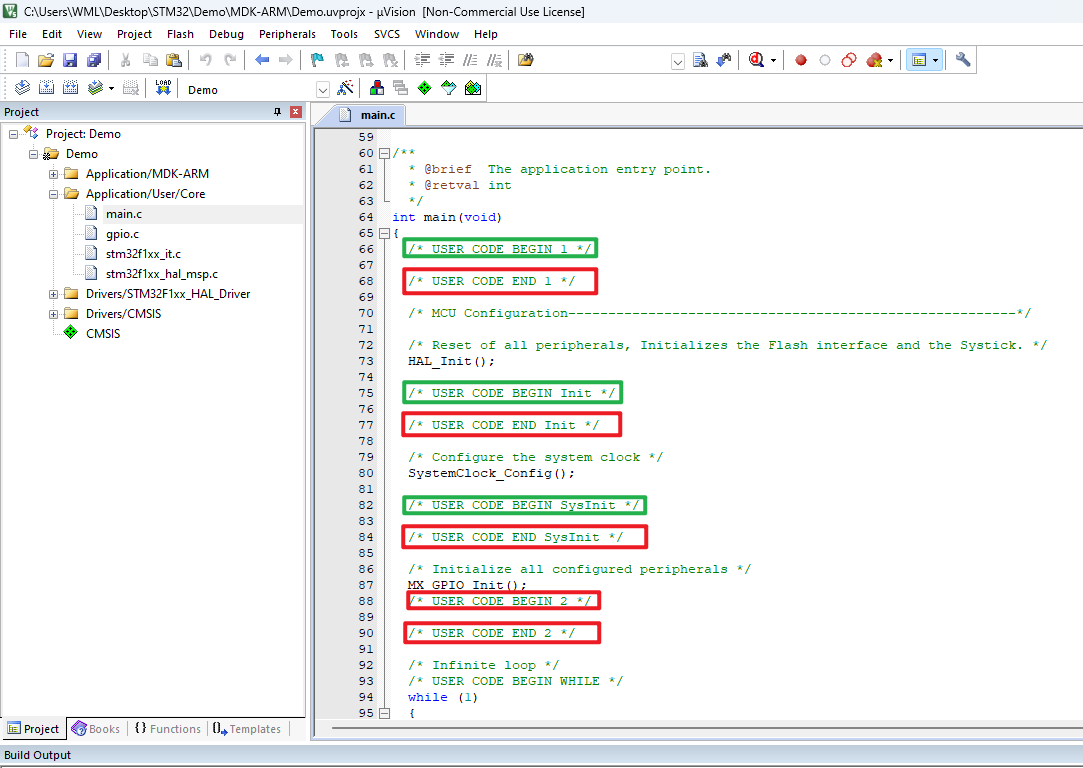
USER CODE must be somewhere between USER CODE BEGIN and User code END,otherwise the next project file generated with STM32CubeMX will remove code outside that location