Welcome to 310 Motor repository
3. STM32CubeIDE Install - Use
STM32CubeIDE installation
STM32CubeIDE installation1、Software download1.1、Software download1.2、Choosing a platform1.3、Filling in information2、Software Installation2.1、Open the installer2.2、Installation Process - Setup3、Software configuration3.1、Open the application3.2、Sign-up - Login to your account3.3、Installing the firmware package4、Software Usage4.1、New construction4.2、Chip selection4.3、Project setup4.4、Pin layout and configuration4.5、Clock configuration4.6、Project management4.7、Generate initialization code4.8、Writing the code4.9、New construction again5、Q&A5.1、Encoding format problem
The development tool used for the tutorial is the STM32CubeIDE software
1、Software download
1.1、Software download
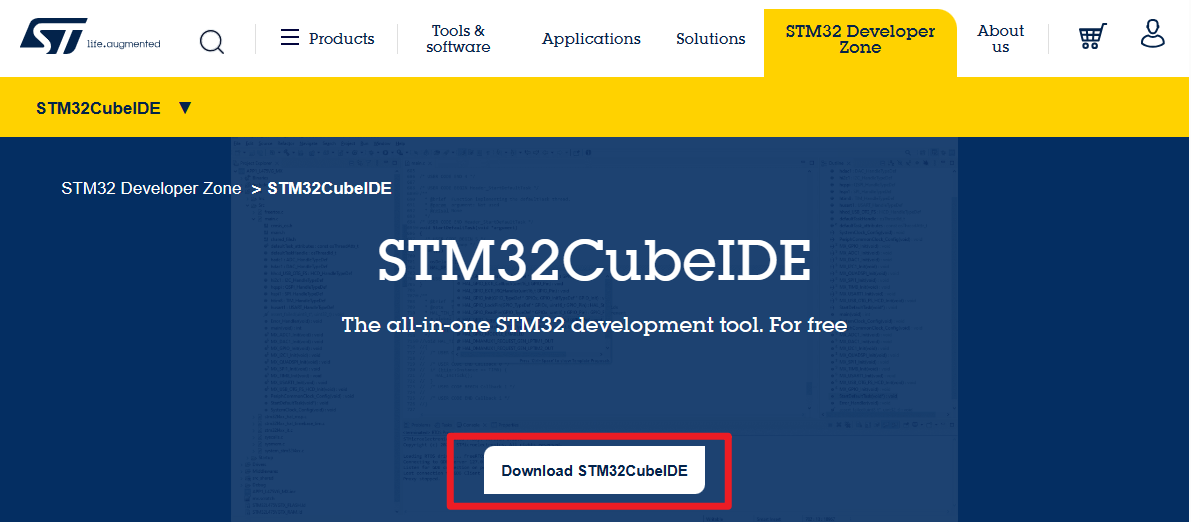
ST office website:https://www.st.com/content/st_com/en/stm32cubeide.html
1.2、Choosing a platform
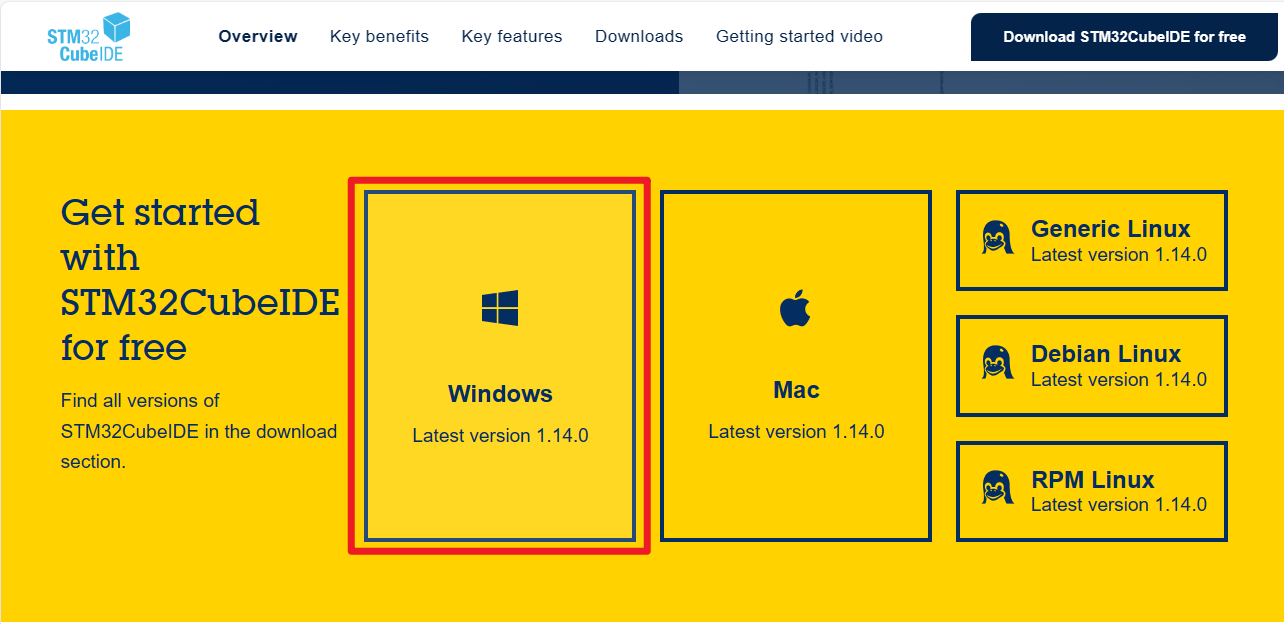
platform:Windows
1.3、Filling in information
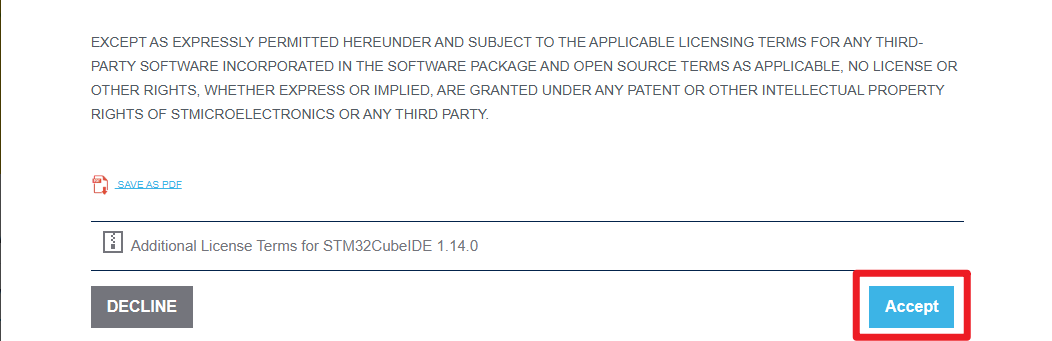
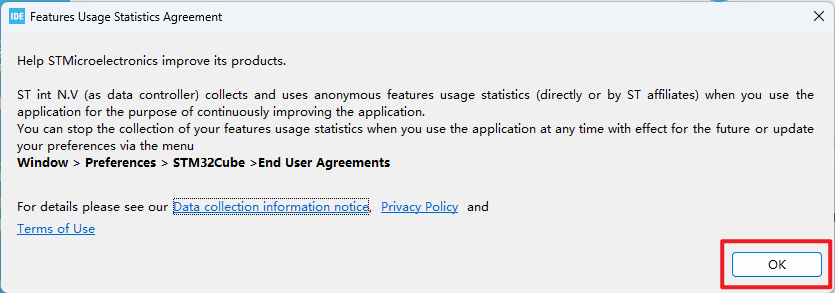
Agreement of consent
Filling in information
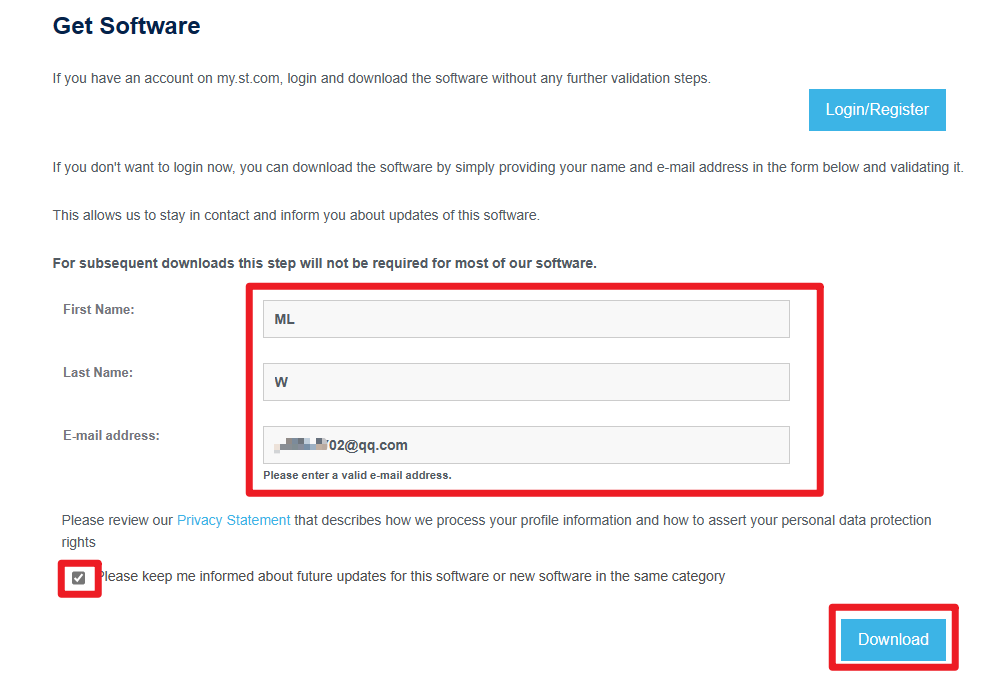
The email address needs to be filled in accurately, and the software download link will be sent to you by email
Complete submission

Email to download the installer
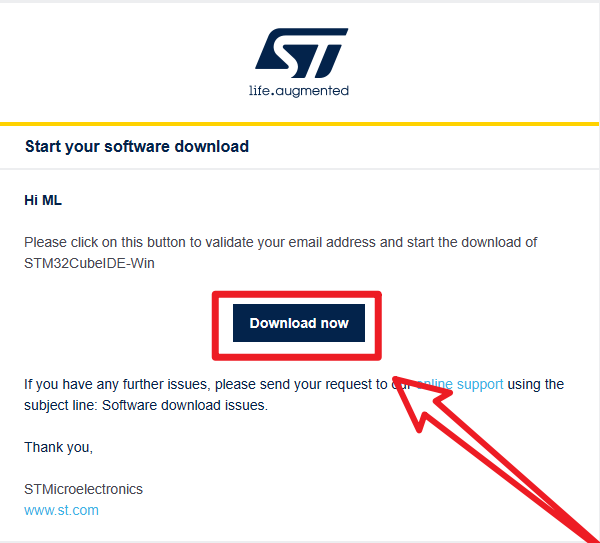
xxxxxxxxxxClick on the link to go to the official website, the website will automatically jump out of the software compressed package download window
2、Software Installation
2.1、Open the installer
Administrator
Open the installation package as an administrator
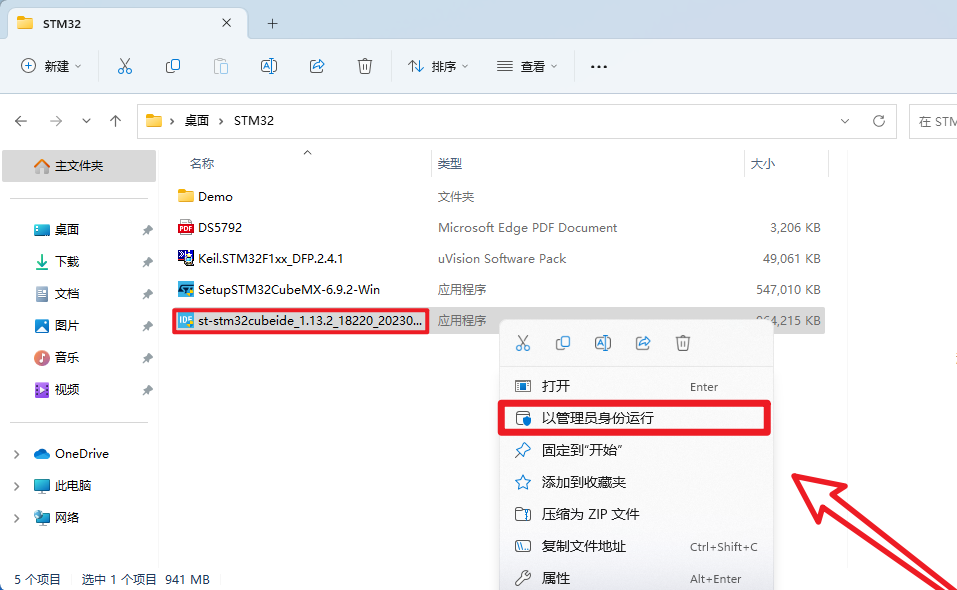
xIf you open the software installation package, then you see "NSIS ERROR: error launching installer" error:Please put the package in the path without Chinese characters
2.2、Installation Process - Setup
Next
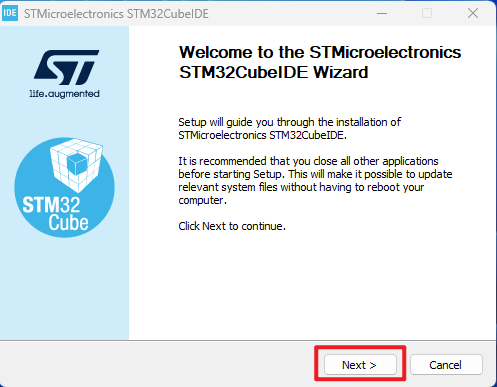
Agreement of consent → I agree
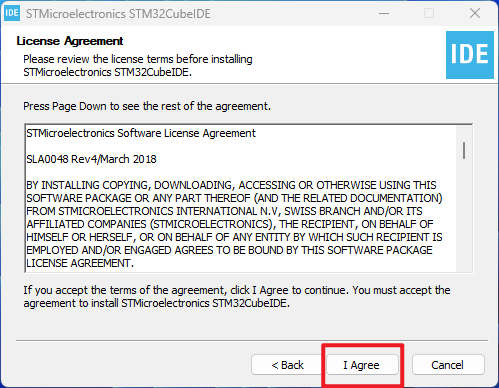
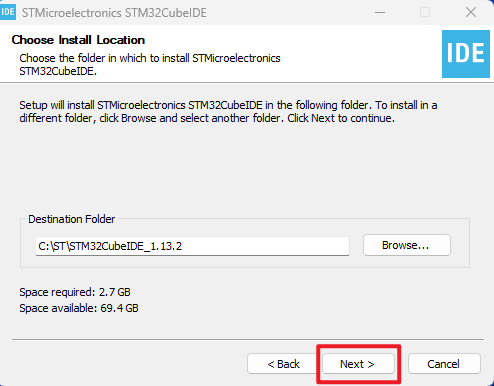
Location of installation → Next → Install
xxxxxxxxxxThe following are recommended to use the default installation location of the software and the path does not contain Chinese characters
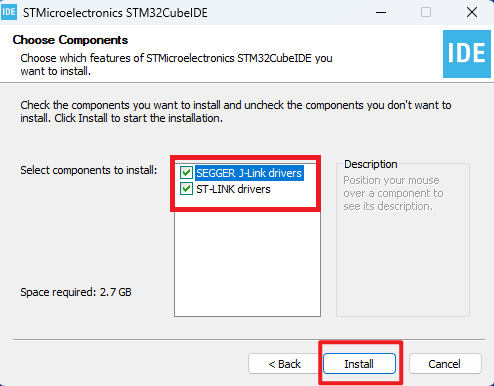
xxxxxxxxxxCheck the option to install ST-Link and J-Link drivers
Installing the driver
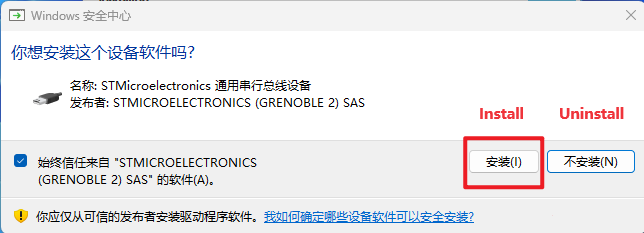
xxxxxxxxxxIf you followed the tutorial in Chapter 2 to this point, you'll notice that the ST-Link, J-Link, and ULINK drivers are all installed
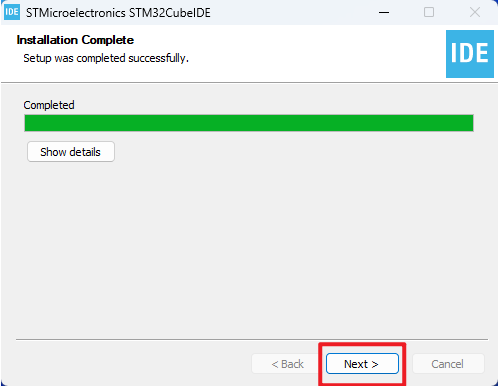
Waiting for installation → Next
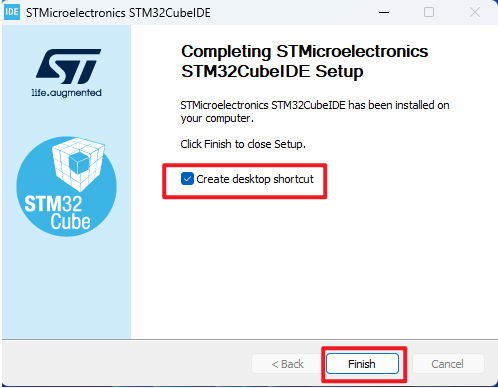
Finish
3、Software configuration
Familiar with software options and functions.
3.1、Open the application
Click on Left mouse button:double-click the desktop app
Choosing a workspace
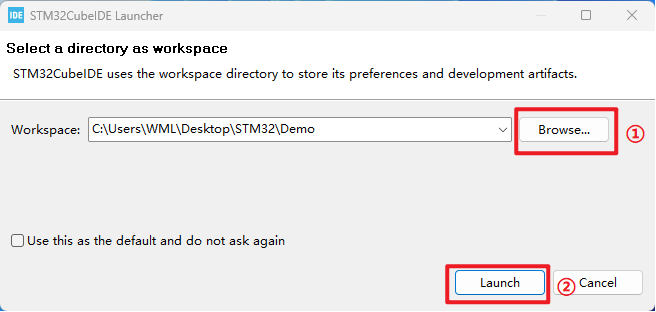
xxxxxxxxxxYou can create a new folder, the folder path can not contain Chinese characters
3.2、Sign-up - Login to your account
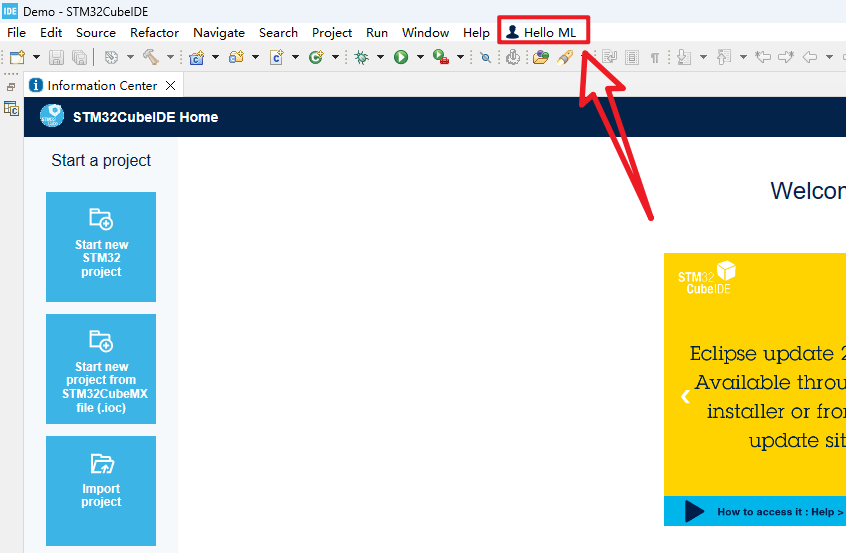
xxxxxxxxxxSince I installed STM32CubeMX before and logged in my account on that software, the system logged in my account by defaultDo not register and login accounts can refer to the "STM32CubeMX installation" tutorial
3.3、Installing the firmware package
Help → Manage embedded software packages
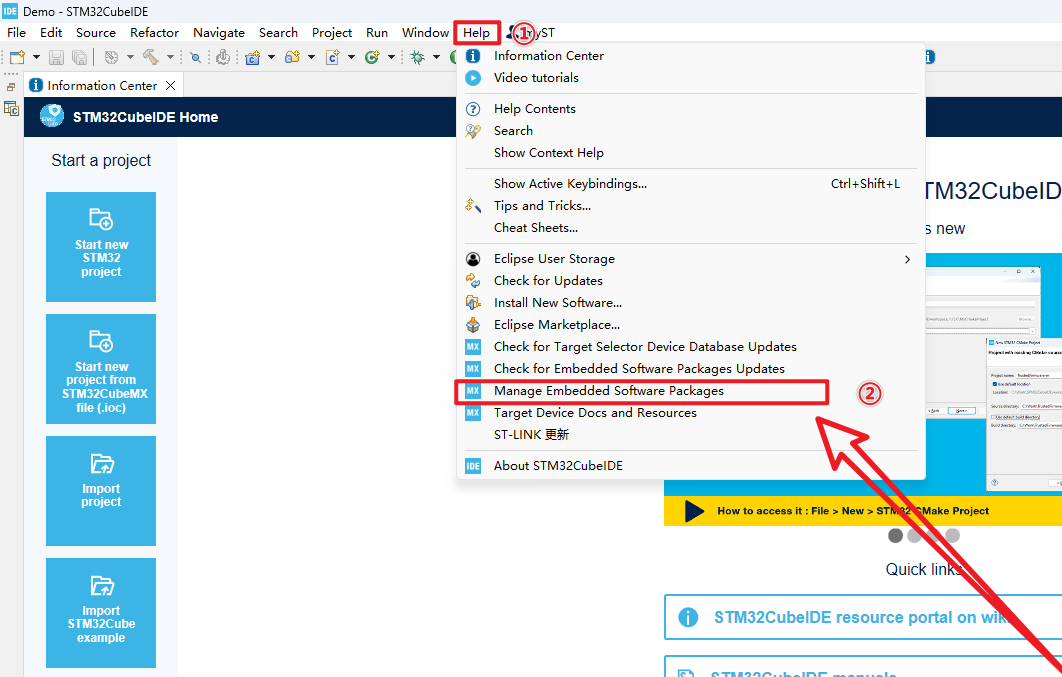
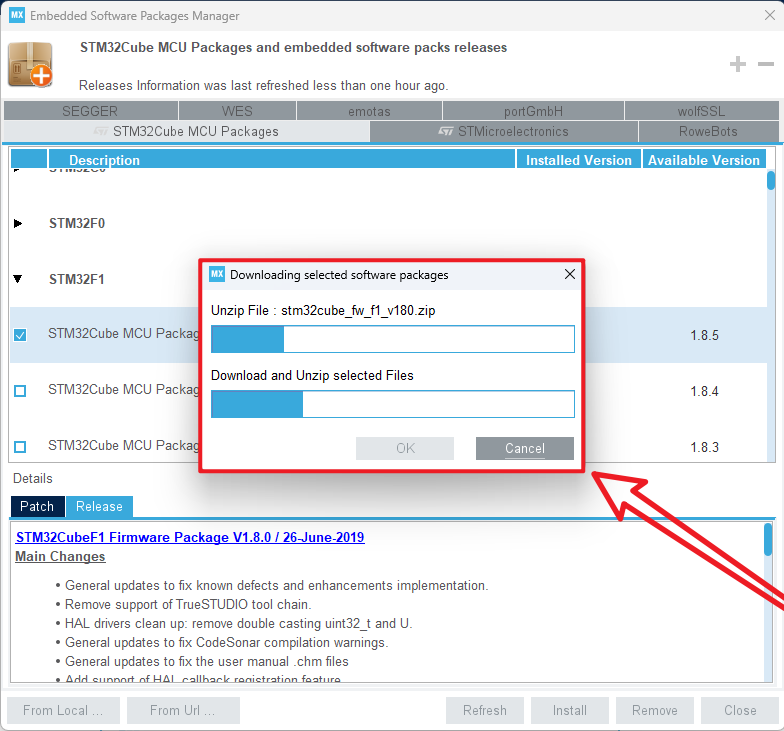
Install the latest firmware package of the STM32F1 series
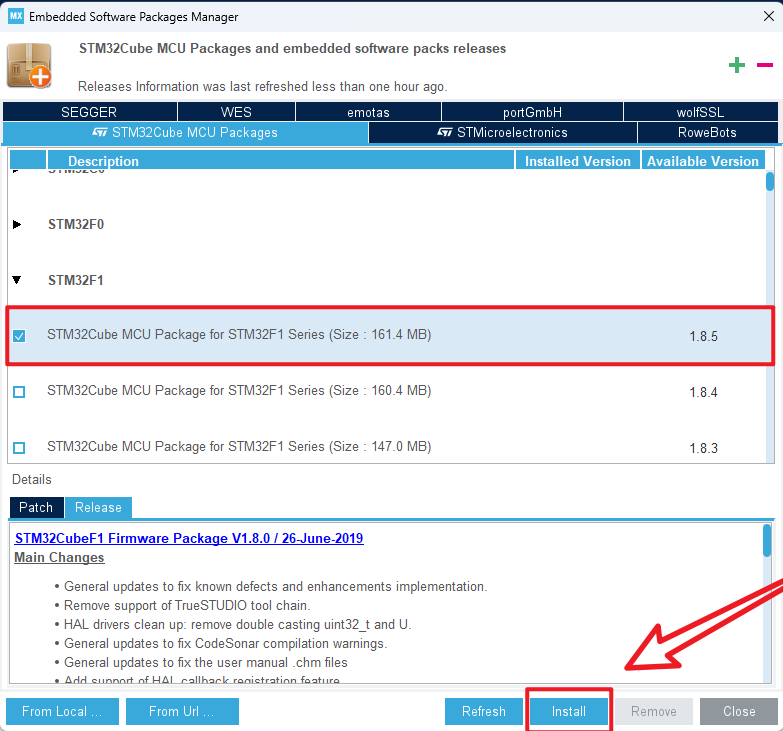
xxxxxxxxxx1. The chip firmware package cannot be installed without logging into the account2. To install or uninstall, check the box in front of the chip firmware package. Click this option and there will be no install and uninstall options
Waiting to download
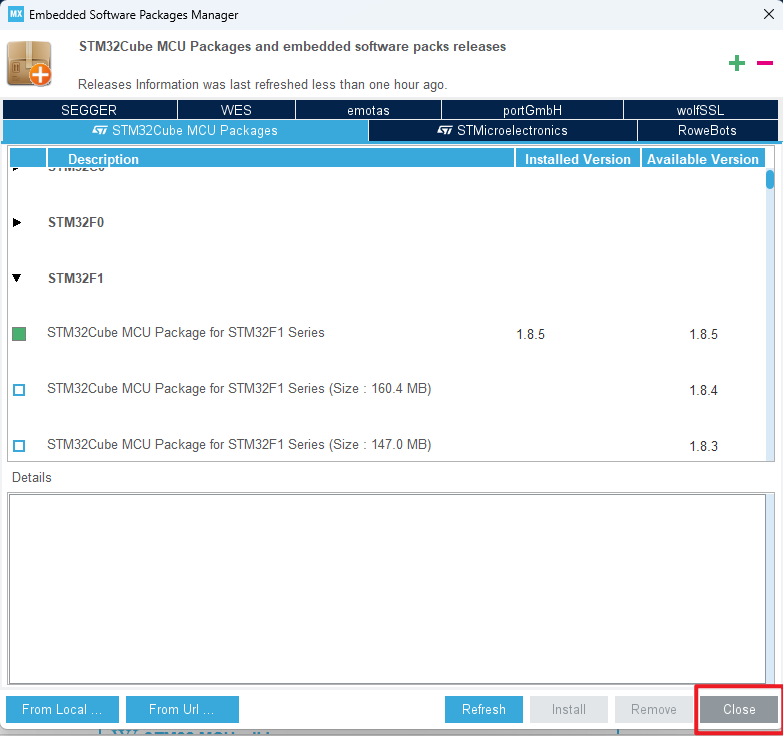
Close the page
4、Software Usage
STM32CubeIDE integrates STM32CubeMX functions, which can be used for pin configuration, and can be directly used for code writing and debugging.
Tips:The following are required for almost every project. Later in the Peripheral driver tutorial, we will skip the following steps and walk through the pin layout and configuration options to guide the user through the configuration.
4.1、New construction
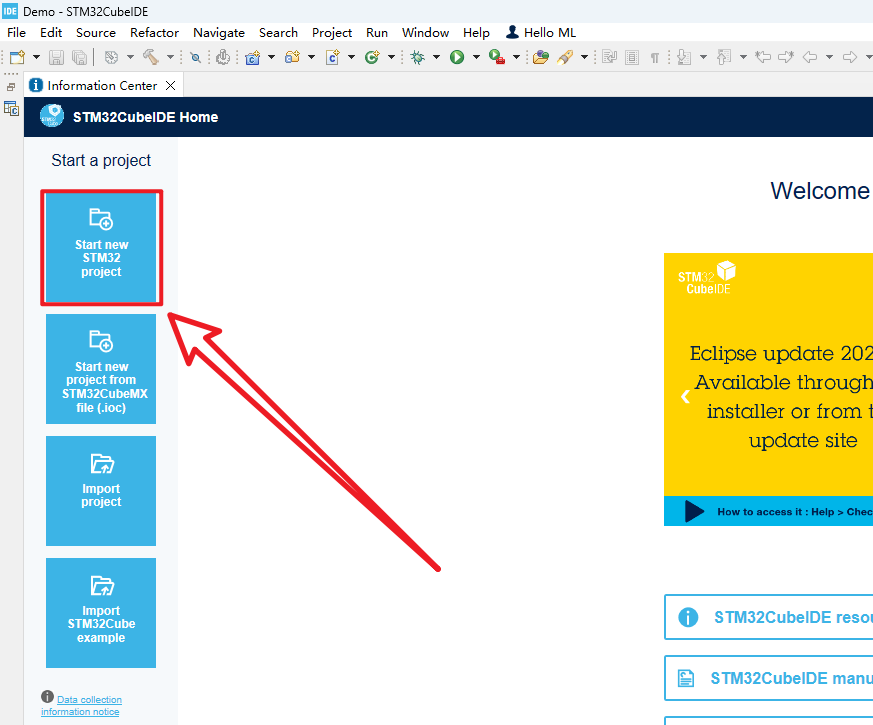
xxxxxxxxxxGenerally, new projects can only be built through this option when the software is used for the first time, and new projects in the later period can be referred to [9, new construction again].
4.2、Chip selection
Chip selection and interface
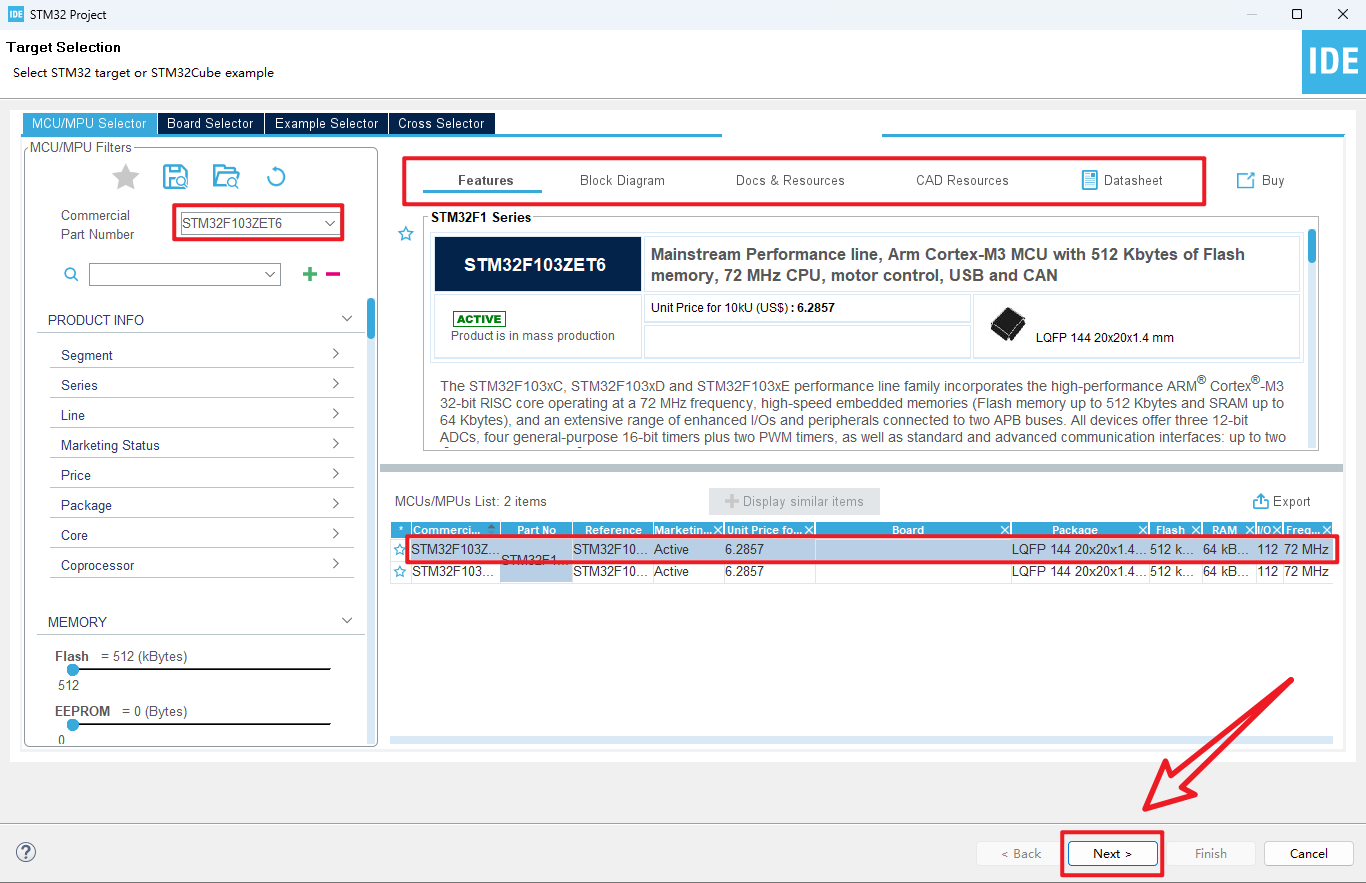
4.3、Project setup
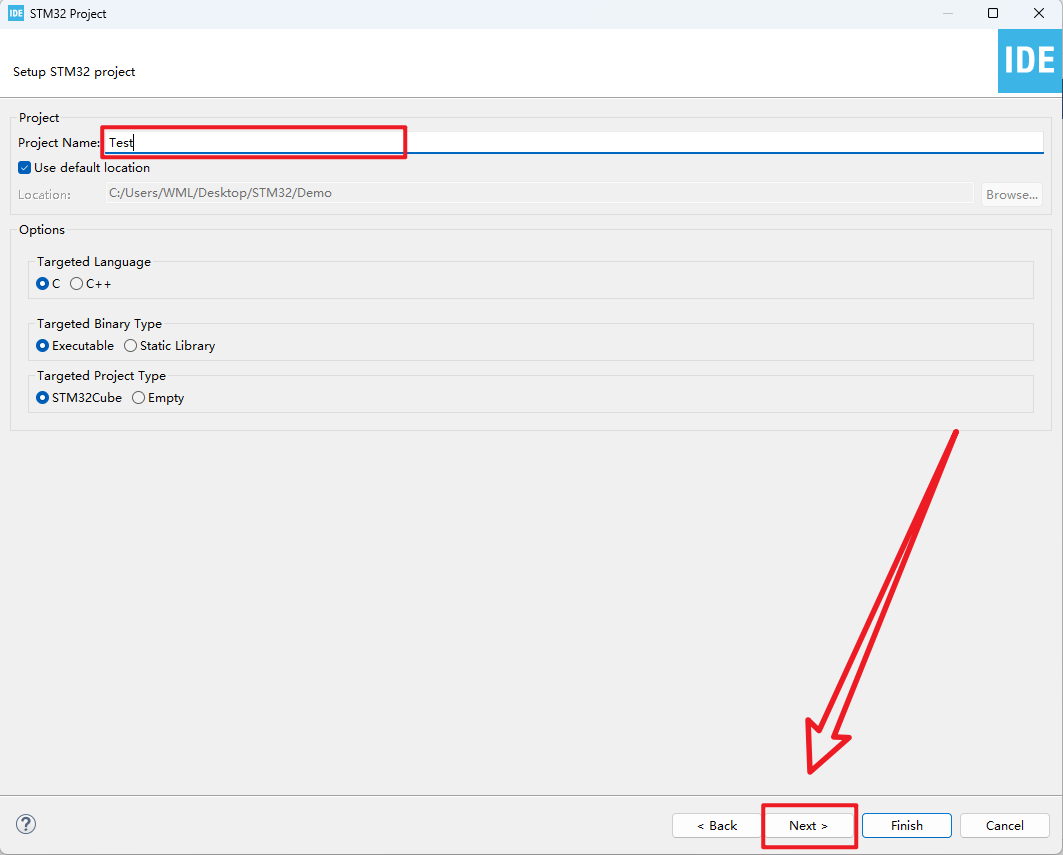
xxxxxxxxxxThe default configuration is enough, and the project file name can be customized
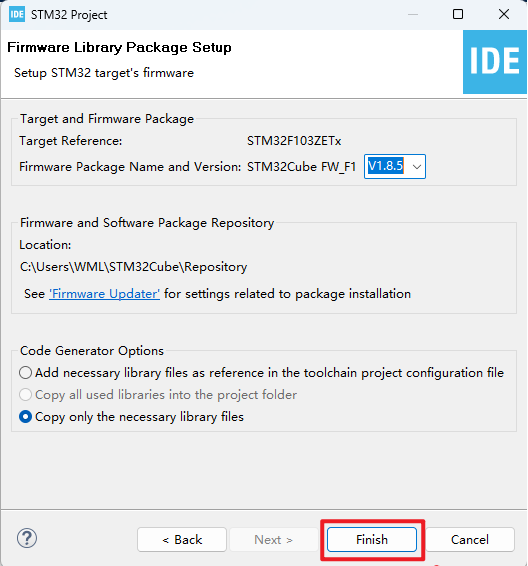
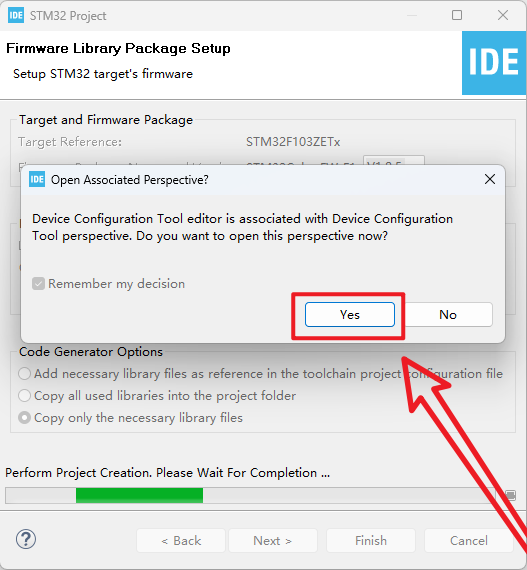
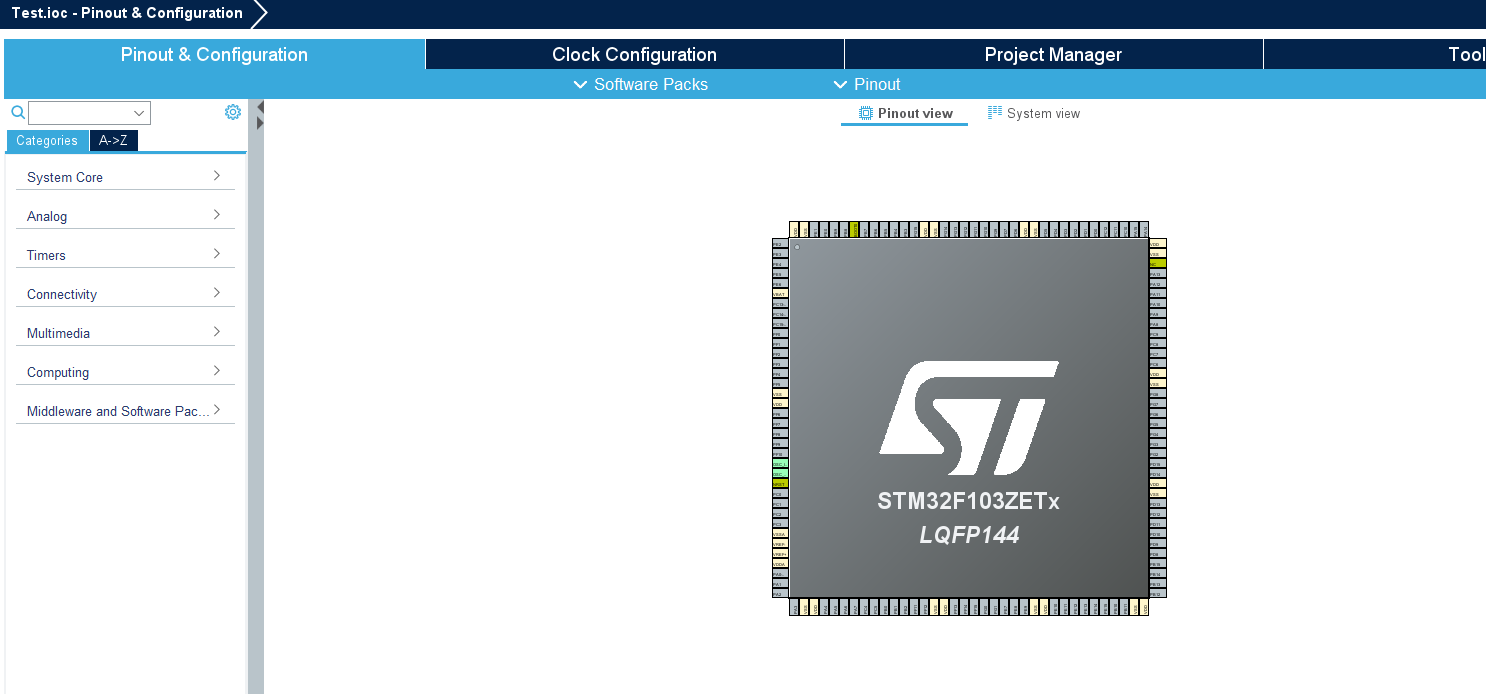
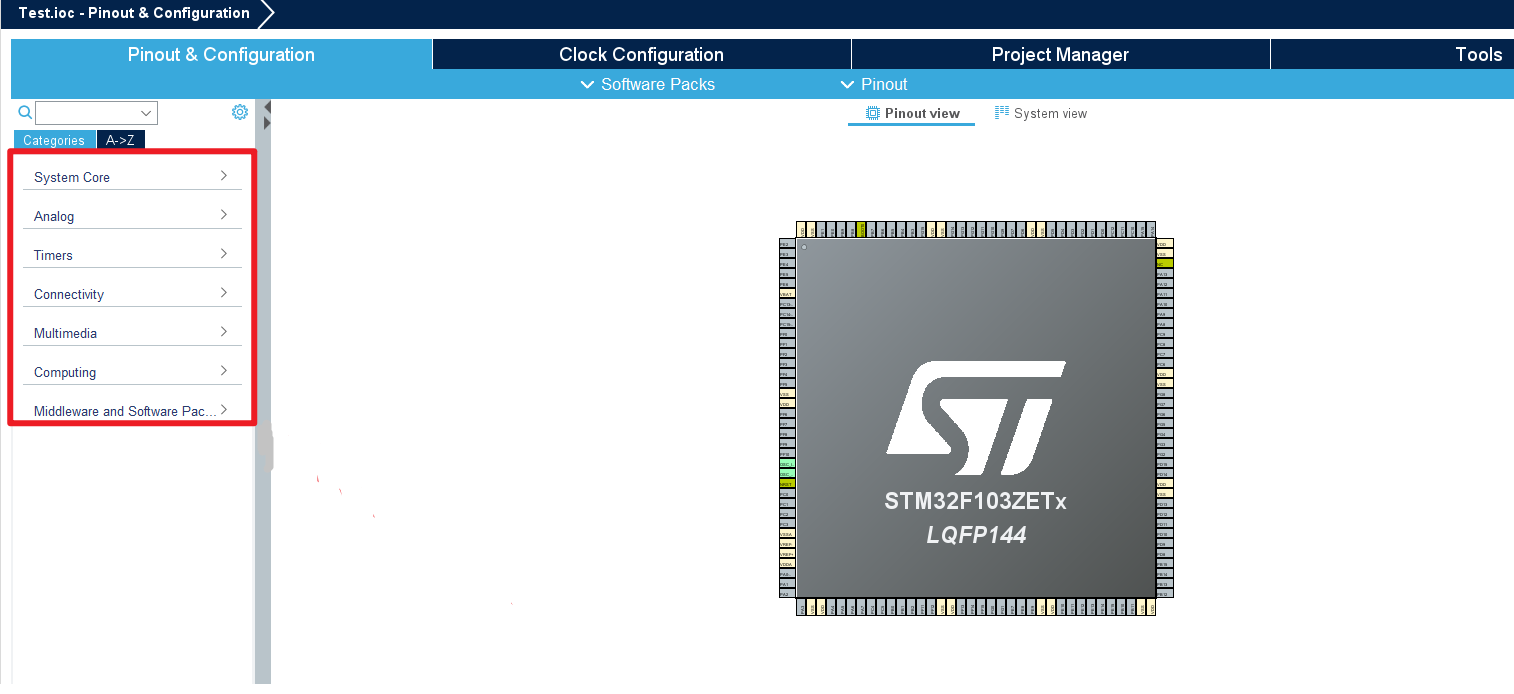
xxxxxxxxxxThe interface is the same as STM32CubeMX
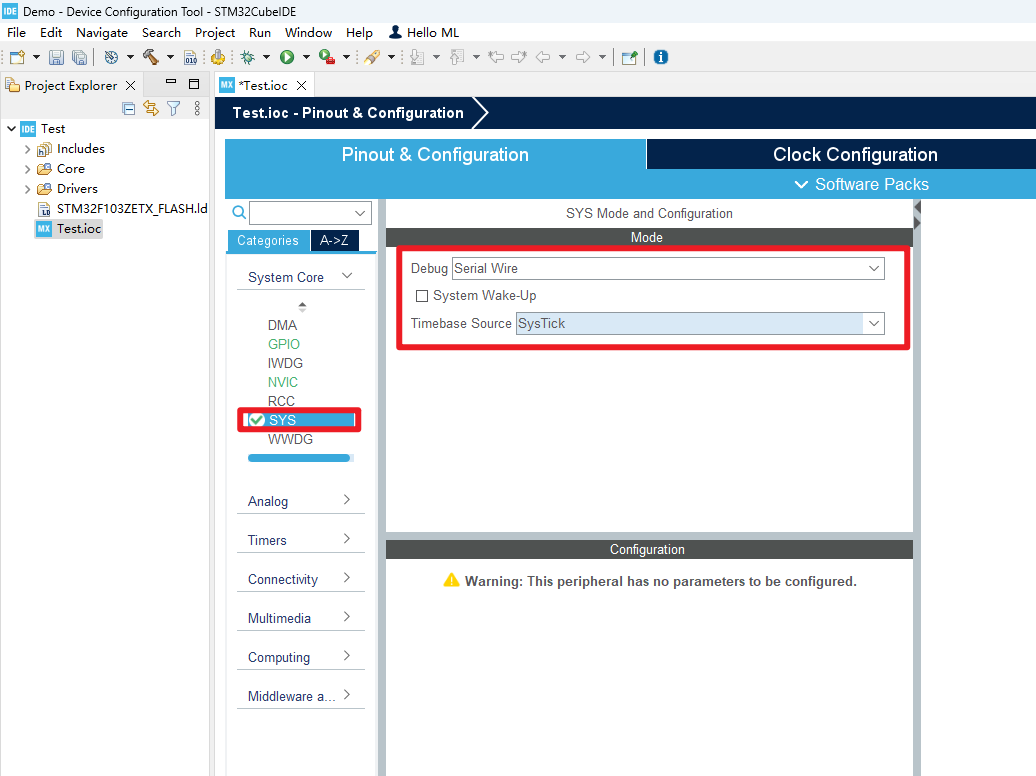
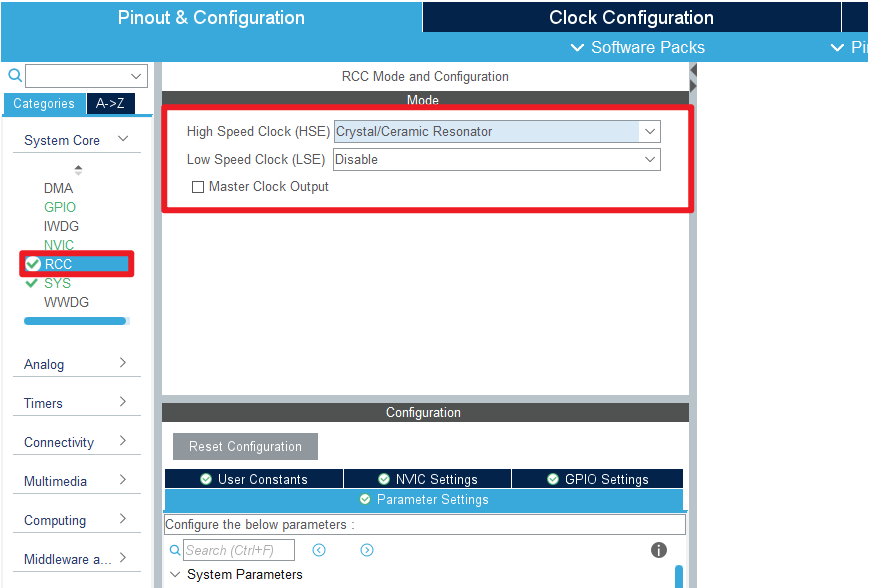
4.4、Pin layout and configuration
SYS
RCC
4.5、Clock configuration
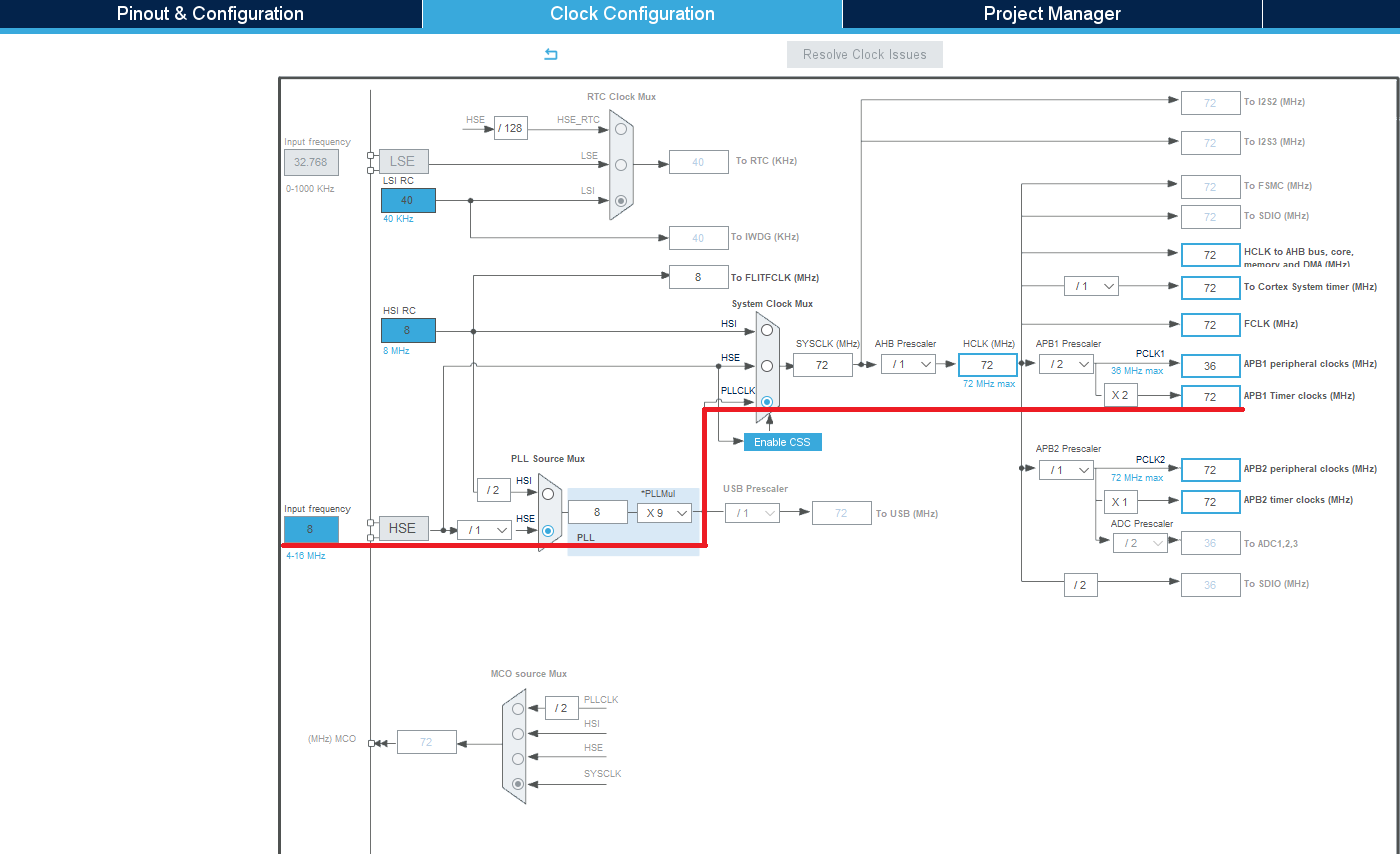
xxxxxxxxxxrefer to the options involved in the red line
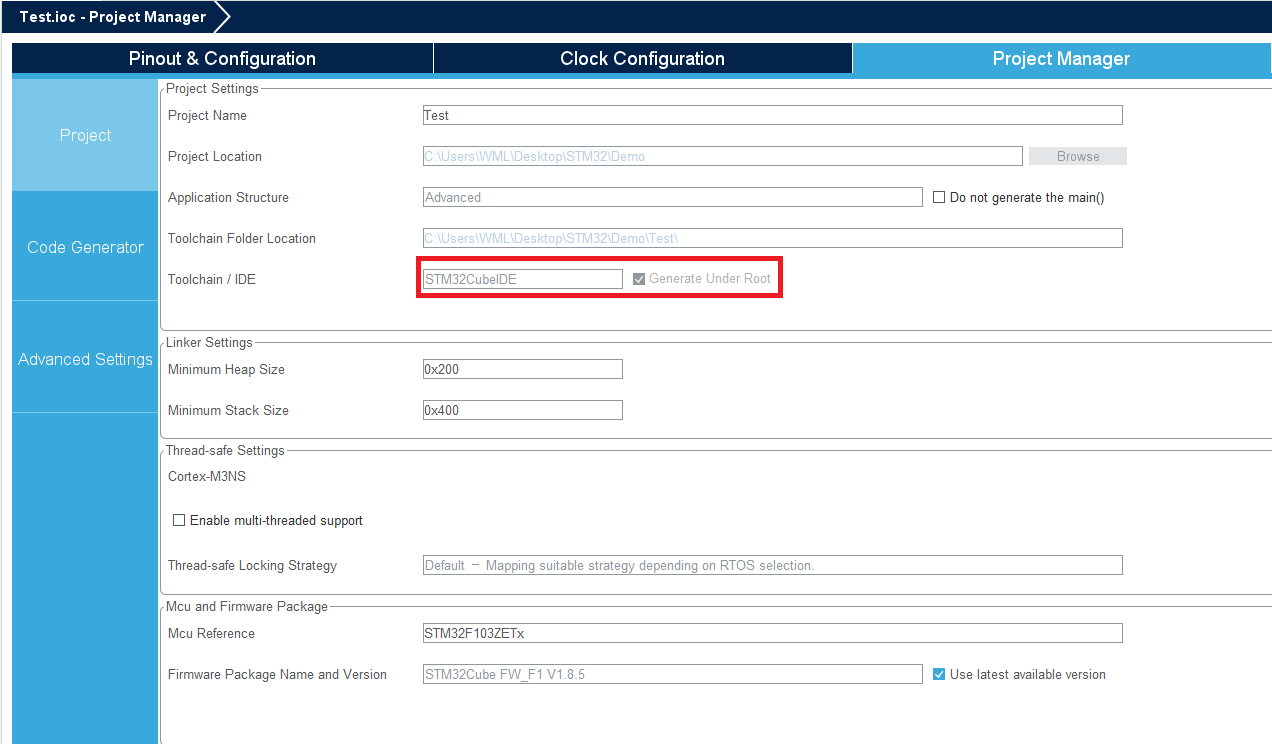
4.6、Project management
Project