Welcome to PALMSLAM repository
4. SLAM Gmapping
Gmapping
Note: The virtual machine needs to be in the same LAN as the car, and the ROS_DOMAIN_ID needs to be consistent. You can check [Expansion Board Parameter Configuration] to set the IP and ROS_DOMAIN_ID on the board.
1. Introduction to Gmapping
- Gmapping is only applicable to points with less than 1440 points in a single frame of two-dimensional laser points. If the number of laser points in a single frame is greater than 1440, then there will be a problem like [[mapping-4] process has died].
- Gmapping is a commonly used open source SLAM algorithm based on the filter SLAM framework.
- Gmapping is based on the RBpf particle filter algorithm, and the real-time positioning and mapping processes are separated. Positioning is performed first and then mapping.
- Gmapping has made two major improvements on the RBpf algorithm: improved proposal distribution and selective resampling.
Advantages: Gmapping can build indoor maps in real time, and the amount of calculation required to build small scene maps is small and the accuracy is high.
Disadvantages: As the scene increases, the number of particles required increases. Because each particle carries a map, the memory and calculation required to build a large map will increase. Therefore, it is not suitable for building large scene maps. And there is no loop detection, so the map may be misaligned when the loop is closed. Although increasing the number of particles can make the map closed, it comes at the cost of increasing the amount of calculation and memory.
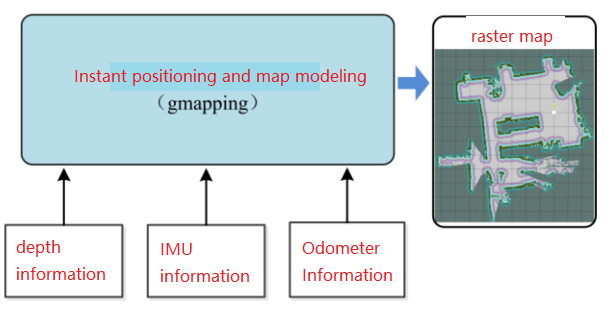
2. Program function description
The car connects to the agent and runs the program. The map building interface will be displayed in rviz. Hold the handheld radar with your hand and keep walking parallel. When your hand shakes, the device will make a beeping sound to remind you. At this time, you should pay attention to whether your arms are parallel until the map is built. Then run the command to save the map.
3. Start and connect to the agent
If you are using the factory virtual machine system, you can enter in the terminal:
sh ~/start_agent_computer.sh
If you use a third-party virtual machine system, you need to install the docker development environment first and open the terminal to enter:
xxxxxxxxxxsudo docker run -it --rm -v /dev:/dev -v /dev/shm:/dev/shm --privileged --net=host microros/micro-ros-agent:humble udp4 --port 8090 -v4
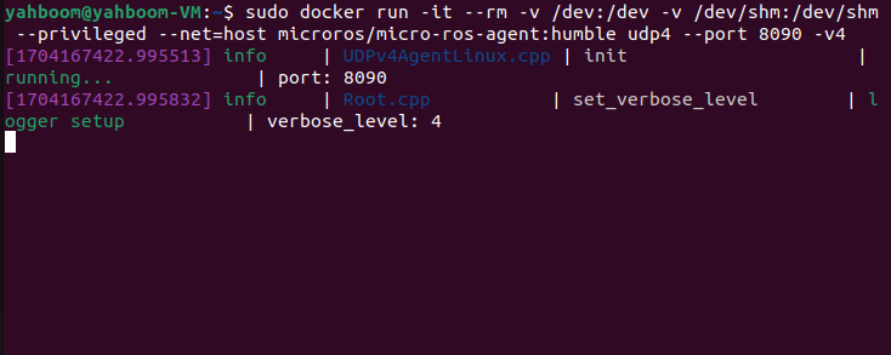
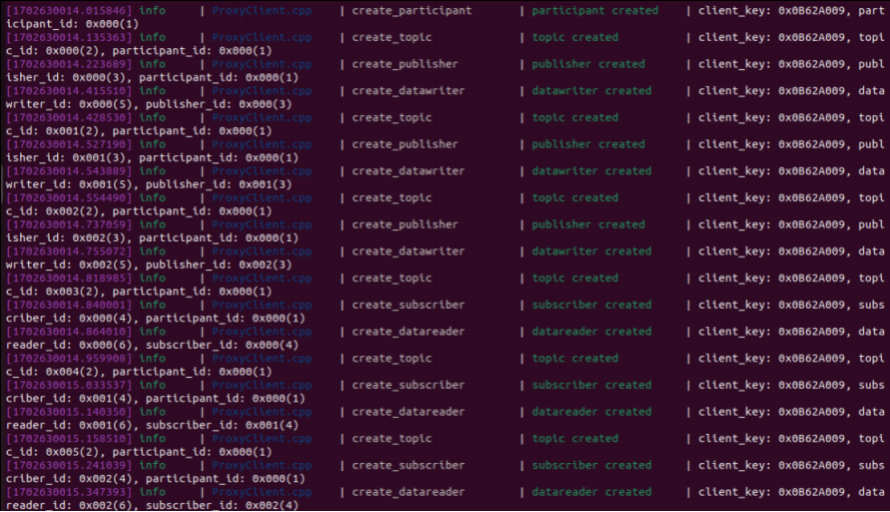
Then, turn on the car switch and wait for the car to connect to the agent. The connection is successful as shown in the figure below.
4. Start the program
4.1 Run the command
If it is the Raspberry Pi desktop version and jetson nano desktop version, you need to enter docker in advance, enter in the terminal,
xxxxxxxxxxsh ~/ros2_humble.sh
If the following interface appears, you have successfully entered docker,

Then enter them in docker respectively, (see [Enter the same docker terminal] section)
ros2 launch yahboomcar_bringup yahboomcar_bringup_launch.py #underlying data programros2 launch rf2o_laser_odometry rf2o_laser_odometry.launch.pyros2 launch yahboomcar_nav display_launch.py #start rviz, visualize mapros2 launch yahboomcar_nav map_gmapping_launch.py #map node#save mapros2 launch yahboomcar_nav save_map_launch.pyTake the matching virtual machine as an example, terminal input,
xxxxxxxxxxros2 launch yahboomcar_bringup yahboomcar_bringup_launch.py
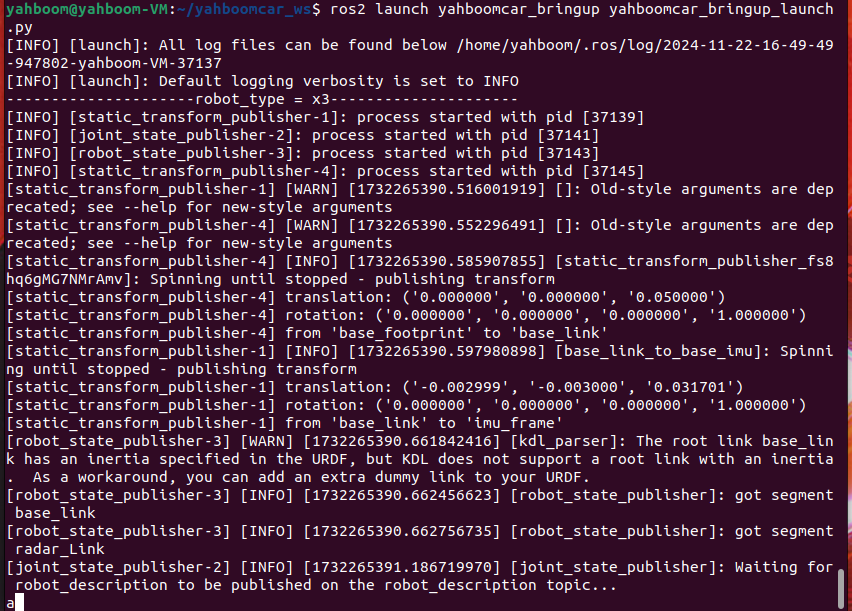
First, start the car to process the underlying data program,
Then, start the laser odometry and input in the terminal,
xxxxxxxxxxros2 launch rf2o_laser_odometry rf2o_laser_odometry.launch.py
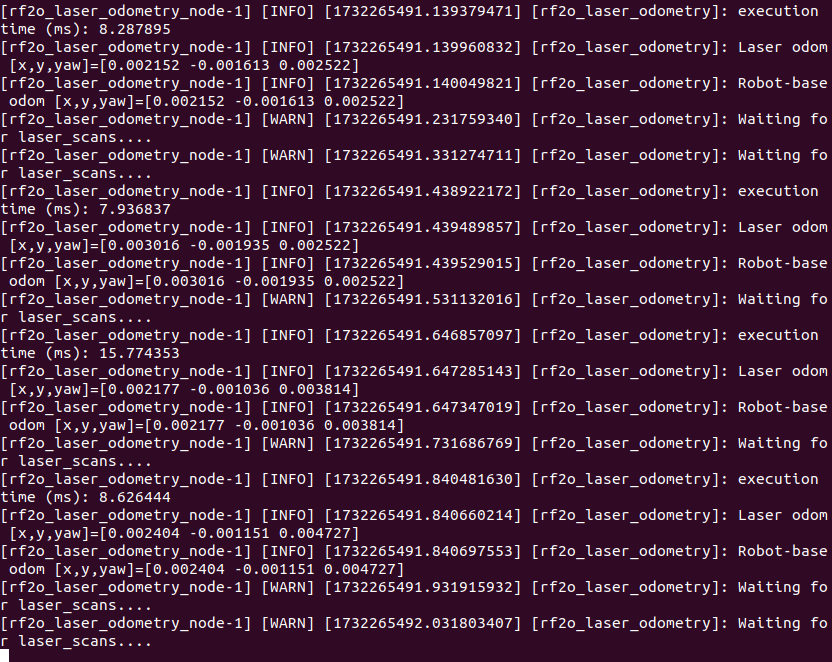
Then, start rviz, visualize the map, and input in the terminal,
xxxxxxxxxxros2 launch yahboomcar_nav display_launch.py
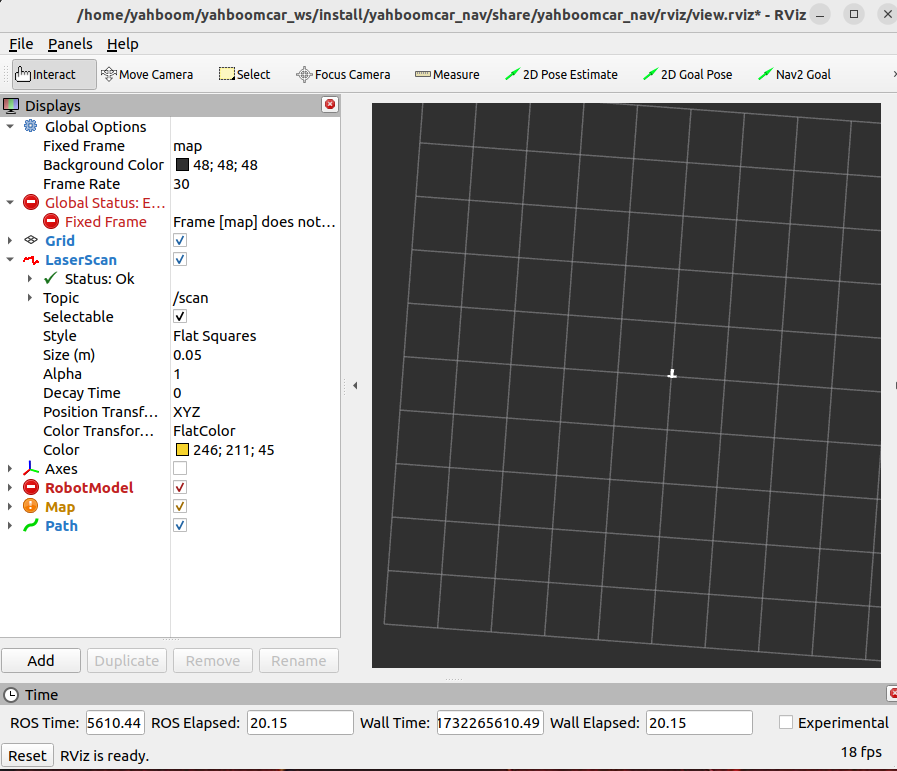
The map node has not been run yet, so there is no data. Next, run the map node and enter in the terminal,
xxxxxxxxxxros2 launch yahboomcar_nav map_gmapping_launch.py
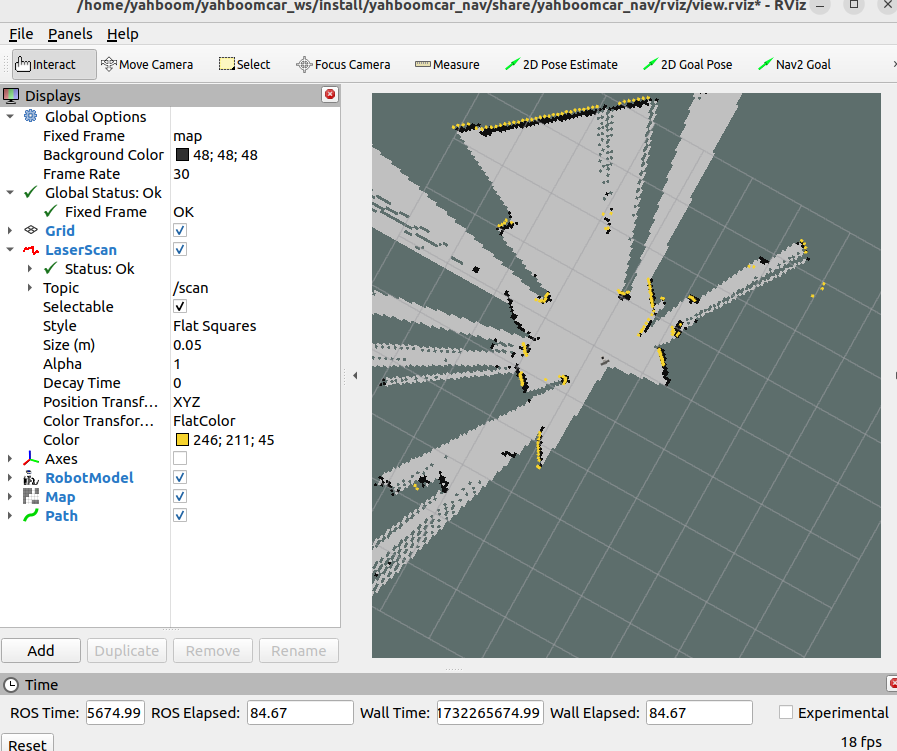
Then hold the handheld radar in parallel with your hands and walk through the area to be mapped normally. After the map is built, enter the following command to save the map and enter in the terminal,
xxxxxxxxxxros2 launch yahboomcar_nav save_map_launch.py
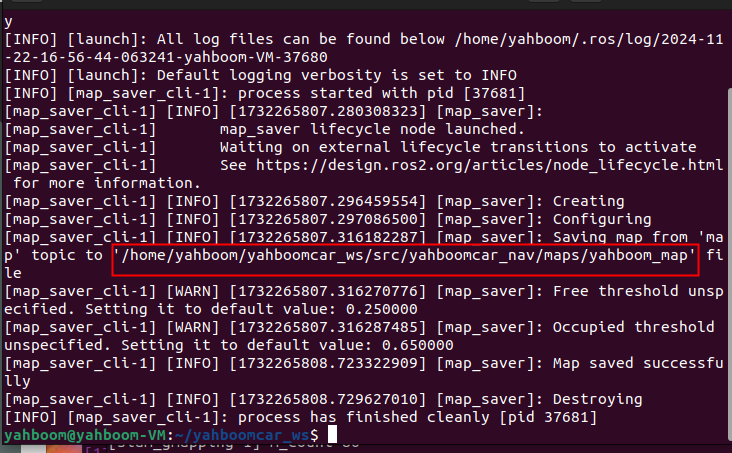
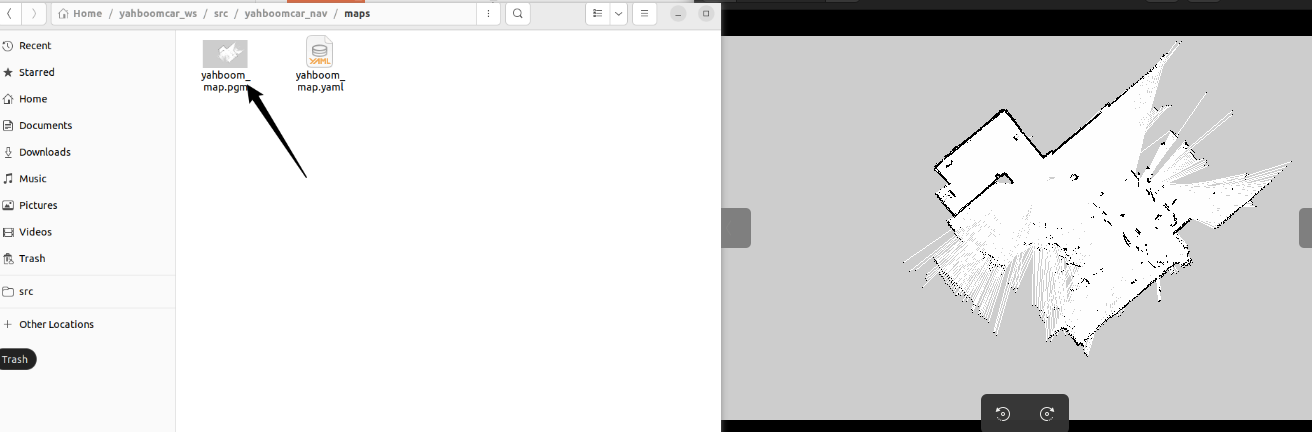
A map named yahboom_map will be saved. This map is saved in,
xxxxxxxxxx/home/yahboom/yahboomcar_ws/src/yahboomcar_nav/maps
Two files will be generated, one is yahboom_map.pgm, the other is yahboom_map.yaml, look at the contents of yaml,
xxxxxxxxxximageyahboom_map.pgmmodetrinaryresolution0.05origin-10 -10 0negate0occupied_thresh0.65free_thresh0.25- image: the image representing the map, i.e. yahboom_map.pgm
- mode: this property can be one of trinary, scale or raw, depending on the selected mode, trinary mode is the default mode
- resolution: the resolution of the map, meters/pixels
- origin: the 2D pose (x,y,yaw) of the lower left corner of the map, where yaw is rotated counterclockwise (yaw=0 means no rotation). Currently many parts of the system ignore the yaw value.
- negate: whether to invert the meaning of white/black and free/occupied (the interpretation of the threshold is not affected)
- occupied_thresh: pixels with an occupation probability greater than this threshold are considered fully occupied.
- free_thresh: Pixels with an occupation probability less than this threshold will be considered completely free
The other is a pdf image,
5. View the node communication graph
Terminal input,
xxxxxxxxxxros2 run rqt_graph rqt_graph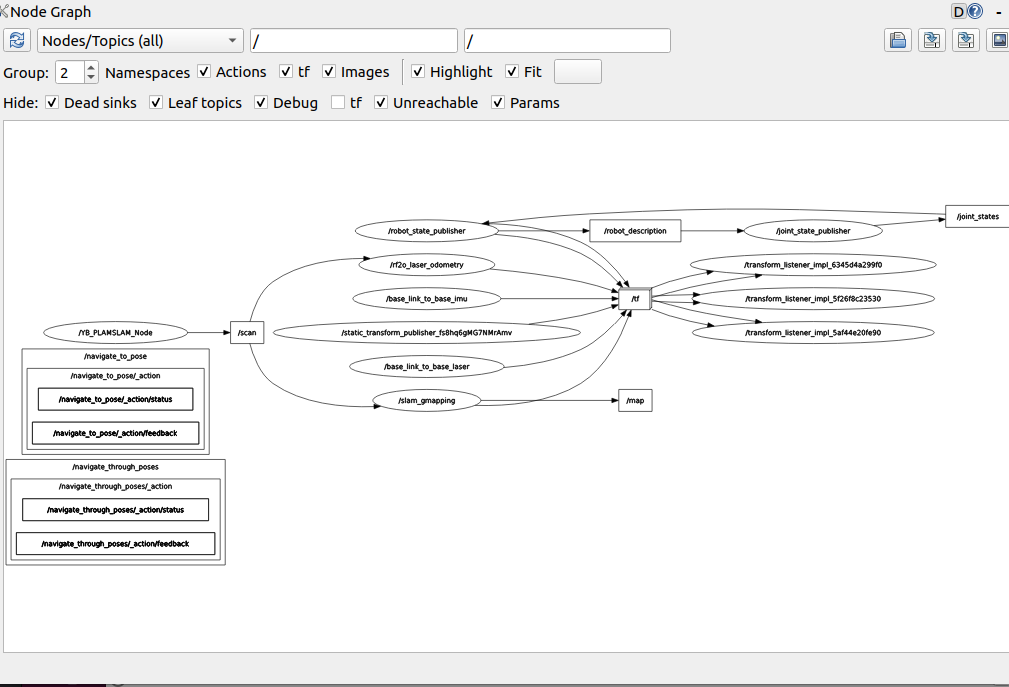
If it is not displayed at the beginning, select [Nodes/Topics(all)] and click the refresh button in the upper left corner.
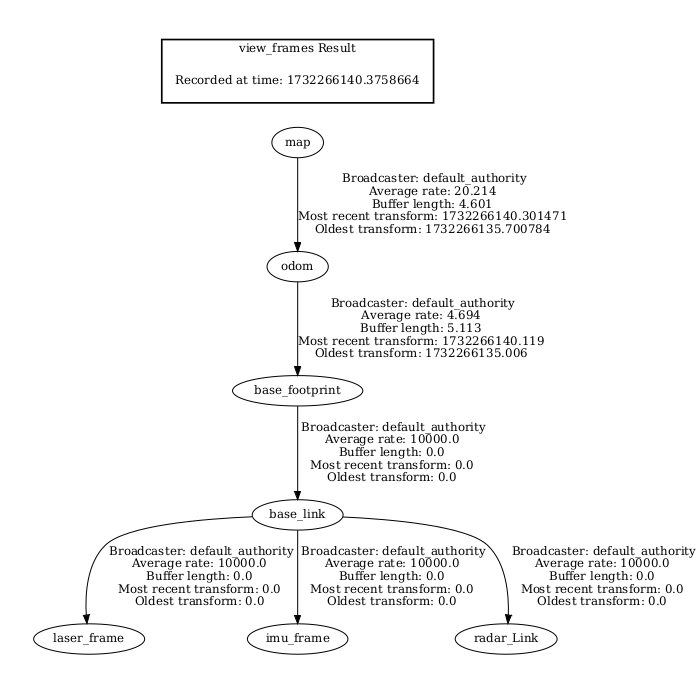
6. View the TF tree
Terminal input,
xxxxxxxxxxros2 run tf2_tools view_frames
After running, two files will be generated in the terminal directory, namely .gv and .pdf files. The pdf file is the TF tree.
7. Code analysis
Taking the virtual machine as an example, only map_gmapping_launch.py for building the map is explained here. The file path is,
xxxxxxxxxx/home/yahboom/yahboomcar_ws/src/yahboomcar_nav/launch
map_gmapping_launch.py
from launch import LaunchDescriptionfrom launch_ros.actions import Nodeimport osfrom launch.actions import IncludeLaunchDescriptionfrom launch.launch_description_sources import PythonLaunchDescriptionSourcefrom ament_index_python.packages import get_package_share_directorydef generate_launch_description(): slam_gmapping_launch = IncludeLaunchDescription( PythonLaunchDescriptionSource([os.path.join( get_package_share_directory('slam_gmapping'), 'launch'), '/slam_gmapping.launch.py']) ) base_link_to_laser_tf_node = Node( package='tf2_ros', executable='static_transform_publisher', name='base_link_to_base_laser', arguments=['-0.0046412', '0' , '0.094079','0','0','0','base_link','laser_frame'] ) return LaunchDescription([slam_gmapping_launch,base_link_to_laser_tf_node])Here, a launch file - slam_gmapping_launch and a node for publishing static transformation - base_link_to_laser_tf_node are started
Take the virtual machine as an example, and take a closer look at slam_gmapping_launch. The file is located at,
xxxxxxxxxx/home/yahboom/gmapping_ws/src/slam_gmapping/launchslam_gmapping.launch.py,
from launch import LaunchDescriptionfrom launch.substitutions import EnvironmentVariableimport launch.actionsimport launch_ros.actionsimport osfrom ament_index_python.packages import get_package_share_directorydef generate_launch_description(): return LaunchDescription([ launch_ros.actions.Node( package='slam_gmapping', executable='slam_gmapping', output='screen', parameters=[os.path.join(get_package_share_directory("slam_gmapping"), "params", "slam_gmapping.yaml")]), ])Here, the slam_gmapping node is started and the slam_gmapping.yaml parameter file is loaded.
Take the matching virtual machine as an example,
xxxxxxxxxx/home/yahboom/gmapping_ws/src/slam_gmapping/params
slam_gmapping.yaml
xxxxxxxxxx/slam_gmapping ros__parameters angularUpdate0.25 astep0.05 base_framebase_footprint map_framemap odom_frameodom delta0.05 iterations5 kernelSize1 lasamplerange0.005 lasamplestep0.005 linearUpdate0.5 llsamplerange0.01 llsamplestep0.01 lsigma0.075 lskip0 lstep0.05 map_update_interval3.0 maxRange6.0 maxUrange4.0 minimum_score0.0 occ_thresh0.25 ogain3.0 particles30 qos_overrides /parameter_events publisher depth1000 durabilityvolatile historykeep_all reliabilityreliable /tf publisher depth1000 durabilityvolatile historykeep_last reliabilityreliable resampleThreshold0.5 sigma0.05 srr0.1 srt0.2 str0.1 stt0.2 temporalUpdate1.0 transform_publish_period0.05 use_sim_timefalse xmax100.0 xmin-100.0 ymax100.0 ymin-100.0