Welcome to RDK X3 Board repository
1.2 Write system
Write system
1.Preparation
Before writing an Ubuntu system image, the following preparations need to be made.
-Prepare a Micro SD card with at least 8GB capacity
-SD card reader
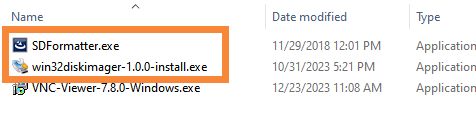
-Format tool SDFormatter.
-The tool for installing burn images on Windows systems is Win32DiskImager.
You can download it from Yahboom website.
2.Download system
RDK X3 currently offers an Ubuntu 20.04 system image that supports desktop graphical interaction.
Before using the RDK X3 board, it is necessary to write the system image file first.
- Desktop: Ubuntu system with desktop, which can be operated with an external screen and mouse
- Server: Ubuntu system without desktop, can be operated remotely through serial port and network connection
The image file provided by Yahboom contains a Ubuntu system with a desktop, with a compressed file extension of. img, which has been extracted and is ready for use.
3.Write system
Connect the SD card to the computer through the card reader.
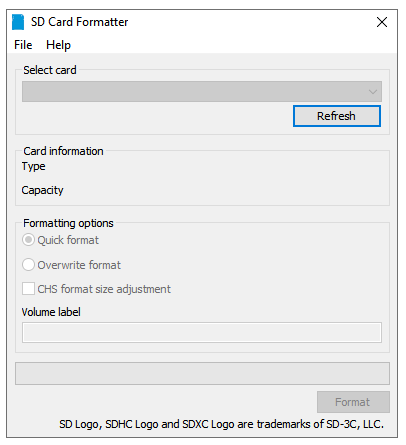
Use the SDFormatter tool to format the memory card.
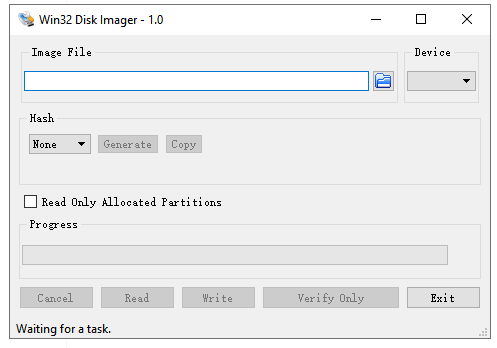
Extract and run the win32diskimager tool.
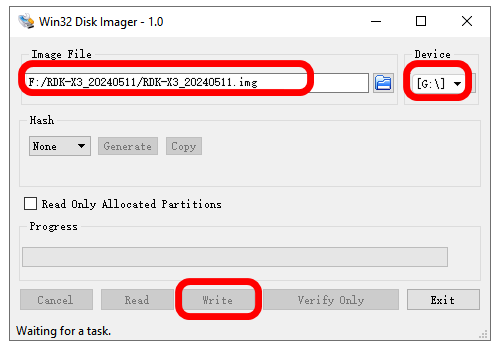
Select the img (image) file in the software, choose the SD drive letter under "Devices", and then select "Write".
5.When a write completion window pops up on the computer, it indicates that we have successfully written the image file to the SD card. If unsuccessful, please turn off software such as firewalls and re insert the SD card for writing.
Note:
- After the image file is written to the SD card, we will see that the SD card is only 74MB under Windows system, which is a normal phenomenon.
- After writing is completed, the system will prompt whether to format the memory card. Do not format the memory card at this time.
4.Start system
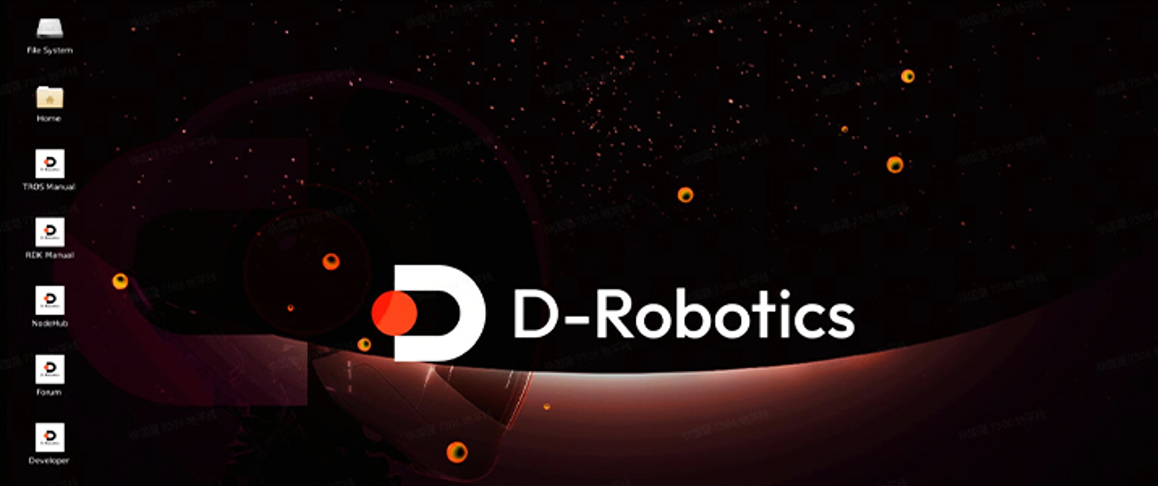
5. Set login mode
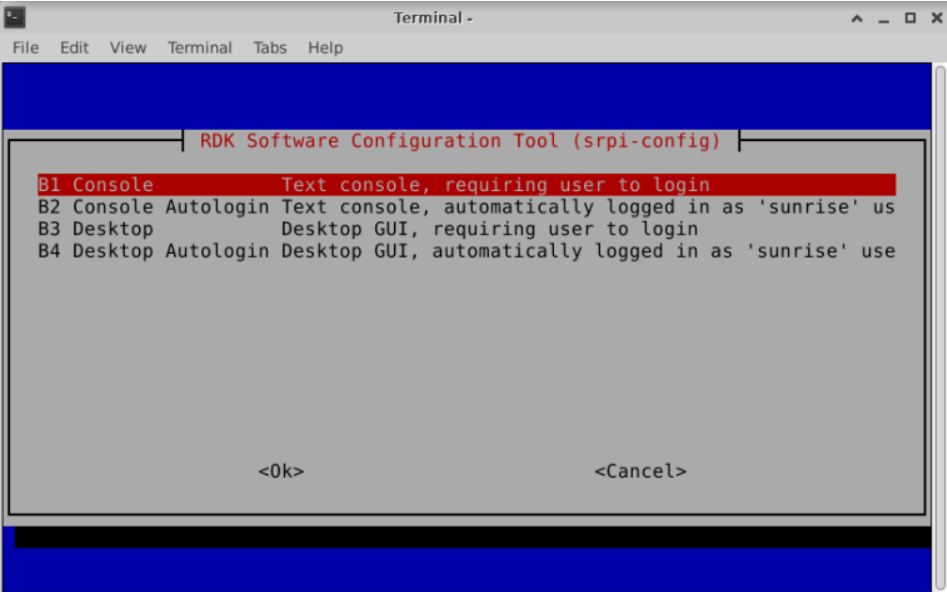
Desktop graphical system, supporting four login modes.
- Open the graphical interface and automatically log in
- Open the graphical interface and allow users to manually log in
- Character terminal, automatic login
- Character terminal, user manually logs in
Find the RDK Configuration item through the menu bar and click to open it.
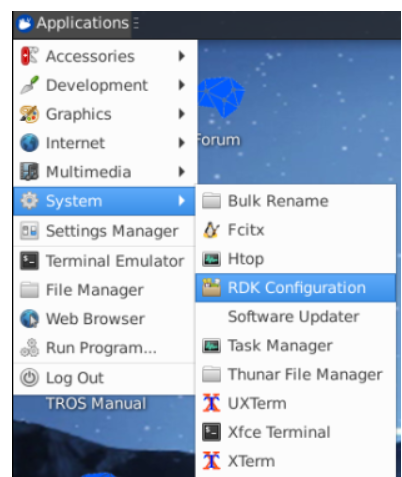
Select 【System Options】 ->【Boot/Auto Login】 to enter the following configuration options. Select the corresponding item according to the requirements.
Reboot.