Welcome to RDK X3 Board repository
6. Object detection algorithm-fcos
6. Object detection algorithm-fcos
1. Perparation
This example is based on the fcos model and implements the target detection algorithm function of the local video stream. The user can preview the detection results on the display.
- Connect the development board to the monitor via HDMI cable
- Power on the development board and log in via command line
- Prepare the video file (H264) as input
2. Running method
The sample code is provided in source code form and needs to be compiled and run using the make command.
The steps are as follows.
xxxxxxxxxxsunrise@ubuntu:~$ cd /app/cdev_demo/bpu/srcsunrise@ubuntu:/app/cdev_demo/bpu/src$ sudo makesunrise@ubuntu:/app/cdev_demo/bpu/src$ cd bin sunrise@ubuntu:/app/cdev_demo/bpu/src/bin$ sudo ./sample -f /app/model/basic/fcos_512x512_nv12.bin -m 1 -i 1080p_.h264 -w 1920 -h 1080Parameter configuration:
- -f: model file path
- -h: input video height
- -w: input video width
- -i: input video path
- -m: model type, default is 1
3. Result

After the program runs correctly, it will output the video through the HDMI interface and the picture rendered by the algorithm detection can be previewed by the user through the monitor.
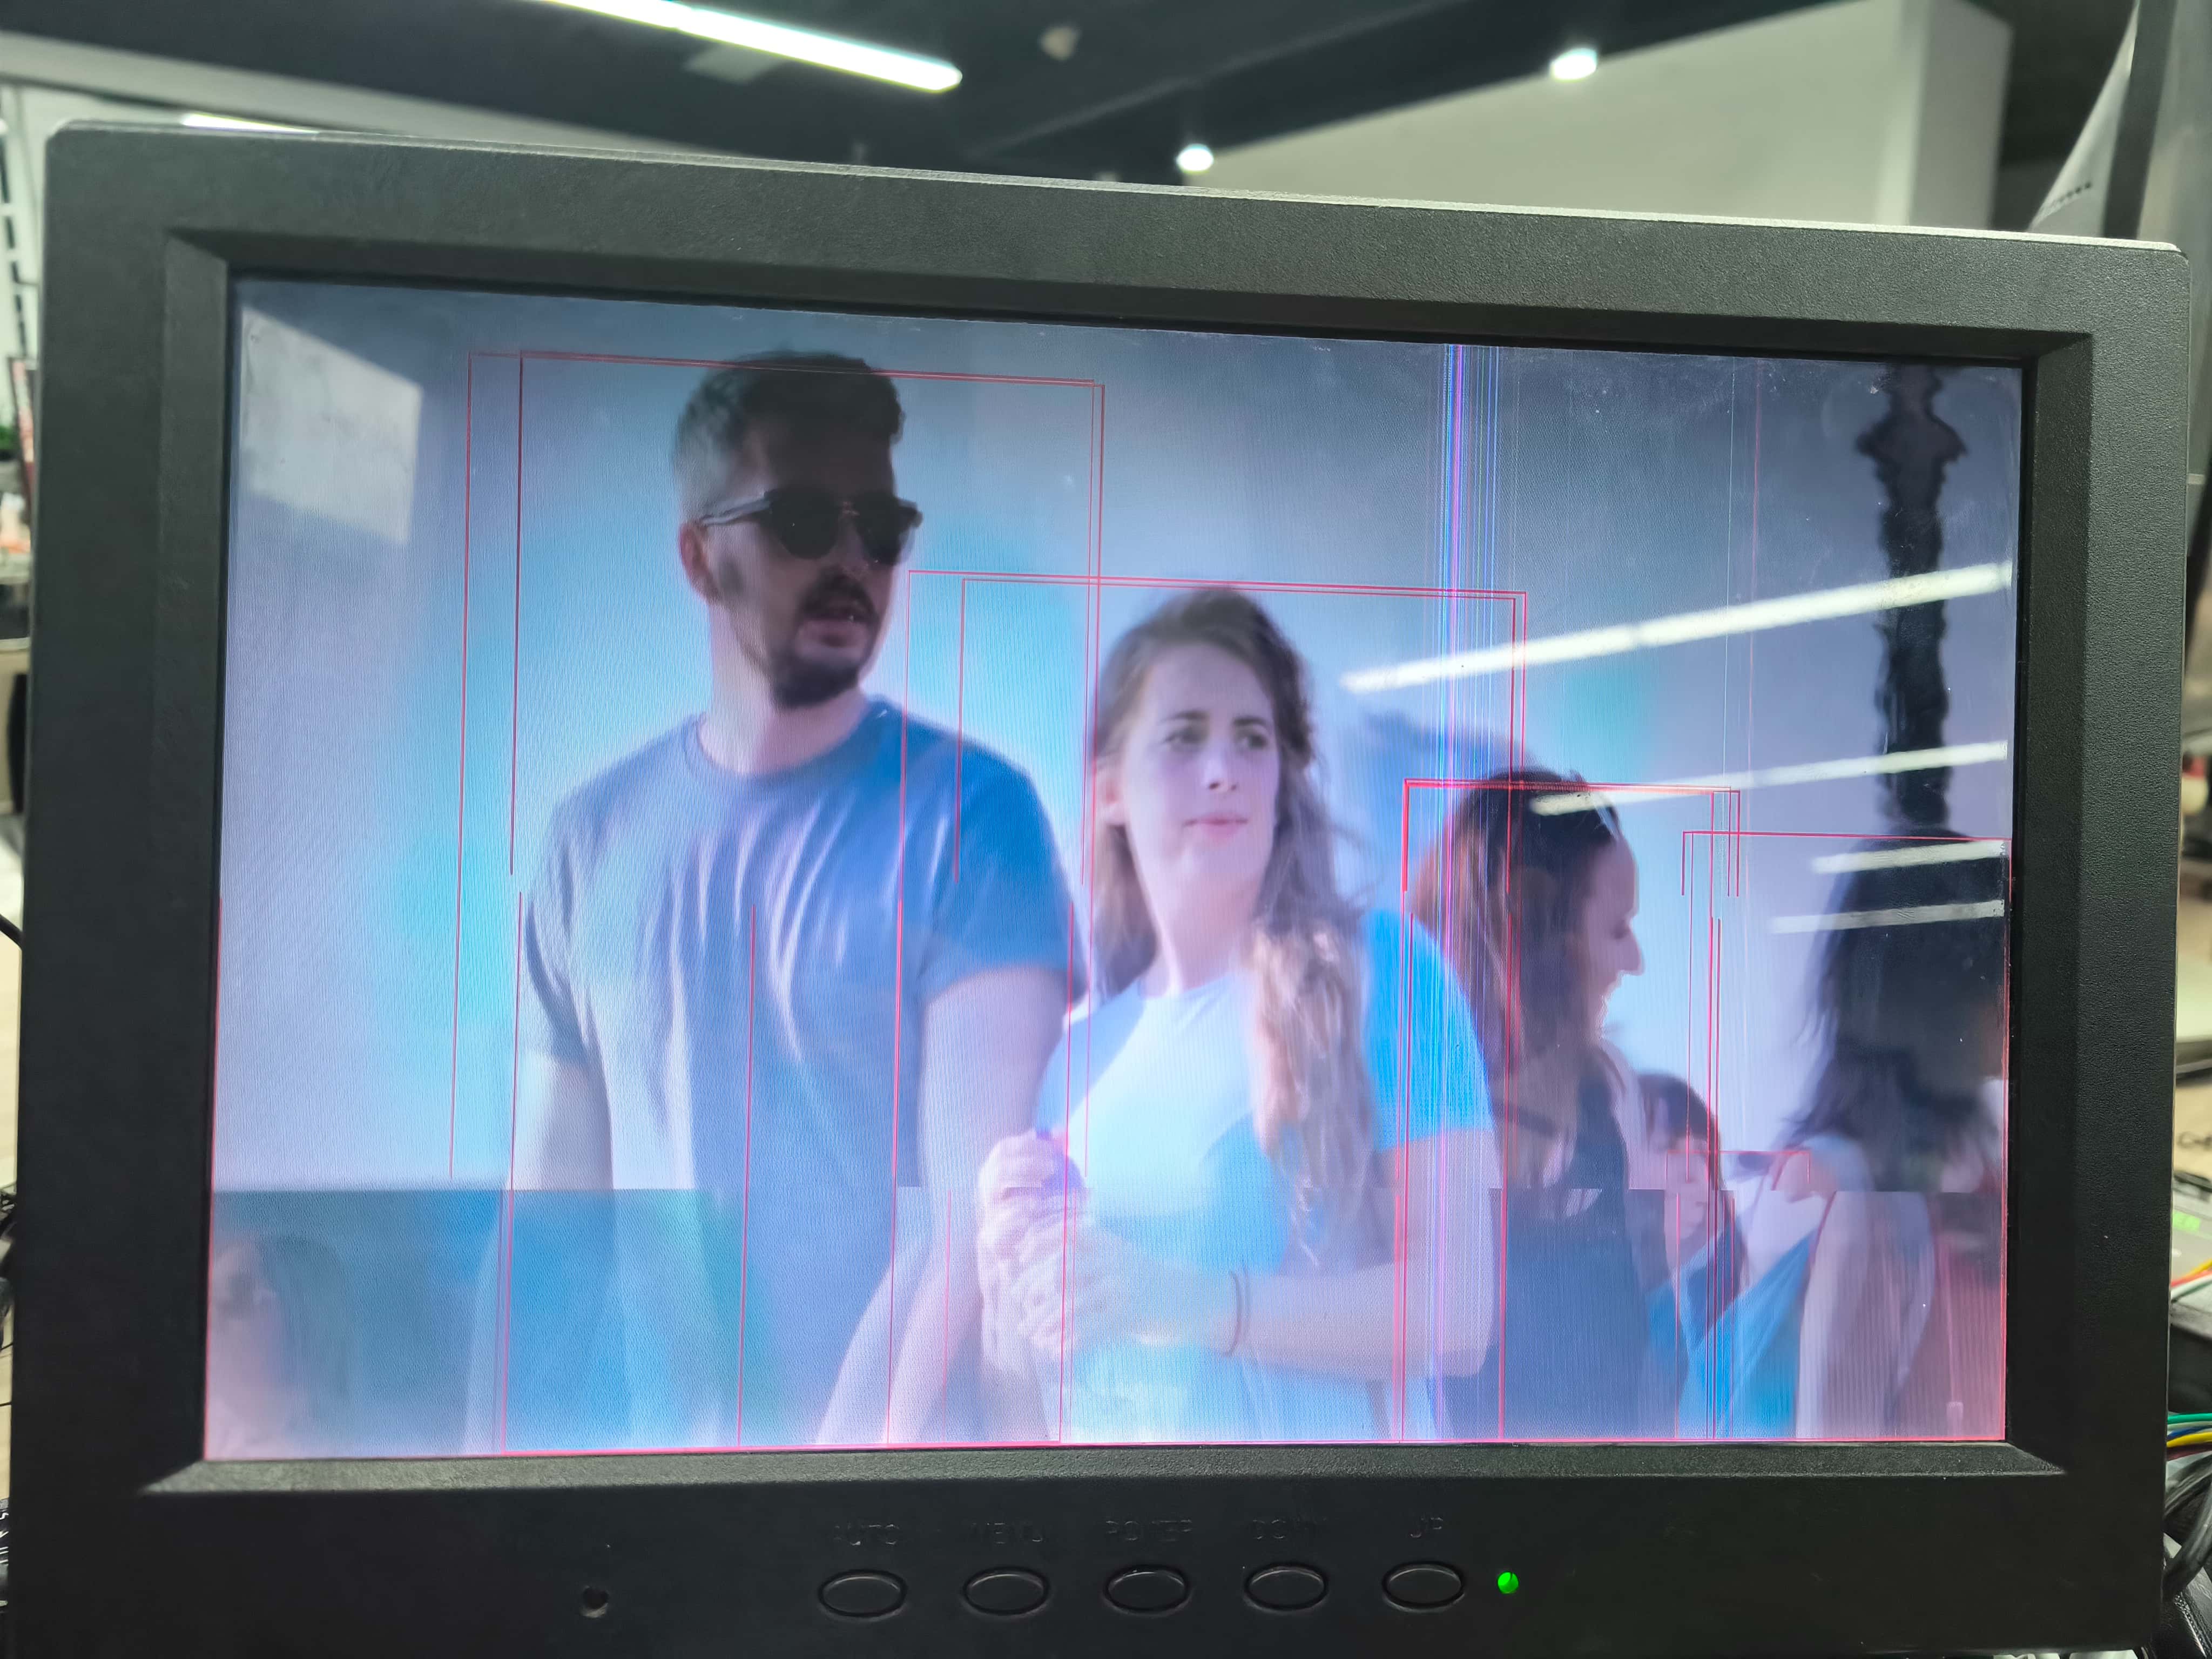
The running log is as follows.
sunrise@ubuntu:/app/cdev_demo/bpu/src/bin$ sudo ./sample -f /app/model/basic/fcos_512x512_nv12.bin -m 1 -i 1080p_.h264 -w 1920 -h 1080[BPU_PLAT]BPU Platform Version(1.3.1)![HBRT] set log level as 0. version = 3.14.5[DNN] Runtime version = 1.9.7_(3.14.5 HBRT)Model info:model_name: fcos_512x512_nv12Input count: 1input[0]: tensorLayout: 2 tensorType: 1 validShape:(1, 3, 512, 512, ), alignedShape:(1, 3, 512, 512, )Output count: 15Output[0]: tensorLayout: 0 tensorType: 13 validShape:(1, 64, 64, 80, ), alignedShape:(1, 64, 64, 80, )Output[1]: tensorLayout: 0 tensorType: 13 validShape:(1, 32, 32, 80, ), alignedShape:(1, 32, 32, 80, )Output[2]: tensorLayout: 0 tensorType: 13 validShape:(1, 16, 16, 80, ), alignedShape:(1, 16, 16, 80, )Output[3]: tensorLayout: 0 tensorType: 13 validShape:(1, 8, 8, 80, ), alignedShape:(1, 8, 8, 80, )Output[4]: tensorLayout: 0 tensorType: 13 validShape:(1, 4, 4, 80, ), alignedShape:(1, 4, 4, 80, )Output[5]: tensorLayout: 0 tensorType: 13 validShape:(1, 64, 64, 4, ), alignedShape:(1, 64, 64, 4, )Output[6]: tensorLayout: 0 tensorType: 13 validShape:(1, 32, 32, 4, ), alignedShape:(1, 32, 32, 4, )Output[7]: tensorLayout: 0 tensorType: 13 validShape:(1, 16, 16, 4, ), alignedShape:(1, 16, 16, 4, )Output[8]: tensorLayout: 0 tensorType: 13 validShape:(1, 8, 8, 4, ), alignedShape:(1, 8, 8, 4, )Output[9]: tensorLayout: 0 tensorType: 13 validShape:(1, 4, 4, 4, ), alignedShape:(1, 4, 4, 4, )Output[10]: tensorLayout: 0 tensorType: 13 validShape:(1, 64, 64, 1, ), alignedShape:(1, 64, 64, 1, )Output[11]: tensorLayout: 0 tensorType: 13 validShape:(1, 32, 32, 1, ), alignedShape:(1, 32, 32, 1, )Output[12]: tensorLayout: 0 tensorType: 13 validShape:(1, 16, 16, 1, ), alignedShape:(1, 16, 16, 1, )Output[13]: tensorLayout: 0 tensorType: 13 validShape:(1, 8, 8, 1, ), alignedShape:(1, 8, 8, 1, )Output[14]: tensorLayout: 0 tensorType: 13 validShape:(1, 4, 4, 1, ), alignedShape:(1, 4, 4, 1, )libiar: hb_disp_set_timing done!dispaly init ret = 0vps open ret = 0module bind vps & display ret = 0display start ret = 0[x3_av_open_stream]:[380]:probesize: 5000000decode start ret = 0module bind decoder & vps ret = 0[ERROR]["vdec"][video/src/vdec_group.c:348] [8870.450264]vdec_channel_bump_thread[348]: VDEC_MODULE module try again
[draw_rect]:[137]:========point is 0,return========fps:55.555556,processing time:18