Welcome to RDK X3 Board repository
2.1 Network Configuration
Network Configuration
1. Connect Wi-Fi
Desktop system
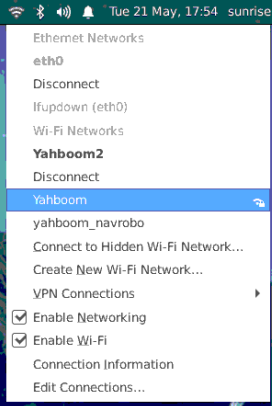
Use the Wi Fi management tool in the upper right corner of the menu bar to connect to Wi Fi, as shown in the figure below.
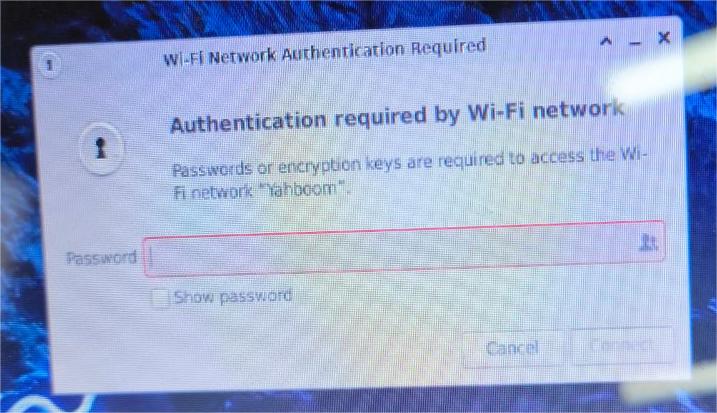
Click on the Wi Fi name you want to connect to, and then enter the Wi Fi password in the pop-up dialog box.
Command line
For users using the Ubuntu Server version system, wireless network configuration can be completed through the command line, as follows.
x
sudo nmcli device wifi rescan # Scan WiFi networksudo nmcli device wifi list # List the WiFi networks foundEnter the following command to connect to the specified WiFi network.
xxxxxxxxxxsudo wifi_connect "SSID" "PASSWD" When the terminal returns the message 'successfully activated', it indicates that the WIFI connection is successful.
If the following message is returned after connecting to the hotspot, it means that the hotspot was not found. You can execute the sudo nmcli device wifi rescan command to rescan and connect again.
xxxxxxxxxxroot@ubuntu:~# sudo wifi_connect "WiFi-Test" "12345678" Error: No network with SSID 'WiFi-Test' found.2. Wired network
The wired network of the development board defaults to a static IP configuration, with an initial IP address of "192.168.1.10".
The static network configuration of the development board is saved in the file '/etc/network/interfaces'.
By modifying fields such as' address',' netmask ',' gateway ', etc., the static IP configuration can be modified.' metric 'is the network priority configuration, set to' 700 'to lower the priority of wired networks.
When both wired and wireless networks are enabled, wireless networks will be prioritized. For example:
xxxxxxxxxxsudo vim /etc/network/interfacesxxxxxxxxxx# interfaces(5) file used by ifup(8) and ifdown(8)# Include files from /etc/network/interfaces.d:source-directory /etc/network/interfaces.dauto eth0iface eth0 inet static address 192.168.1.10 netmask 255.255.255.0 gateway 192.168.1.1 metric 700After the modification is completed, enter the sudo restart_network command on the command line to make the configuration take effect.
3. Soft AP mode
The wireless network of the development board runs in Station mode by default.
If you need to use Soft AP mode, please follow the steps below to configure it.
- Install
hostapd和isc-dhcp-server
xxxxxxxxxxsudo apt updatesudo apt install hostapdsudo apt install isc-dhcp-server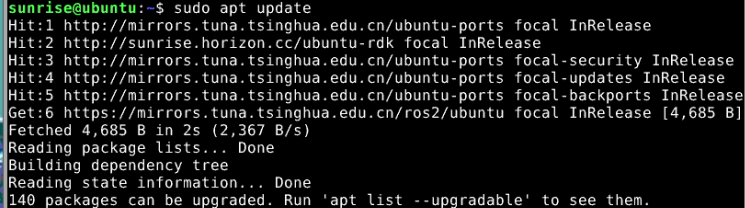
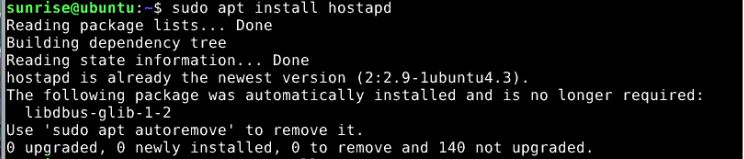
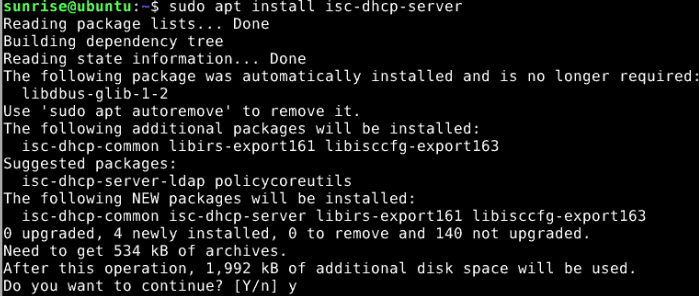
Run the command 'sudo vim/etc/hostapd.conf' to configure 'hostapd.conf'`
- Password without WiFi hotspot configuration
xxxxxxxxxxinterface=wlan0driver=nl80211ctrl_interface=/var/run/hostapdssid=sunrisechannel=6ieee80211n=1hw_mode=gignore_broadcast_ssid=0The default way to open the hostapd.conf file is as shown in the picture: (Configure a password free hotspot, which can be left unchanged).
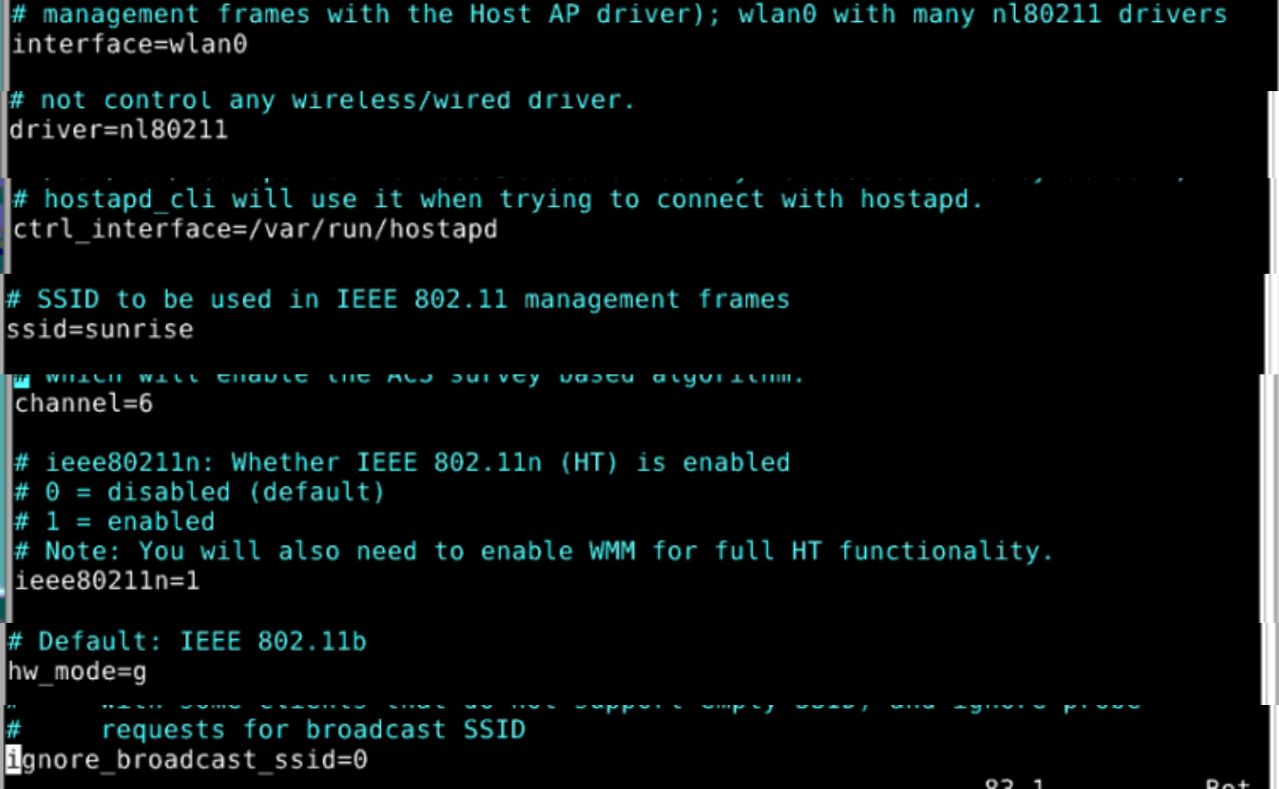
- Password with WiFi hotspot configuration
xxxxxxxxxxinterface=wlan0driver=nl80211ctrl_interface=/var/run/hostapdssid=Sunrisechannel=6ieee80211n=1hw_mode=gignore_broadcast_ssid=0wpa=2wpa_key_mgmt=WPA-PSKrsn_pairwise=CCMPwpa_passphrase=12345678
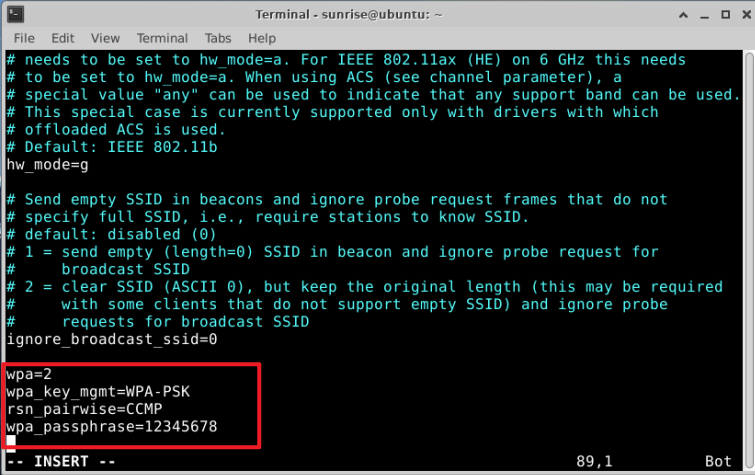
Press i to enter editing mode, press Esc to exit editing mode after editing, press wq to write and close.
Configure the 'isc-dhcp server' file, as follows.
- Execute sudo vim/etc/default/isc-dhcp server to modify the isc-dhcp server file and add the following defined network interface.
xxxxxxxxxxINTERFACESv4="wlan0"
Press i to enter the edit mode. After editing, press Esc to exit the edit mode. Press :wq to write and close.
- Run
sudo vim /etc/dhcp/dhcpd.confmodifydhcpd.conffile, cancel the following comment.
xxxxxxxxxxauthoritative;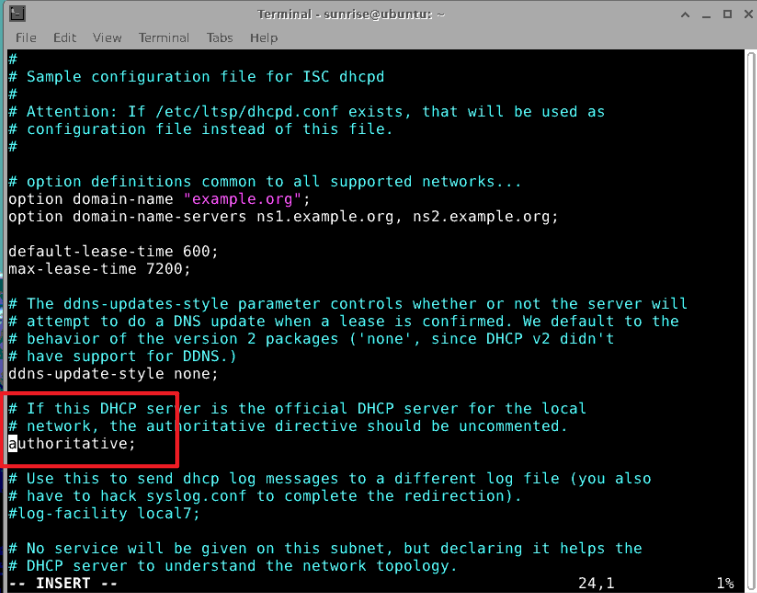 Press i to enter the edit mode. After editing, press Esc to exit the edit mode. Press :wq to write and close.
- Then, add the following configuration to the end of the
/etc/dhcp/dhcpd.conffile.
xxxxxxxxxxsubnet 10.5.5.0 netmask 255.255.255.0 { *#Network segment and subnet mask*range 10.5.5.100 10.5.5.254;*#Available IP range*option subnet-mask 255.255.255.0; *#Subnet mask*option routers 10.5.5.1;*#Default gateway*option broadcast-address 10.5.5.31;*#Broadcast address*