Welcome to MicroROS Robot Expansion Board repository
Robot handle control
Robot handle control
Note: The virtual machine needs to be in the same LAN as the car, and the ROS_DOMAIN_ID needs to be consistent. You can check [Must read before use] to set the IP and ROS_DOMAIN_ID on the board.
1、Program function description
The car is connected to the agent, the receiver of the handle is connected to the virtual machine port/Raspberry Pi 2 port, and the program is run, and the car movement, buzzer and gimbal servo can be controlled remotely.
2、Start and connect to the agent
Taking the supporting virtual machine as an example, enter the following command to start the agent:
sudo docker run -it --rm -v /dev:/dev -v /dev/shm:/dev/shm --privileged --net=host microros/micro-ros-agent:humble udp4 --port 8090 -v4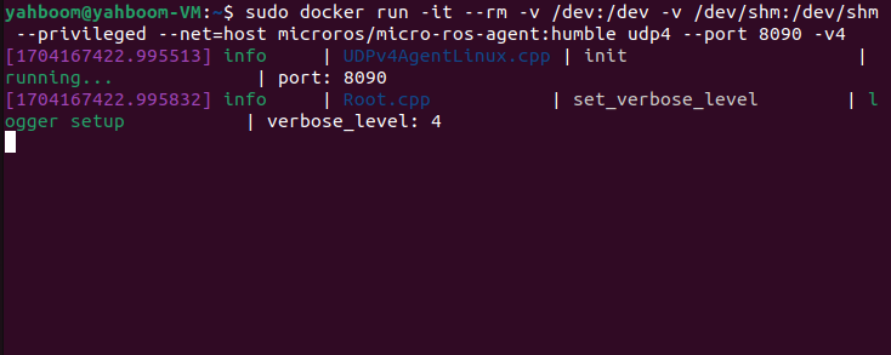
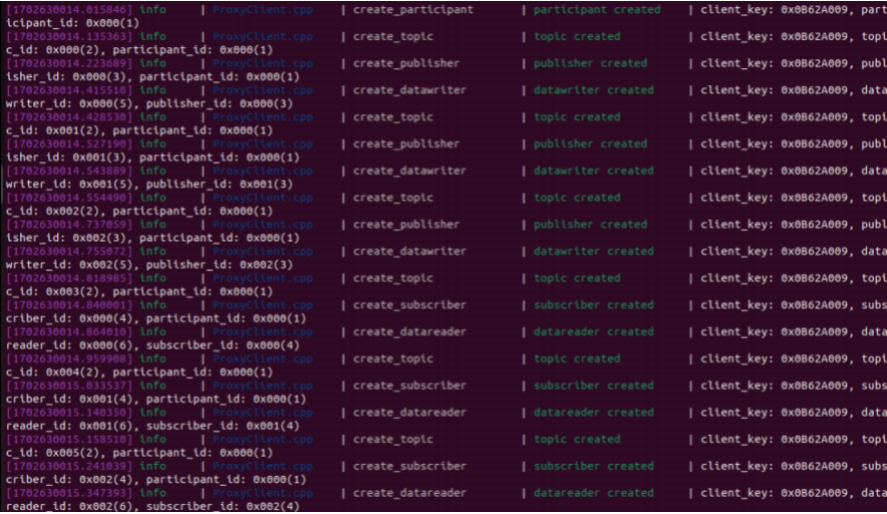
Then, turn on the car switch and wait for the car to connect to the agent. The connection is successful, as shown in the figure below.
3、starting program
To connect the virtual machine to the controller receiver, you need to ensure that the virtual machine can recognize the controller receiver. As shown in the figure below, the connection is successful.

If it is not connected, check [Virtual Machine]->[Removable Devices] in the menu bar above the virtual machine toolbar and check whether [DragonRise Controller] is checked.
Enter the following command in the terminal to start the program.
xxxxxxxxxx#Handle remote control car programros2 run yahboomcar_ctrl yahboom_joy #Get remote sensing dataros2 run joy joy_node 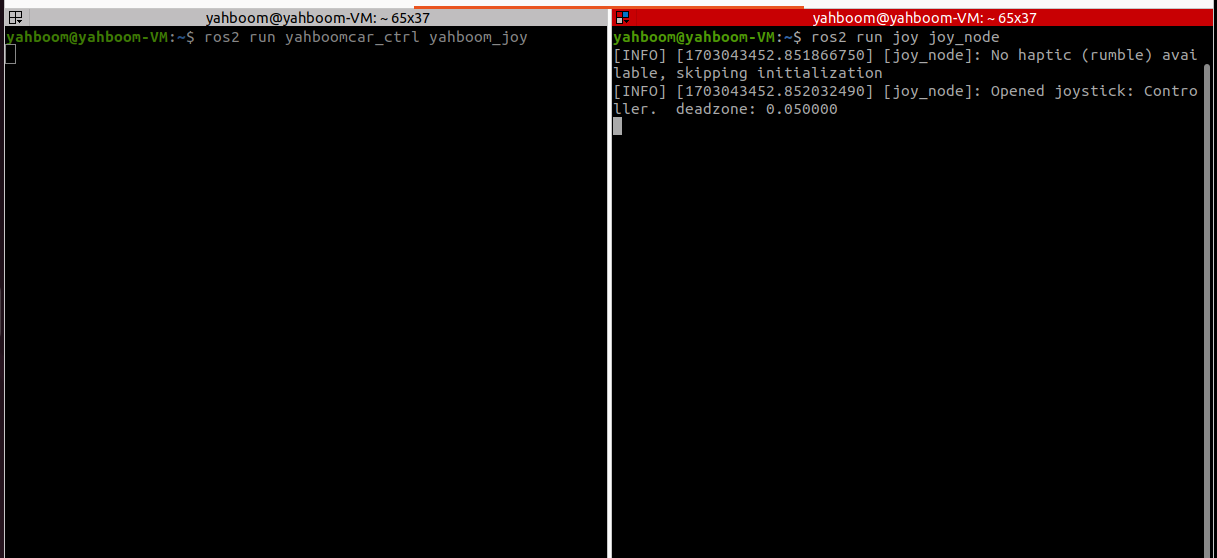
The remote control button description is as follows:
Left rocker: valid in the front and rear directions, controls the car forward and backward, invalid in the left and right directions
Left rocker: valid in the front and rear directions, controls the car forward and backward, invalid in the left and right directions
START key: buzzer control
Y key: control the S2 servo upward
A key: control the S2 servo down
X key: control the S1 servo to the left
B key: control the S1 servo to the right
R1 key: handle control speed switch. After pressing it, you can use the remote control to control the speed of the car. Press it again to lose the handle control speed. It is also a gameplay switch. Press it to stop. Press it again to continue running the functional gameplay program, including radar. Obstacle avoidance, radar guard and more.
MODE key: Switch modes and use the default mode. After switching modes, if the key value is incorrect, the program will exit with an error.
4、Node communication diagram
Terminal input,
xxxxxxxxxxros2 run rqt_graph rqt_graph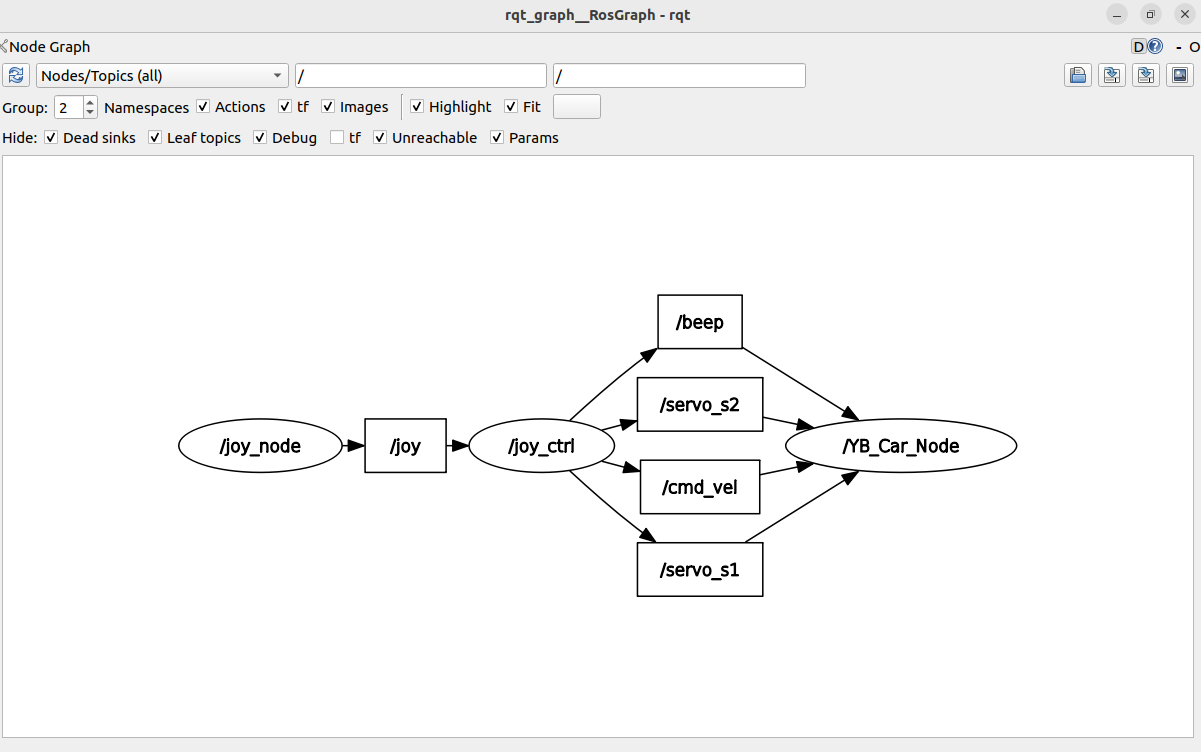
If it is not displayed at first, select [Nodes/Topics(all)], and then click the refresh button in the upper left corner.
5、Code analysis
Source code reference path (already equipped with a virtual machine as an example),
xxxxxxxxxx/home/yahboom/yahboomcar_ws/src/yahboomcar_ctrl/yahboomcar_ctrlyahboom_joy.py
x##Create subscriber subscription/joy topic dataself.sub_Joy = self.create_subscription(Joy,'joy', self.buttonCallback,10)
#Create a publisher to publish speed, servo, buzzer topic data and function gameplay switchesself.pub_cmdVel = self.create_publisher(Twist,'cmd_vel',10)self.pub_Buzzer = self.create_publisher(UInt16,"beep", 1)self.pub_JoyState = self.create_publisher(Bool,"JoyState", 10)self.pub_Servo1 = self.create_publisher(Int32,"servo_s1" , 10)self.pub_Servo2 = self.create_publisher(Int32,"servo_s2" , 10)
#Callbackdef buttonCallback(self,joy_data): if not isinstance(joy_data, Joy): return self.user_jetson(joy_data) #Process key function user_jetsondef user_jetson(self, joy_data): #cancel nav if joy_data.buttons[7] == 1: self.cancel_nav() #Buzzer control if joy_data.buttons[11] == 1: b = UInt16() self.Buzzer_active = not self.Buzzer_active b.data = self.Buzzer_active self.pub_Buzzer.publish(b) #Gear adjustment, press the rocker to adjust the gear xlinear_speed = self.filter_data(joy_data.axes[1]) * self.xspeed_limit * self.linear_Gear angular_speed = self.filter_data(joy_data.axes[2]) * self.angular_speed_limit * self.angular_Gear if xlinear_speed > self.xspeed_limit: xlinear_speed = self.xspeed_limit elif xlinear_speed < -self.xspeed_limit: xlinear_speed = -self.xspeed_limit if angular_speed > self.angular_speed_limit: angular_speed = self.angular_speed_limit elif angular_speed < -self.angular_speed_limit: angular_speed = -self.angular_speed_limit twist = Twist() twist.linear.x = xlinear_speed twist.linear.y = 0.0 twist.angular.z = angular_speed #Determine whether the speed can be controlled, that is, whether the R1 key is pressed if self.Joy_active == True: self.pub_cmdVel.publish(twist) #The following is the data for processing the servo control. After pressing it, the angle will increase/decrease by 1. If you continue to press it, the angle will continue to increase and decrease. if not joy_data.buttons[1] == 0: print("Up") self.PWMServo_X += 1 if self.PWMServo_X <= -90: self.PWMServo_X = -90 elif self.PWMServo_X >= 90: self.PWMServo_X = 90 print("self.PWMServo_X: ",self.PWMServo_X) print("self.PWMServo_Y: ",self.PWMServo_Y) servo1_angle = Int32() servo1_angle.data = self.PWMServo_X self.pub_Servo1.publish(servo1_angle)
if not joy_data.buttons[3] == 0: print("Down") self.PWMServo_X -= 1 if self.PWMServo_X <= -90: self.PWMServo_X = -90 elif self.PWMServo_X >= 90: self.PWMServo_X = 90 print("self.PWMServo_X: ",self.PWMServo_X) print("self.PWMServo_Y: ",self.PWMServo_Y) servo1_angle = Int32() servo1_angle.data = self.PWMServo_X self.pub_Servo1.publish(servo1_angle)
if not joy_data.buttons[0] == 0: print("Left") self.PWMServo_Y -= 1 if self.PWMServo_Y <= -90: self.PWMServo_Y = -90 elif self.PWMServo_Y >= 20: self.PWMServo_Y = 20 servo2_angle = Int32() servo2_angle.data = self.PWMServo_Y self.pub_Servo2.publish(servo2_angle) print("self.PWMServo_X: ",self.PWMServo_X) print("self.PWMServo_Y: ",self.PWMServo_Y)
if not joy_data.buttons[4] == 0: print("Right") self.PWMServo_Y += 1 if self.PWMServo_Y <= -90: self.PWMServo_Y = -90 elif self.PWMServo_Y >= 20: self.PWMServo_Y = 20 servo2_angle = Int32() servo2_angle.data = self.PWMServo_Y self.pub_Servo2.publish(servo2_angle) print("self.PWMServo_X: ",self.PWMServo_X) print("self.PWMServo_Y: ",self.PWMServo_Y)
6、Variables corresponding to remote control key values
Based on the default mode [Controller], the key values corresponding to the remote control are as follows:
| remote control event | Corresponding variable |
|---|---|
| Left joystick up | axes[1]=1 |
| Left joystick down | axes[1]=-1 |
| Right joystick to left | axes[2]=1 |
| Right joystick to the right | axes[2]=-1 |
| Button X pressed | button[3]=1 |
| Button B pressed | button[1]=1 |
| Button Y pressed | button[4]=1 |
| Button R1 pressed | button[7]=1 |
| start button pressed | button[11]=1 |
| Left joystick pressed | button[13]=1 |
| Right joystick pressed | button[14]=1 |
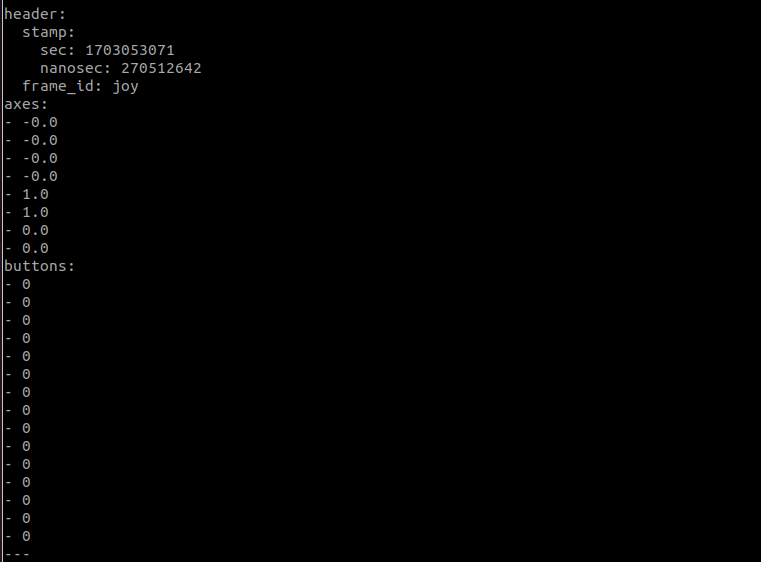
Combined with the above source code for easy understanding, when these values change, it means that the remote control is pressed and the corresponding program can be executed. View other button presses, subscribe to/joy topics, terminal input,
xxxxxxxxxxros2 topic echo /joy