Welcome to AI View Depth camera repository
5. ORB_SLAM2 basics
5. ORB_SLAM2 Basics
5. ORB_SLAM2 Basics5.1, Introduction5.2, Official Case5.2.1, Dataset Location5.2.2, Monocular Test5.2.4, Binocular Test5.2.5, RGBD test5.3, ORB_SLAM2 ROS2 camera test5.3.1, monocular test
Official website: http://webdiis.unizar.es/~raulmur/orbslam/
TUM Dataset: http://vision.in.tum.de/data/datasets/rgbd-dataset/download
KITTI Dataset: http://www.cvlibs.net/datasets/kitti/eval_odometry.php
EuRoC Dataset: http://projects.asl.ethz.ch/datasets/doku.php?id=kmavvisualinertialdatasets
orb_slam2_ros: http://wiki.ros.org/orb_slam2_ros
ORB-SLAM: https://github.com/raulmur/ORB_SLAM
ORB-SLAM2: https://github.com/raulmur/ORB_SLAM2
ORB-SLAM3: https://github.com/UZ-SLAMLab/ORB_SLAM3
5.1, Introduction
ORB-SLAM is mainly used for monocular SLAM;
ORB-SLAM2 version supports three interfaces: monocular, binocular and RGBD;
ORB-SLAM3 version adds IMU coupling and supports fisheye cameras.
All steps of ORB-SLAM use the ORB features of the image uniformly. ORB features are a very fast feature extraction method with rotation invariance and can be used to construct scale invariance using pyramids. Using unified ORB features helps SLAM algorithms to be consistent in feature extraction and tracking, keyframe selection, 3D reconstruction, loop closure detection and other steps. The system is also robust to violent motion and supports loop closure detection and relocalization of wide baselines, including fully automatic initialization. Since the ORB-SLAM system is a feature point-based SLAM system, it can calculate the trajectory of the camera in real time and generate sparse 3D reconstruction results of the scene.
Based on ORB-SLAM, ORB-SLAM2 contributes:
The first open source SLAM system for monocular, stereo and RGBD cameras, including loop closure and relocalization and map reuse.
RGBD results show that using BA can achieve more accuracy than ICP or minimization based on photometric and depth errors.
By using far and near points in the stereo, as well as monocular observations, the stereo results are more accurate than direct stereo SLAM algorithms.
The light positioning mode can effectively reuse maps.
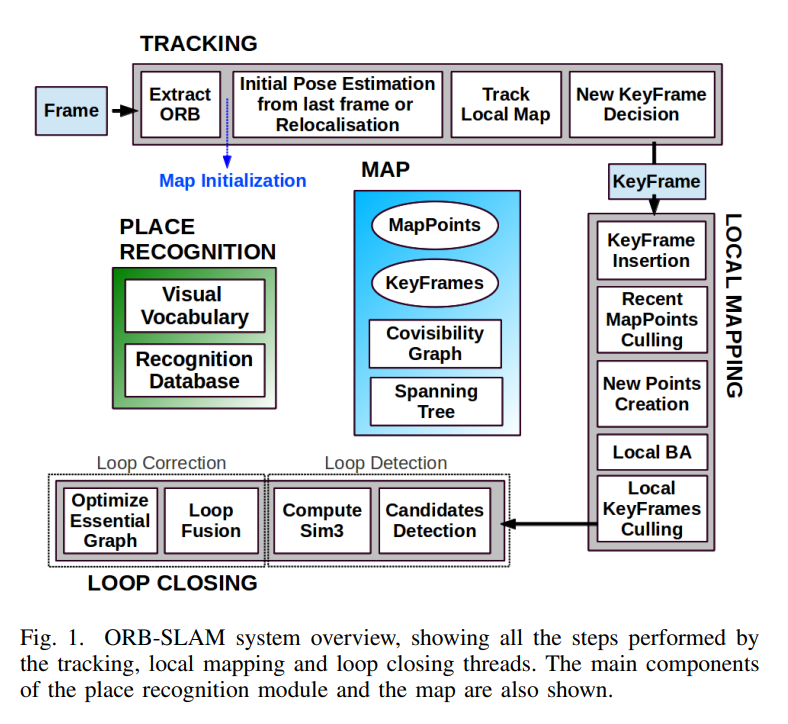
ORB-SLAM2 includes modules common to all SLAM systems: tracking, mapping, relocalization, and loop closing. The following figure shows the process of ORB-SLAM2.
5.2, Official Case
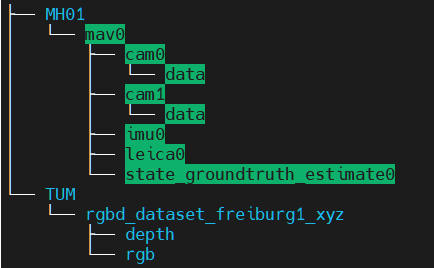
5.2.1, Dataset Location
xxxxxxxxxx/root/yahboomcar_ros2_ws/software/orbslam2/ORB_SLAM2-master/data
EuRoC's MH01 dataset and TUM's rgbd_dataset_freiburg1_xyz dataset were downloaded.
If you need other datasets, you can download them from the following address:
xxxxxxxxxxTUM Dataset: http://vision.in.tum.de/data/datasets/rgbd-dataset/downloadKITTI Dataset: http://www.cvlibs.net/datasets/kitti/eval_odometry.phpEuRoC Dataset: http://projects.asl.ethz.ch/datasets/doku.php?id=kmavvisualinertialdatasets
5.2.2, Monocular Test
Here, take the EuRoC dataset as an example and enter the ORB_SLAM2 directory:
xxxxxxxxxxcd /home/yahboom/orbslam2/ORB_SLAM2
Run the following command:
xxxxxxxxxxExamples/Monocular/mono_euroc Vocabulary/ORBvoc.txt Examples/Monocular/EuRoC.yaml data/MH_01_easy/mav0/cam0/data Examples/Monocular/EuRoC_TimeStamps/MH01.txt
The successful operation interface is as shown below,
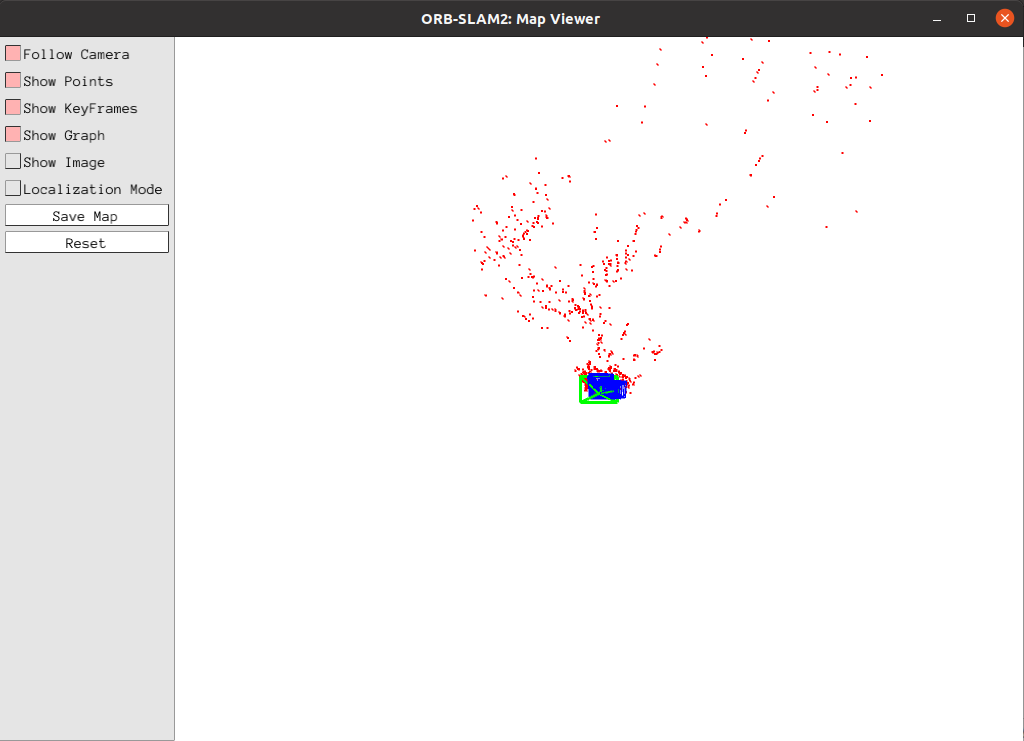
The blue box is the key frame, the green box is the camera orientation, the black point is the saved point, and the red point is the point currently seen by the camera.
Click [Show Image] to view the image.
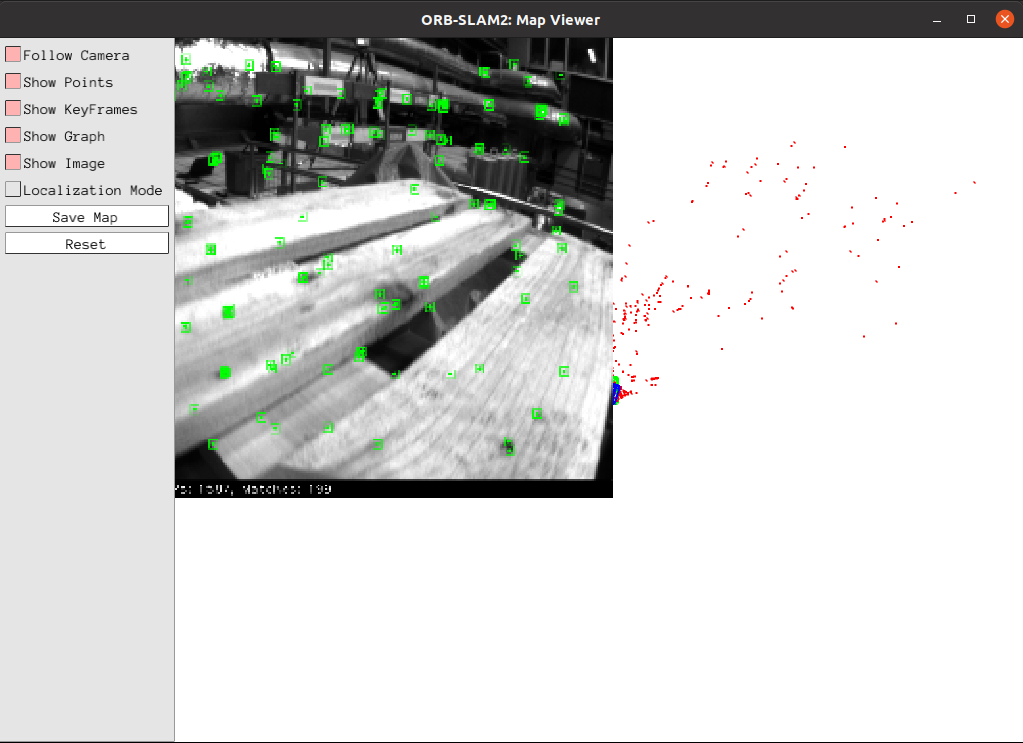
After the test, the keyframe is saved to the KeyFrameTrajectory.txt file in the current directory:
xxxxxxxxxx# Timestamp Position (x y z) + Posture (x y z w)1341847980.722988 -0.0000464 0.0001060 0.0000110 -0.0000183 0.0001468 -0.0000286 1.0000000
5.2.4, Binocular Test
Here, take the EuRoC dataset as an example, enter the ORB_SLAM2 directory, and run the following command:
xxxxxxxxxxcd /home/yahboom/orbslam2/ORB_SLAM2
Run the following command,
xxxxxxxxxxExamples/Stereo/stereo_euroc Vocabulary/ORBvoc.txt Examples/Stereo/EuRoC.yaml data/MH_01_easy/mav0/cam0/data data/MH_01_easy/mav0/cam1/data Examples/Stereo/EuRoC_TimeStamps/MH01.txtThe successful operation interface is as follows:
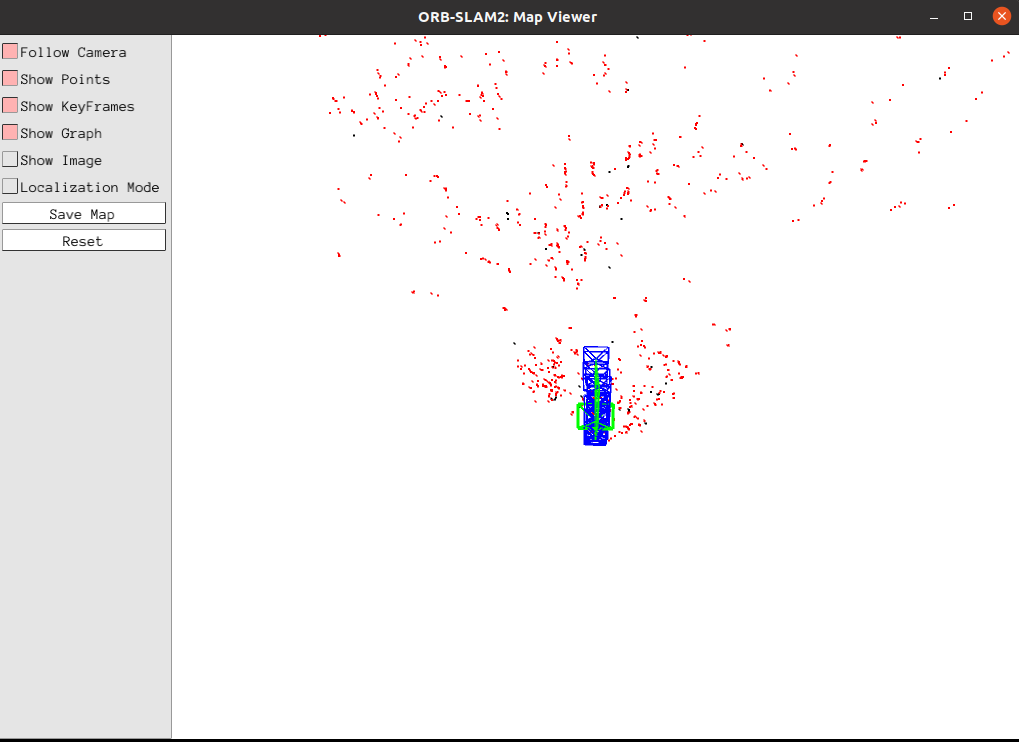
The blue box is the key frame, the green box is the camera orientation, the black point is the saved point, and the red point is the point currently seen by the camera.
Click [Show Image] to view the image.
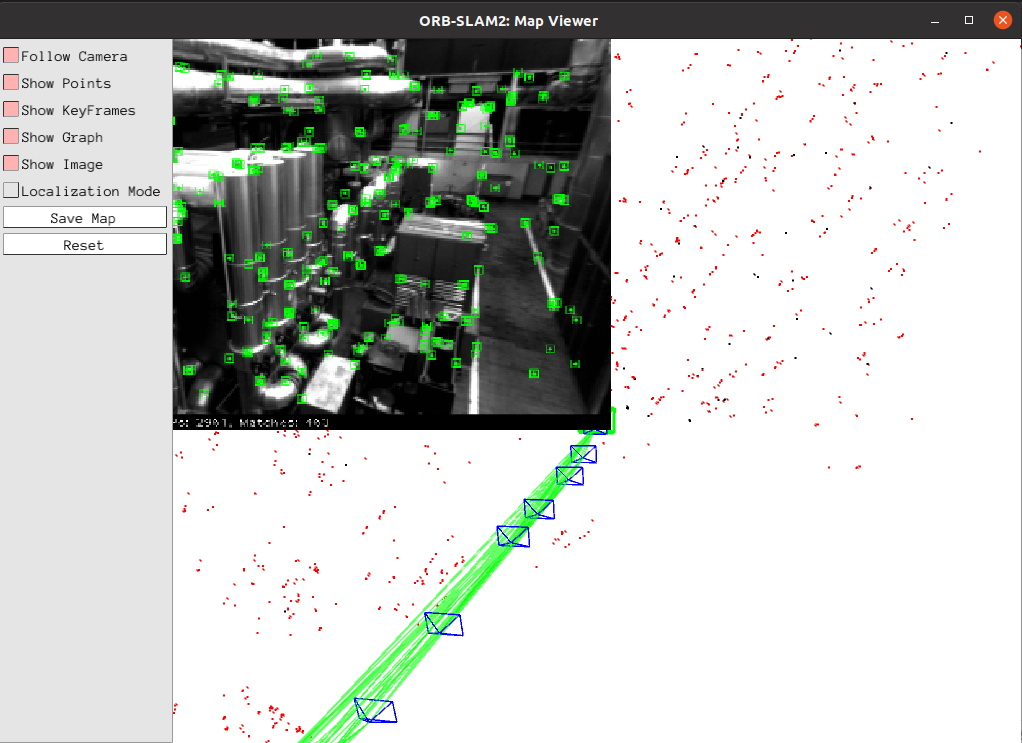
After the test, the keyframe is saved to the CameraTrajectory.txt file in the current directory
x# Timestamp Position (x y z) + Posture (x y z w)1403636597.963556 -0.020445164 0.127641633 0.107868195 -0.136788622 -0.074876986 -0.044620439 0.986757994
5.2.5, RGBD test
Enter the ORB_SLAM2 directory and enter the following command:
xxxxxxxxxxcd /home/yahboom/orbslam2/ORB_SLAM2
Run the following command,
xxxxxxxxxxExamples/RGB-D/rgbd_tum Vocabulary/ORBvoc.txt Examples/RGB-D/TUM1.yaml data/rgbd_dataset_freiburg3_long_office_household data/rgbd_dataset_freiburg3_long_office_household/associations.txt
The successful operation interface is as follows:
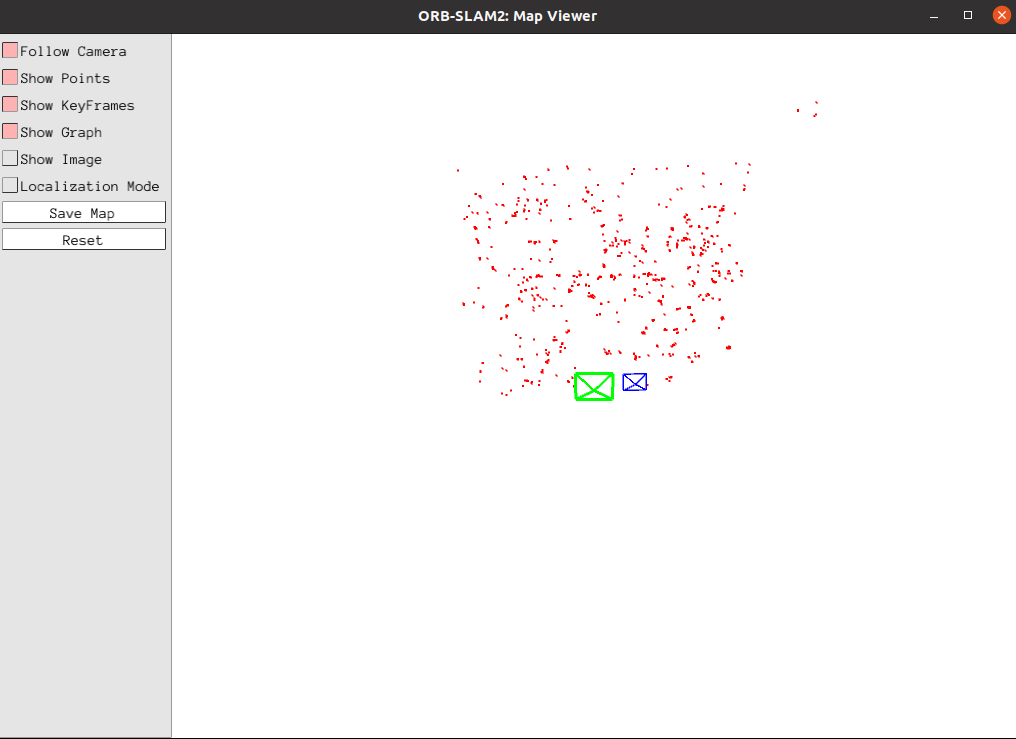
Click [Show Image] to view the image.
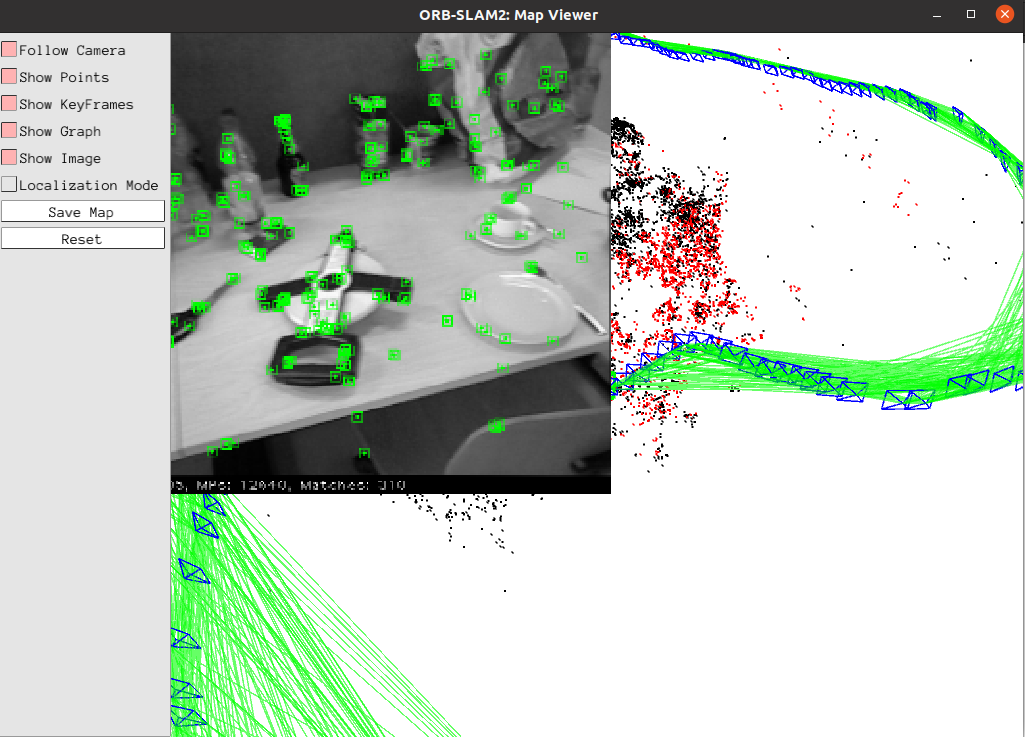
CameraTrajectory.txt and KeyFrameTrajectory.txt will also be saved after the run
5.3, ORB_SLAM2 ROS2 camera test
5.3.1, monocular test
Start camera ORB_SLAM2 test
xxxxxxxxxx# Start camera: only the RGB image of gemini camera is used here (equivalent to monocular)ros2 launch astra_camera gemini.launch.xml# Start orbslam noderos2 launch yahboomcar_slam orbslam_ros_launch.py orb_slam_type:=mono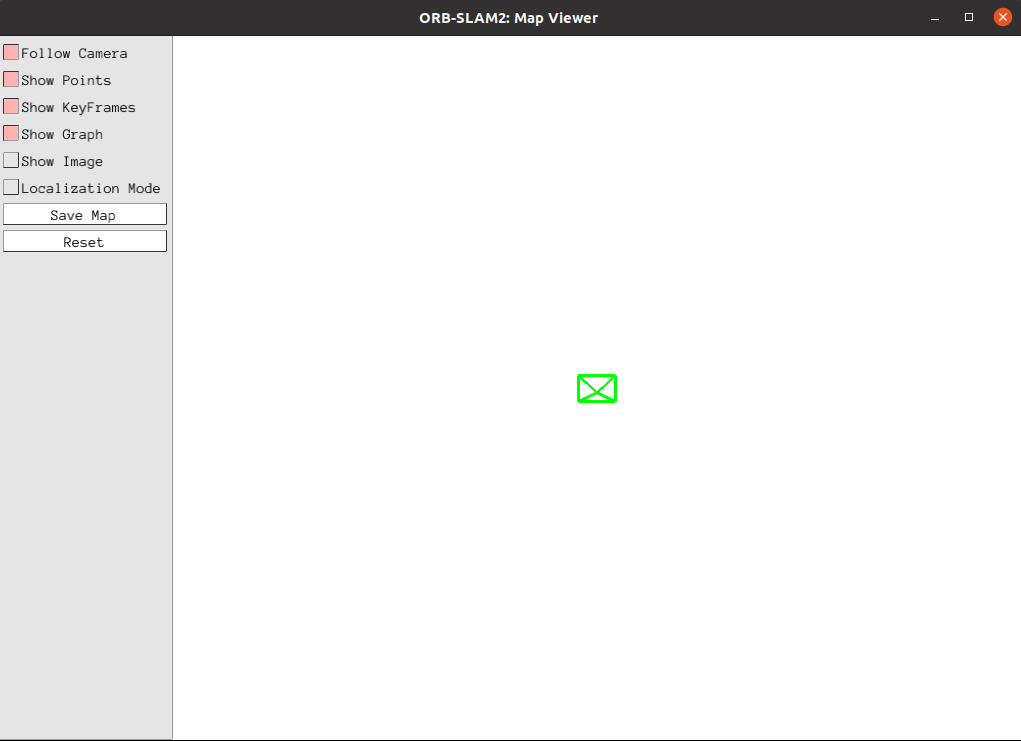
When the command is executed, there is only a green box in the [ORB_SLAM2:Map Viewer] interface, and the [ORB_SLAM2:Current Frame] interface is trying to initialize. At this time, slowly move the camera up, down, left, and right to find feature points in the picture and initialize slam.
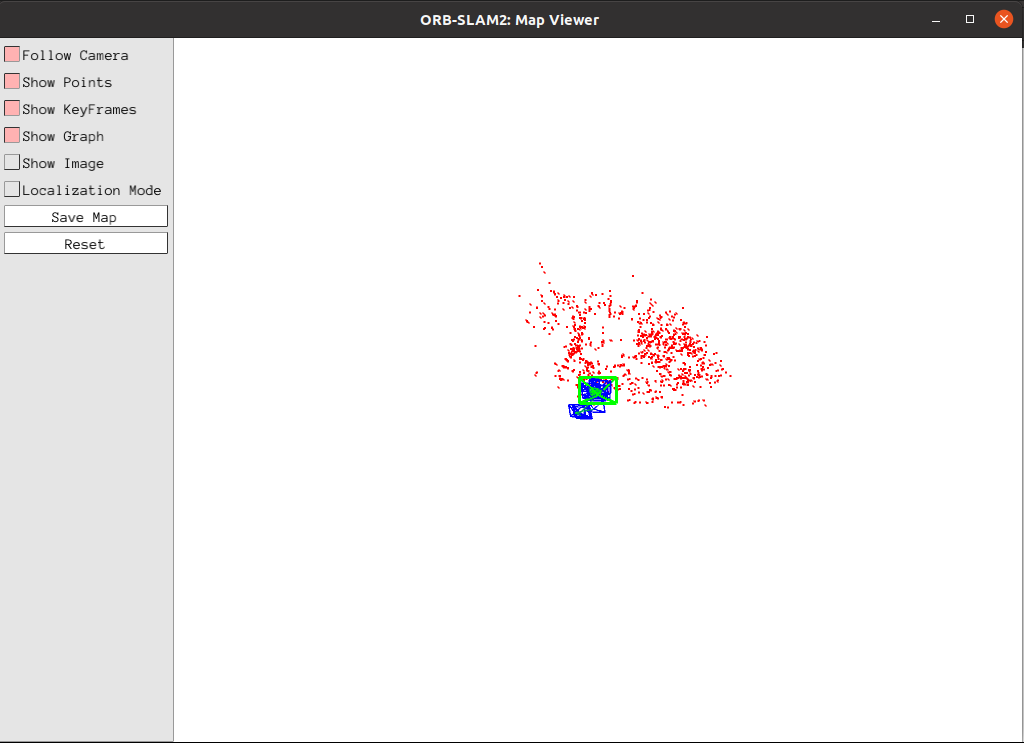
Click [Show Image] to view the image.
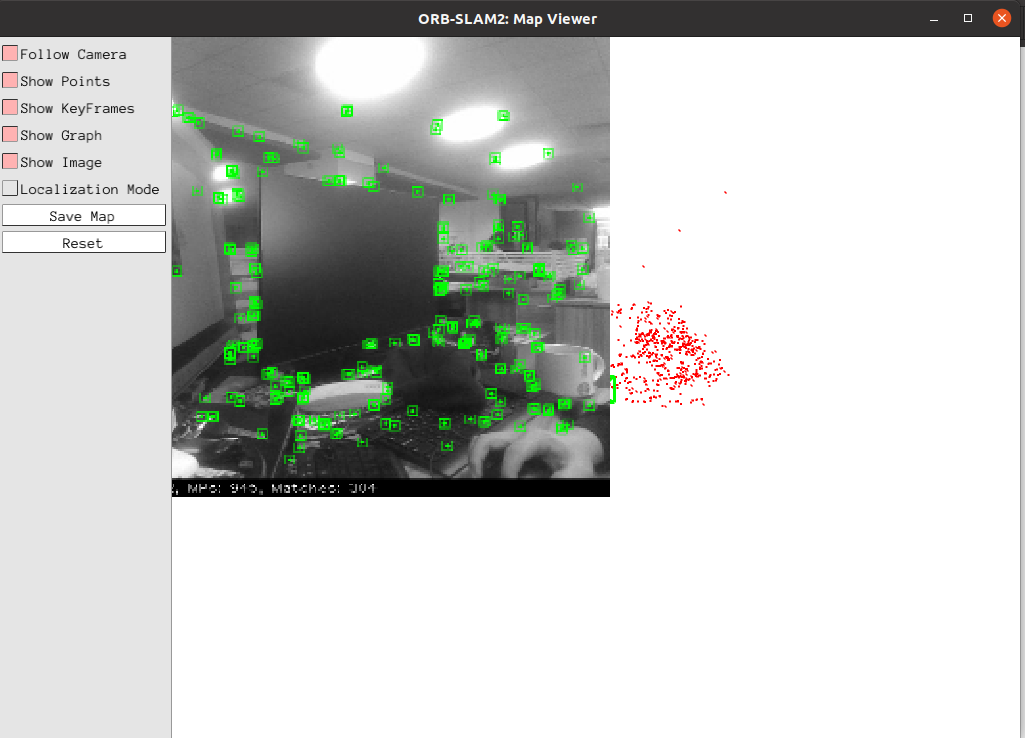
After the test, the keyframe is saved in the KeyFrameTrajectory.txt file in the following directory:
xxxxxxxxxx~/orbbec_ws/src/ros2-ORB_SLAM2/src//monocular/KeyFrameTrajectory.txt
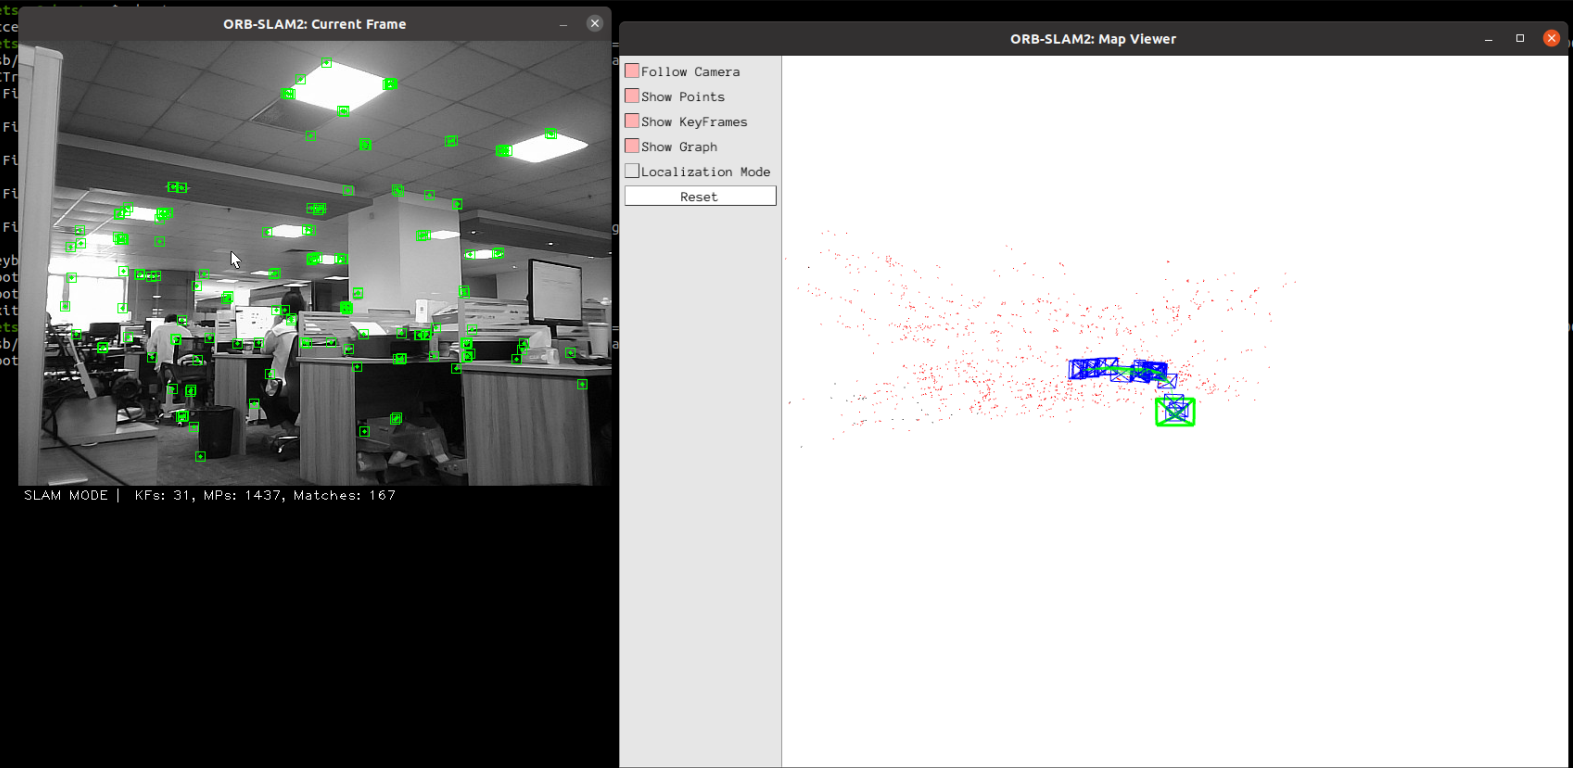
As shown in the figure above, enter the [SLAM MODE] mode at this time. When running the monocular, each frame of the image must be continuously acquired to locate the camera. If the pure positioning mode [Localization Mode] in the upper left figure is selected, the camera will not be able to find its own position and must start acquiring keyframes again.