Welcome to MSPM0G3519 Development Board repository
1. CCS Theia Development
CCS Theia
CCS Theia1. Download MSPM0-SDK2. Install MSPM0-SDK3. Install CCS Theia4. Manual SDK Configuration4.1 Configure other language Display*4.2 Configure SDK5. Create New Project6. SYSCFG Settings7. Build Project7.1 Build Configuration7.2 Build
CCS Theia (Code Composer Studio IDE Theia): An integrated development environment (IDE) for TI microcontrollers and processors.
MSPM0 Software Development Kit (SDK): Provides comprehensive software resources, along with corresponding tools and documentation.
The installation package path and software installation path should not contain Chinese characters. Please place the installation package in a fully English path for installation.
1. Download MSPM0-SDK
Download address: MSPM0-SDK Software development kit (SDK) | TI.com
You can download the latest version from the above link, or use the version provided in our materials.
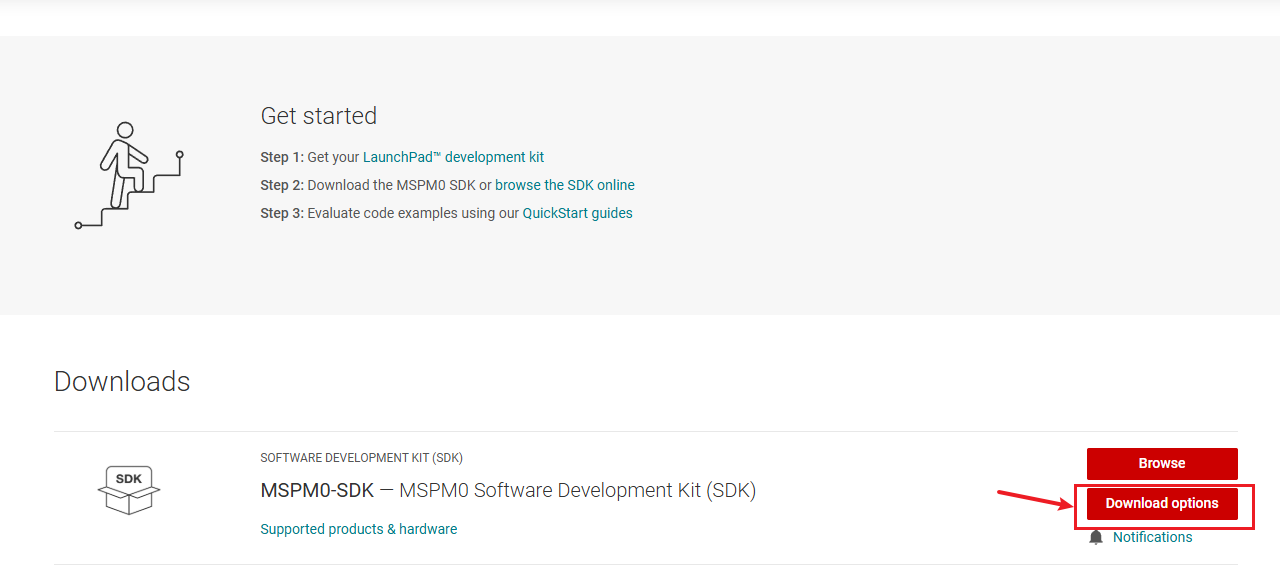
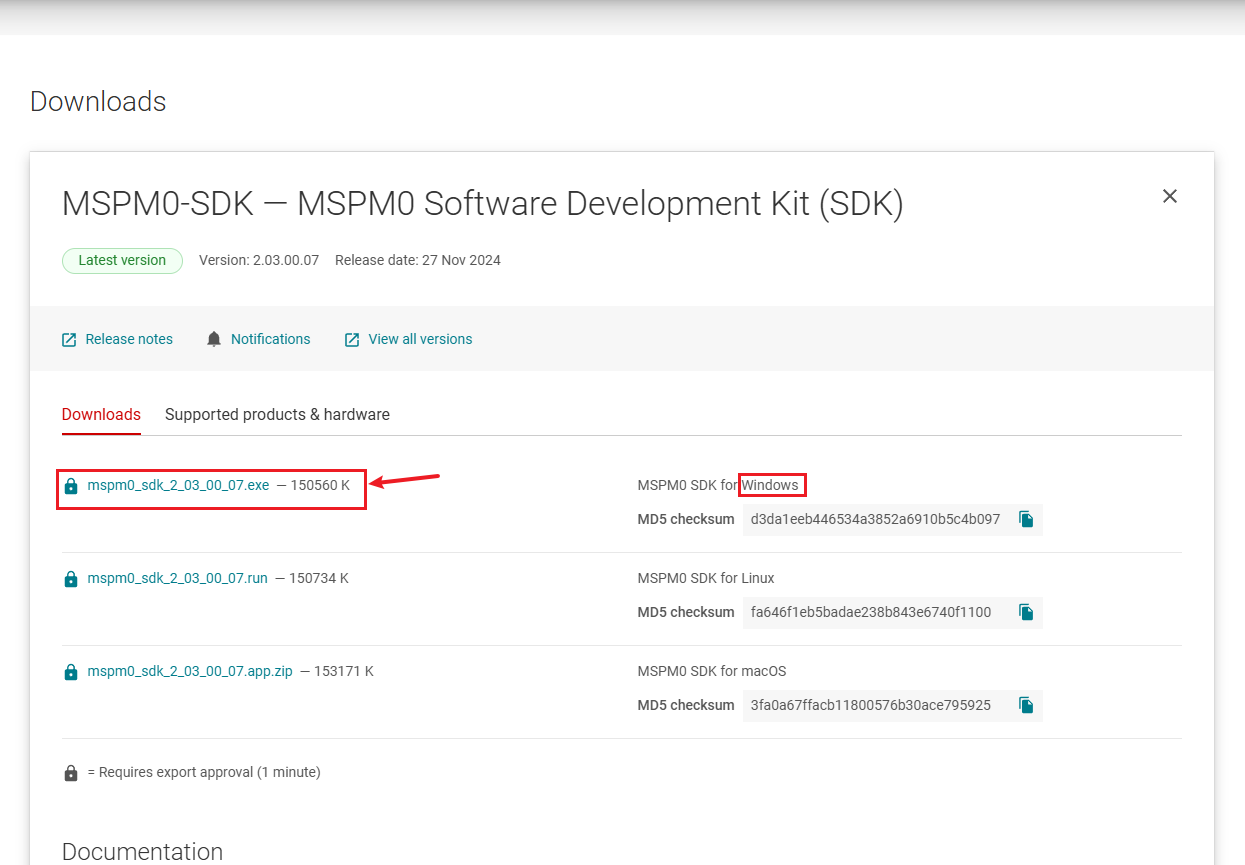
2. Install MSPM0-SDK
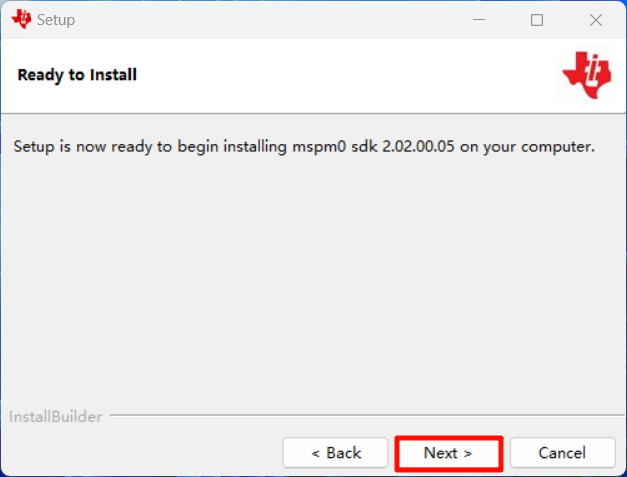
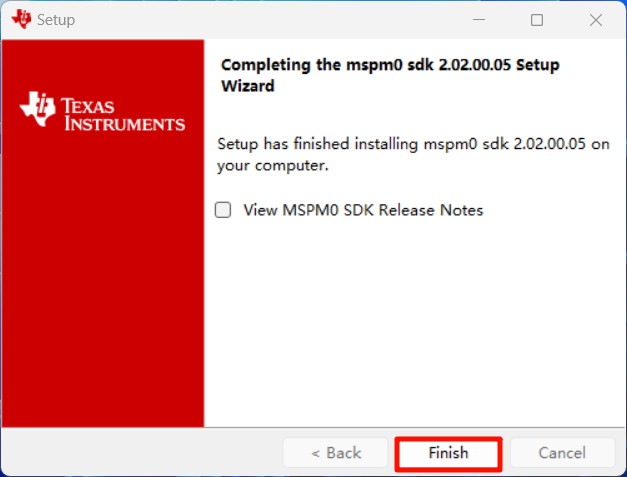
Open mspm0_sdk_xx.exe as administrator and follow the prompts:
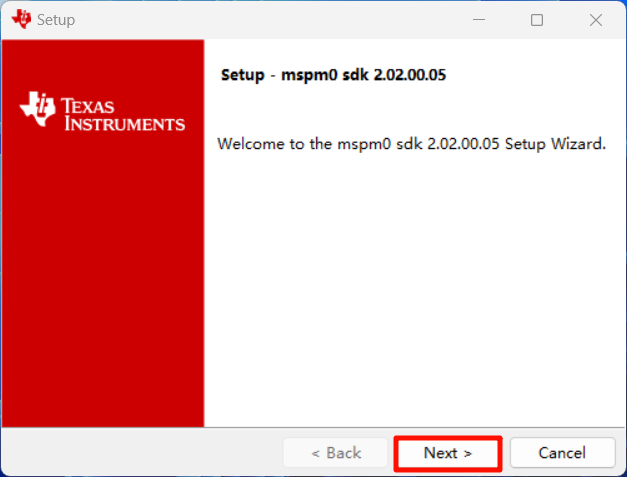
Accept Agreement
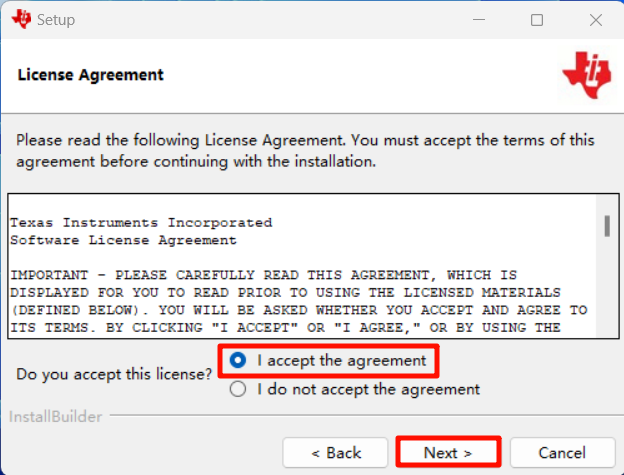
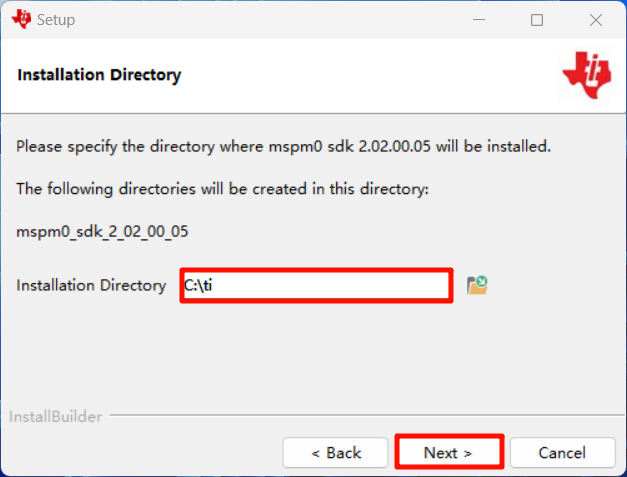
Installation Location
It is recommended to use the default location:
3. Install CCS Theia
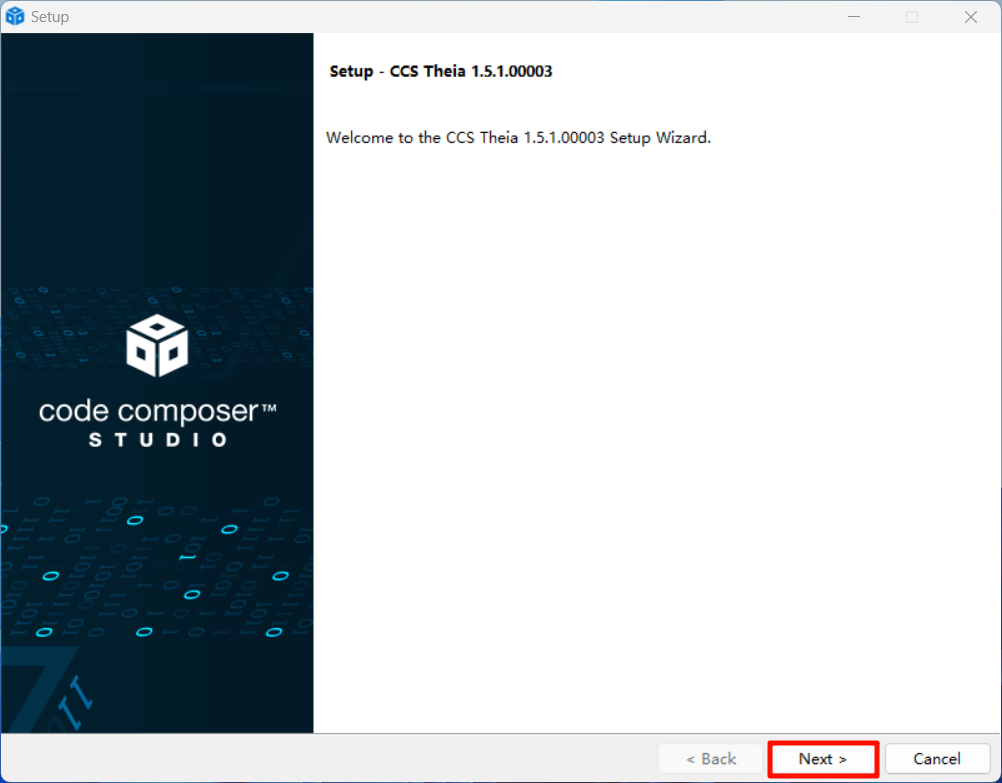
Open ccs_theia_setup_xx.exe as administrator and follow the prompts:
Accept Agreement
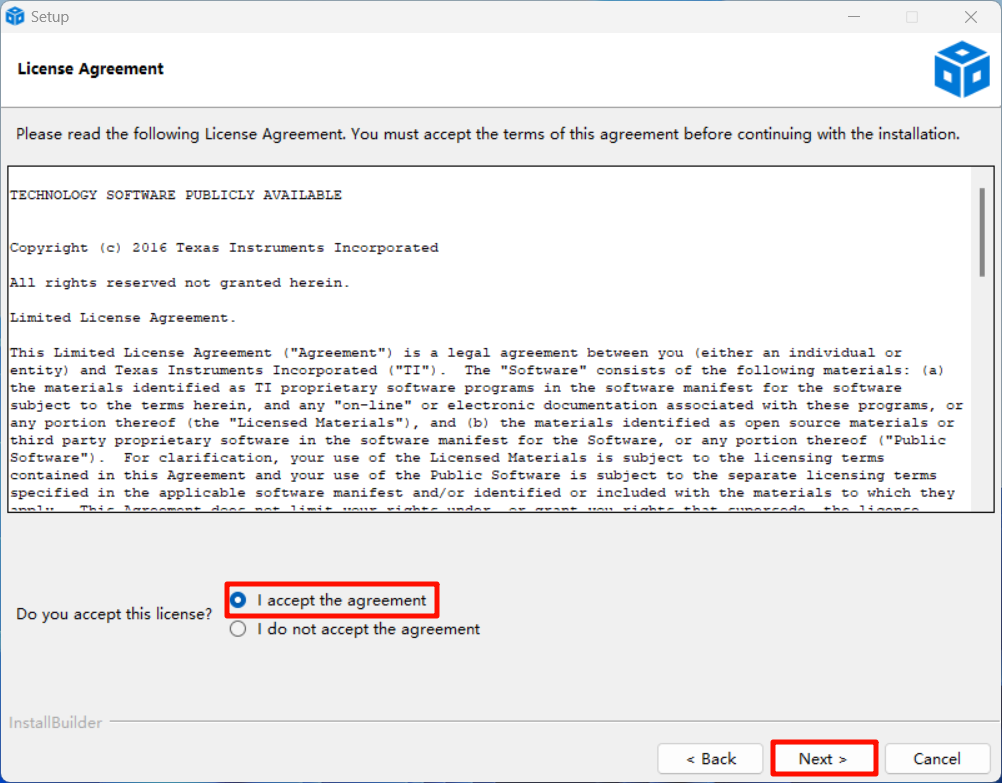
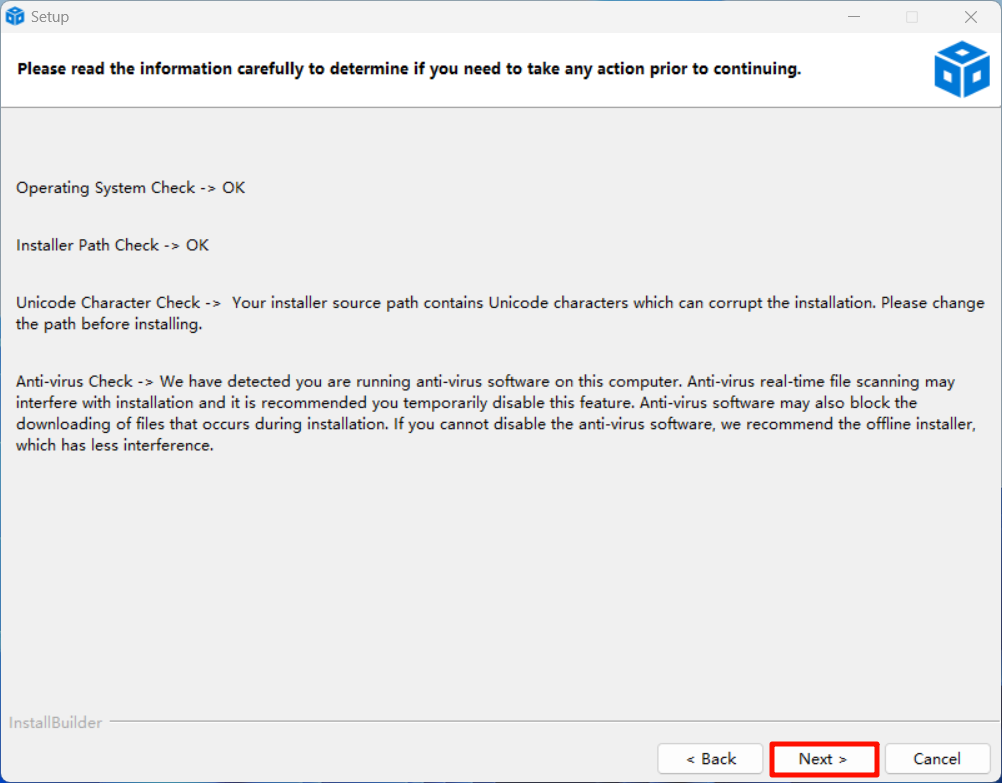
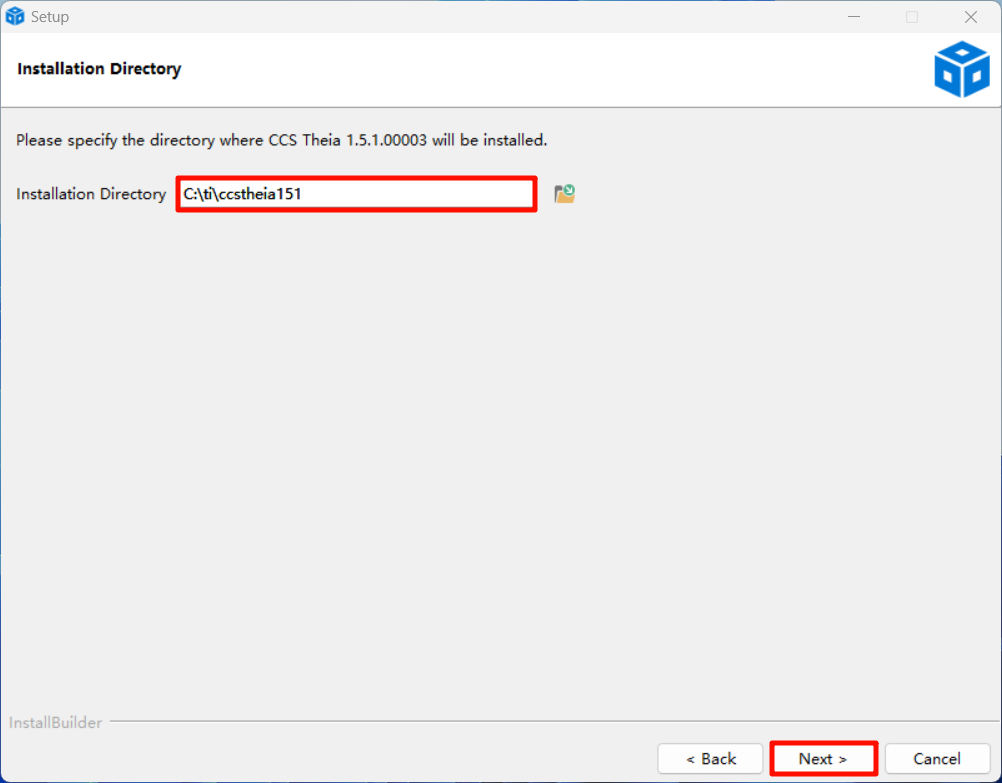
Installation Location
It is recommended to use the default location:
Note: The path cannot contain Chinese characters. If your computer username is in Chinese, you cannot install in the default location. You must install in an English path.
Install Components
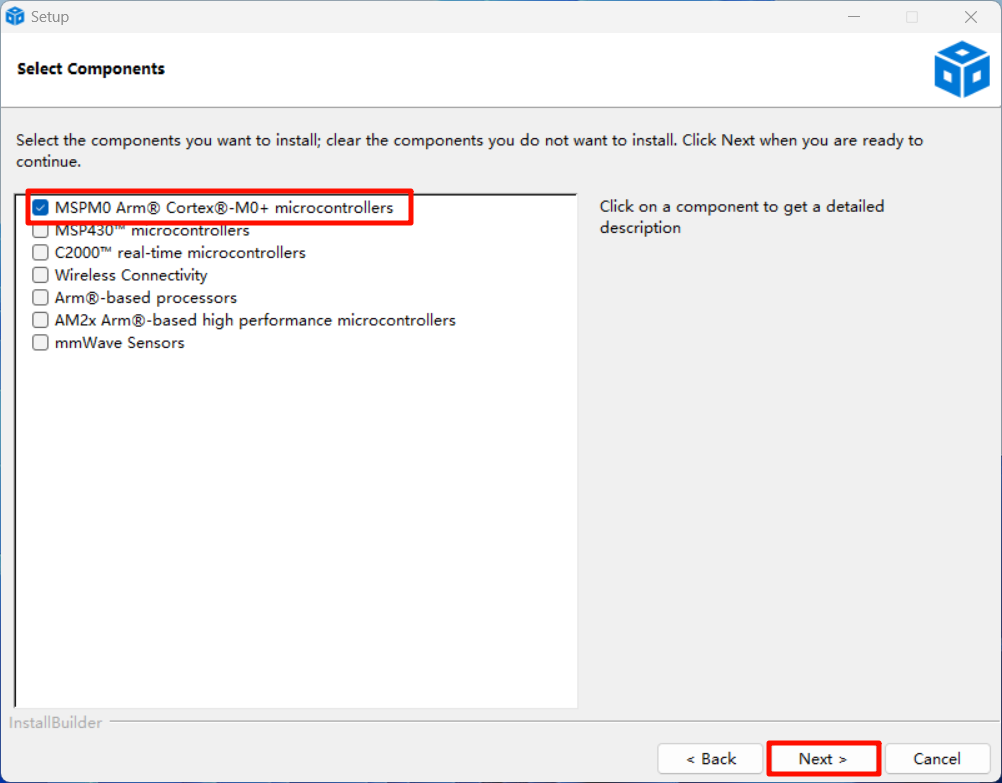
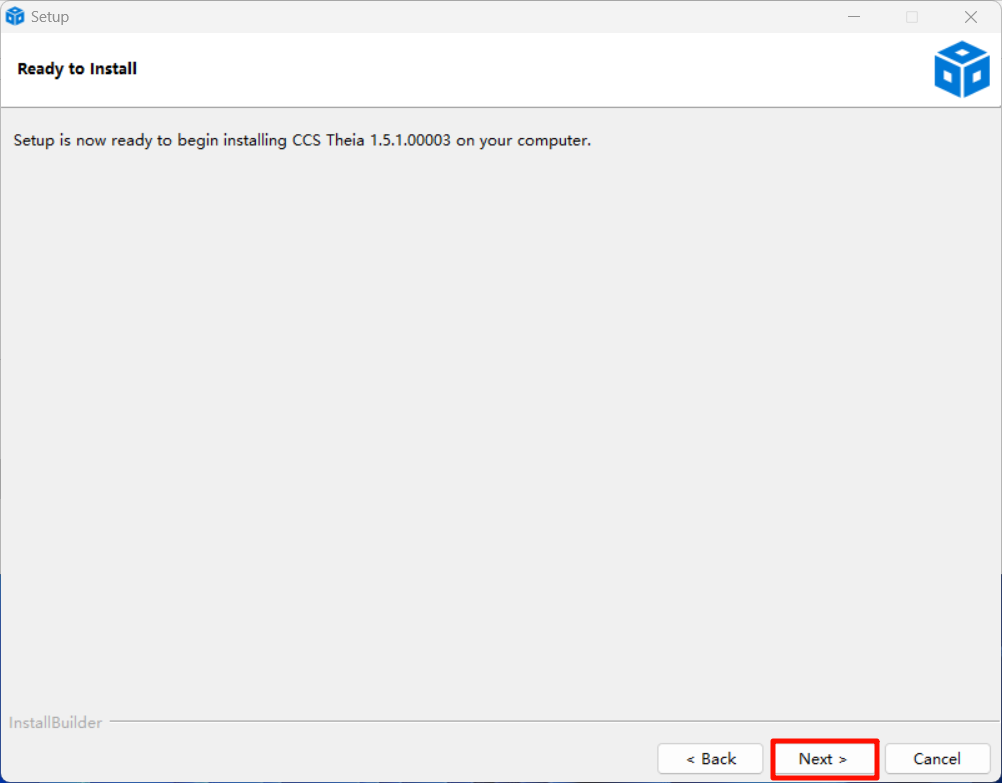
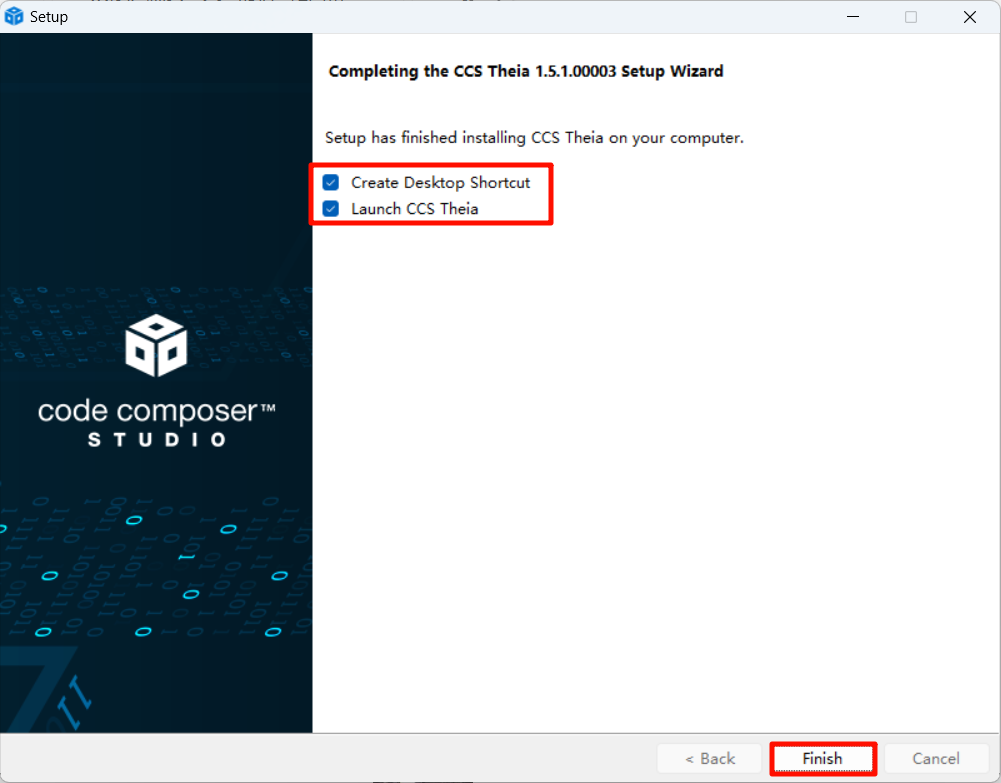
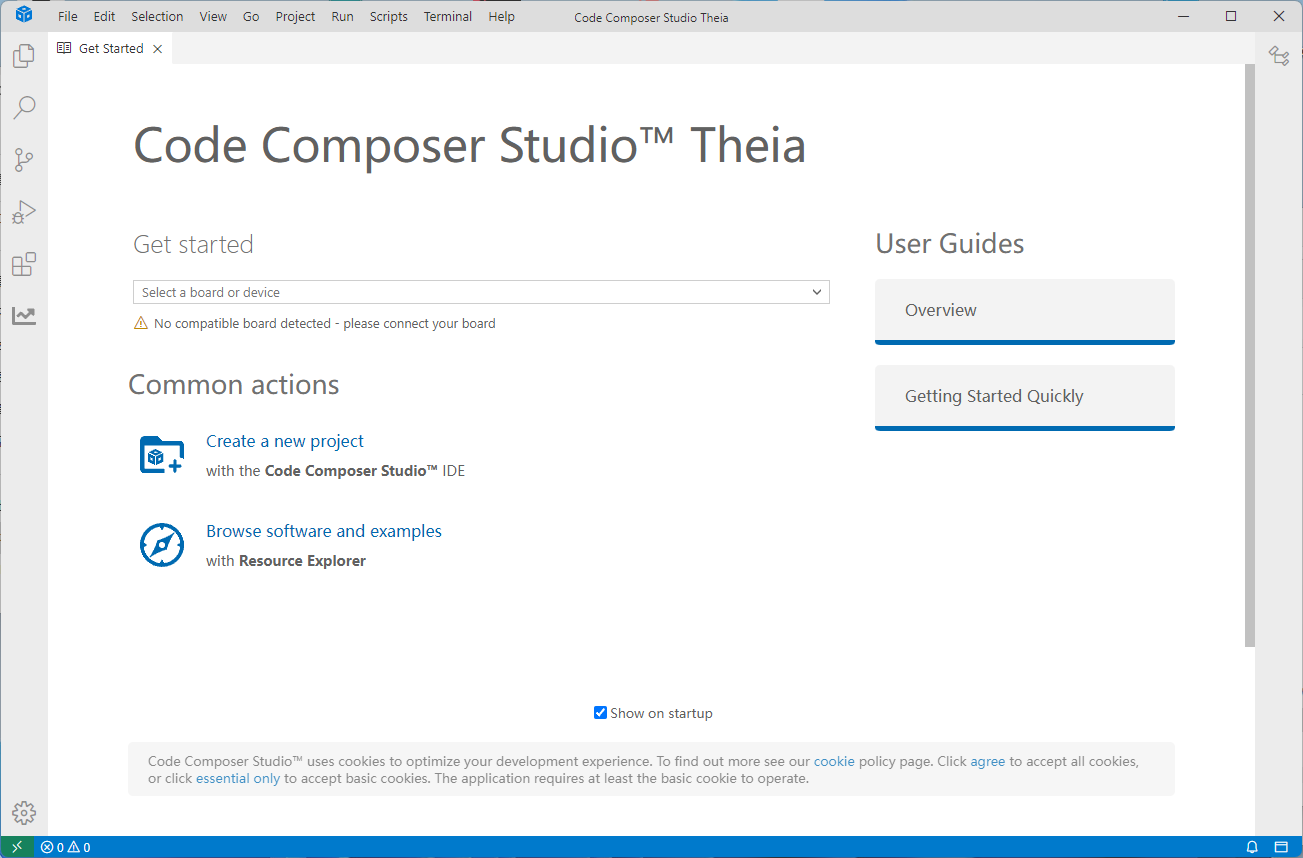
4. Manual SDK Configuration
4.1 Configure other language Display*
You can skip this configuration tutorial. It does not affect the environment setup.
Press the shortcut key shift+ctrl+P, enter Configure Display Language to access the language configuration interface.
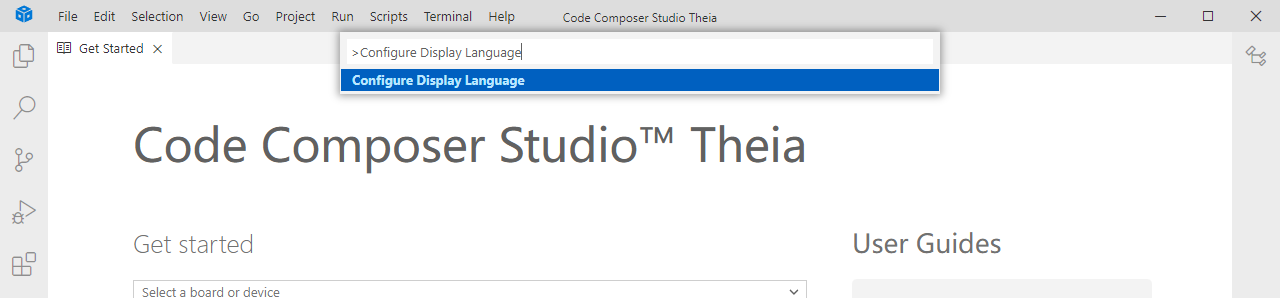
Wait for CCS to load all languages, then select Chinese to install.
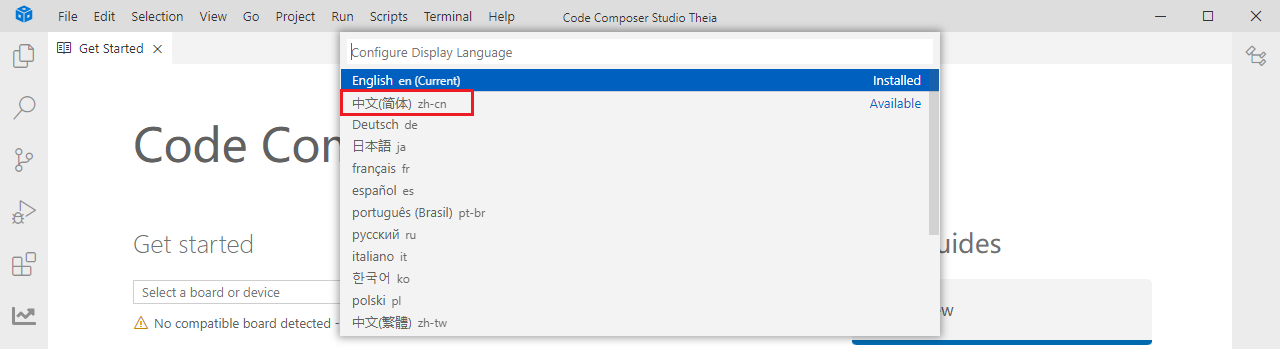
4.2 Configure SDK
Open CCS Preferences --> Code Composer Studio Settings...
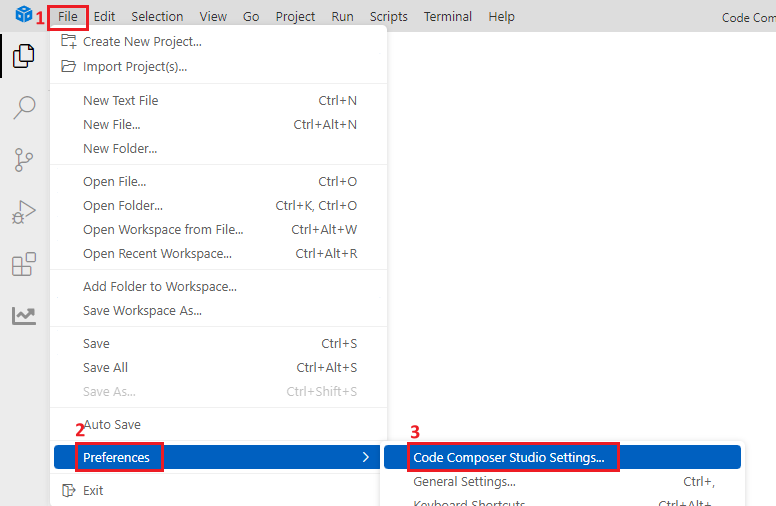
Click Products, add the SDK path.
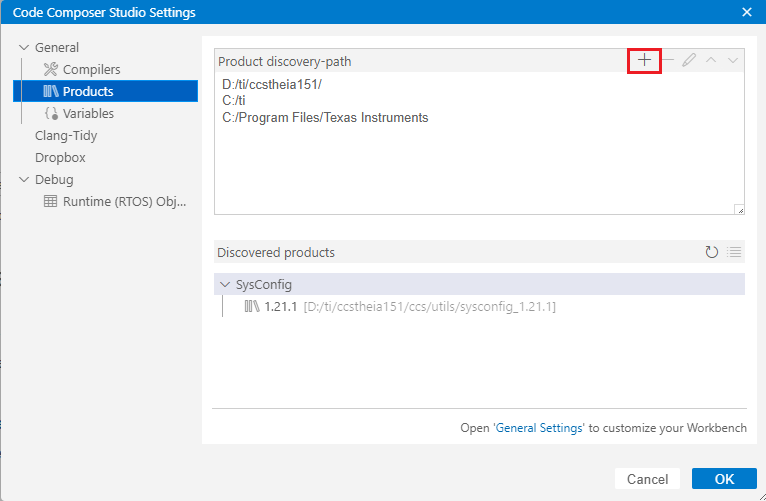
Select your SDK path and import it into CCS configuration. The SDK will be automatically recognized.
The following shows my SDK path address.
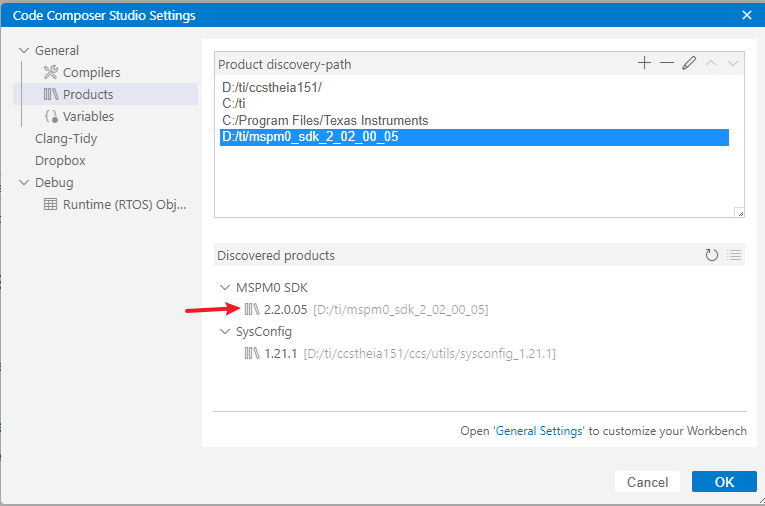
After completion, click OK.
5. Create New Project
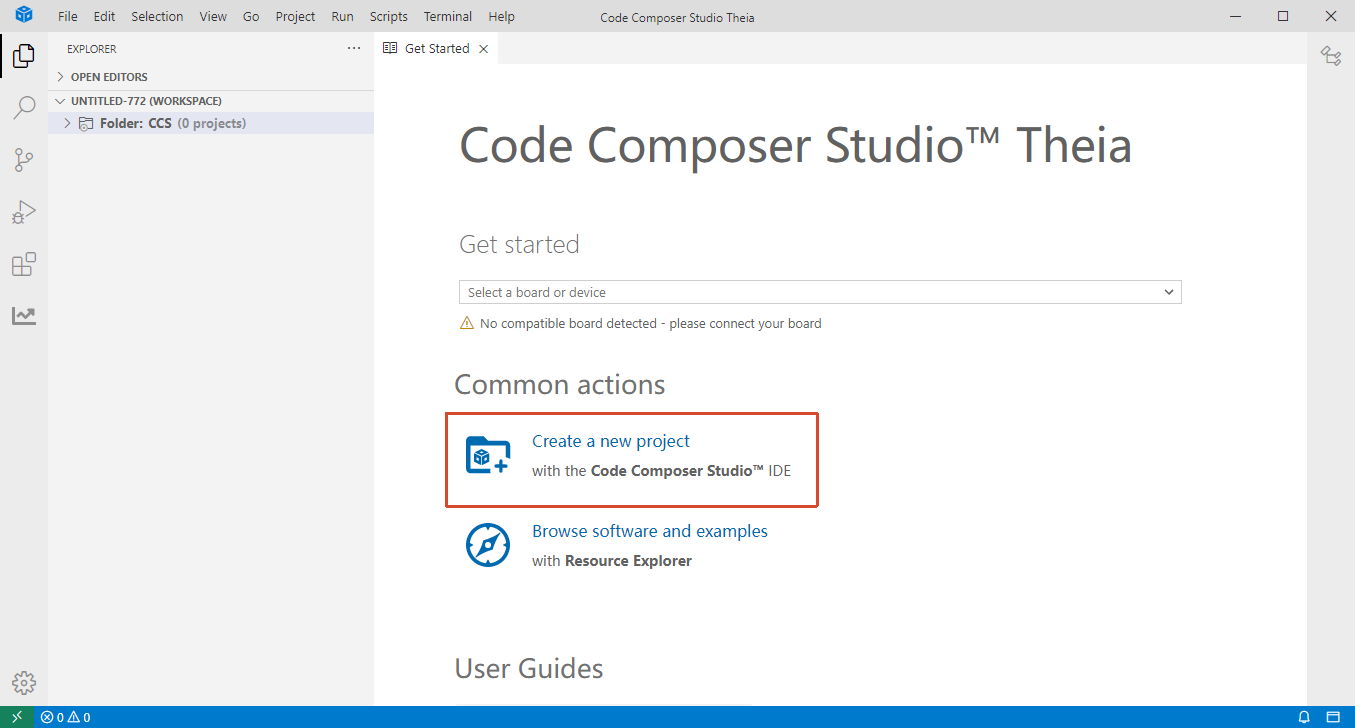
Click Create a new project to create a new project
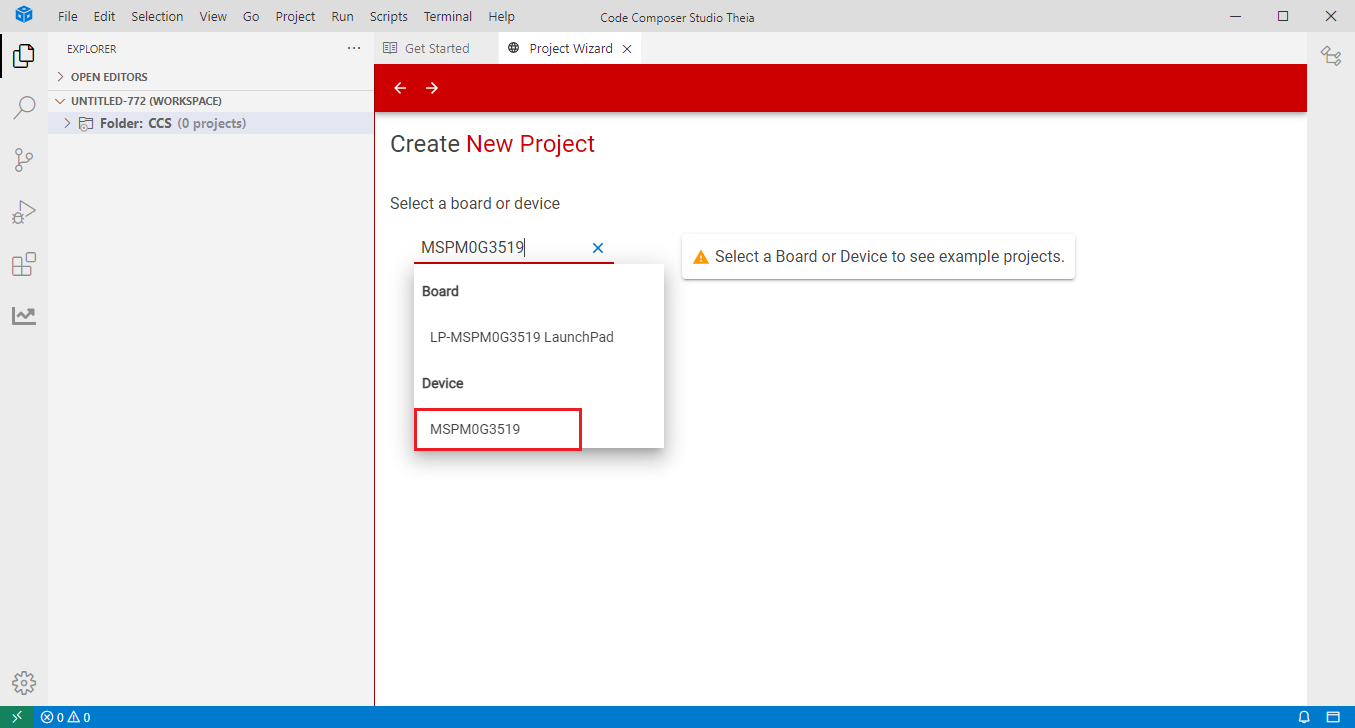
Manually enter MSPM0G3519, and select MSPM0G3519 as the device from the dropdown.
Then set the parameters as follows. After setting, click CREAT to create the project.
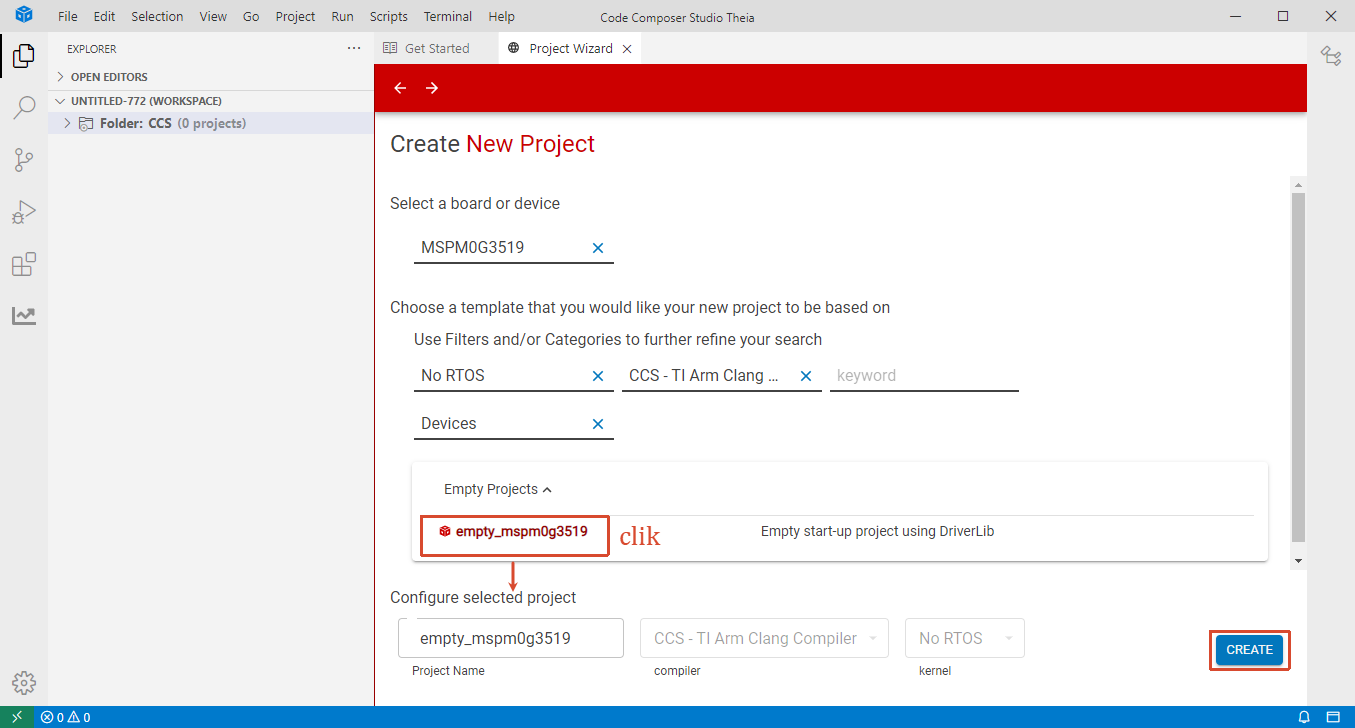
During creation, it may prompt that no SDK is detected and ask if you want to install online. Since you have manually configured the SDK earlier, if this prompt appears, it means the SDK is the latest version. You can download the latest version from the SDK download link and reconfigure.

This is the project we created.
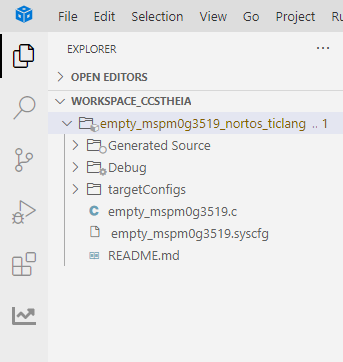
xxxxxxxxxxThe default location for newly created projects when first opening the software is C:\Users\Administrator\workspace_ccstheia (workspace). You can copy the project file to another folder, then open that folder in CCS Theia to generate a new workspace. The next time you open the software, it will open the new workspace by default, and newly created projects will also be placed in that workspace by default.
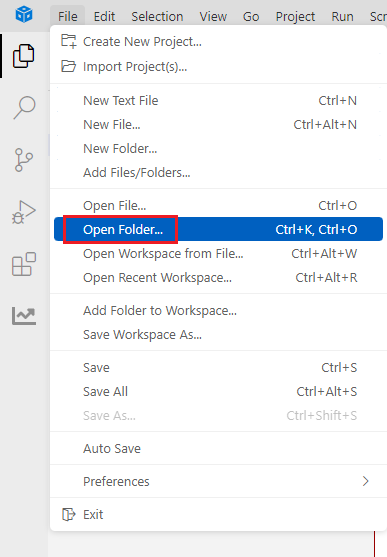
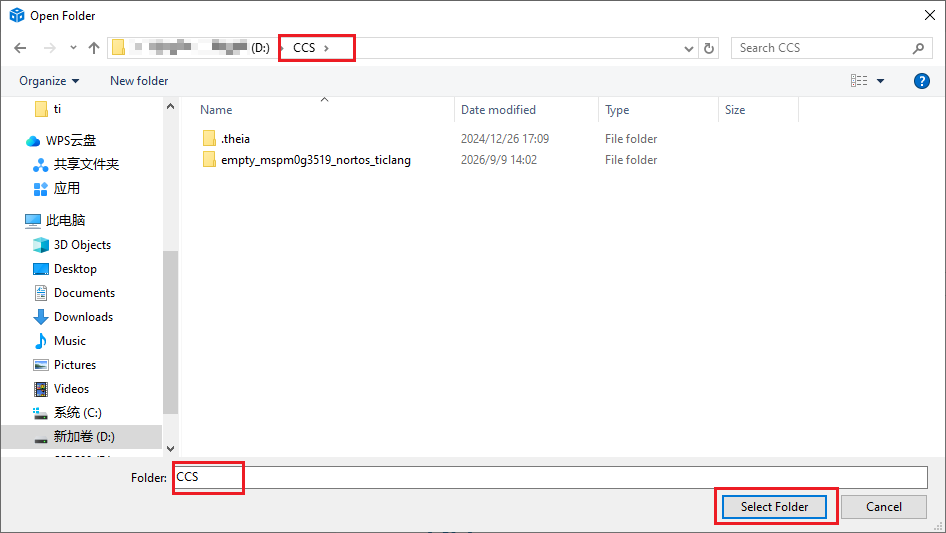
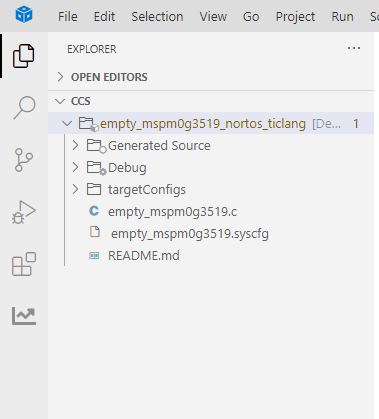
6. SYSCFG Settings
Open the .syscfg file of the project. You can configure on this page. After configuration, use the shortcut key Ctrl + S to save your configuration.
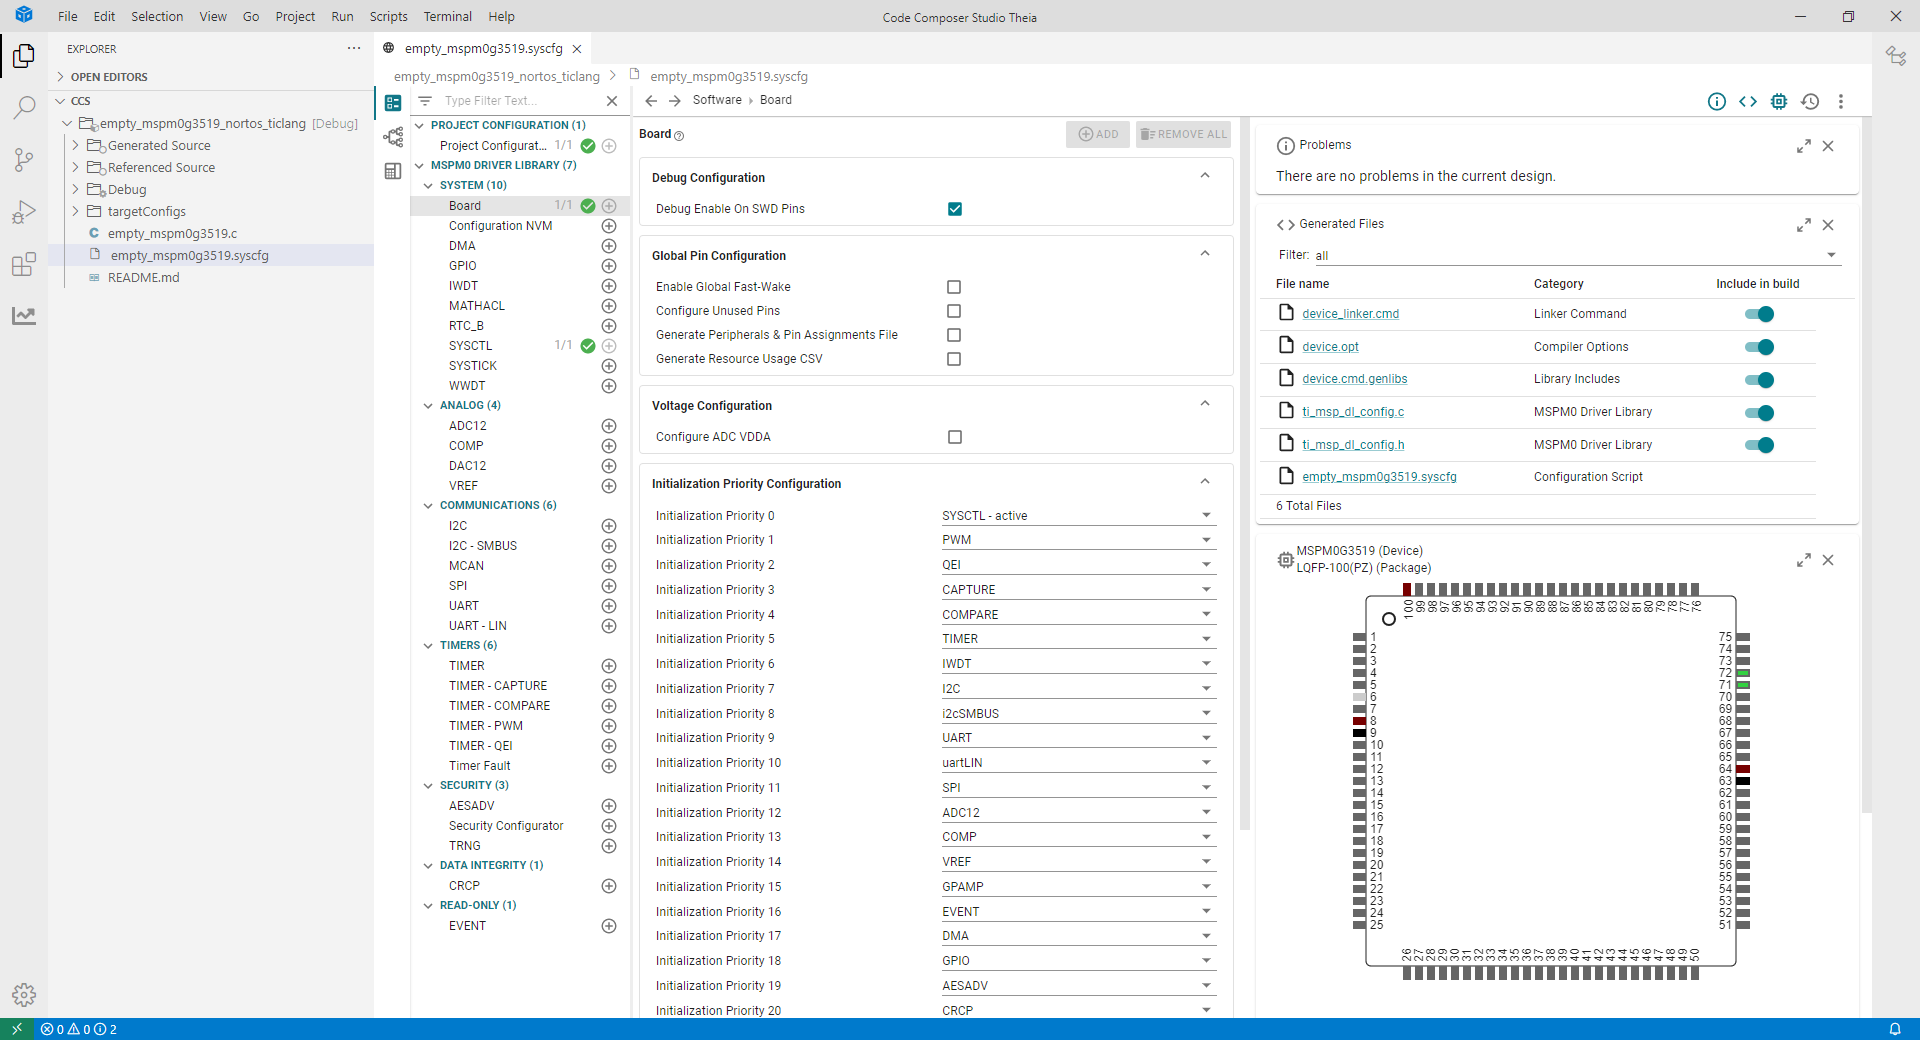
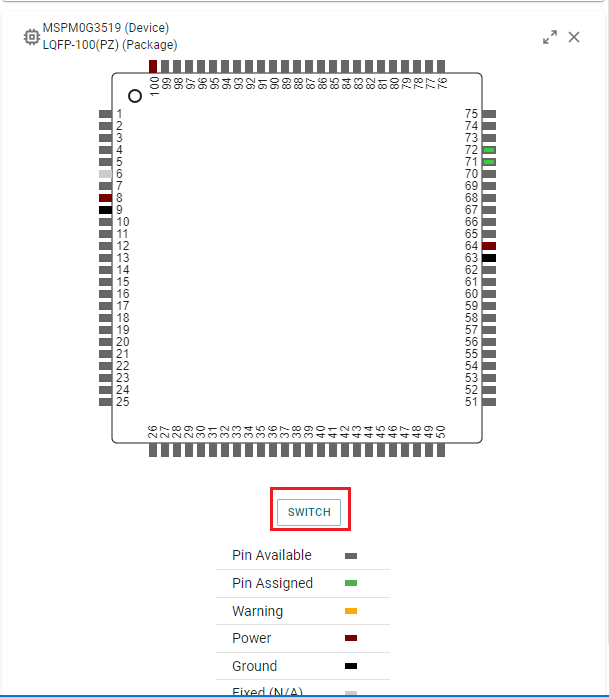
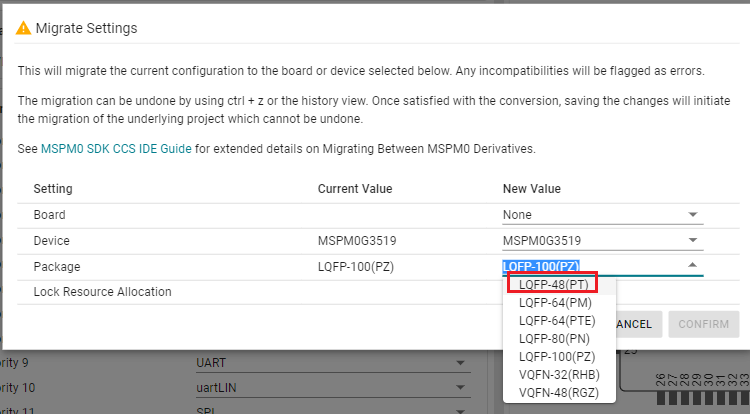
Note: You need to select the corresponding configuration here based on the chip package you are using. The chip package used by Yahboom is LQFP-48(PT).
7. Build Project
7.1 Build Configuration
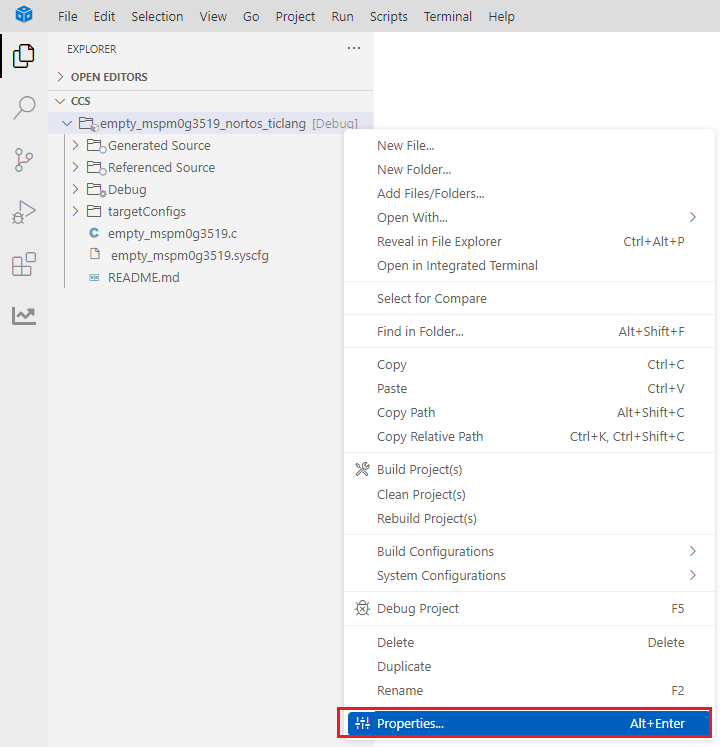
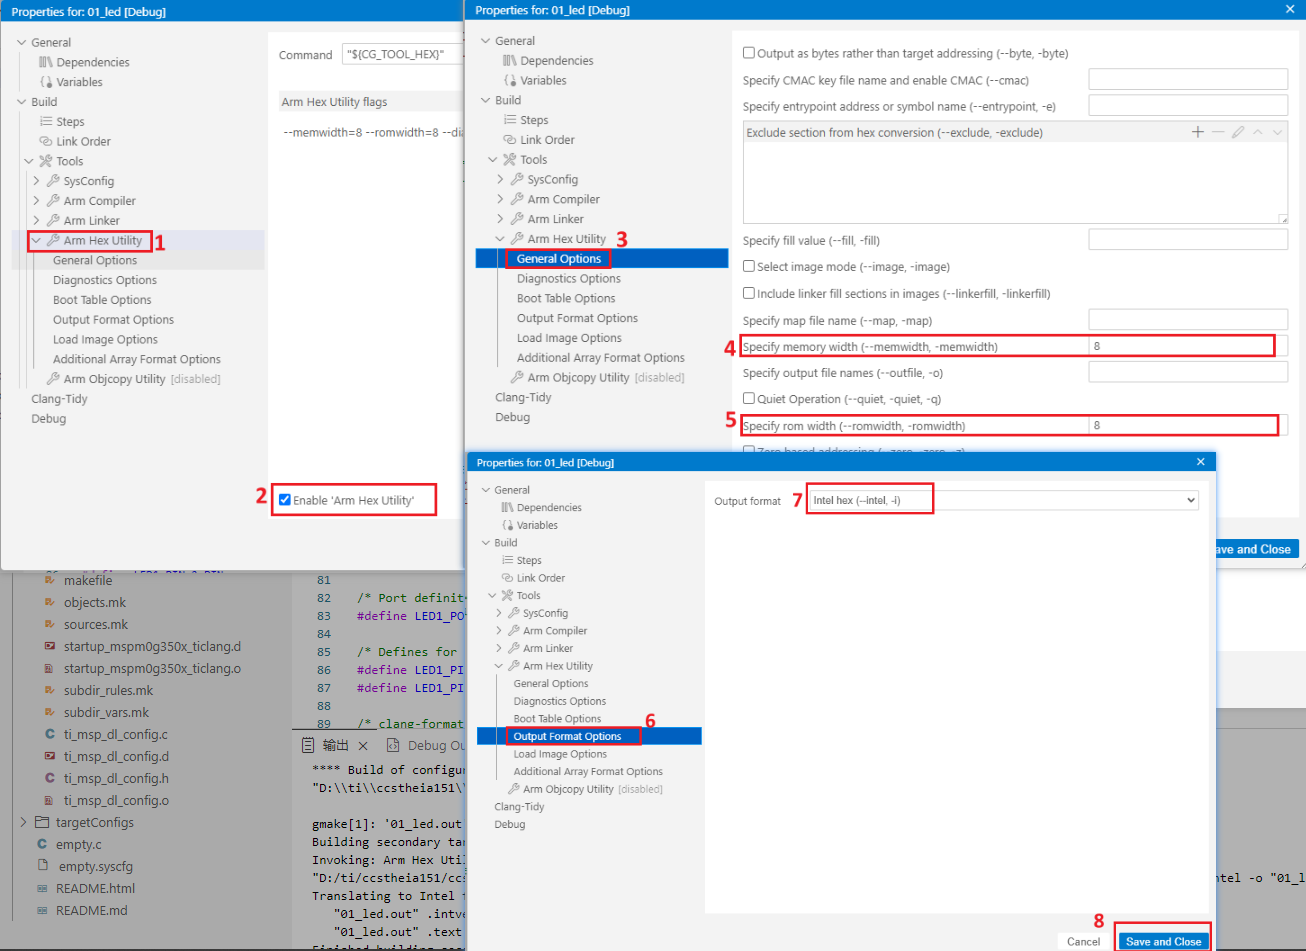
Right-click the project file, then select Properties. Select Build -->Tools --> Arm Hex Utility, check Enable.
In General Options, select memory and ROM width of 8. In Output Format Options, select output format Intel hex (--intel, -i). Finally, save and exit.
7.2 Build
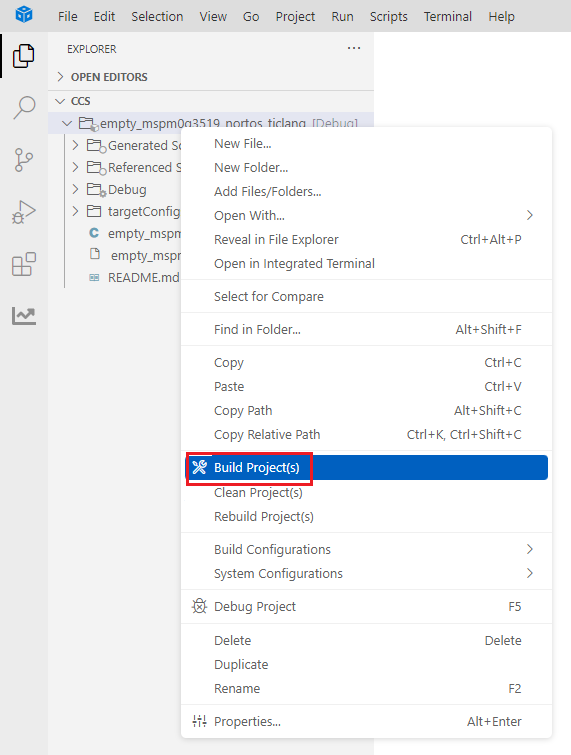
Right-click the project folder, select Build Project(s) to build.
Normal build output is as follows:
