Welcome to Raspberry Pi 4B repository
3.7 Install OpenCV
1. Based on the Raspbian image
This course is based on 2020-08-20-raspios-buster-armhf.img to install Opencv4.5.0,
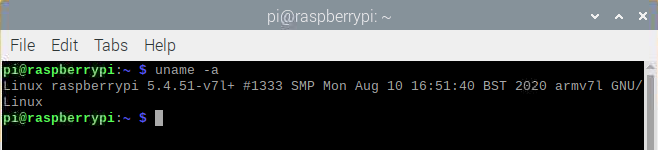
Input the command uname -a to view the kernel version of the Raspberry Pi.
If you use other versions of image files, this tutorial may not be applicable.
It is recommended to use the official source of Raspberry Pi.
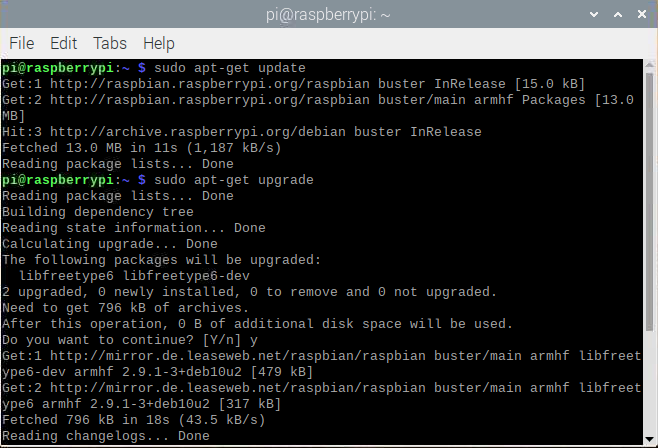
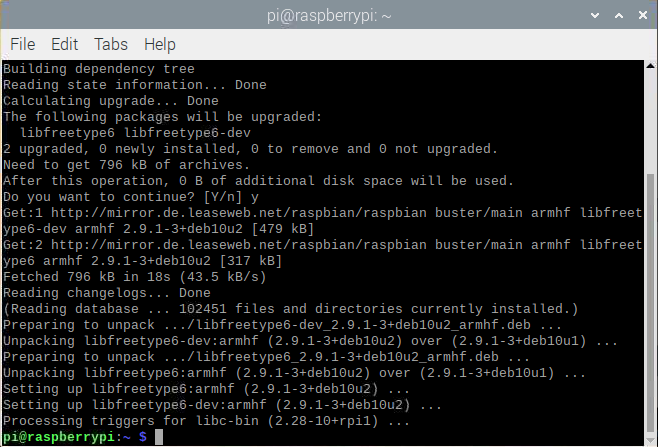
Input following command to update system.
sudo apt-get update
sudo apt-get upgrade
2. Expand the file system
The function of this part is to expand the memory of the SD card to prevent insufficient memory during the installation and compilation process. Enter the following command in the terminal to enter the Raspberry Pi configuration interface.
sudo raspi-config
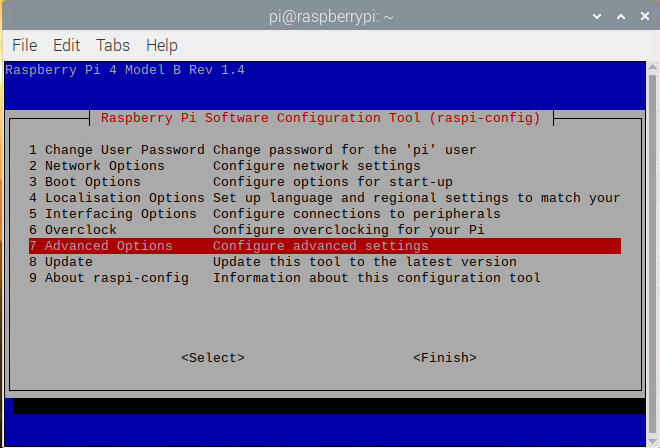
Choose [7 Advanced Options].
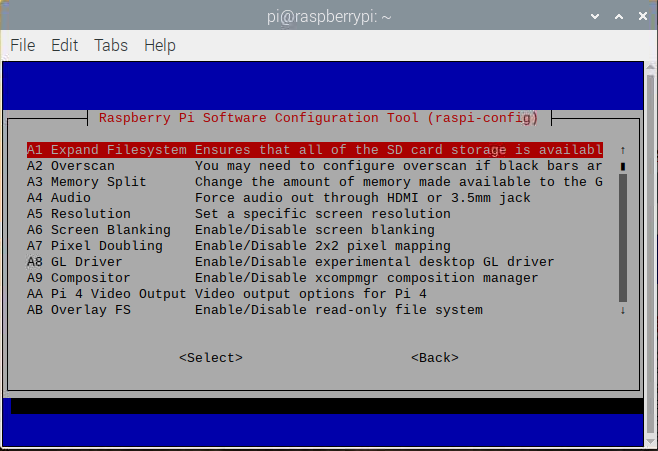
Choose[A1 Expand Filesystem].
Input following command to restart Raspberry Pi.
sudo reboot
3. Install dependencies/libraries
Input following command to install compiler:
sudo apt-get install build-essential
Input following command to install dependencies:
sudo apt-get install cmake git
sudo apt-get install libgtk2.0-dev
sudo apt-get install pkg-config libavcodec-dev libavformat-dev libswscale-dev
Input following command to install dependencies provided for official:
sudo apt-get install python-dev python-numpy libtbb2 libtbb-dev libjpeg-dev libpng-dev libtiff-dev libjasper-dev libdc1394-22-dev
Input following command to install picture and video operation library:
sudo apt-get install libjpeg-dev libpng-dev libtiff-dev
sudo apt-get install libavcodec-dev libavformat-dev libswscale-dev libv4l-dev
sudo apt-get install libxvidcore-dev libx264-dev
Install GTK and warning filters:
sudo apt-get install libgtk-3-dev
sudo apt-get install libcanberra-gtk*
(The asterisk * indicates that the version of the corresponding Raspberry Pi ARM architecture is automatically obtained)
Install OpenCV optimized data library:
sudo apt-get install libatlas-base-dev gfortran
Install Python3 development-related libraries:
sudo apt-get install python3-dev
sudo apt-get install libjasper-dev libjasper1
Install HDF5 and QT libraries:
sudo apt-get install libhdf5-dev
sudo apt-get install libhdf5-serial-dev
sudo apt-get install libatlas-base-dev
sudo apt-get install libjasper-dev
sudo apt-get install libqtgui4
sudo apt-get install libqt4-test
4. Increase virtual memory
During the installation process, a large amount of memory is required, so we need to change the size of the virtual memory. First of all, edit the configuration file of the virtual memory and enter in the terminal:
sudo nano /etc/dphys-swapfile
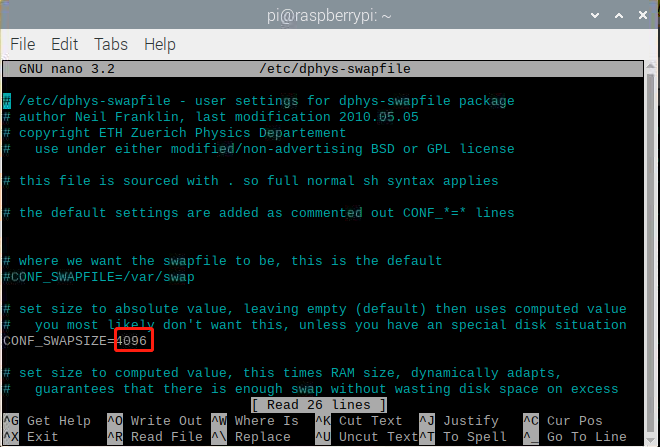
Find the item CONF_SWAPSIZE and set it to 4096, which is about 4G of memory space. Modify the sentence:
CONF_SWAPSIZE=4096
Enter ctrl+x, then press Y to save and exit.
Input following commands in the terminal to stop and restart the virtual memory to take effect 4G space.
sudo /etc/init.d/dphys-swapfile stop
sudo /etc/init.d/dphys-swapfile start
5. Download OpenCV pack
Method-1:
Download pack online:
Input follpwing command to download pack.
git clone https://github.com/opencv/opencv.git
git clone https://github.com/opencv/opencv_contrib.git
Method-1:
Download pack offline:
After downloading the software package, use winSCP offline transfer to the Raspberry Pi for offline installation (recommended).
This tutorial provides the OpenCV4.5.0 offline package, which can be directly transferred to the Raspberry Pi and decompressed for installation.
OpenCV official download URL: https://opencv.org/releases/
After the transmission is complete, unzip the OpenCV offline package and enter the following command in the terminal:
unzip opencv.zip
unzip opencv_contrib.zip
Input following command to modify name of folder:
mv opencv-master opecv
mv opencv_contrib-master opencv_contrib
6. Configure and compile OpenCV
6.1 Input following command in proper order:
Cd
cd opencv
mkdir build
cd build
cmake -D CMAKE_BUILD_TYPE=RELEASE -D CMAKE_INSTALL_PREFIX=/usr/local -D INSTALL_C_EXAMPLES=OFF -D INSTALL_PYTHON_EXAMPLES=OFF -D OPENCV_GENERATE_PKGCONFIG=ON -D ENABLE_NEON=ON -D OPENCV_EXTRA_EXE_LINKER_FLAGS=-latomic -D ENABLE_VFPV3=ON -D BUILD_TESTS=OFF -D OPENCV_ENABLE_NONFREE=ON -D OPENCV_EXTRA_MODULES_PATH=~/opencv_contrib/modules -D BUILD_EXAMPLES=OFF ..
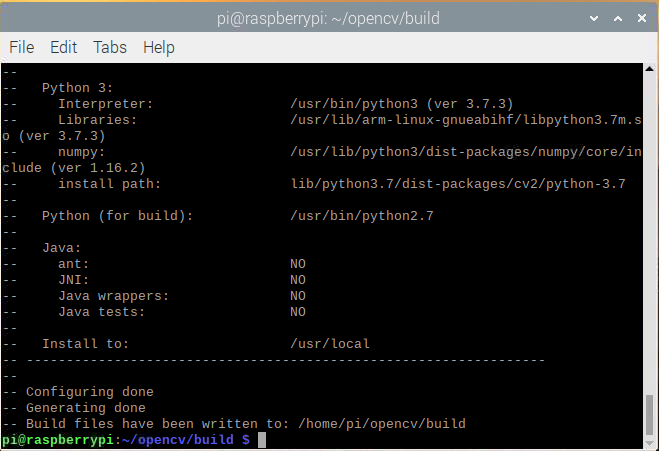
The following is the configuration information after I run cmake:
6.2 Start compile
Input following command:
make
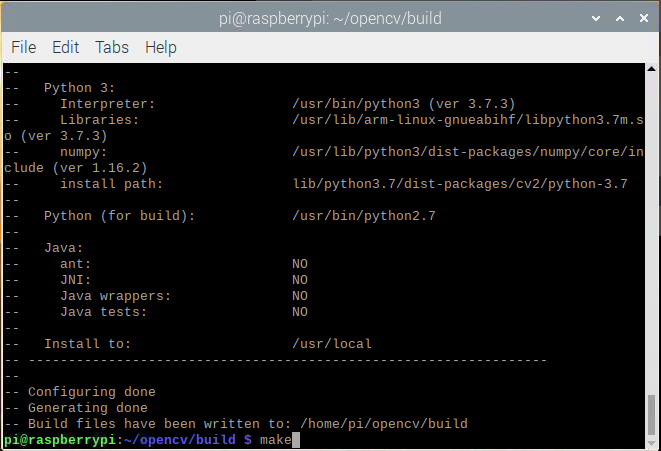
Compilation will take a long time, please be patient and wait for it to complete. There will be a warning when compiling and can be ignored.
But there may be an error fatal error: boostdesc_bgm.i: no such file or directory, as shown in the figure below.
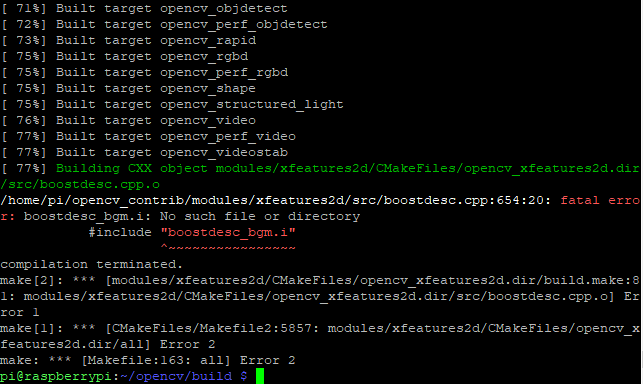
The reason for the error is the lack of the following configuration files:
boostdesc_bgm.i
boostdesc_bgm_bi.i
boostdesc_bgm_hd.i
boostdesc_lbgm.i
boostdesc_binboost_064.i
boostdesc_binboost_128.i
boostdesc_binboost_256.i
vgg_generated_120.i
vgg_generated_64.i
vgg_generated_80.i
vgg_generated_48.i
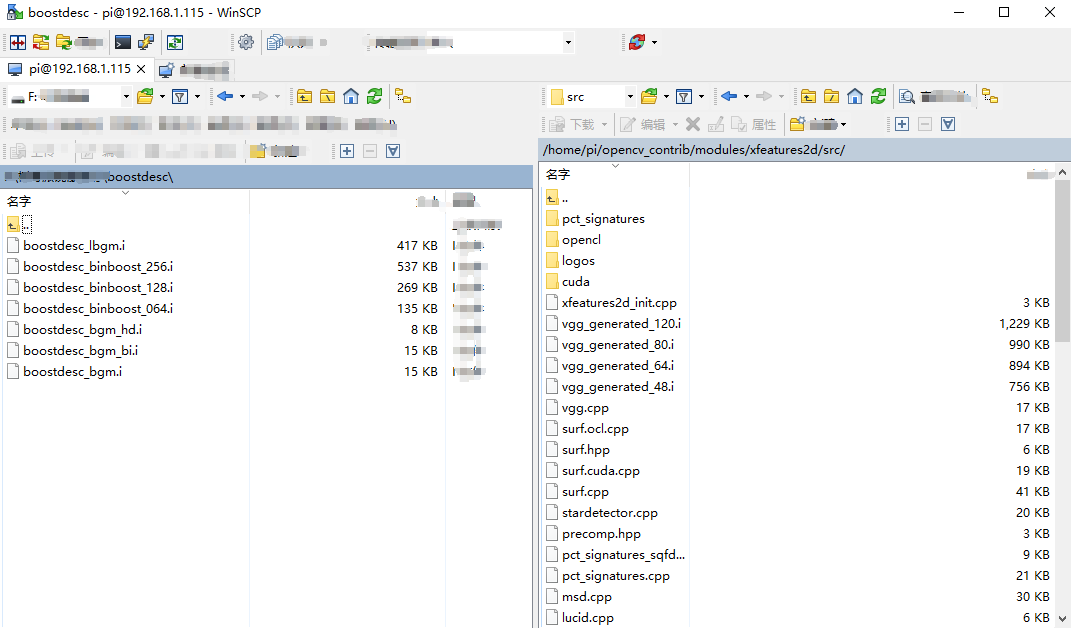
We have provided all the missing configuration files, which have also been transferred offline to the error directory of the Raspberry Pi, and then recompiled. For example, my error directory is /home/pi/opencv_contrib/modules/xfeatures2d/src/, then Just transfer the above files to the Raspberry Pi /home/pi/opencv_contrib/modules/xfeatures2d/src/ directory through winSCP.
When the system prompts "[100%] Built target opencv_version", it means that the compilation has been successfully completed.
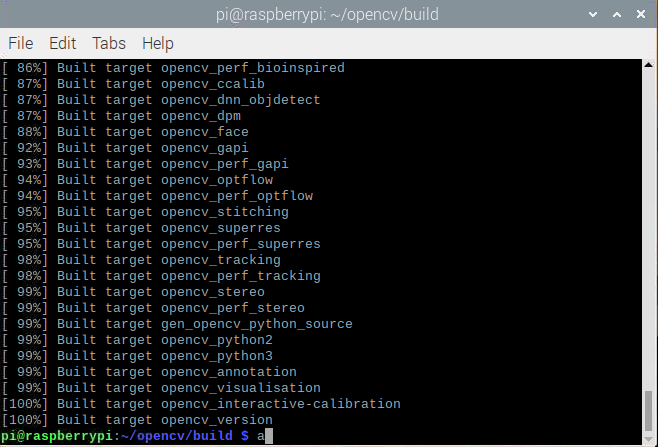
Input following command to install.
sudo make install
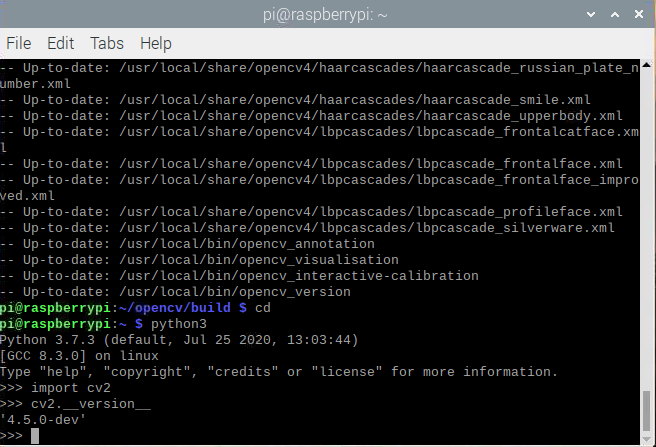
Wait patiently for the installation to complete, and then we can detect OpenCV, as shown below.
cd
python3
import cv2
cv2.__version__