Welcome to RDK X5 MagicBox repository
4. Video File Decoding and Display
Camera image encoding
1. Environment preparation
This example decoder2display implements video file decoding and output through the HDMI interface. Users can preview the screen through the display. The example flow chart is as follows:
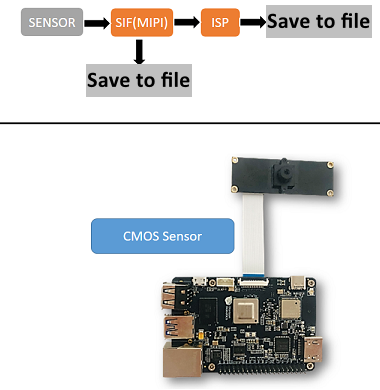
- Connect the board to the monitor via HDMI cable
- Power on the board and log in
- Prepare the video encoding file
test.h264as input.
2. How to run
The sample code is provided in source code form. You need to use the make command to compile and run it. The steps are as follows:
sunrise@ubuntu:~$ cd /app/cdev_demo/decode2displaysunrise@ubuntu:/app/cdev_demo/decode2display$ cp /app/cdev_demo/vio2encoder/test.h264 .sunrise@ubuntu:/app/cdev_demo/decode2display$ sudo makesunrise@ubuntu:/app/cdev_demo/decode2display$ sudo ./decoder2display -w 1920 -h 1080 -i test.h264The following command copies the test.h264 file saved in [3. Camera image acquisition and encoding] to the current directory for use.
xxxxxxxxxxcp /app/cdev_demo/vio2encoder/test.h264 .Parameter description:
- -h: video file height
- -w: video file width
- -i: video file path
3. Expected results
After the program runs correctly, the video screen will be output through the HDMI interface of the development board, and the user can preview the video screen through the monitor.
The running log is as follows.
xxxxxxxxxxsunrise@ubuntu:/app/cdev_demo/decode2display$ sudo ./decoder2display -w 1920 -h 1080 -i test.h264disp_w=1024, disp_h=600[x3_av_open_stream]:[380]:probesize: 5000000sp_start_decode success!libiar: hb_disp_set_timing done!sp_start_display success!sp_open_vps success!