Welcome to Rider Pi Robot repository
5.Picture to Text
Picture to Text
Function Introduction
- This example demonstrates how to use a large startup program. It requires configuring the API-KEY related to the large model for normal operation.
- This function describes on-site images.
The English version uses the OpenRouter platform, which calls the free API from Tongyi Qianwen.
This function requires an internet connection to function properly.
Function Experience
- First, power on the RiderPI. Enter example mode by pressing the button in the upper right corner of the screen, then select the "Image-to-Text" function.
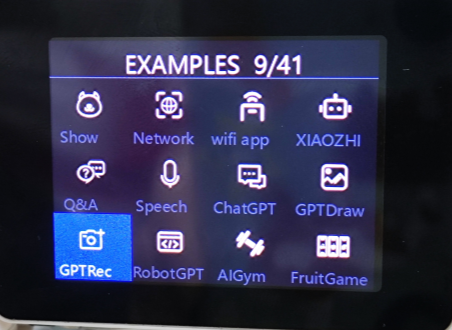
- After entering the "Image-to-Text" function, first wake it up using voice commands, saying "lulu".
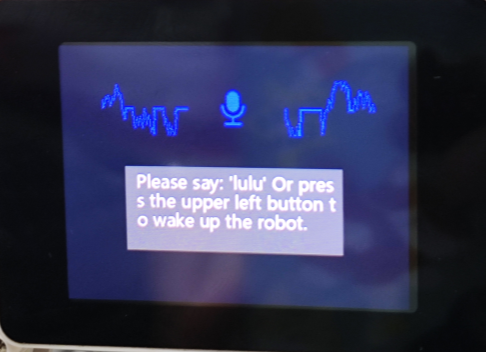
- After hearing a "ding" sound, you can speak your question.
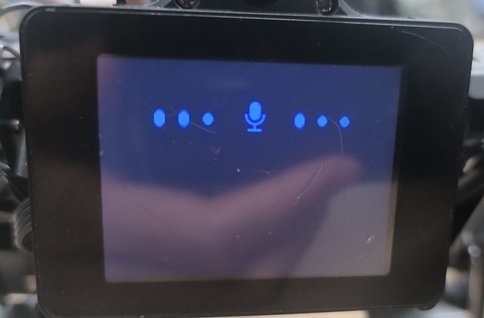
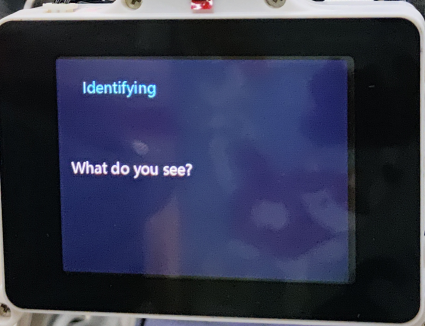
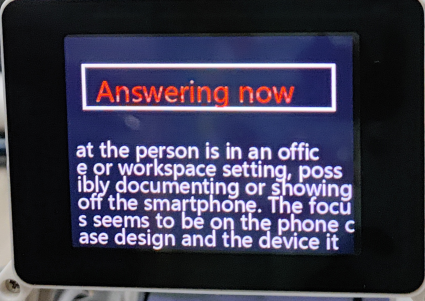
- RiderPI will record a picture of the scene based on the question and then provide an answer.
Program Source Code
- First, log in to the RiderPI system via VNC.
- Then, enter the following in the terminal:
x
#cm4 runcd /home/pi/RaspberryPi-CM4-main/demos/pic_comprehension/#cm5 runcd /home/pi/RaspberryPi-CM5/demos/pic_comprehension/tree -L 1- Directory Structure Description
├── anspeech_imageswer.mp3 # Audio of the response ├── audio.py # Recording file ├── auto_platform.py # Dependencies of the recording file ├── language_recognize.py # Speech recognition ├── libnyumaya.py # Voice wake-up ├── rec.jpg # Image recording of the scene ├── sp_AI_Image.py # Main program file ├── xinghou_ImageAPI.py # Image-to-text file interface └── xinghou_tts.py # Speech synthesis file interface
- If you want to replace the model interface with your desired one:
- First, you can find the corresponding Python version of the program that uses the interface on the platform. Fill in the necessary information according to the platform's interface and instructions.
- Then, encapsulate the executable file into a function. You can refer to the example of "sp_AI_Image.py" and place it in the directory mentioned in point 2, for example, add a file named "mychatgpt.py".
- Open the sp_AI_Image.py file, and replace
from xinghou_ImageAPI import *at the beginning with the newly addedfrom mychatgpt import *. - Then find this part and replace it with your encapsulated API function interface.
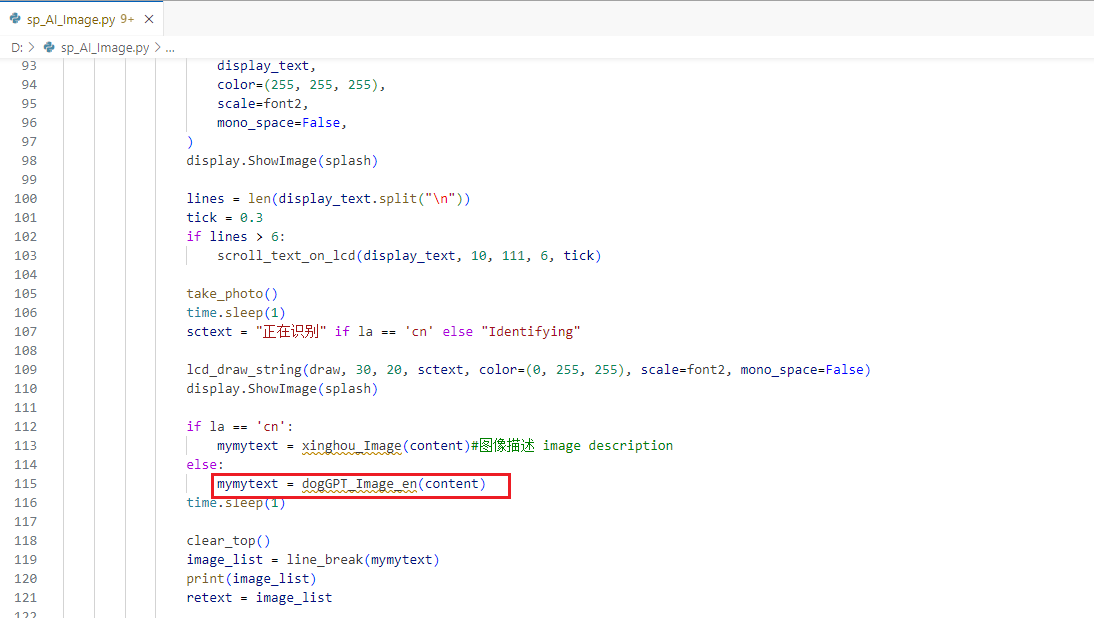
- Then restart the robot and enter this function again. You should be able to run the model platform you replaced. If it cannot run, it means there is an error. You need to check the syntax and logic of the newly added file.
Functional Principle
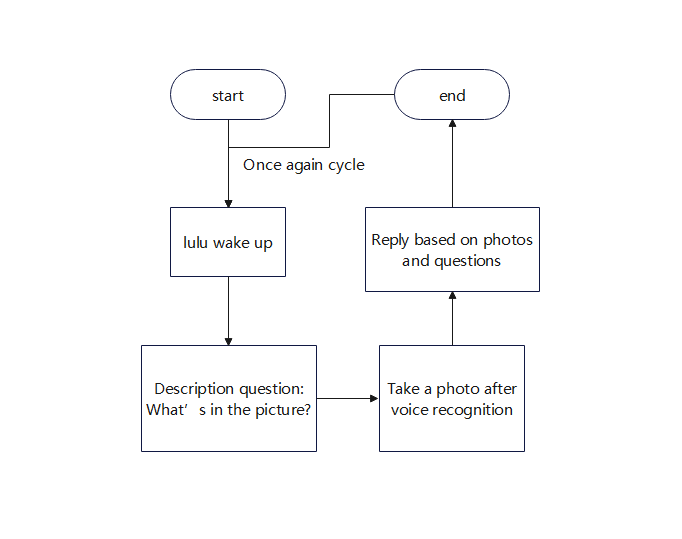
The specific flowchart is as follows: