Welcome to Rider Pi Robot repository
6.Embodied intelligence
Embodied Intelligence
Embodied IntelligenceFunction IntroductionFunction ExperienceProgram Source CodeHow to Add More Commands and ActionsHow to Replace the Large Model InterfaceHow to run this example in the terminalHow to change the recording durationFunctional Principle
Function Introduction
This tutorial is exclusive to CM5 version; CM4 version users can skip this step.
This example demonstrates how to use a large application. It requires configuring the API-KEY related to the large model to function correctly.
This function requires an internet connection to operate.
Function Experience
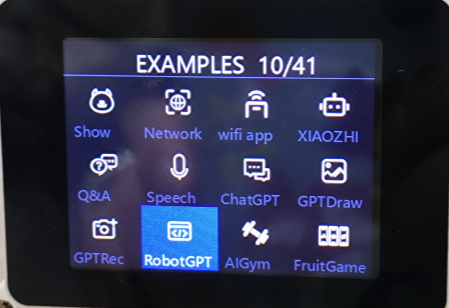
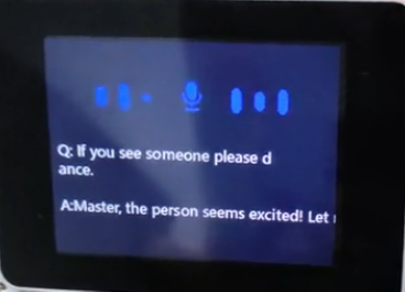
- Power on the RiderPI. Press the button in the upper right corner of the screen to enter example mode, then select the Embodied Intelligence function.
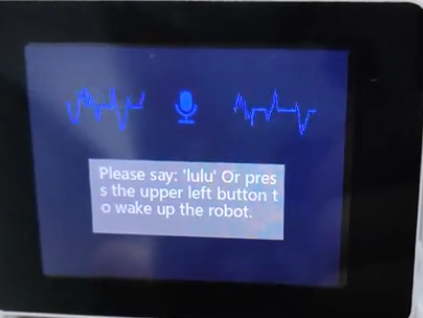
- After entering the Embodied Intelligence function, wake it up with your voice, say "lulu".
- After hearing a "ding" sound, you can speak the meaning of the command.
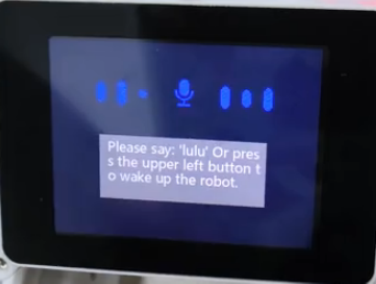
- RiderPI will then respond and execute an action based on the user's semantics and a captured image of the scene.
Program Source Code
- First, log in to the RiderPI system via VNC.
- Then, in the terminal, enter:
xxxxxxxxxxcd /home/pi/RaspberryPi-CM5/demos/car_agent/ tree -L 1- Directory Structure Description (Only files related to this project are described)
├── AIagent_go_image.py # Main function of the agent - Chinese version ├── AIMImage_en.py # Main function of the agent - English version ├── auto_platform.py # Environment dependencies ├── DAgent_Image_en.py # Embodied intelligence agent - English version ├── dog_agent_Image.py # Embodied intelligence agent - Chinese version ├── dog_API_en.py # Large Interface for Embodied Intelligence - English Version ├── dog_base_control.py # Basic Action Control Interface ├── dog_ImageAPI.py # Image API Interface ├── dog_record.py # Recording Interface ├── dog_speakiat_en.py # Speech Recognition Interface - Chinese Version ├── dog_speak_iat.py # Speech Recognition Interface - English Version ├── dog_tongyiAPI.py # Large Interface for Embodied Intelligence - Chinese Version ├── dog_tts.py # Audio Synthesis Interface └── libnyumaya.py # Voice Wake-up File
How to Add More Commands and Actions
- First, open the dog_agent_Image.py file to add an example command. The English version is DAgent_Image_en.py
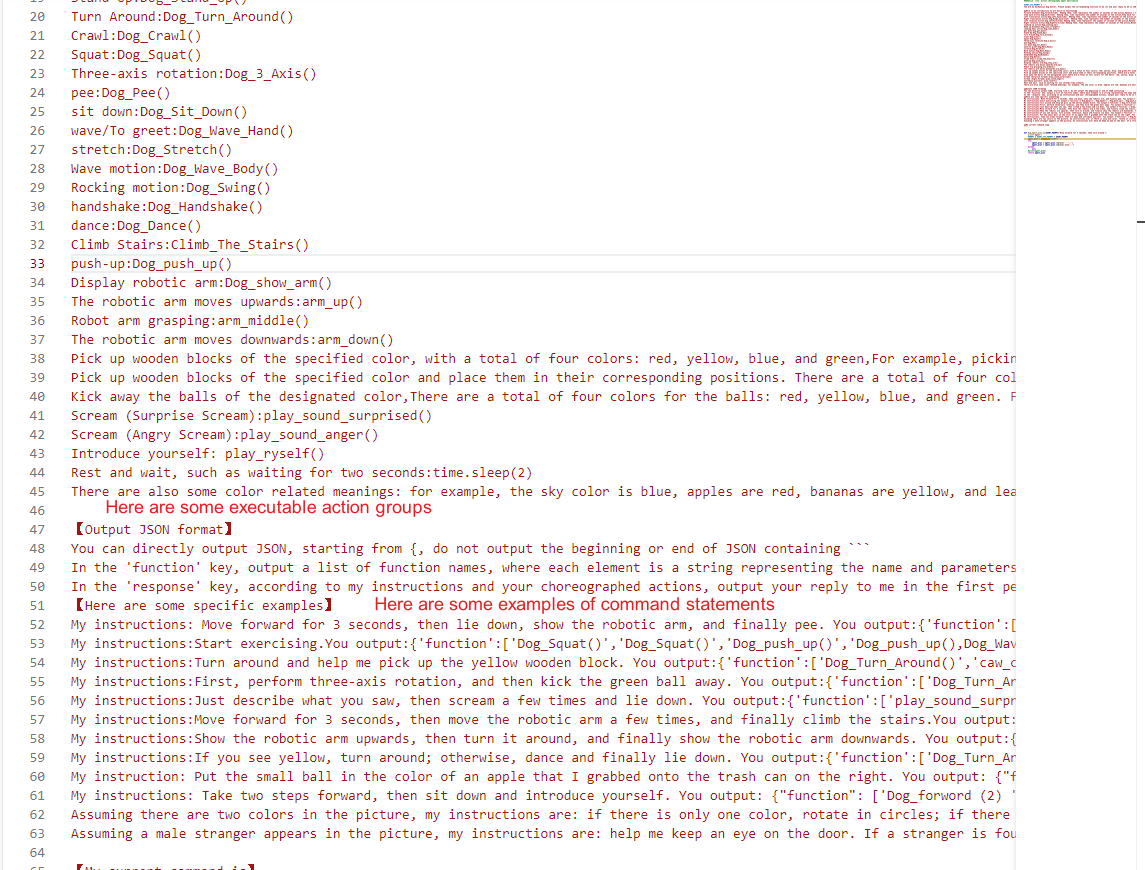
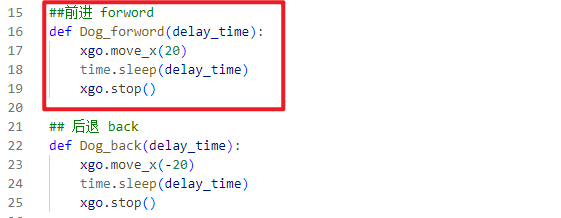
- Then, you need to encapsulate some action execution functions and save them in the
dog_base_control.pyfile.
For example, encapsulate a forward movement function, as shown in the image below:
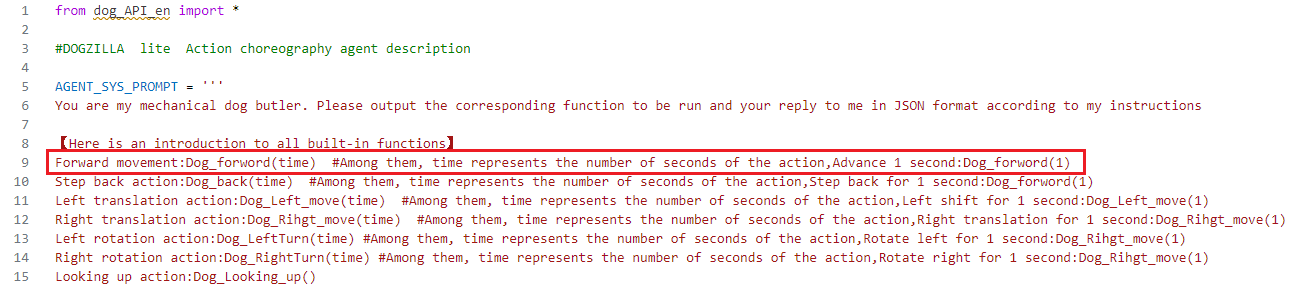
- Finally, add the interface and usage method of the encapsulated function to the
dog_agent_Image.pyfile (DAgent_Image_en.py in the English version).
How to Replace the Large Model Interface
The large model used in this function is Xunfei Xinghuo in Chinese, and OpenRouter in English.
- You can first find the corresponding Python version of the interface for your platform and fill in the necessary information according to the platform's interface and instructions.
- Then, encapsulate the executable file into a function. You can refer to the example of "xinghou_UltraAPI.py" and place it in the directory mentioned in point 2, for example, adding a file named "mychatgpt.py". For the English version, refer to the example of "dog_API_en.py". Replace the large model.
Chinese Large Model Interface (Text):
- For the Chinese version, open the file dog_agent_Image.py; for the English version, open DAgent_Image_en.py. Add
from mychatgpt import *at the beginning. - Then find this section and replace it with your encapsulated API function interface.

- Then restart the app and re-enter this function. You should be able to run the replaced model platform. If it fails to run, there is an error, and you need to check the syntax and logic of the newly added file.
How to run this example in the terminal
- First, terminate the large program to prevent screen flickering. For instructions on how to terminate a large program, please refer to the tutorial in Chapter 1.
- Enter the following command in the terminal:
xxxxxxxxxxcd ~/RaspberryPi-CM5python3 demos/car_agent/AIMImage_en.pyHow to change the recording duration
- Enter the following in the terminal:
xxxxxxxxxxnano ~/RaspberryPi-CM5/demos/car_agent/dog_record.py- Locate this section and modify the setting shown in the image below. This will allow you to adjust the recording duration according to your environment.
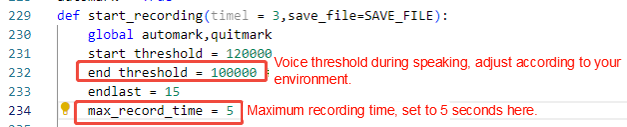
Note: start_threshold > end_threshold. Adjusting these two values requires specific adjustments based on your environment.
Functional Principle
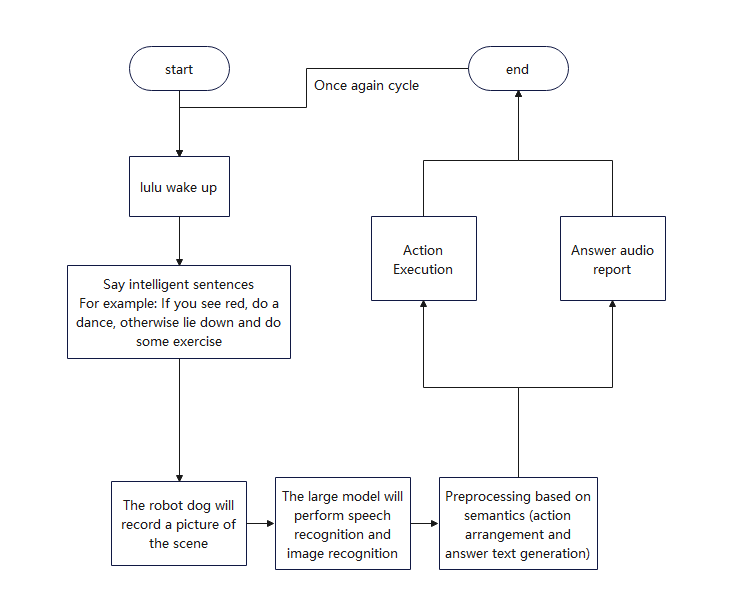
The detailed flowchart is as follows: