Welcome to myCobot 320 Arm repository
5.Basic function case
Basic function case
Control of the robotic arm
1 Slider Control
Open a command line and run:
# The default serial port name of mycobot 320-M5 version is "/dev/ttyUSB0", and the baud rate is 115200. The serial port name of some models is "dev/ttyACM0". If the default serial port name is wrong, you can change the serial port name to " /dev/ttyACM0".ros2 launch mycobot_320 slider_control.launch.pyIt will open rviz2 and a slider component and you will see something like this:
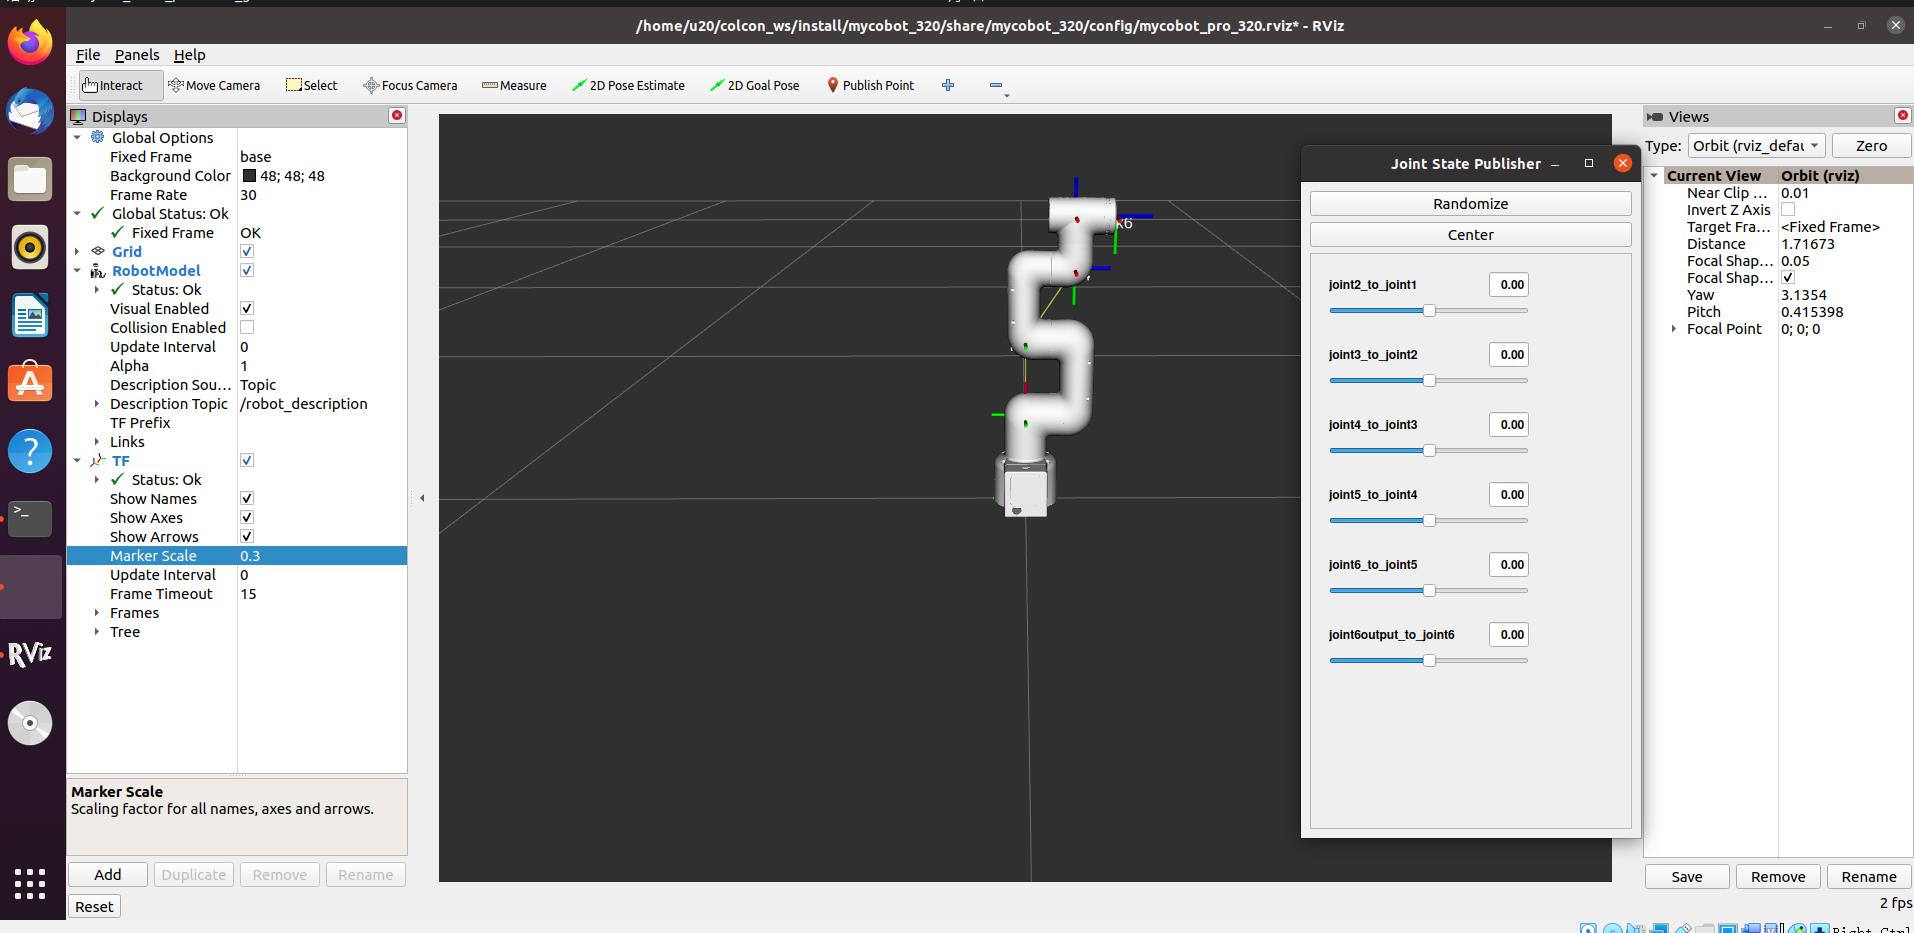
Then you can control the movement of the model in rviz2 by dragging the slider . The real mycobot will move with it.
Please note: Since the robot arm will move to the current position of the model when the command is input, please make sure that the model in rviz2 does not appear to be worn out before you use the command Do not quickly drag the slider after connecting the robotic arm to prevent damage to the robotic arm
2 Model Follow
In addition to the above controls, we can also make the model follow the movement of the real robotic arm .
Open a command line and run:
xxxxxxxxxx# The default serial port name of mycobot 320-M5 version is "/dev/ttyUSB0", and the baud rate is 115200. The serial port name of some models is "dev/ttyACM0". If the default serial port name is wrong, you can change the serial port name to " /dev/ttyACM0".ros2 launch mycobot_320 mycobot_follow.launch.pyIt will open rviz to show the model following effect .
3 GUI Control
On the basis of the previous, this package also provides a simple GUI control interface . This method means that the real robotic arms are linked with each other, please connect to mycobot.
Open the command line:
xxxxxxxxxx# The default serial port name of mycobot 320-M5 version is "/dev/ttyUSB0", and the baud rate is 115200. The serial port name of some models is "dev/ttyACM0". If the default serial port name is wrong, you can change the serial port name to " /dev/ttyACM0".ros2 launch mycobot_320 simple_gui.launch.py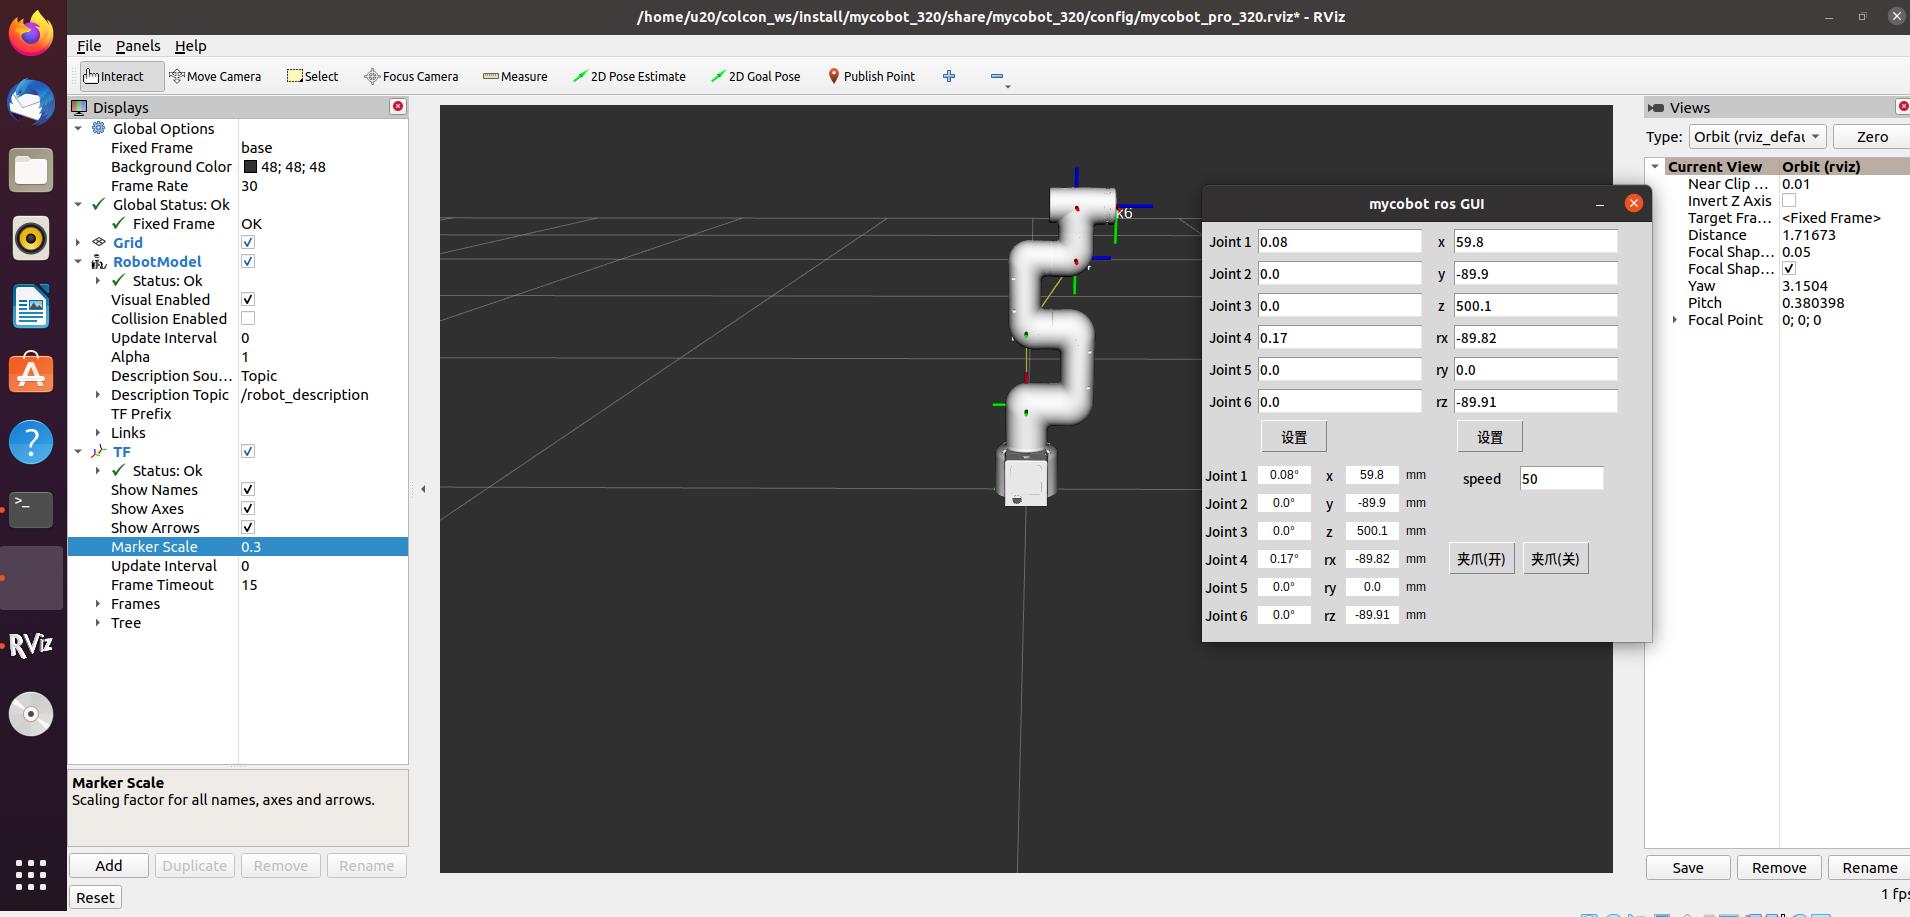
4 Keyboard Control
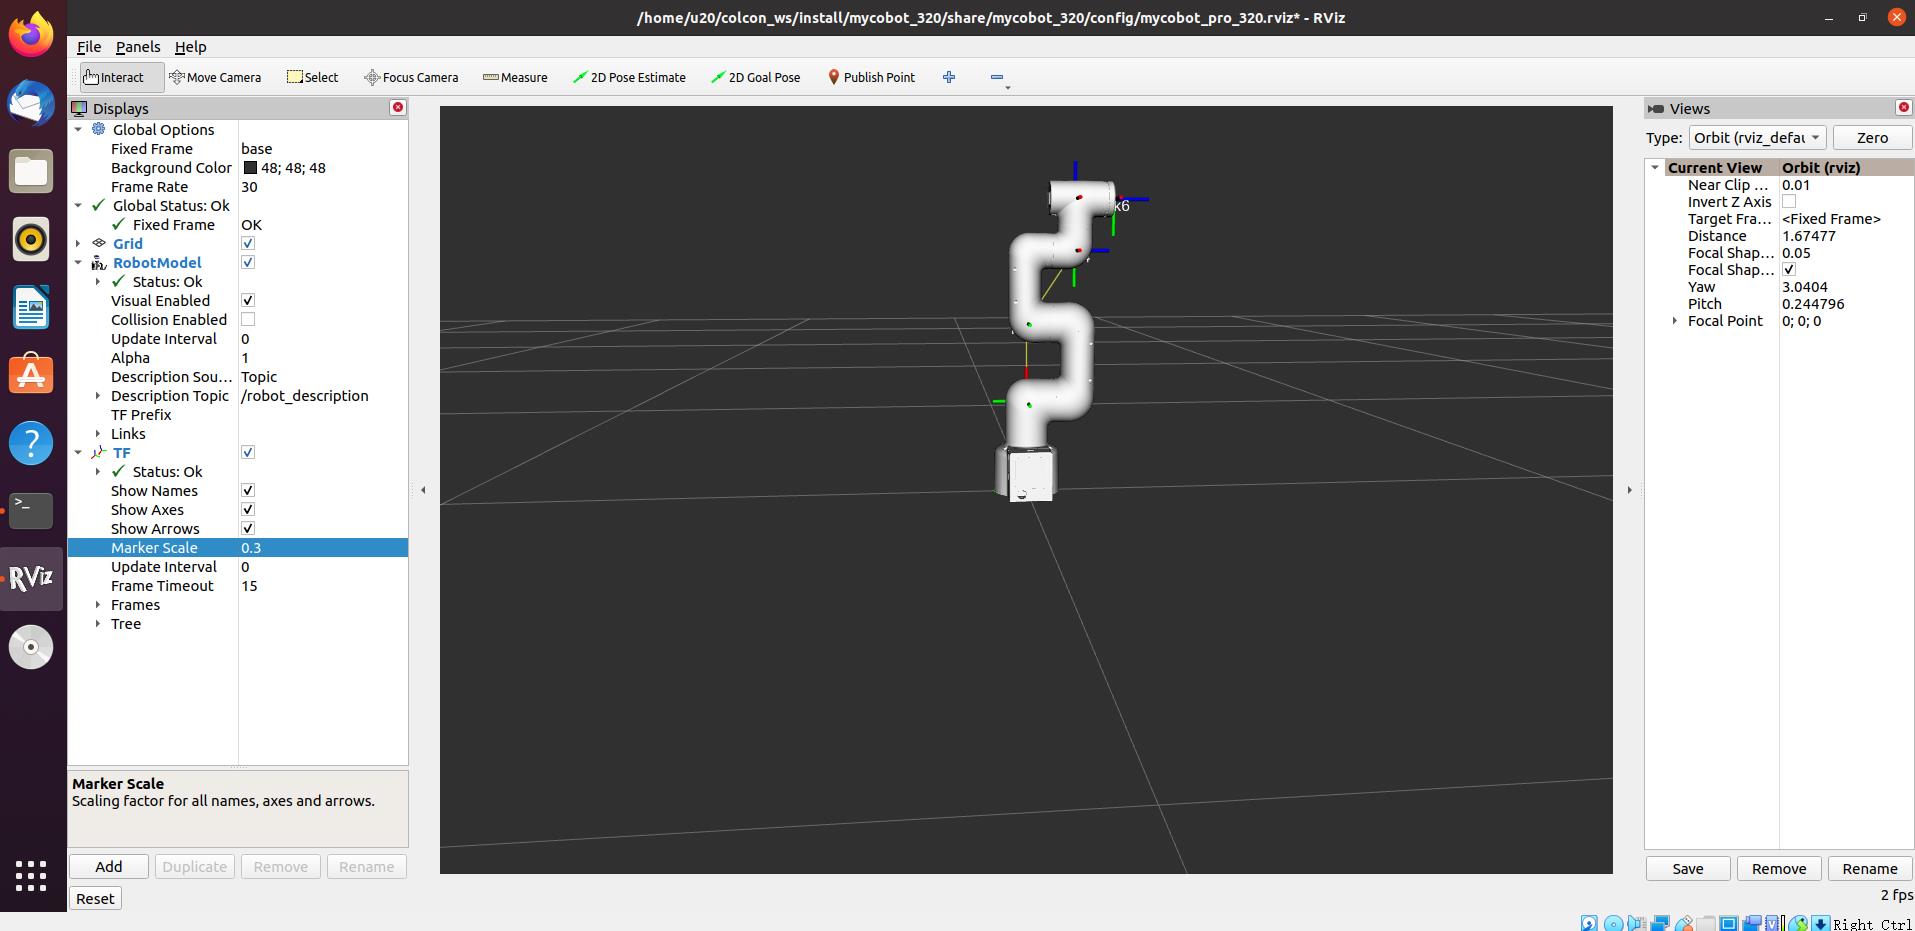
The function of keyboard control is added in the package of mycobot_320, and it is synchronized in real time in rviz. This function relies on pythonApi, so make sure to connect with the real robotic arm.
Open a command line and run:
xxxxxxxxxx# The default serial port name of mycobot 320-M5 version is "/dev/ttyUSB0", and the baud rate is 115200. The serial port name of some models is "dev/ttyACM0". If the default serial port name is wrong, you can change the serial port name to " /dev/ttyACM0".ros2 launch mycobot_320 teleop_keyboard.launch.pyThe operation effect is as follows:
The command line will output mycobot information as follows:
xxxxxxxxxx[INFO] [launch]: All log files can be found below /home/u20/.ros/log/2022-08-05-10-43-12-301971-u20-VirtualBox-6290[INFO] [launch]: Default logging verbosity is set to INFO[INFO] [robot_state_publisher-1]: process started with pid [6293][INFO] [rviz2-2]: process started with pid [6295][INFO] [follow_display-3]: process started with pid [6297][robot_state_publisher-1] Parsing robot urdf xml string.[robot_state_publisher-1] Link link1 had 1 children[robot_state_publisher-1] Link link2 had 1 children[robot_state_publisher-1] Link link3 had 1 children[robot_state_publisher-1] Link link4 had 1 children[robot_state_publisher-1] Link link5 had 1 children[robot_state_publisher-1] Link link6 had 0 children[robot_state_publisher-1] [INFO] [1659667392.703132973] [robot_state_publisher]: got segment base[robot_state_publisher-1] [INFO] [1659667392.703485410] [robot_state_publisher]: got segment link1[robot_state_publisher-1] [INFO] [1659667392.703545198] [robot_state_publisher]: got segment link2[robot_state_publisher-1] [INFO] [1659667392.703571119] [robot_state_publisher]: got segment link3[robot_state_publisher-1] [INFO] [1659667392.703587512] [robot_state_publisher]: got segment link4[robot_state_publisher-1] [INFO] [1659667392.703603744] [robot_state_publisher]: got segment link5[robot_state_publisher-1] [INFO] [1659667392.703619685] [robot_state_publisher]: got segment link6[rviz2-2] [INFO] [1659667393.588026632] [rviz2]: Stereo is NOT SUPPORTED[rviz2-2] [INFO] [1659667393.588472253] [rviz2]: OpenGl version: 3.1 (GLSL 1.4)[rviz2-2] [INFO] [1659667393.766777360] [rviz2]: Stereo is NOT SUPPORTED[rviz2-2] Parsing robot urdf xml string.[follow_display-3] [INFO] [1659667394.310152595] [follow_display]: port:/dev/ttyUSB0, baud:115200Next, open another command line and run:
xxxxxxxxxxros2 run mycobot_320 teleop_keyboardYou will see the following output on the command line:
xMycobot Teleop Keyboard Controller---------------------------Movimg options(control coordinations [x,y,z,rx,ry,rz]): w(x+)
a(y-) s(x-) d(y+)
z(z-) x(z+)
u(rx+) i(ry+) o(rz+)j(rx-) k(ry-) l(rz-)
Gripper control: g - open h - close
Other: 1 - Go to init pose 2 - Go to home pose 3 - Resave home pose q - Quit
currently: speed: 30 change percent: 2In this terminal, you can control the state of the robot arm and move the robot arm through the keys in the command line.