Welcome to ROSMASTER A1 repository
9.Navigation2 multi-point navigation avoid
Navigation2 multi-point navigation avoid
1. Program Functionality
Note: To learn this course, you must have studied [Navigation2 Single-Point Navigation and Obstacle Avoidance] and have a basic understanding of Navigation2 navigation.
After running the program, a map will load in rviz. In the rviz interface, use the nav2 plugin for multi-point navigation.
2. Running Examples
2.1 Pre-use Instructions
This lesson uses the Raspberry Pi 5 as an example. For Raspberry Pi and Jetson Nano boards, you need to open a terminal on the host computer and enter the command to enter the Docker container. Once inside the Docker container, enter the commands mentioned in this lesson in the terminal. For instructions on entering the Docker container from the host computer, refer to [01. Robot Configuration and Operation Guide] -- [5.Enter Docker (For JETSON Nano and RPi 5)].
For Orin and RDK boards, simply open the terminal and enter the commands mentioned in this lesson.
2.2 Multi-Point Navigation
Note:
For PI5/JETSON NANO controllers, you need to enter a Docker container first; for RDK X5 and Orin boards, this is not required.
Entering a Docker container (see the Docker course for steps: 4. Docker Startup Script).
All commands below must be executed within the same Docker container (see the Docker course for steps: 3. Docker Commit and Multi-Terminal Entry).
This section requires at least one existing map. Refer to [5.Gmapping-SLAM mapping], [6.Cartographer-SLAM mapping], [7.slam_toolbox mapping] or any of the SLAM Mapping courses.
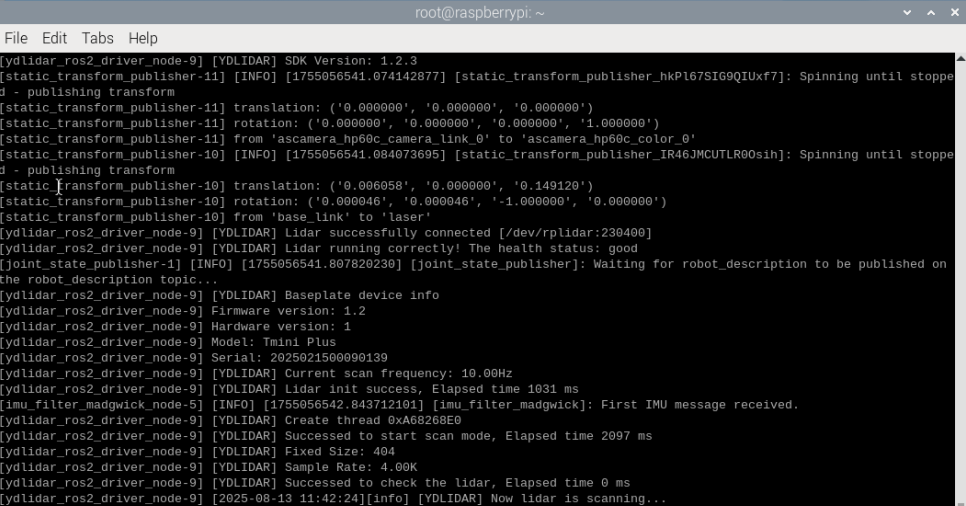
Commands for launching the underlying sensors on the robot vehicle terminal:
ros2 launch yahboomcar_nav laser_bringup_launch.py
Enter this command to start rviz visualization mapping (the rviz visualization function can be started on either the car computer or the virtual machine. Select either method. Do not start both the virtual machine and the car computer simultaneously. ). The following figure shows the command entered on the car computer.
xxxxxxxxxxros2 launch yahboomcar_nav display_nav_launch.py
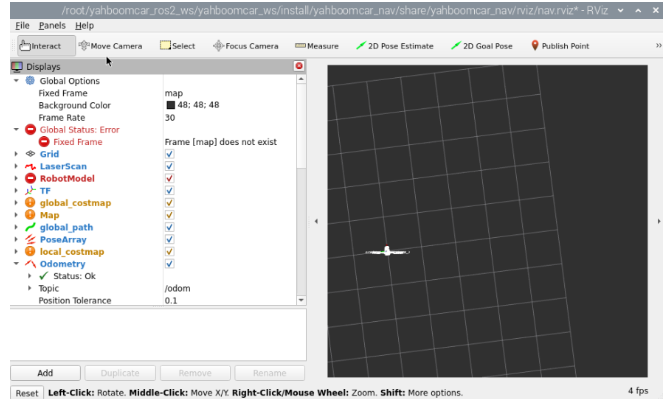
At this point, the map is not loading because the navigation program has not yet been started. Next, run the navigation node by entering **in the terminal (you need to enter the same Docker terminal as above).
xxxxxxxxxxros2 launch yahboomcar_nav navigation_teb_launch.py
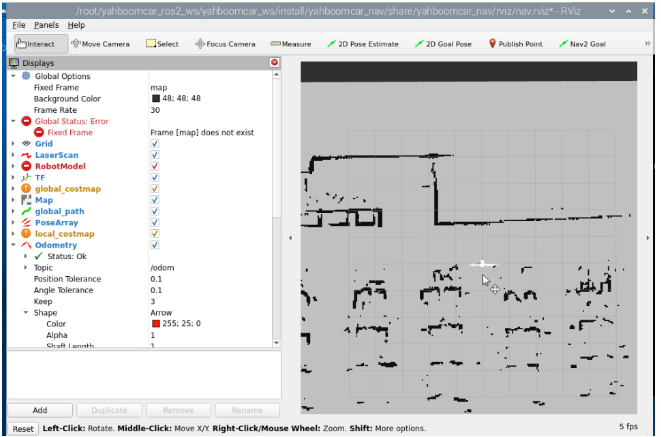
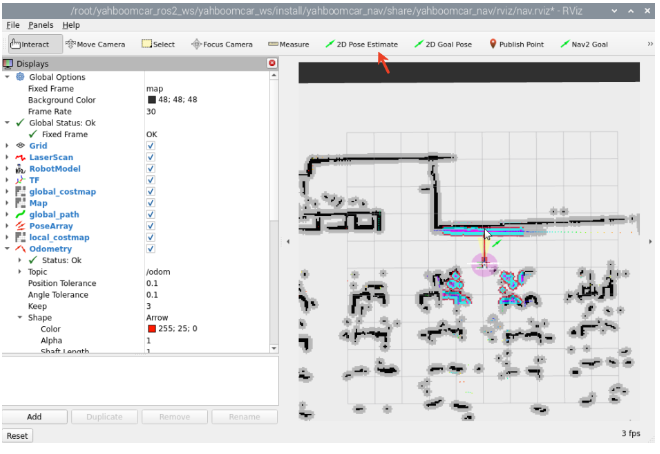
You'll see the map loaded. Click [2D Pose Estimate] to set the initial pose for the car. Based on the car's actual position in the environment, click and drag the mouse in rviz to move the car model to the set position. As shown in the figure below, if the lidar scan area roughly overlaps with the actual obstacle, the pose is accurate. After pose initialization is complete, the robot model and inflation area will appear in the rviz interface.
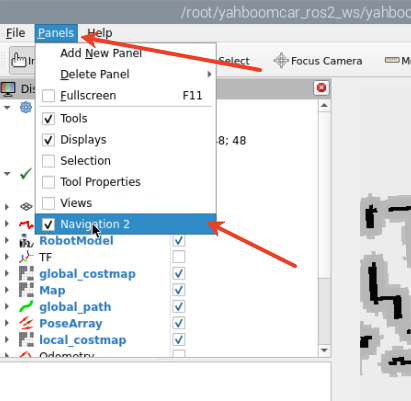
Click [Panels] in the upper left corner of rviz to add the Navigation2 plugin.
After adding, rviz will display as follows:
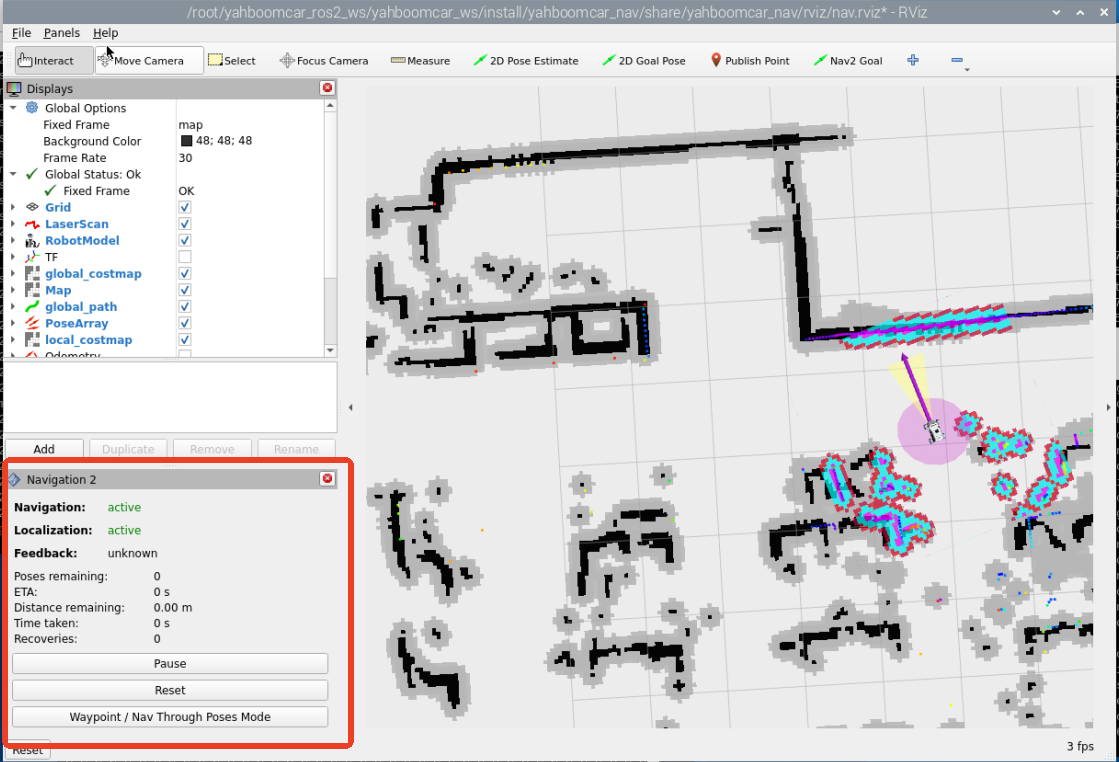
Then click [Waypoint/Nav Through Poses] Mode],
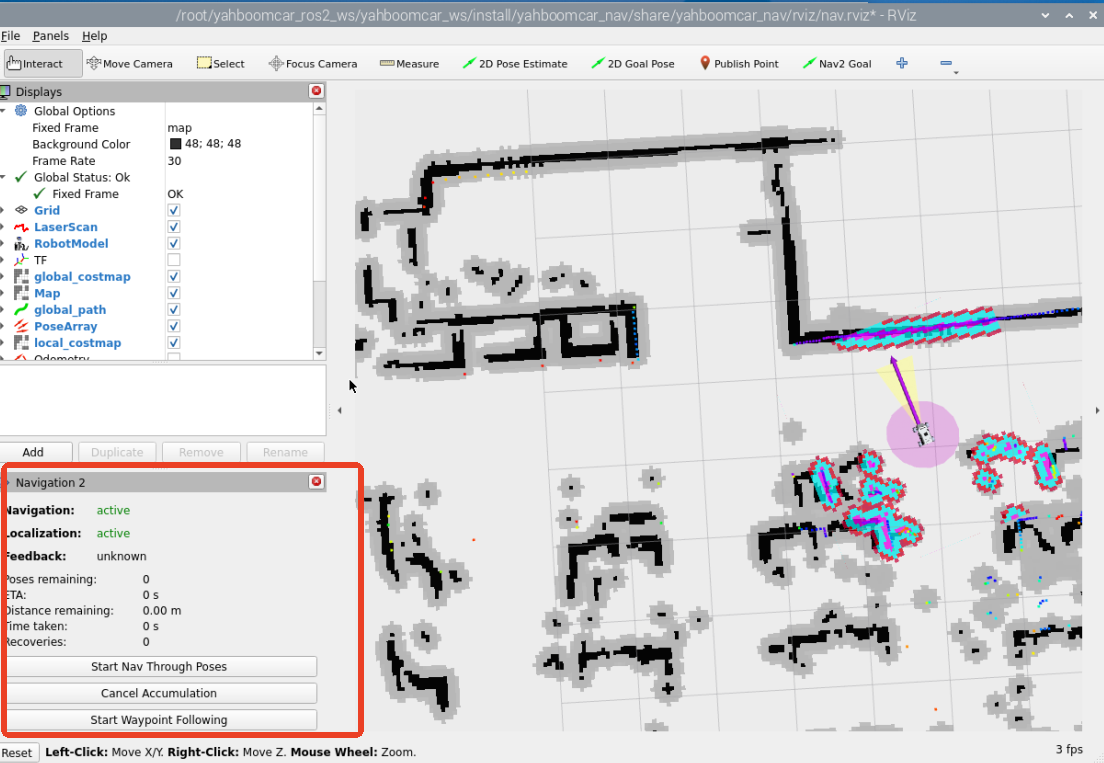
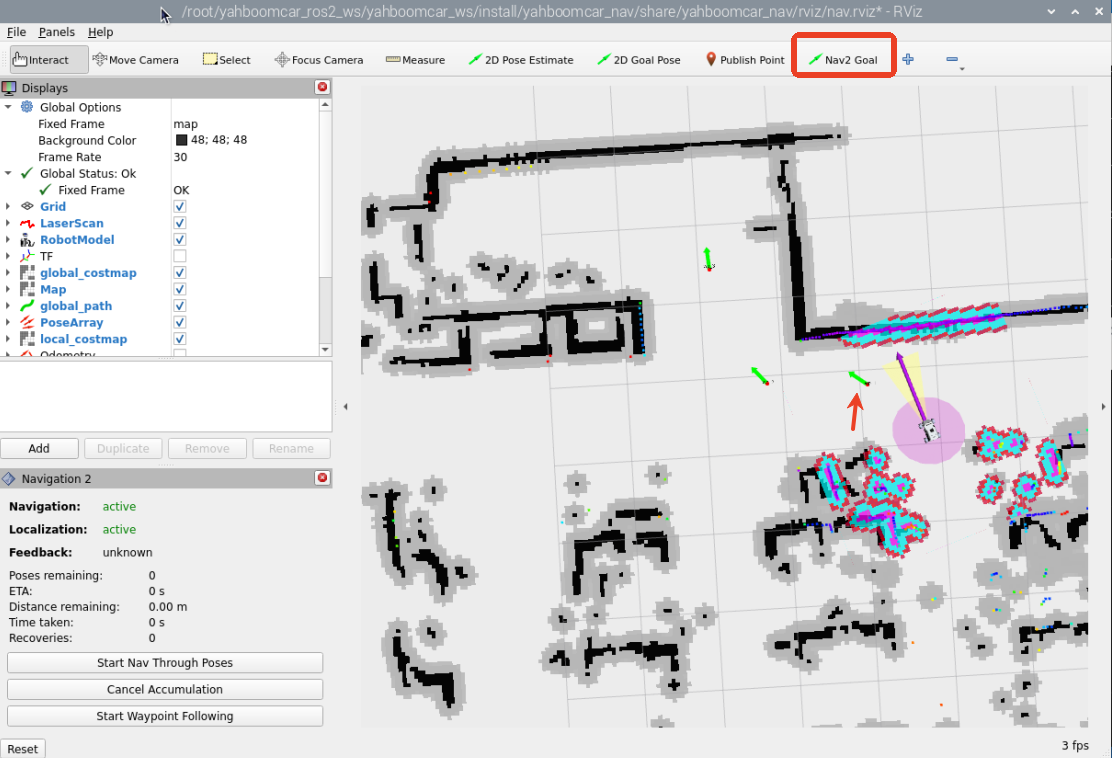
Use the [Nav2 Goal] button in the rivz toolbar to specify a target point, then click [Start Waypoint Following] to begin route navigation. The car will automatically proceed to the next point after reaching the target point, following the order of the selected points. No further action is required. After reaching the last point, the car will stop and await the next command.
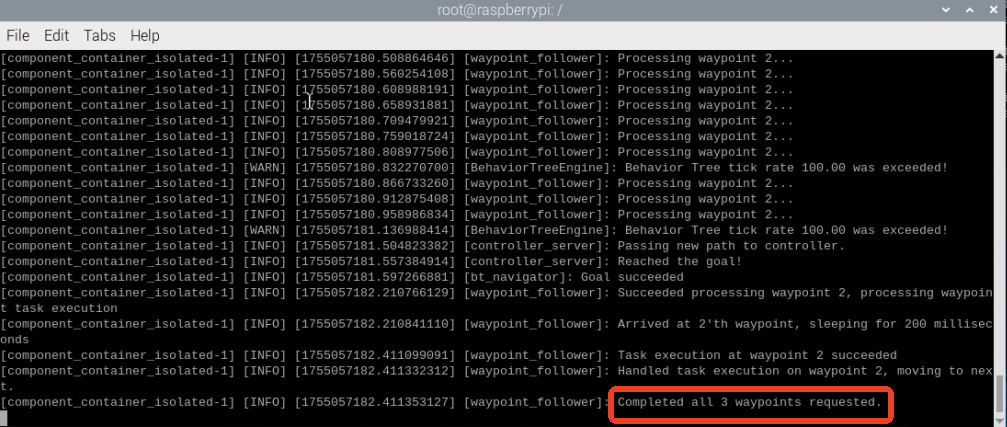
If navigation to all three points is successful, the terminal will display [Completed all 3 waypoints requested].
3. Principle Analysis
3.1 Waypoint Data
When the user turns on [Waypoint/Nav Through PoseMode] and enters multi-point navigation mode, the user's marked point information will be published to the /waypoints topic (the rviz waypoint navigation plugin adds additional waypoints between target waypoints to smooth the path). We can view this waypoint data through the RQT interface.
Terminal startup command:
xxxxxxxxxxros2 run rqt_topic rqt_topic
In the rqt interface, we can see the topic /waypoints. After checking it, we can observe the data on the topic (you need to check the topic first, then publish the waypoints in the rviz interface). The waypoints we manually mark in rviz will be published to this topic.
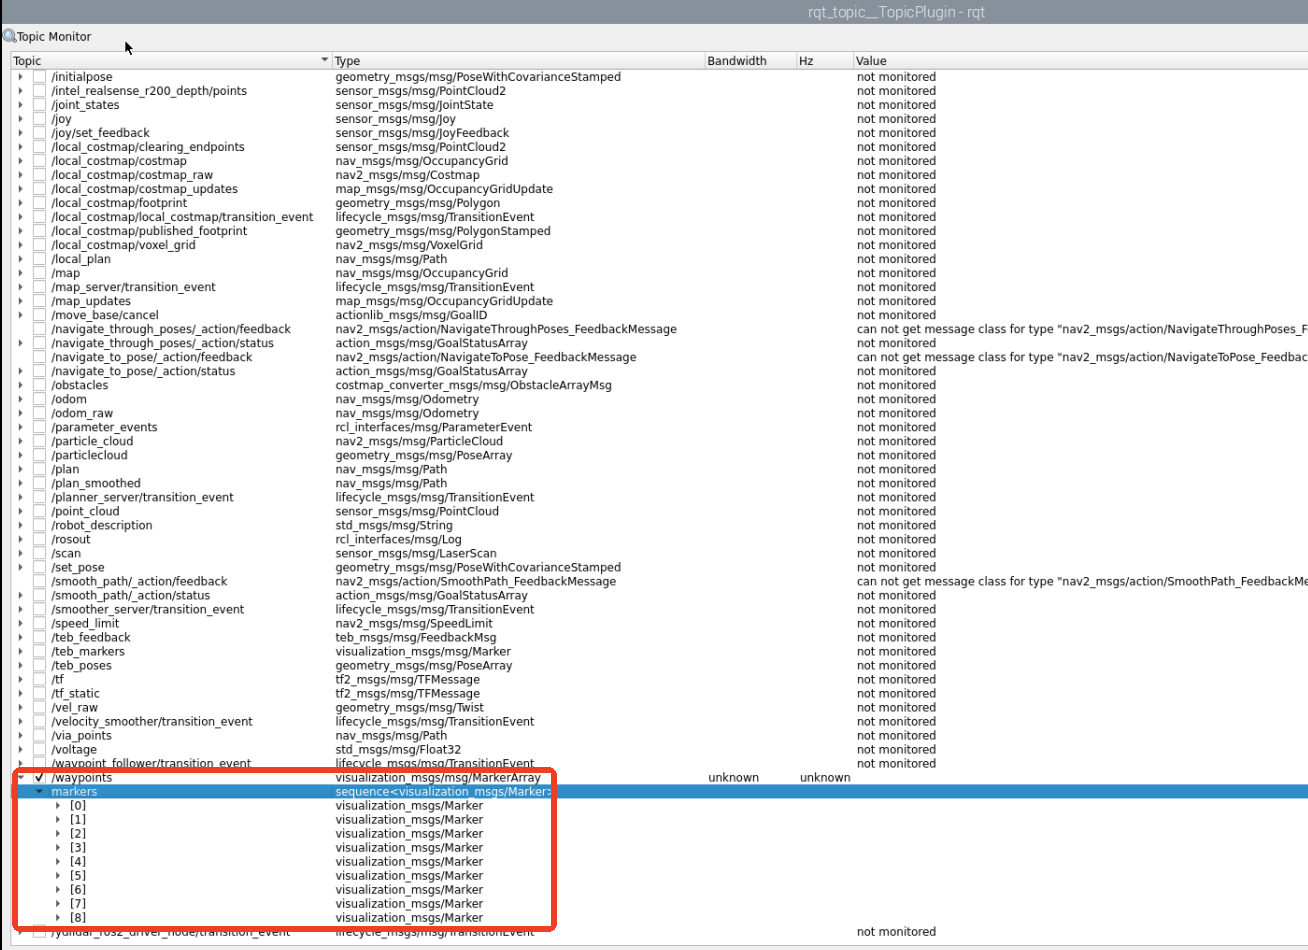
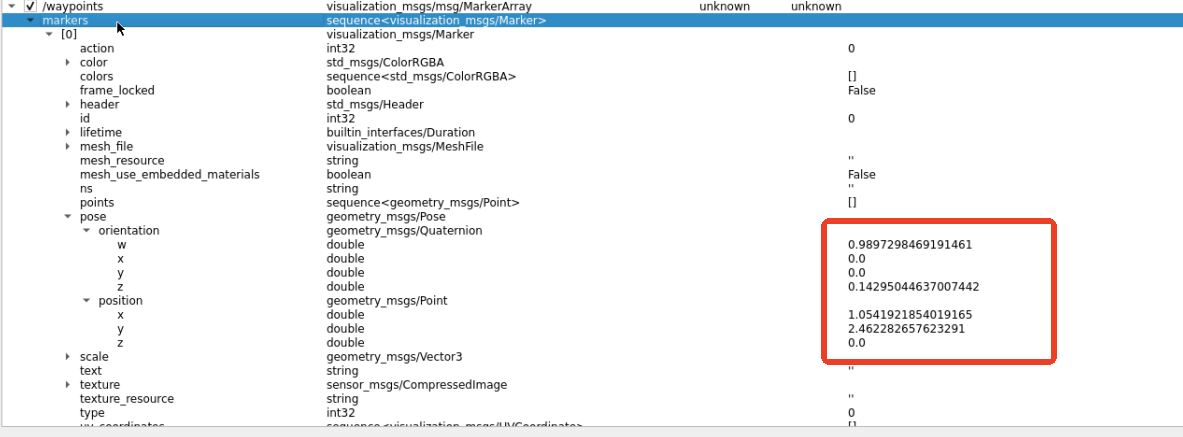
Click on a waypoint to view the waypoint data. Here, we take [0] as an example, where pose is the coordinate data.
3.2 Data Sending Execution
After setting the waypoint coordinates, click **Start Waypoint When following a waypoint, the rviz plugin packages the waypoint coordinate sequence into a FollowWaypoints action request and sends it to the /follow_waypoint action server, which executes all waypoints in sequence.
Enter the following command in the terminal:
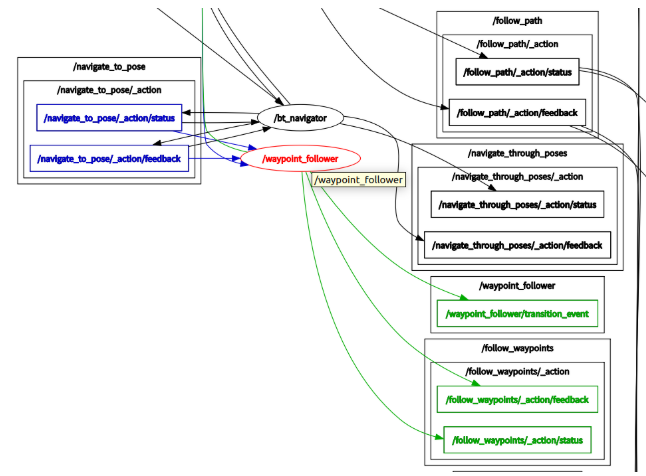
xxxxxxxxxxros2 run rqt_graph rqt_graph
In the node relationship graph, you can see the /follow_waypoint action server. This action server receives the waypoint sequence and then navigates sequentially.