Welcome to Building:bit Superkit repository
5.Micro:bit handle control
Micro:bit handle control
Micro:bit handle control1. Learning objectives2. Building blocks3. Motor wiring4. Programming4.1 Add expansion package4.2 Building blocks used4.3 Add new variables4.4 Assemble building blocks5. Experimental phenomenon
1. Learning objectives
In this course, we mainly learn how to use MakeCode graphical programming to realize the control of Proficient carrier by microbit handle.
2. Building blocks
For the building blocks steps, please refer to the installation drawings of [Assembly Course]--[Proficient carrier] in the materials or the building blocks installation brochure.
3. Motor wiring
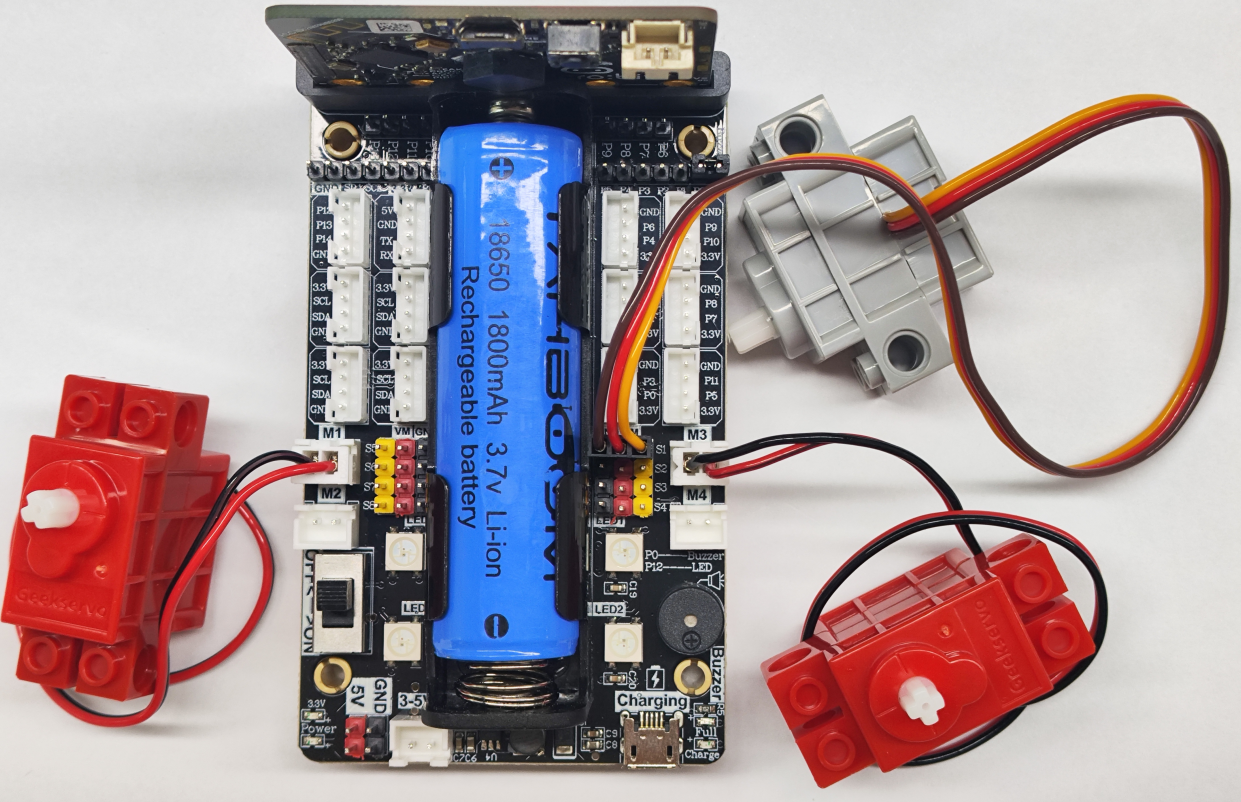
Insert the motor wiring on the left side of the car into the M1 interface of the Super:bit expansion board, and the black wire is close to the battery side;
Insert the motor wiring on the right side of the car into the M3 interface of the Super:bit expansion board, and the black wire is close to the battery side;
Insert the building blocks servo wiring into the S1 interface of the Super:bit expansion board, and insert the orange servo wiring into the yellow pin of S1.
As shown in the figure below:
! Notes:
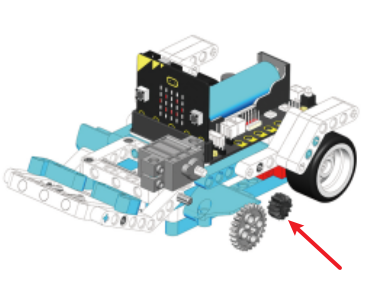
When taking the course related to the building block servo for the first time, we need to remove the gear on the servo and upload the program of this course to the micro:bit; then turn on the power switch of the Super:bit expansion board and wait for the building block servo to turn to the initial position; then, we can turn off the power, adjust the angle of the shovel of the car to be parallel to the ground, and then install the servo gear. (If you have used the Proficient carrier and servo-related programs before, you can skip this step)
4. Programming
Method 1 Online programming:
First, connect the micro:bit to the computer via a USB data cable, and a U disk will pop up on the computer. Click the URL in the U disk: https://makecode.microbit.org/ to enter the programming interface. Then, add the Yahboomt software package to program.
Method 2 Offline Programming:
Open the offline programming software MakeCode and enter the programming interface. Click [New] and add the Yahboom software package to start programming.
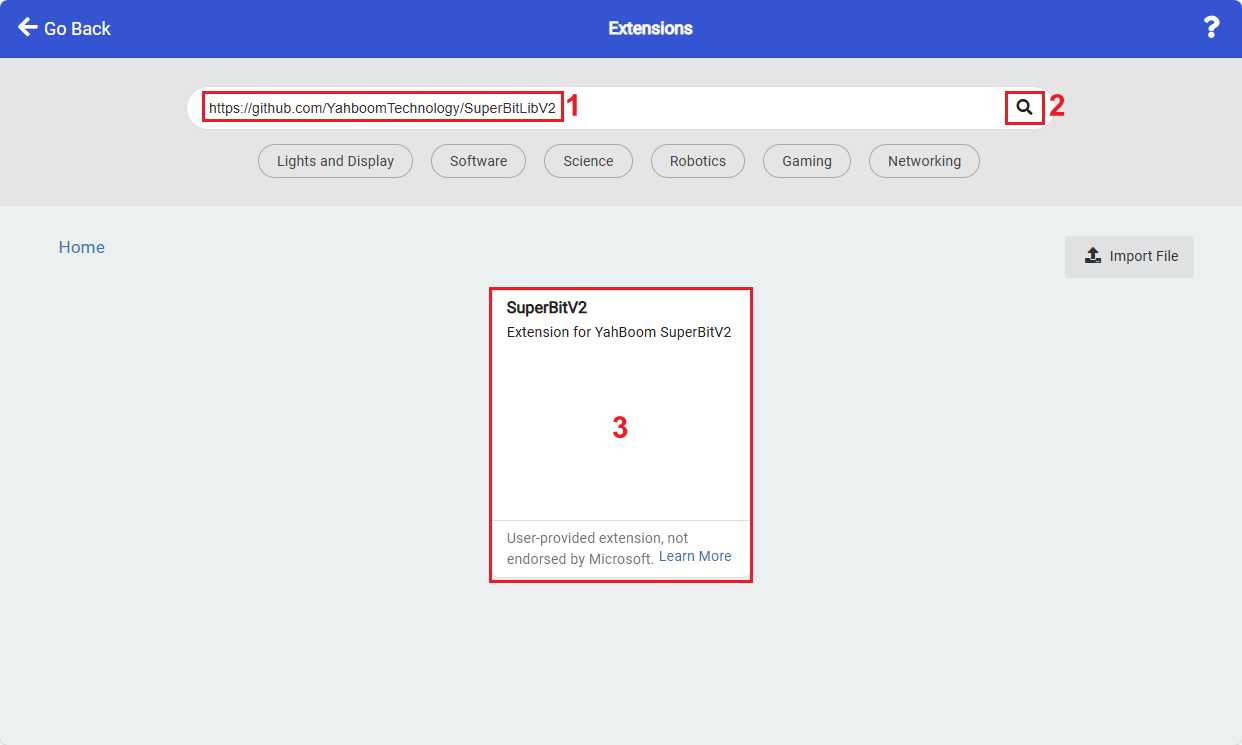
superbit kit expansion package: https://github.com/YahboomTechnology/SuperBitLibV2 Handle expansion package: https://github.com/YahboomTechnology/GHBitLib
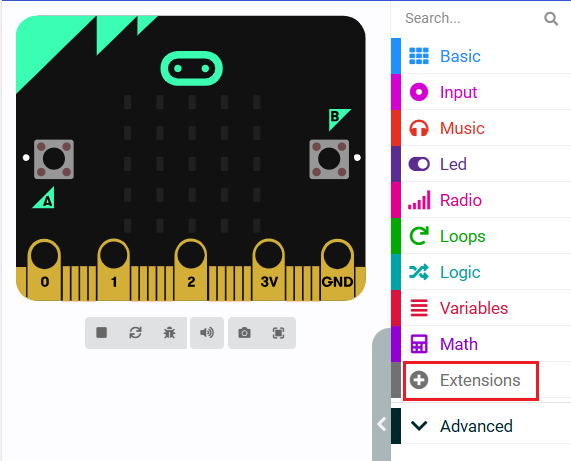
4.1 Add expansion package
4.2 Building blocks used
The location of the building blocks required for this programming is shown in the figure below.
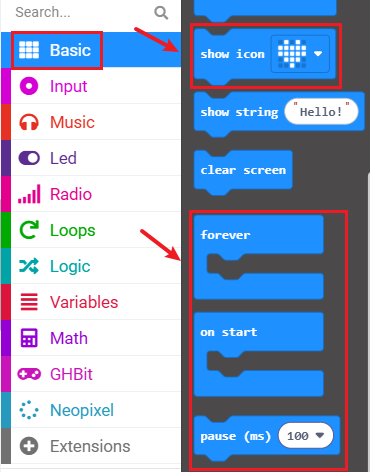
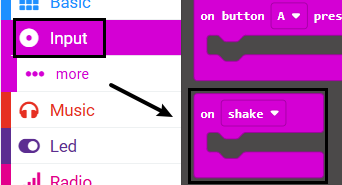
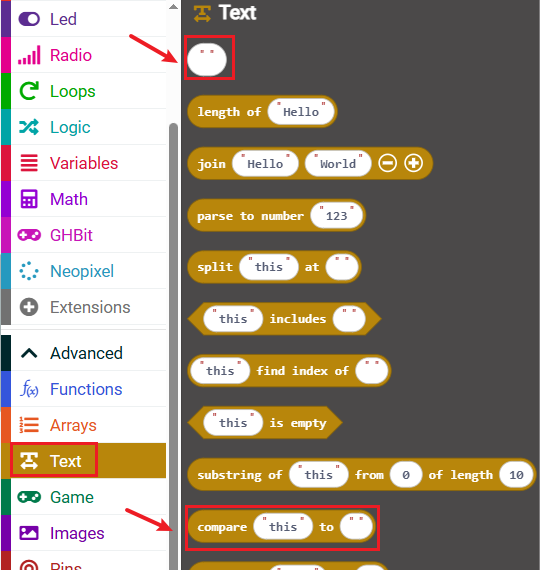
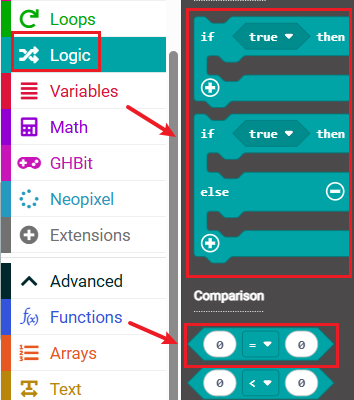
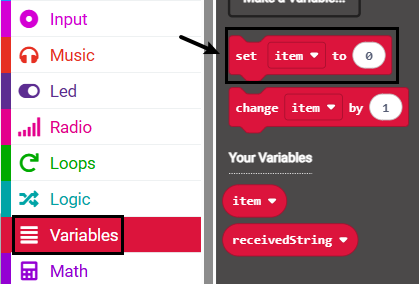
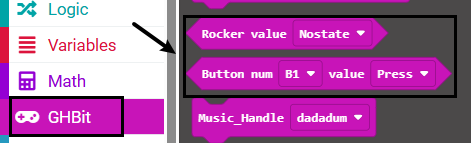
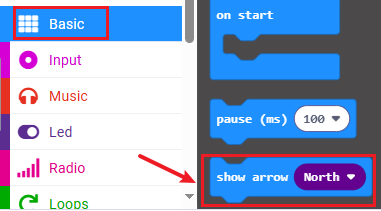
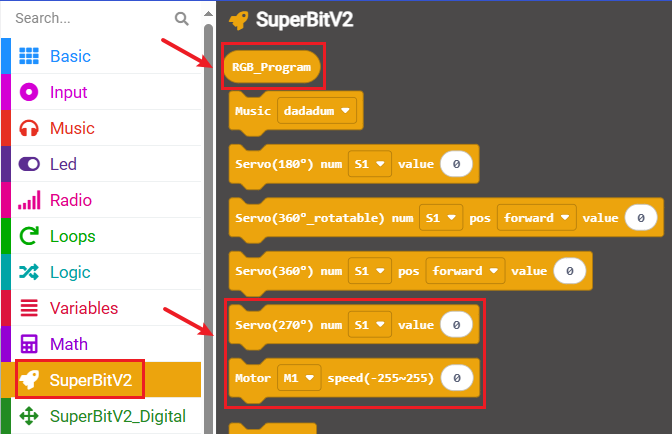
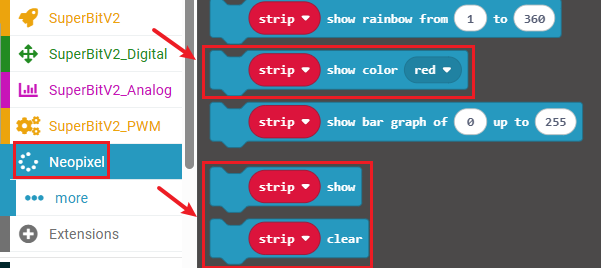
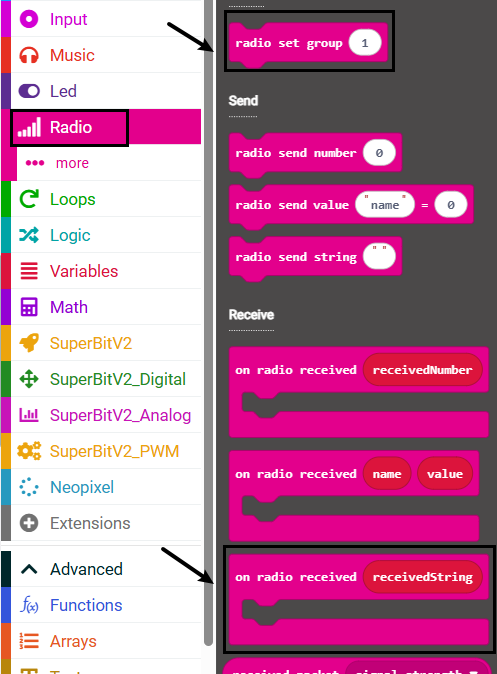
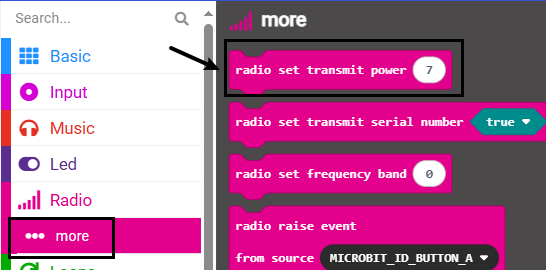
4.3 Add new variables
① Find the [Variable] option in the building block bar----[Make a Variable]
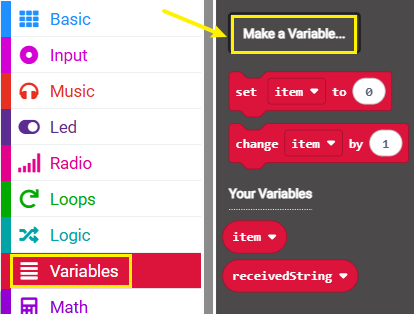
② Enter the variable name to complete the new variable.
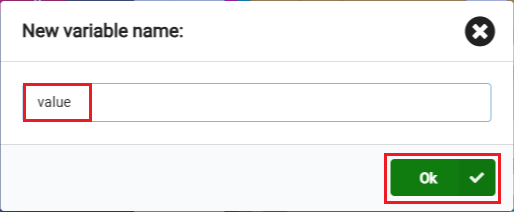
4.4 Assemble building blocks
The summary program of microbit on Proficient carrier is shown in the figure below
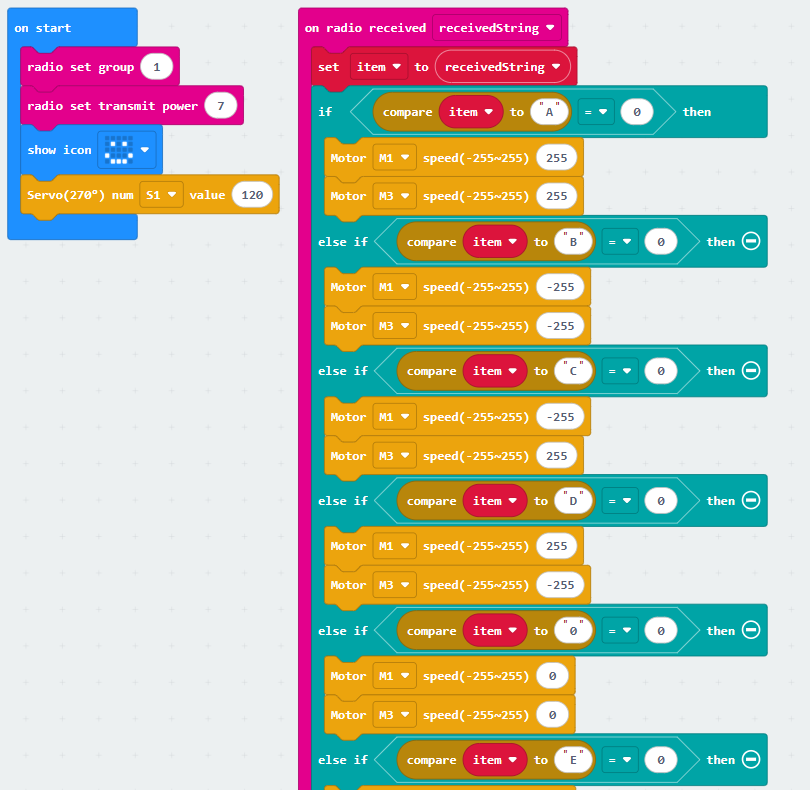
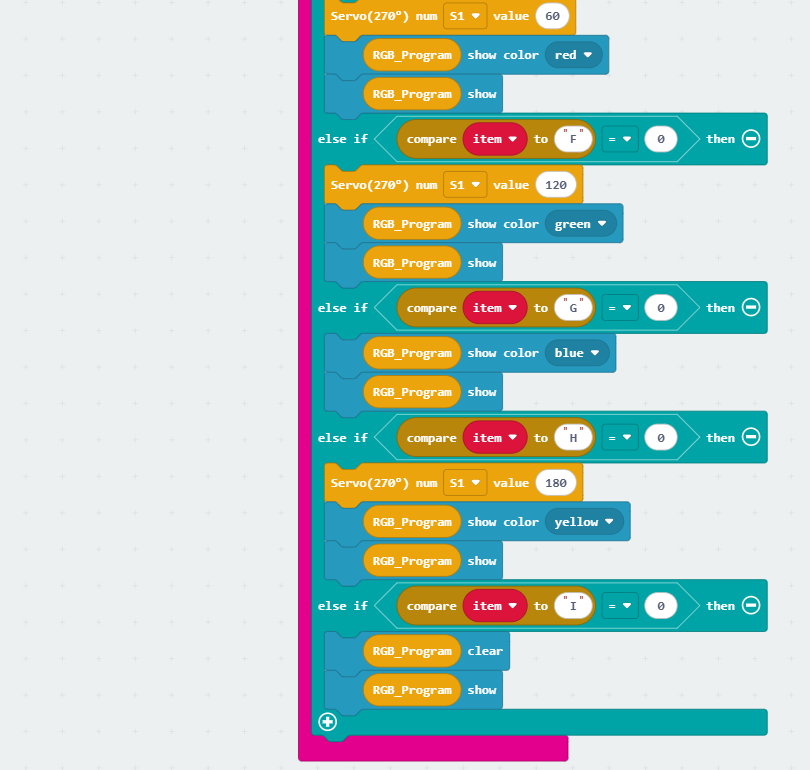
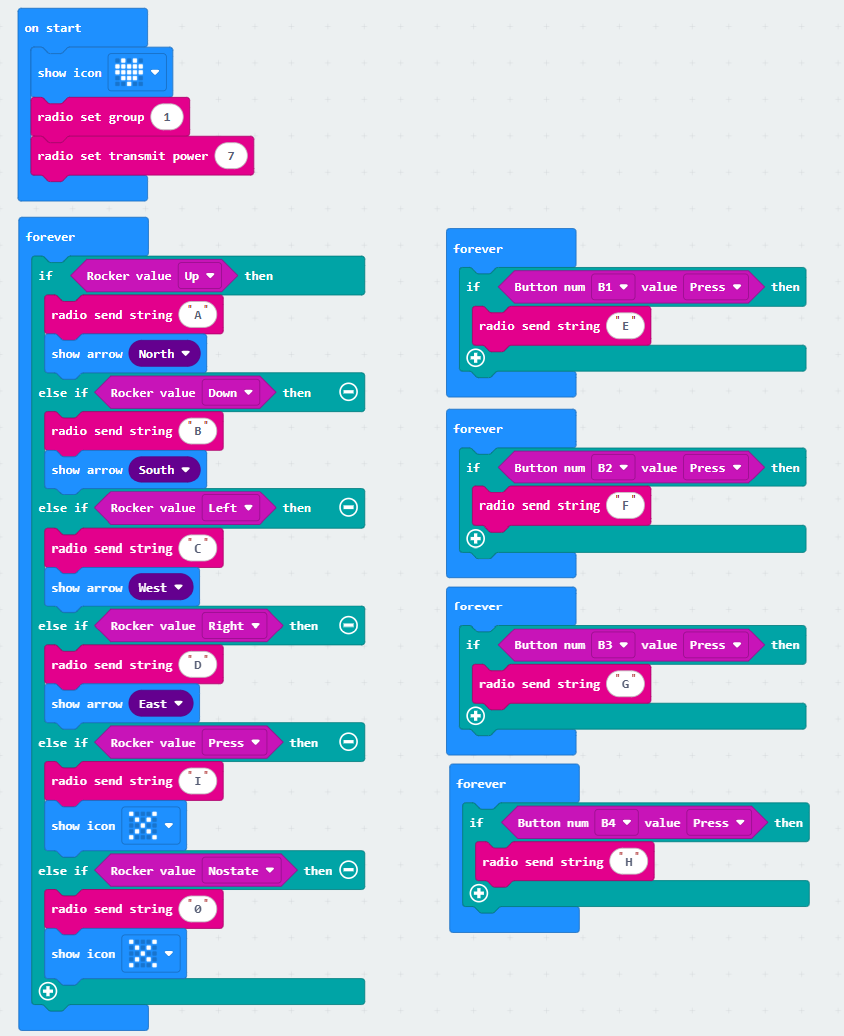
The program of Handle joystick control is as follows
The program of Handle gravity control is as follows
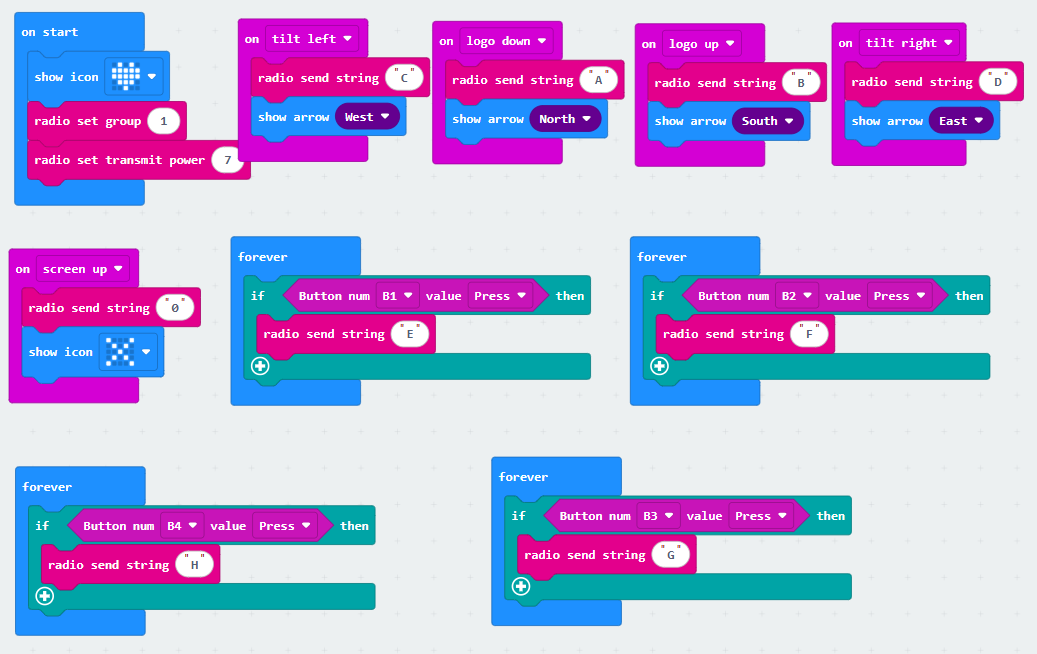
You can also directly open the microbit-handle-control-Proficient-carrier.hex、microbit-Handle-rocker-control.hex、microbit-Handle-gravity-control.hex files provided in this experiment and drag them into the browser that opens the URL, and the program diagram of this project source code will be automatically opened
5. Experimental phenomenon
We need to download the program of Proficient carrier to the micro:bit motherboard of Proficient carrier, turn on the power switch of Proficient carrier, and we can see a smiley face pattern displayed on the micro:bit dot matrix;
Download the handle remote control program to the micro:bit motherboard of the handle, turn on the power switch of the handle, and we can see that the micro:bit dot matrix will be initialized to display a heart pattern, and then an "X" pattern will be displayed, indicating that the handle is in the default state and no data is sent.
The two will automatically pair, and then we can start remote control of Proficient carrier.
The functions of the handle are as follows.
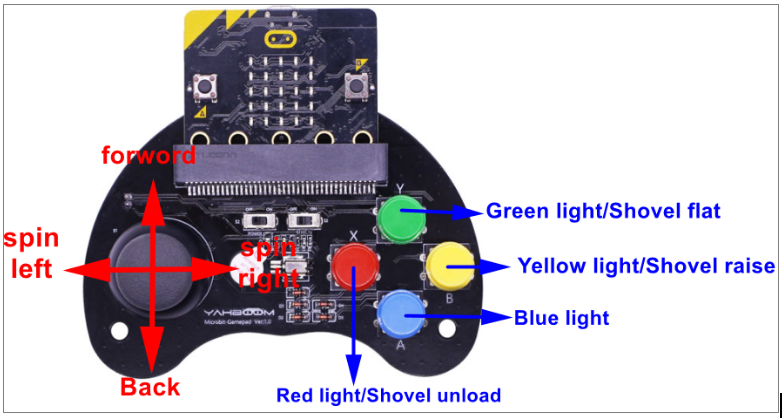
!Note: When the handle is controlled by the joystick, press the joystick to turn off the RGB light. This function does not exist when the handle is controlled by gravity.