Welcome to MicroROS-Pi5 repository
当製品の日本語版マニュアル資料は、こちらからご取得ください。
4. Lidar patrol
Lidar patrol
Note: The ROS_DOMAIN_ID of the Raspberry Pi and the microROS control board need to be consistent. You can check [MicroROS Control Board Parameter Configuration] to set the microROS control board ROS_DOMAIN_ID. Check the tutorial [Connect MicroROS Agent] to determine whether the IDs are consistent.
1、Program function description
The car connects to the agent, runs the program, sets the route to be patrolled in the dynamic parameter adjuster, and then clicks start. The car will move according to the set patrol route. At the same time, the radar on the car will scan the set radar angle and whether there are obstacles within the set obstacle detection distance. If there are obstacles, it will stop and the buzzer will sound. If there are no obstacles, it will stop and the buzzer will sound. Barriers continue to patrol.
2、Query car information
2.1、Start and connect to the agent
After the Raspberry Pi is successfully powered on, open the terminal and enter the following command to open the agent.
sh ~/start_agent_rpi5.sh

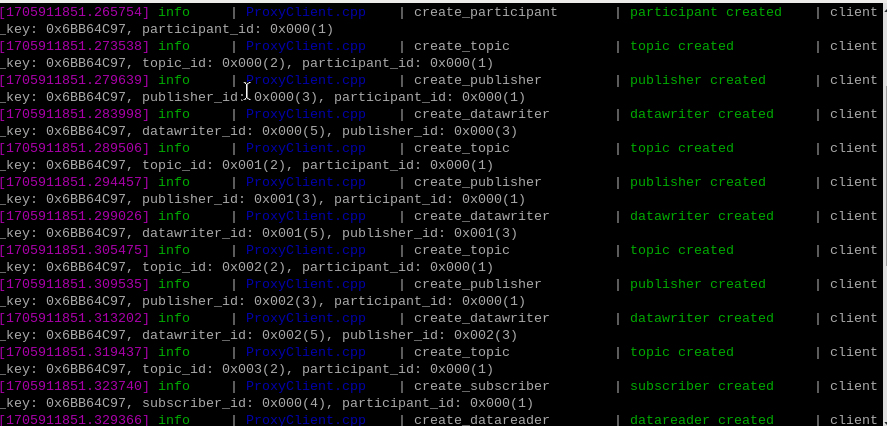
Press the reset button on the microROS control board and wait for the car to connect to the agent. The connection is successful as shown in the figure below.
2.2、Enter the car docker
Open another terminal and enter the following command to enter docker.
xxxxxxxxxxsh ros2_humble.sh
When the following interface appears, you have successfully entered docker, and you can now control the car through commands.

Enter the following command in the terminal to query the agent node.
xxxxxxxxxxros2 node list

3、starting program
First, start the car's underlying data processing program. This program will release the TF transformation of odom->base_footprint. With this TF change, you can calculate "how far the car has gone" and input it at the terminal.
xxxxxxxxxxros2 launch yahboomcar_bringup yahboomcar_bringup_launch.py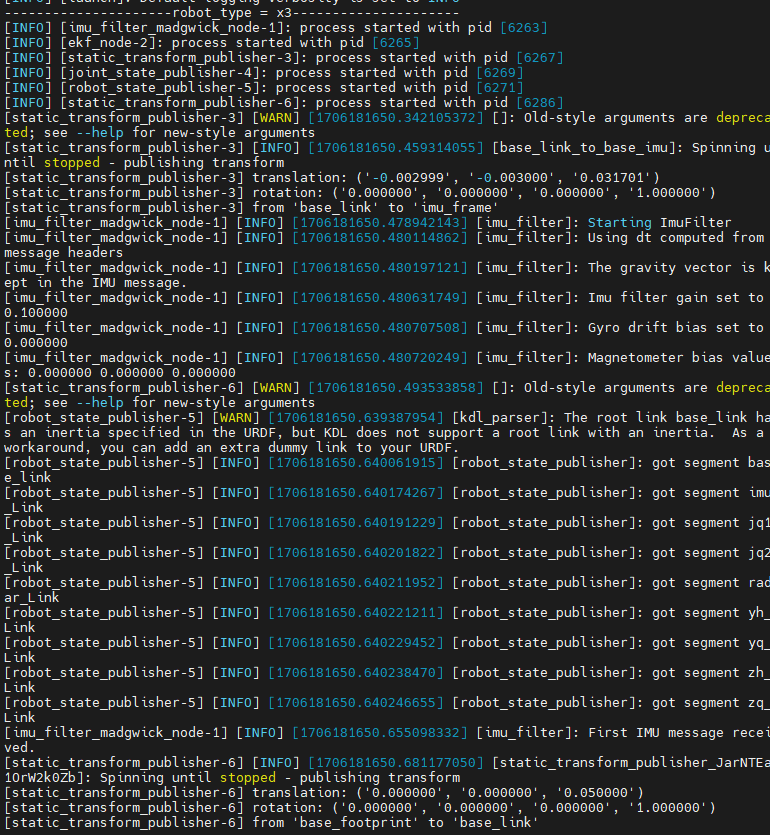
Then start the radar patrol program and enter the following command in the terminal.
xxxxxxxxxxros2 run yahboomcar_bringup patrol
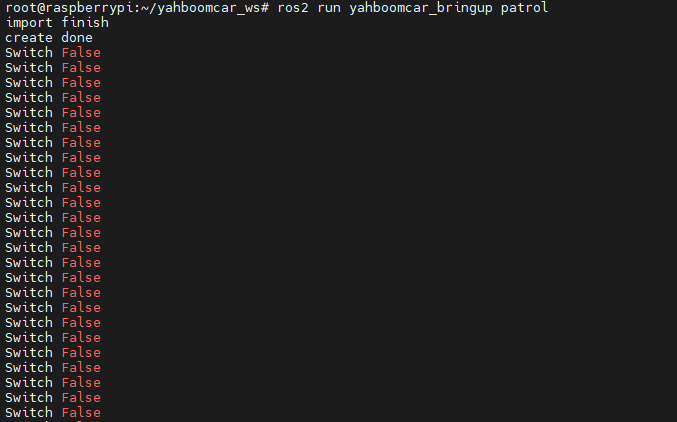
Open the parameter adjuster, give the patrol route, and enter the following commands in the terminal.
xxxxxxxxxxros2 run rqt_reconfigure rqt_reconfigure
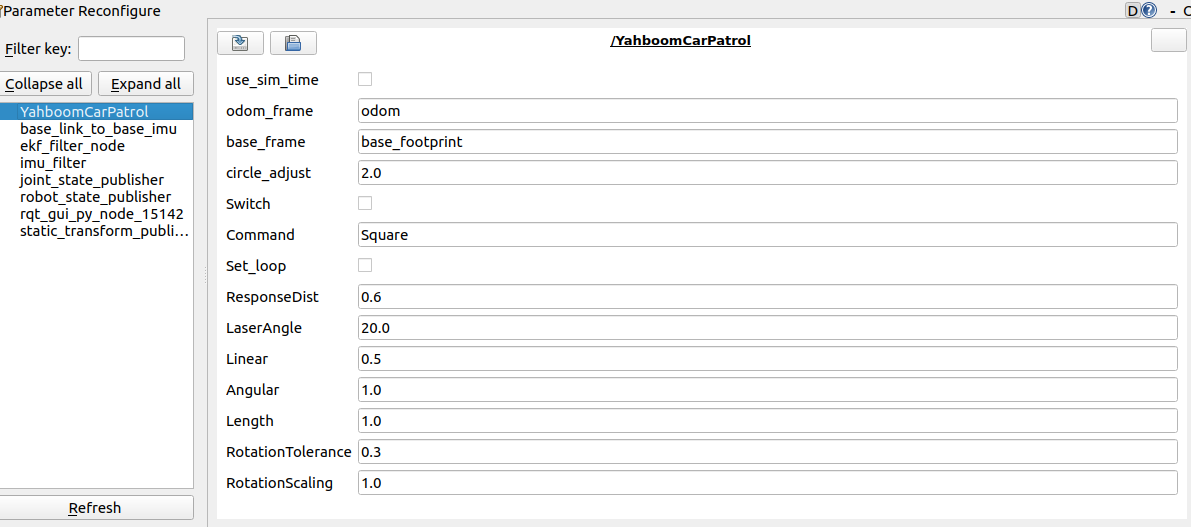
Note: There may not be the above nodes when you first open it. You can see all nodes after clicking Refresh. The displayed YahboomCarPatrol is the patrol node.
4、start patrol
In the rqt interface, find the YahboomCarPatrol node. The [Command] inside is the set patrol route. Here we take the square patrol route as an example. The following will explain what types of patrol routes there are. After setting the route in [Command], click Switch to start patrolling.
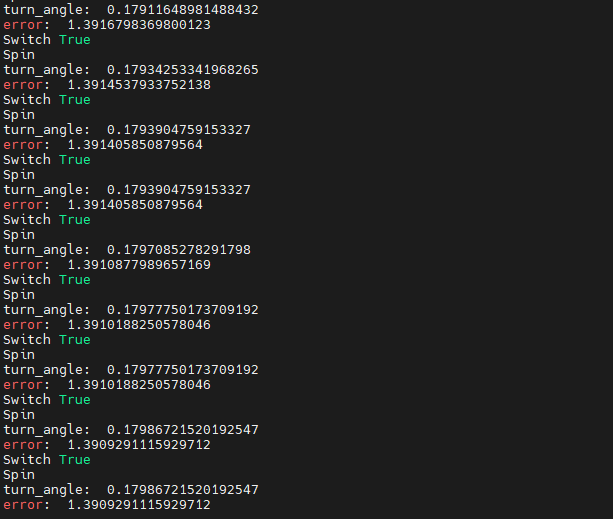
Taking a square as an example, first walk in a straight line, then rotate 90 degrees, then walk in a straight line, then rotate 90 degrees, and so on, until the completed route is a square. If you encounter an obstacle while walking, it will stop and the buzzer will sound.
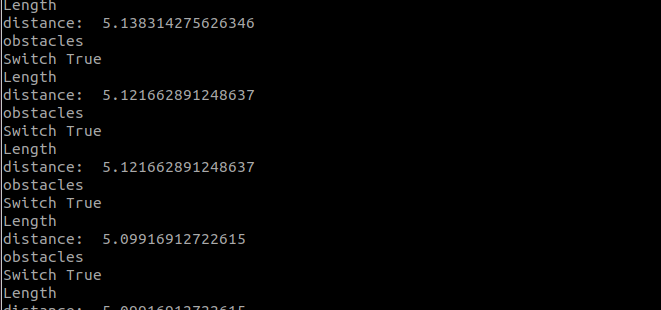
As shown in the picture above, obstacles will be printed when encountering obstacles.
Other parameters of the rqt interface are described as follows:
odom_frame:The coordinate system name of the odometer
base_frame:The name of the base coordinate system
circle_adjust:When the patrol route is circular, this value can be used as a coefficient to adjust the size of the circle. See the code for details.
Switch:Function enable switch
Command:There are several types of patrol routes: [LengthTest] - straight patrol, [Circle] - circle patrol, [Square] - square patrol, [Triangle] - triangle patrol.
Set_loop:The development of re-patrol will continue patrolling in a circular pattern with the set route after setting it up.
ResponseDist:Obstacle detection distance
LaserAngle:Radar detection angle
Linear:Linear speed
Angular:Angular velocity
Length:straight line distance
RotationTolerance:Tolerance value allowed for rotation error
RotationScaling:rotation scaling factor
After modifying the above parameters, you need to click on the blank space to transfer the parameters into the program.
5、Code analysis
Source code reference path
xxxxxxxxxx/root/yahboomcar_ws/src/yahboomcar_bringup/yahboomcar_bringuppatrol.py,The core code is as follows.
Create radar and remote control data subscribers
xxxxxxxxxxself.sub_scan = self.create_subscription(LaserScan,"/scan",self.LaserScanCallback,1)self.sub_joy = self.create_subscription(Bool,"/JoyState",self.JoyStateCallback,1)Creation speed, buzzer data publisher
x
self.pub_cmdVel = self.create_publisher(Twist,"cmd_vel",5)self.pub_Buzzer = self.create_publisher(UInt16,'/beep',1)Monitor the TF transformation of odom and base_footprint, calculate the current XY coordinates and rotation angle.
xxxxxxxxxxdef get_position(self): try: now = rclpy.time.Time() trans = self.tf_buffer.lookup_transform(self.odom_frame,self.base_frame,now) return trans except (LookupException, ConnectivityException, ExtrapolationException): self.get_logger().info('transform not ready') raise returnself.position.x = self.get_position().transform.translation.xself.position.y = self.get_position().transform.translation.y def get_odom_angle(self): try: now = rclpy.time.Time() rot = self.tf_buffer.lookup_transform(self.odom_frame,self.base_frame,now) #print("oring_rot: ",rot.transform.rotation) cacl_rot = PyKDL.Rotation.Quaternion(rot.transform.rotation.x, rot.transform.rotation.y, rot.transform.rotation.z, rot.transform.rotation.w) #print("cacl_rot: ",cacl_rot) angle_rot = cacl_rot.GetRPY()[2] return angle_rot except (LookupException, ConnectivityException, ExtrapolationException): self.get_logger().info('transform not ready') raise returnself.odom_angle = self.get_odom_angle()Two important functions are linear advancing and rotation Spin. All patrol routes are nothing more than a combination of linear motion and rotation.
advancing
xxxxxxxxxxdef advancing(self,target_distance): self.position.x = self.get_position().transform.translation.x self.position.y = self.get_position().transform.translation.y move_cmd = Twist() self.distance = sqrt(pow((self.position.x - self.x_start), 2) + pow((self.position.y - self.y_start), 2)) self.distance *= self.LineScaling print("distance: ",self.distance) self.error = self.distance - target_distance move_cmd.linear.x = self.Linear if abs(self.error) < self.LineTolerance : print("stop") self.distance = 0.0 self.pub_cmdVel.publish(Twist()) self.x_start = self.position.x; self.y_start = self.position.y; self.Switch = rclpy.parameter.Parameter('Switch',rclpy.Parameter.Type.BOOL,False) all_new_parameters = [self.Switch] self.set_parameters(all_new_parameters) return True else: if self.Joy_active or self.warning > 10: if self.moving == True: self.pub_cmdVel.publish(Twist()) self.moving = False b = UInt16() b.data = 1 self.pub_Buzzer.publish(b) print("obstacles") else: #print("Go") b = UInt16() b.data = 0 self.pub_Buzzer.publish(UInt16()) self.pub_cmdVel.publish(move_cmd) self.moving = True return FalseSpin
xxxxxxxxxxdef Spin(self,angle): self.target_angle = radians(angle) self.odom_angle = self.get_odom_angle() self.delta_angle = self.RotationScaling * self.normalize_angle(self.odom_angle - self.last_angle) self.turn_angle += self.delta_angle print("turn_angle: ",self.turn_angle) self.error = self.target_angle - self.turn_angle print("error: ",self.error) self.last_angle = self.odom_angle move_cmd = Twist() if abs(self.error) < self.RotationTolerance or self.Switch==False : self.pub_cmdVel.publish(Twist()) self.turn_angle = 0.0 return True if self.Joy_active or self.warning > 10: if self.moving == True: self.pub_cmdVel.publish(Twist()) self.moving = False b = UInt16() b.data = 1 self.pub_Buzzer.publish(b) print("obstacles") else: b = UInt16() b.data = 0 self.pub_Buzzer.publish(UInt16()) if self.Command == "Square" or self.Command == "Triangle": move_cmd.angular.z = copysign(self.Angular, self.error) elif self.Command == "Circle": length = self.Linear * self.circle_adjust / self.Length move_cmd.linear.x = self.Linear move_cmd.angular.z = copysign(length, self.error) self.pub_cmdVel.publish(move_cmd) self.moving = TrueNow that we have the functions of straight line and rotation, we can arrange and combine them according to the patrol route. Taking a square as an example.
x
def Square(self): if self.index == 0: print("Length") #First walk in a straight line for 1 meter step1 = self.advancing(self.Length) #sleep(0.5) if step1 == True: #self.distance = 0.0 self.index = self.index + 1; self.Switch = rclpy.parameter.Parameter('Switch',rclpy.Parameter.Type.BOOL,True) all_new_parameters = [self.Switch] self.set_parameters(all_new_parameters) elif self.index == 1: print("Spin") #Rotate 90 degrees step2 = self.Spin(90) #sleep(0.5) if step2 == True: self.index = self.index + 1; self.Switch = rclpy.parameter.Parameter('Switch',rclpy.Parameter.Type.BOOL,True) all_new_parameters = [self.Switch] self.set_parameters(all_new_parameters).....