Welcome to RDK X5 Board repository
0.Bind PCB port devices
Bind PCB port devices
Explanation
When following our Python basic control tutorial and ROS basic tutorial, we need to bind our ROS control board device ID to a specified port number (also known as device remapping). If it is not bound to a specified port number, it is likely to generate an error when running the startup file. For example:
AttributeError:‘Rosmaster’ object has no attribute 'ser'
AttributeError:‘yahboomcar_driver’ object has no attribute 'velPublisher'
······(Most of our ROS feature packages need to be bound to a specified port number, and the operation steps are basically the same)
VM
Using VMware Workstation for device ID binding demonstration, other motherboards (Raspberry Pi, x3 Pi, Jetson series, etc.) can follow this step for device ID binding.
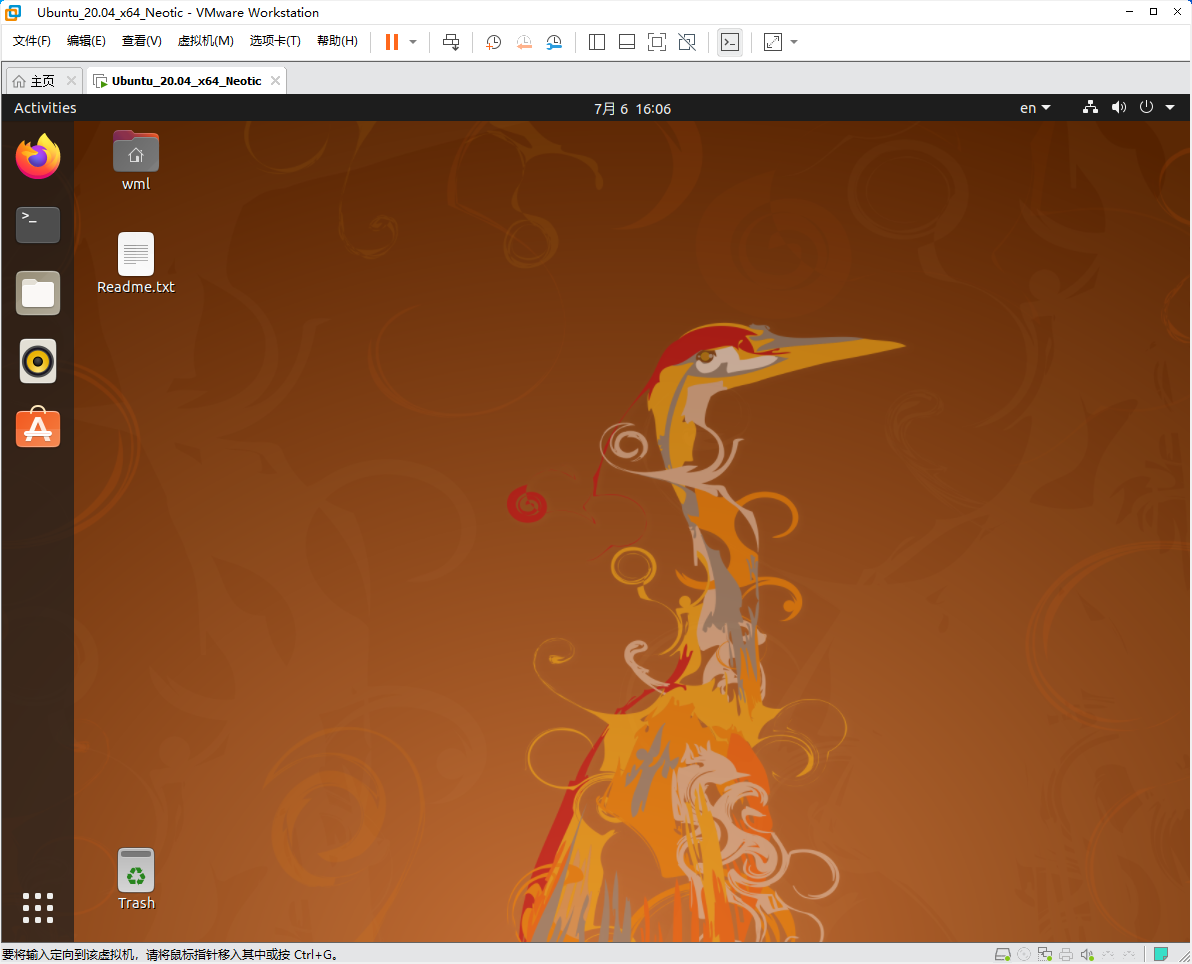
1.Open virtual machine image
2.Connect devices
There are two ways to connect the device by inserting it into the computer through the USB interface
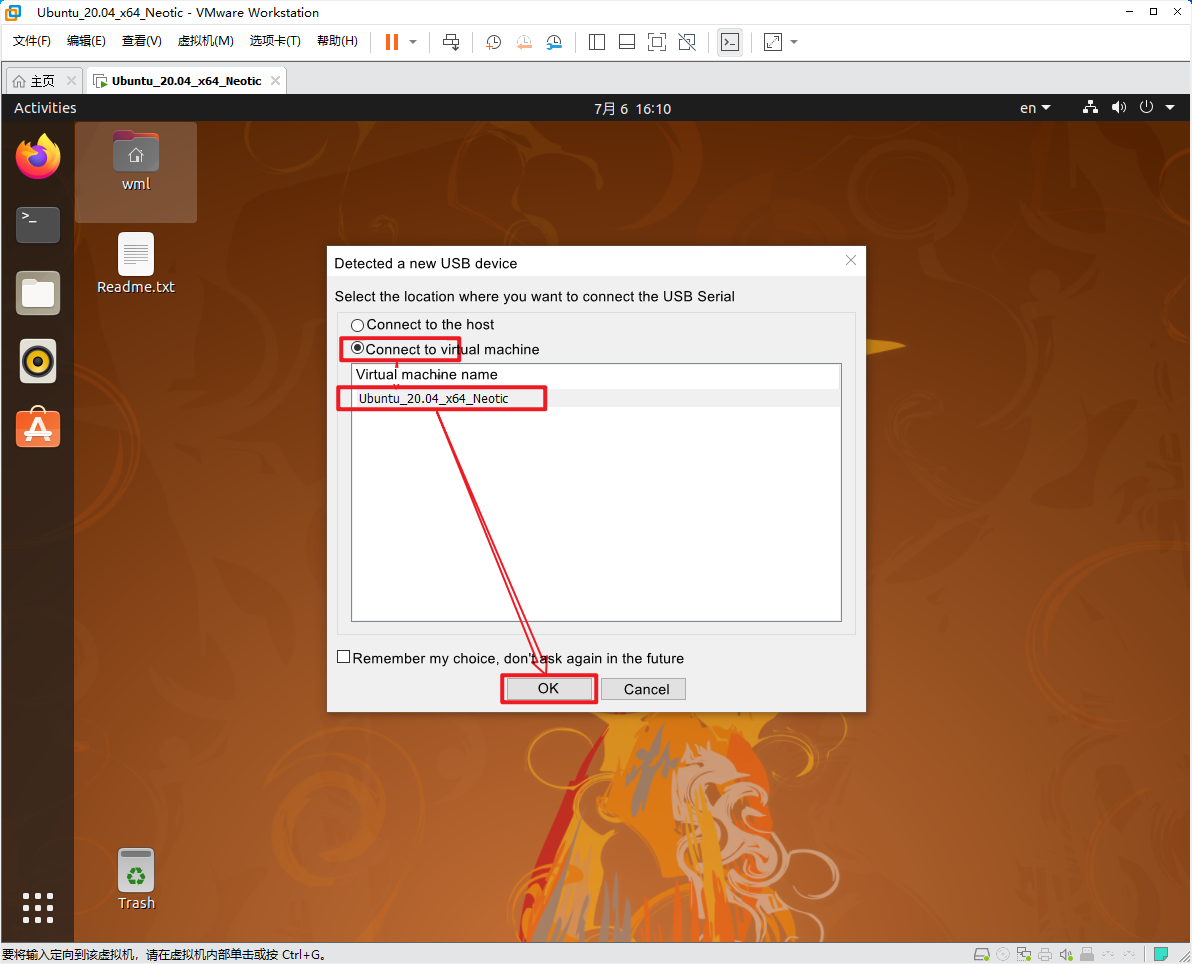
Method 1
Choose to connect to the virtual machine
Method 2 (Recommended)
Select the corresponding device connection in "Virtual Machine Settings" → "Removable Devices"
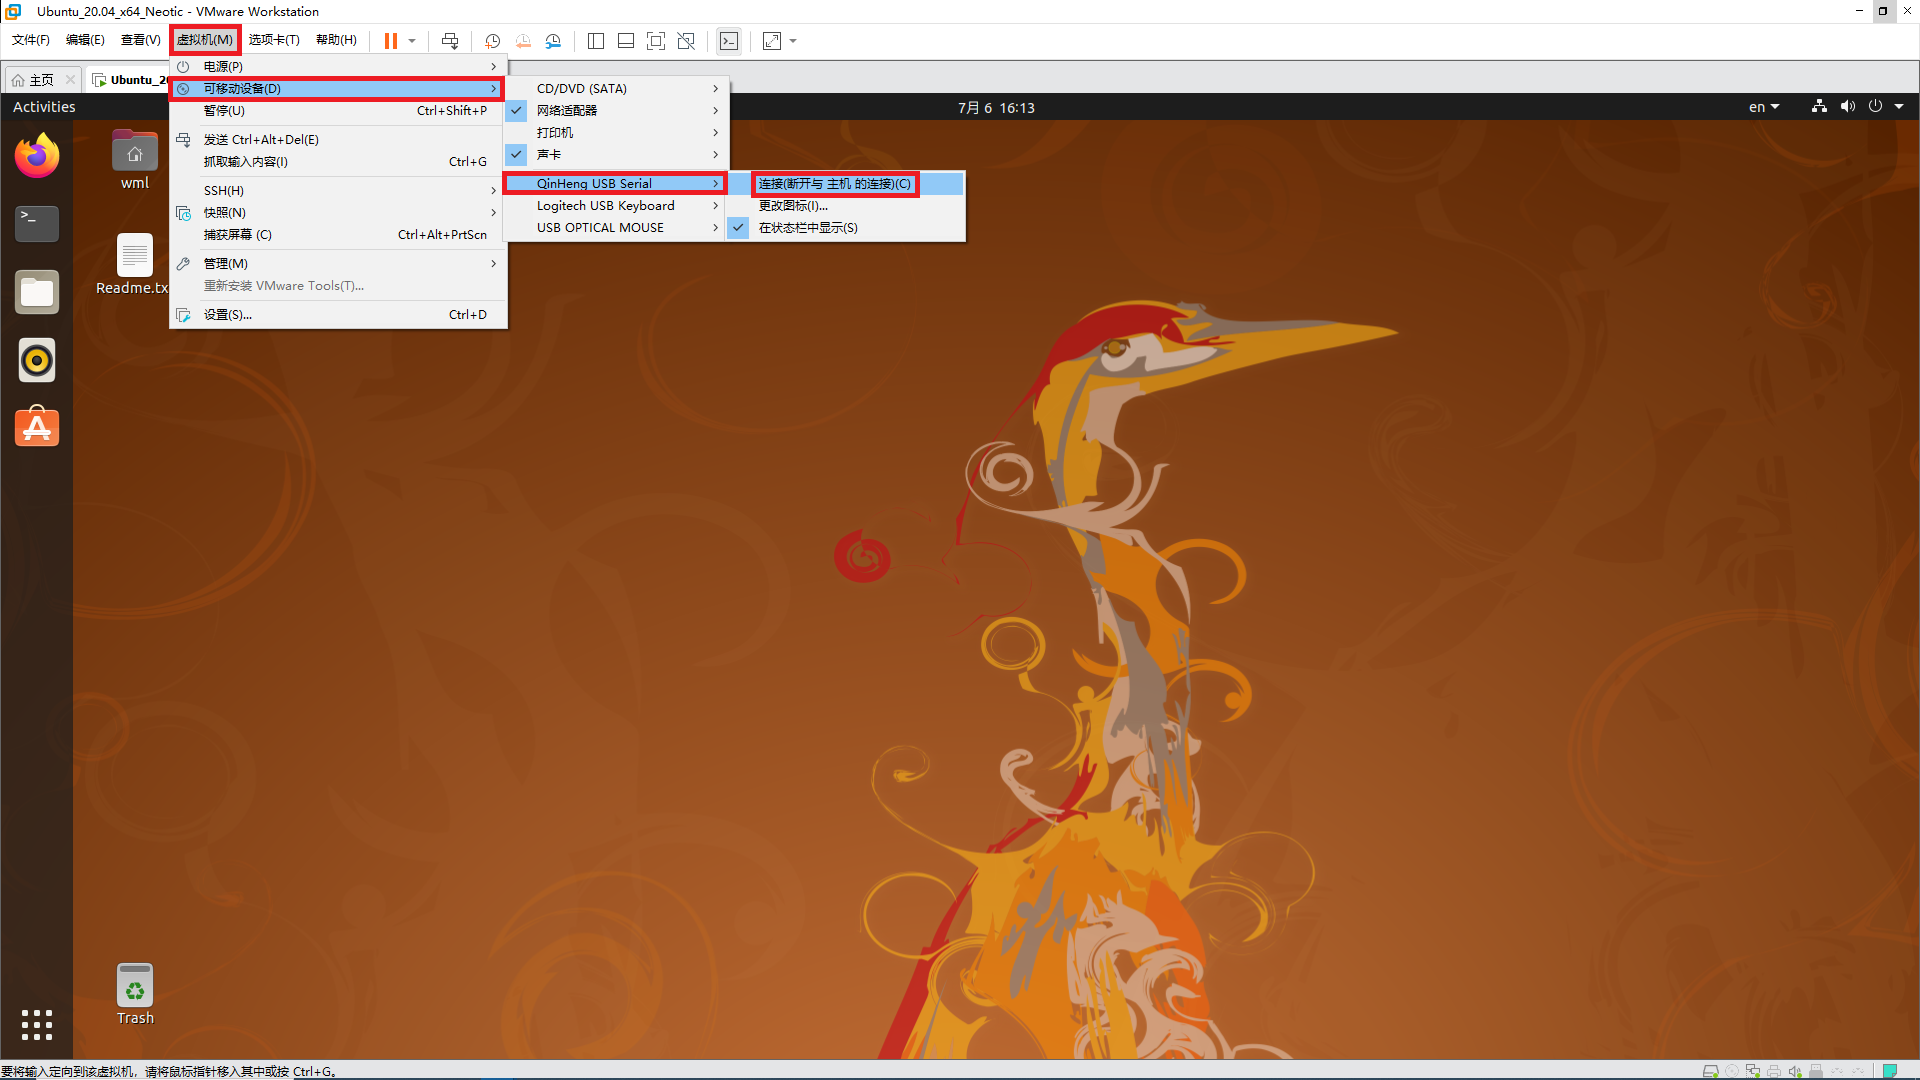
Note: The steps for connecting multiple devices to a virtual machine are the same!
ROS control board
View the devices connected to the system
lsusb
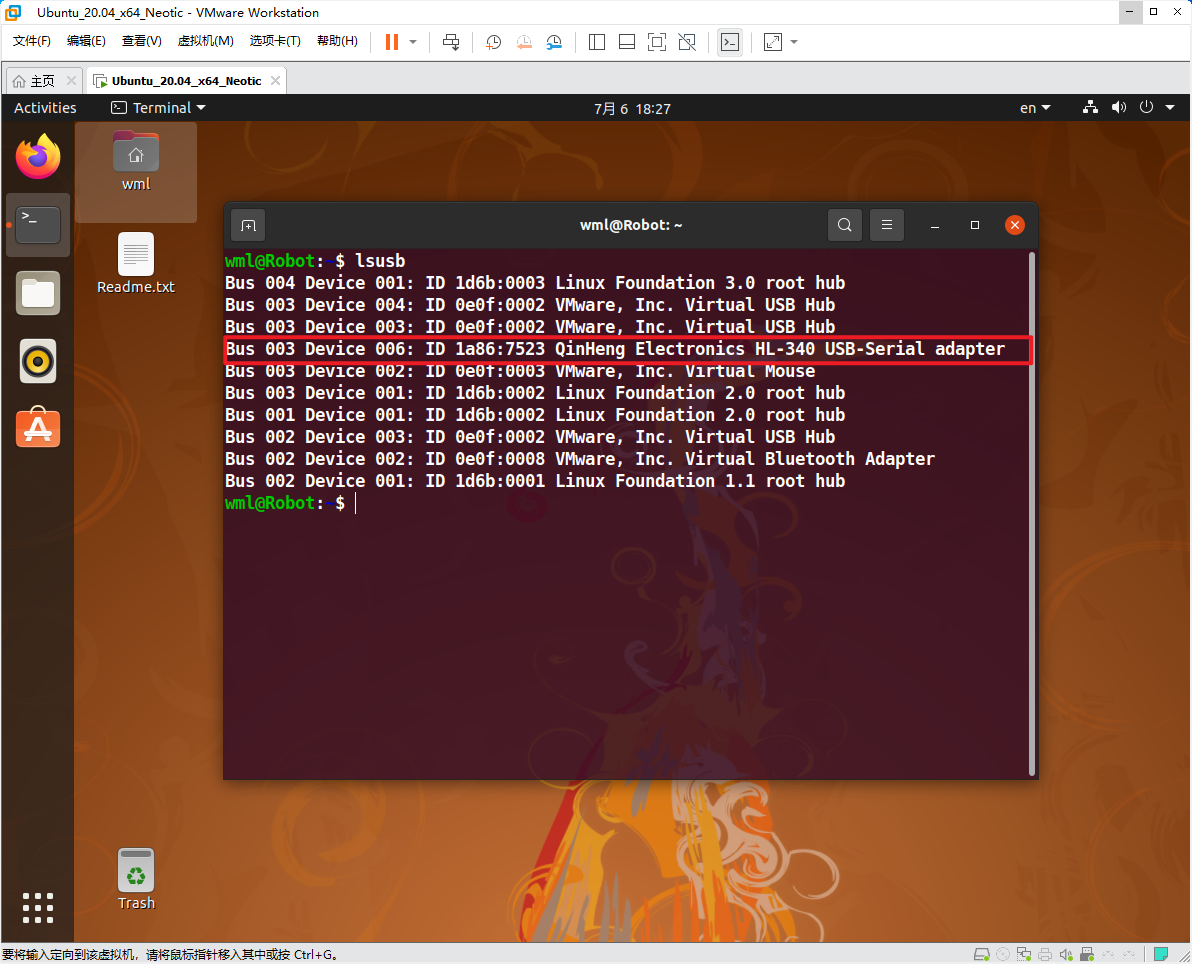
Through lsusb, we can see the USB device information corresponding to the ROS control board (the device ID information we mainly focus on is 1a86:7523)
xxxxxxxxxxBus 003 Device 006: ID 1a86:7523 QinHeng Electronics HL-340 USB-Serial adapter
Method 1
Edit myserial.rules file
xxxxxxxxxxsudo nano /etc/udev/rules.d/myserial.rules
ROS control board device ID information 1a86:7523 here. The following is the content of the myserial.rules file
xxxxxxxxxxKERNEL=="ttyUSB*", ATTRS{idVendor}=="1a86", ATTRS{idProduct}=="7523", MODE:="0777", SYMLINK+="myserial"
Note: This step often results in binding failures. It is recommended to directly open the. md file we provide and copy it, rather than copying the contents of the PDF file directly, as binding may not be successful.
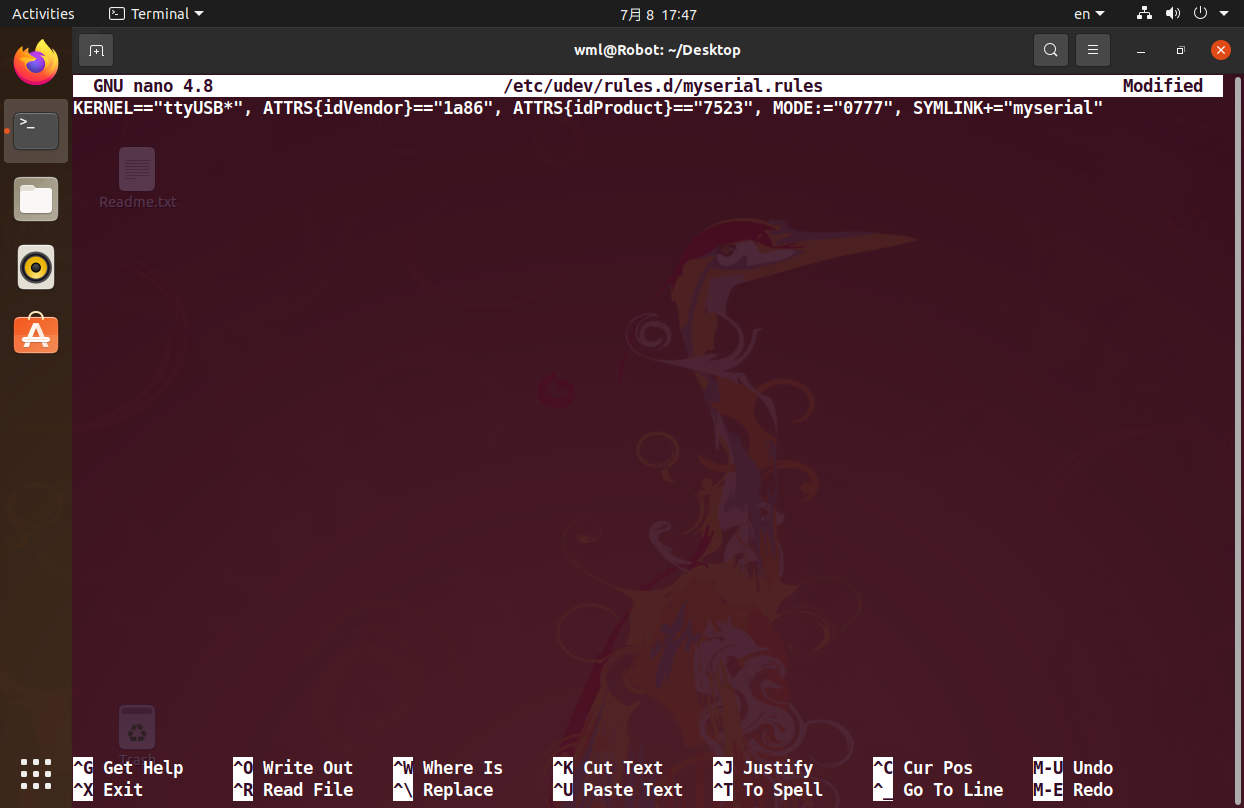
Note: I am accustomed to using the Nano editor. You can choose the corresponding editor according to your own habits to create and edit files
Save the file and exit, then enter the following command to grant myserial.rules execution permission.
xxxxxxxxxxsudo chmod a+x /etc/udev/rules.d/myserial.rules
Enter the following three commands to unplug and plug in the ROS control board device again.
xxxxxxxxxxsudo udevadm triggersudo service udev reloadsudo service udev restart
Enter the following command to check if the device number has been successfully bound.
xxxxxxxxxxll /dev/myserial
If the image shown in the following figure appears, it can be considered as successfully bound.
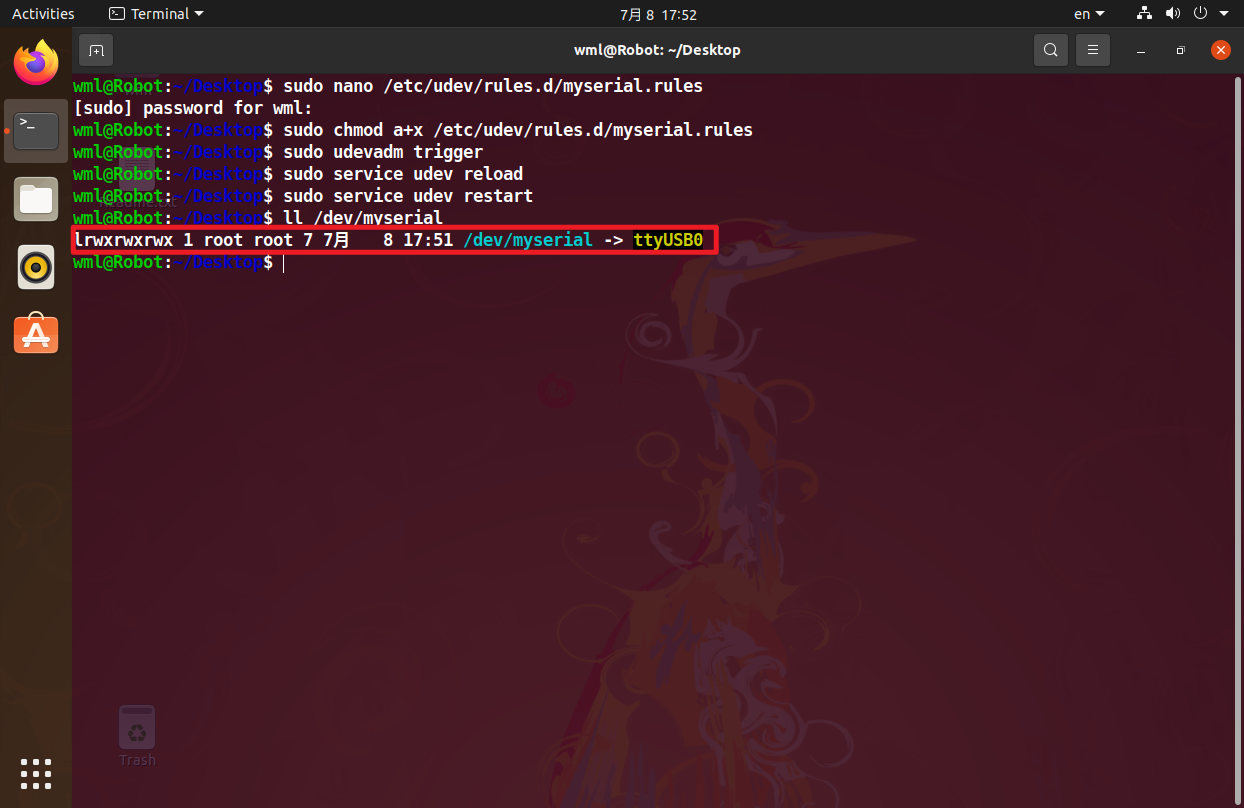
Note: Any USB chip starting with ttyUSB is sufficient here. Multiple devices with the same USB chip will not be demonstrated in this section.
Method 2 (Recommended)
First, download the edited rule file, and then open the terminal in the directory where the myserial.rules file is located
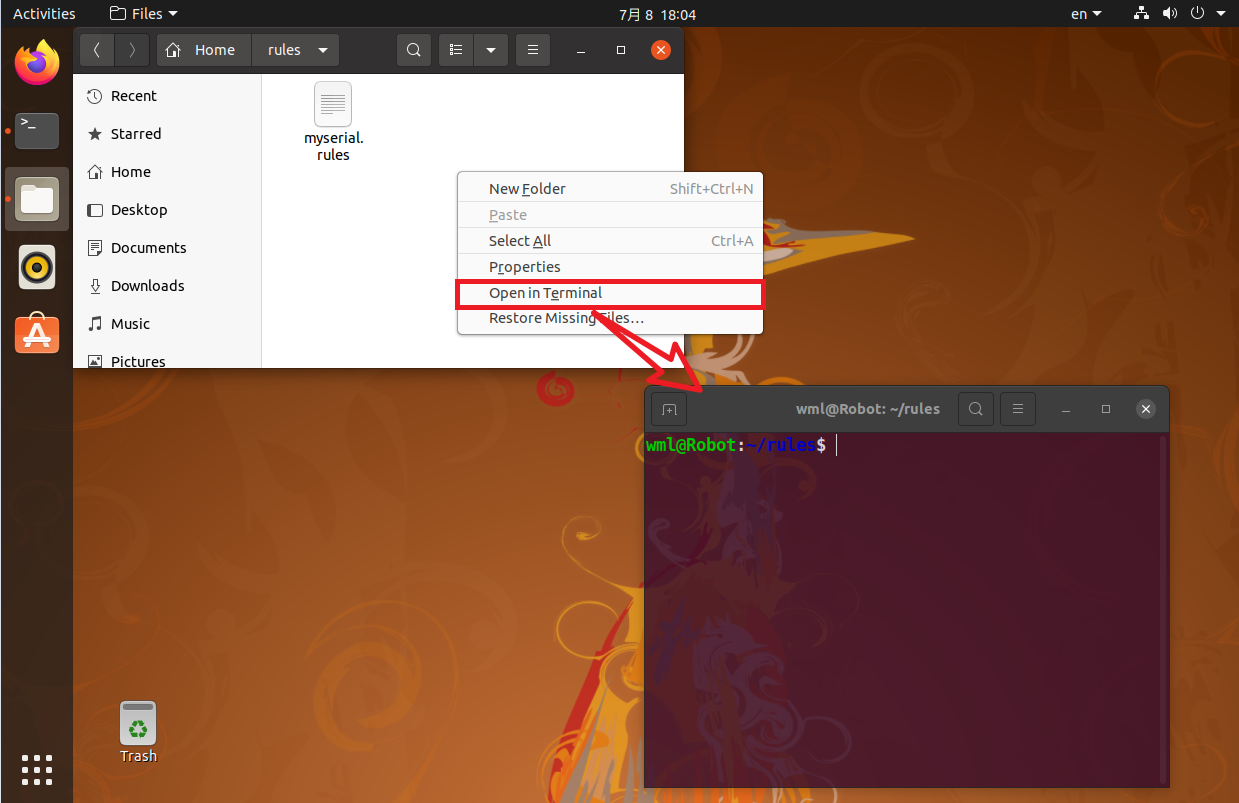
Enter the following command to copy the edited rule file to the/etc/udev/rules.d directory.
xxxxxxxxxxsudo cp myserial.rules /etc/udev/rules.d/cd /etc/udev/rules.d/ls
Then, enter the following command to grant myserial.rules execution permission
xxxxxxxxxxsudo chmod a+x /etc/udev/rules.d/myserial.rules
Enter the following three commands to unplug and plug in the ROS control board device again
xxxxxxxxxxsudo udevadm triggersudo service udev reloadsudo service udev restart
Enter the following command to check if the device number has been successfully bound
xxxxxxxxxxll /dev/myserial
If the image shown in the following figure appears, it can be considered as successfully bound
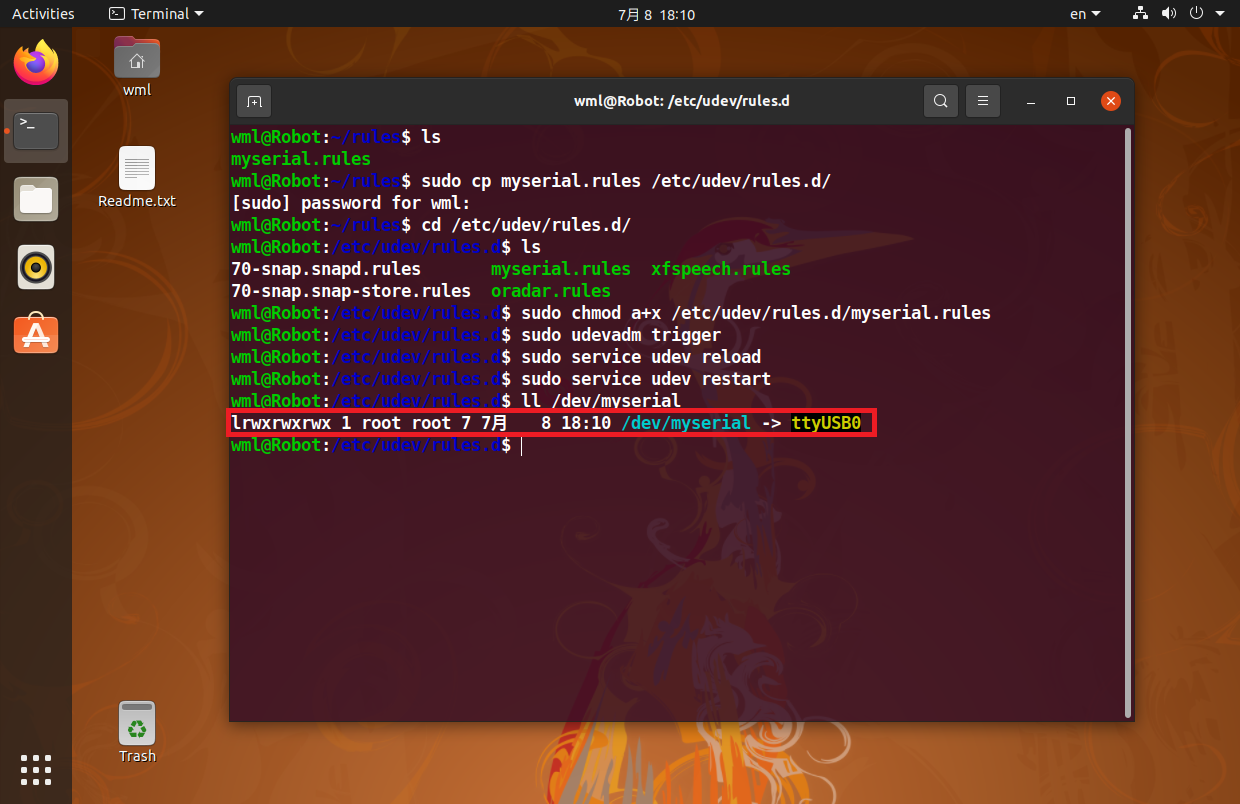
Note: Any USB chip starting with ttyUSB is sufficient here. Multiple devices with the same USB chip will not be demonstrated in this section.