Welcome to RDK X5 Board repository
1. Servo Control
OpenClaw Servo Control Tutorial
Before starting, please complete [01-Peripheral Hardware Configuration], [02-OpenClaw API-KEY Configuration], [03-OpenClaw Model Switching], [04-OpenClaw Prompts], [05-AI Voice Interaction Configuration], and [06-Three Conversation Scheme Configuration and Testing] in the
Preparation for Usedirectory. If you are currently only using TUI / WhatsApp, you can skip05for now. This document assumes the basic environment is already prepared and only expands on servo-related content.
1. Tutorial Objectives
This tutorial demonstrates OpenClaw's natural language control capabilities through servo peripherals. After completing this tutorial, readers will be able to:
Understand the basic idea of OpenClaw controlling servos
Interact with OpenClaw via three methods: WhatsApp, TUI, and voice code
Complete four servo cases: single servo control, servo dancing, yes/no Q&A, simulated ping pong, simulated pointer
2. Hardware Preparation
- OpenClaw main board
- Servo
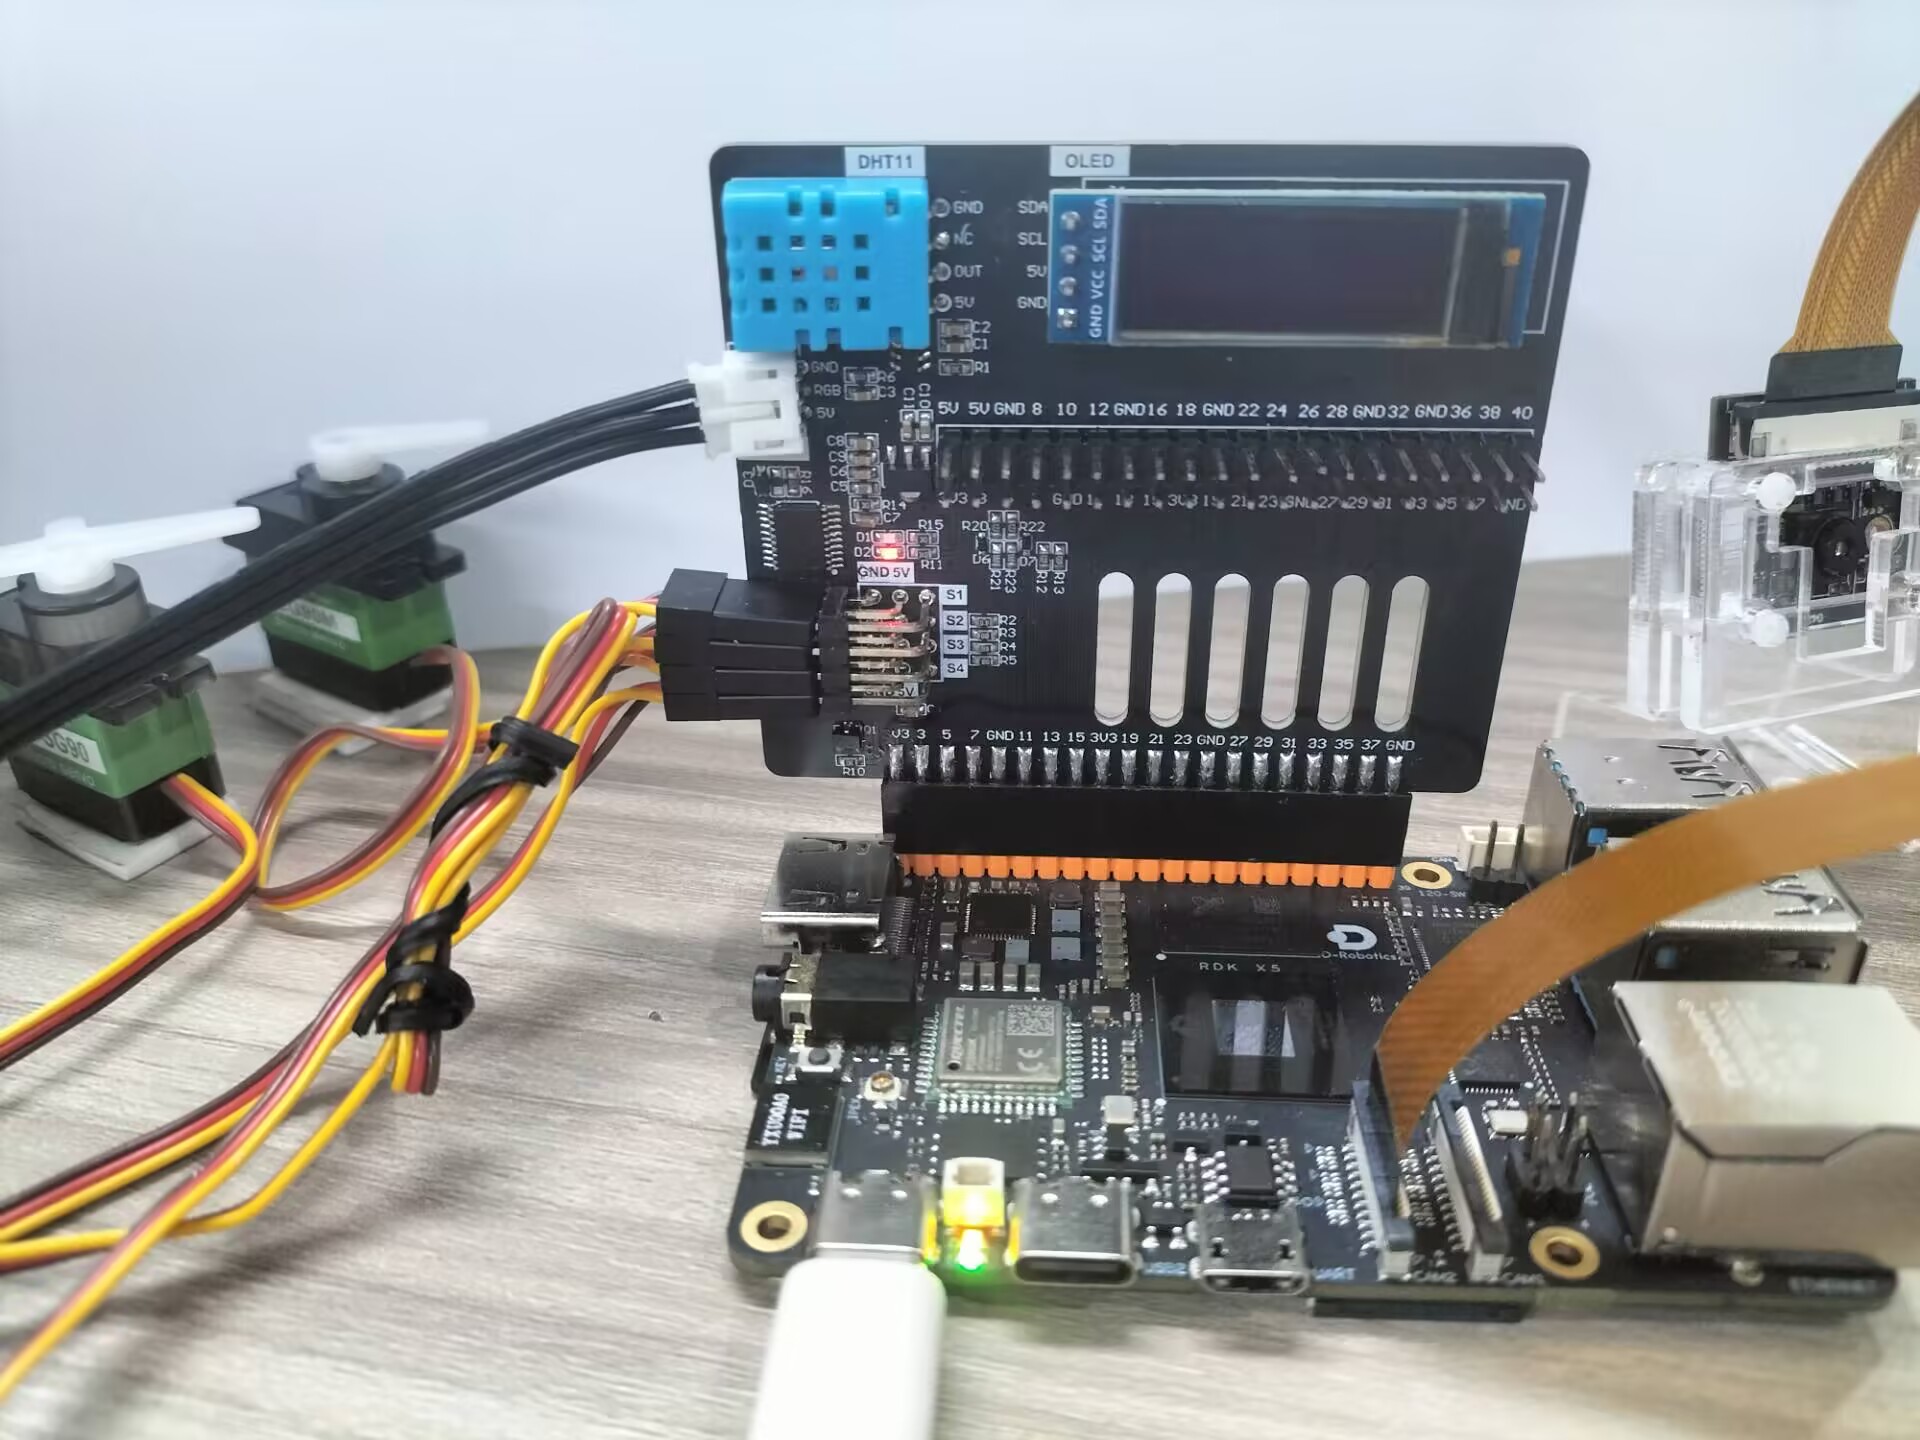
[1 unit / 4 units] [Optional] Microphone module- Wiring diagram
3. Software Preparation
Code entry points used in the tutorial
- Low-level driver code: /home/sunrise/hardware_hal_demo/
- Python driver library: /home/sunrise/openclaw-fw/python/
- Voice entry point:
/home/sunrise/voice_to_openclaw/src/main.py - Terminal text entry point:
/home/sunrise/voice_to_openclaw/src/text_main.py
4. Testing the Servo
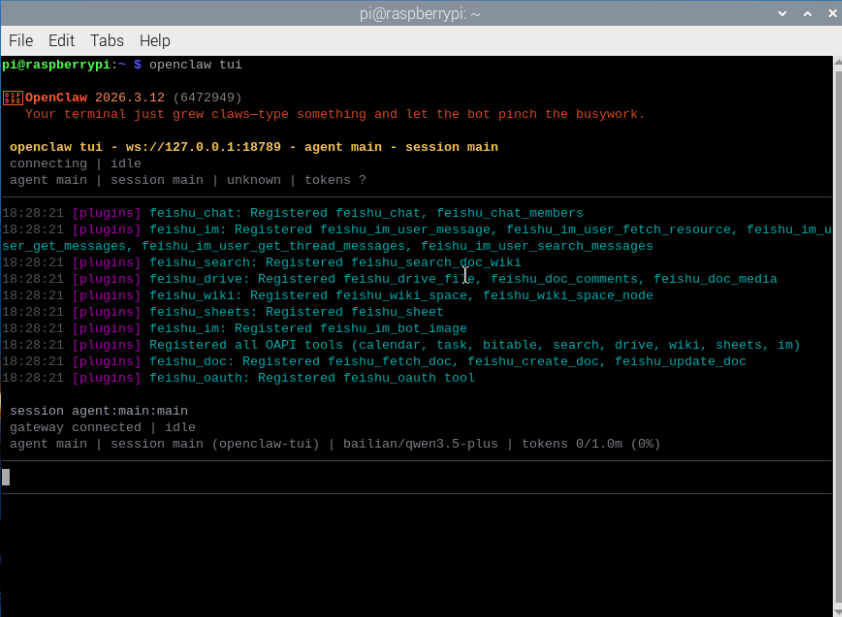
Before starting this tutorial, please complete a basic openclaw tui conversation self-check first; if you haven't done so, see [06-Three Conversation Scheme Configuration and Testing]. After confirming that OpenClaw can respond normally, proceed to the servo-specific test.
Enter the following command in the terminal to enter TUI:
openclaw tui
After ensuring the hardware is connected, you can test servo control by entering the following content in the terminal:
- Turn servo 1 to 0 degrees
- Turn the servo to 90 degrees
- Turn the servo to 180 degrees
Note: You can specify which servo to control individually.
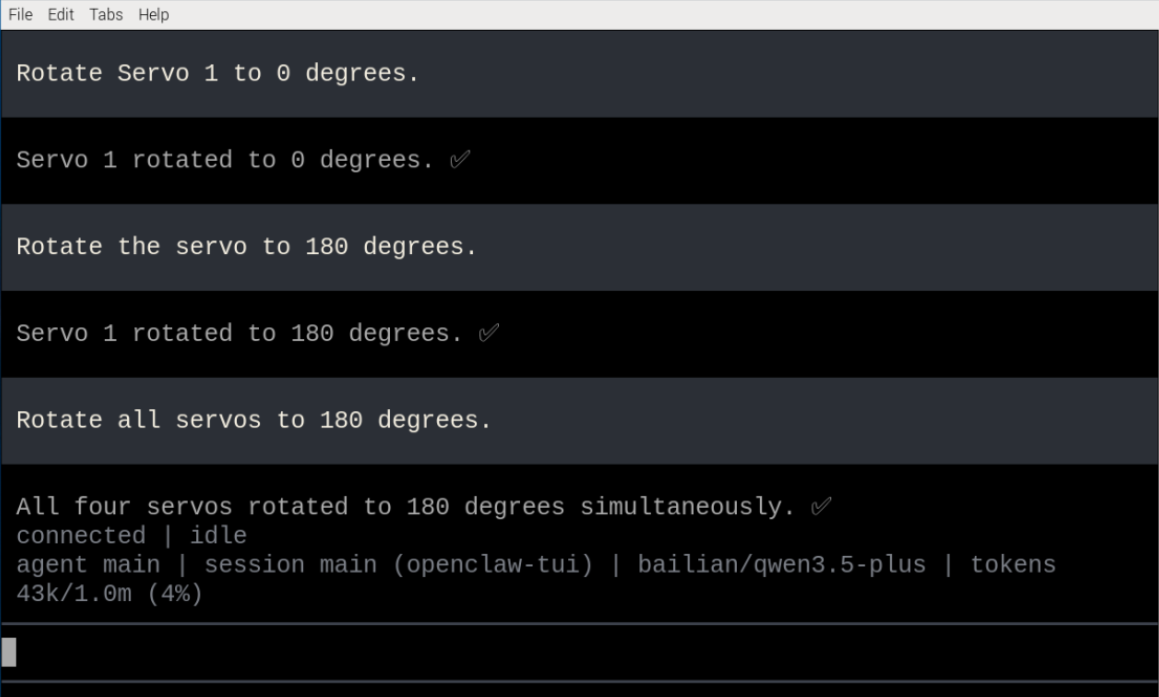
If you can see the servo driving normally, it means the following points are normal.
- OpenClaw can receive instructions
- Servo power supply is normal
- Servo angle control range is correct
- Clear feedback is visible after instruction execution
5. Three Schemes for Conversing with OpenClaw
| Scheme | Suitable Scenarios | Advantages | Suggested Positioning |
|---|---|---|---|
| Remote control, classroom demonstration | Easy access, suitable for multi-user experience | Demonstrate "remote natural language control" | |
| TUI | Local debugging, command verification | Most direct, easiest to troubleshoot | Get the control pipeline running first |
| Voice Code | Voice interaction, complete AI experience | Closest to real conversation experience | As the final demonstration scheme |
If you have selected the AI voice module + speaker, Feishu dialogue, tui, and WhatsApp dialogue need to broadcast the content of openclaw's reply. You can run the following program on the terminal. The AI voice module dialogue does not need to be run repeatedly
- Modify whether to enable broadcast parameter
xxxxxxxxxx/home/sunrise/voice_to_openclaw/.env
xxxxxxxxxxENABLE_TTS=true # This parameter controls whether to broadcast. After modifying and saving, run the following program in the terminal.- Enter in terminal:
xxxxxxxxxxcd ~/voice_to_openclawsource .venv/bin/activatepython -m src.openclaw_session_tts
5.1 WhatsApp Scheme
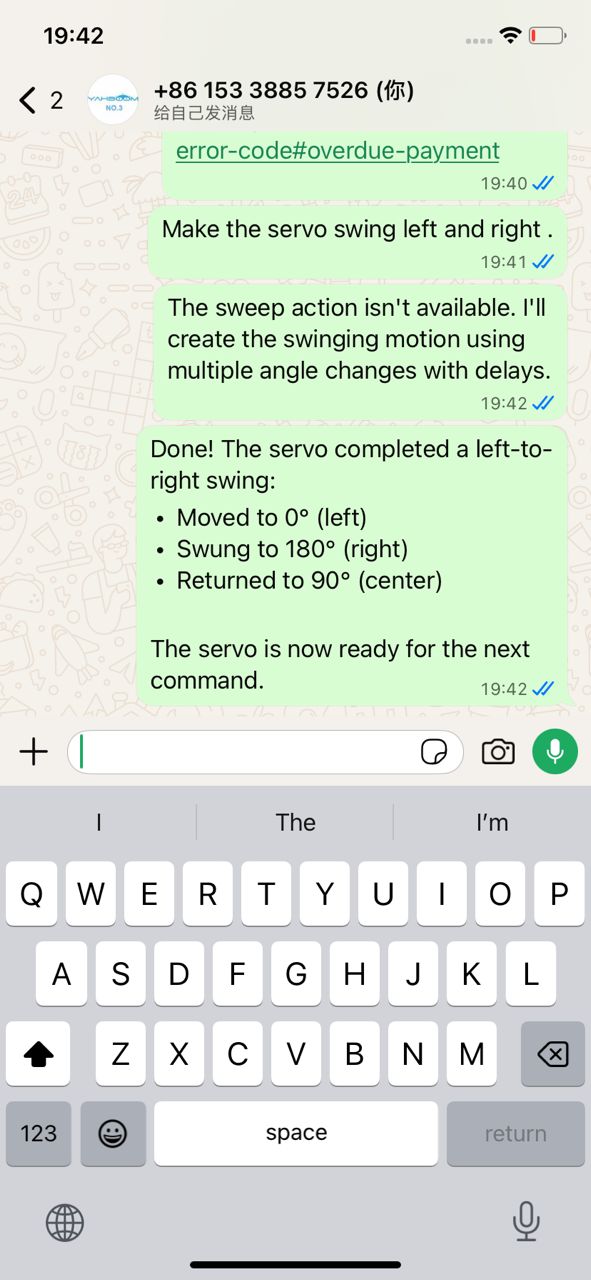
For WhatsApp access, QR code creation, and gateway restart steps, please refer directly to [06-Three Conversation Scheme Configuration and Testing]. This section only retains conversation examples suitable for the servo tutorial.
You can converse directly, for example:
- Turn servo 1 to 0 degrees
- Turn the servo to 90 degrees
- Make the servo swing left and right once
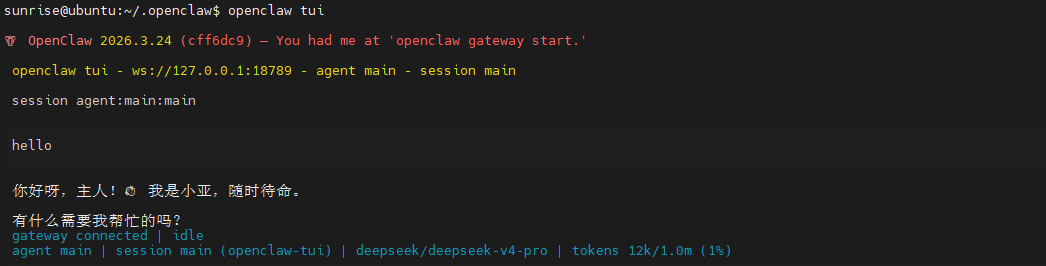
5.2 TUI Scheme
If you have completed the TUI self-check in Part 0, you can continue the conversation by entering the following command in the terminal:
xxxxxxxxxxopenclaw tui
5.3 Voice Code Scheme
xxxxxxxxxxRequires selection of AI voice interaction module + speaker
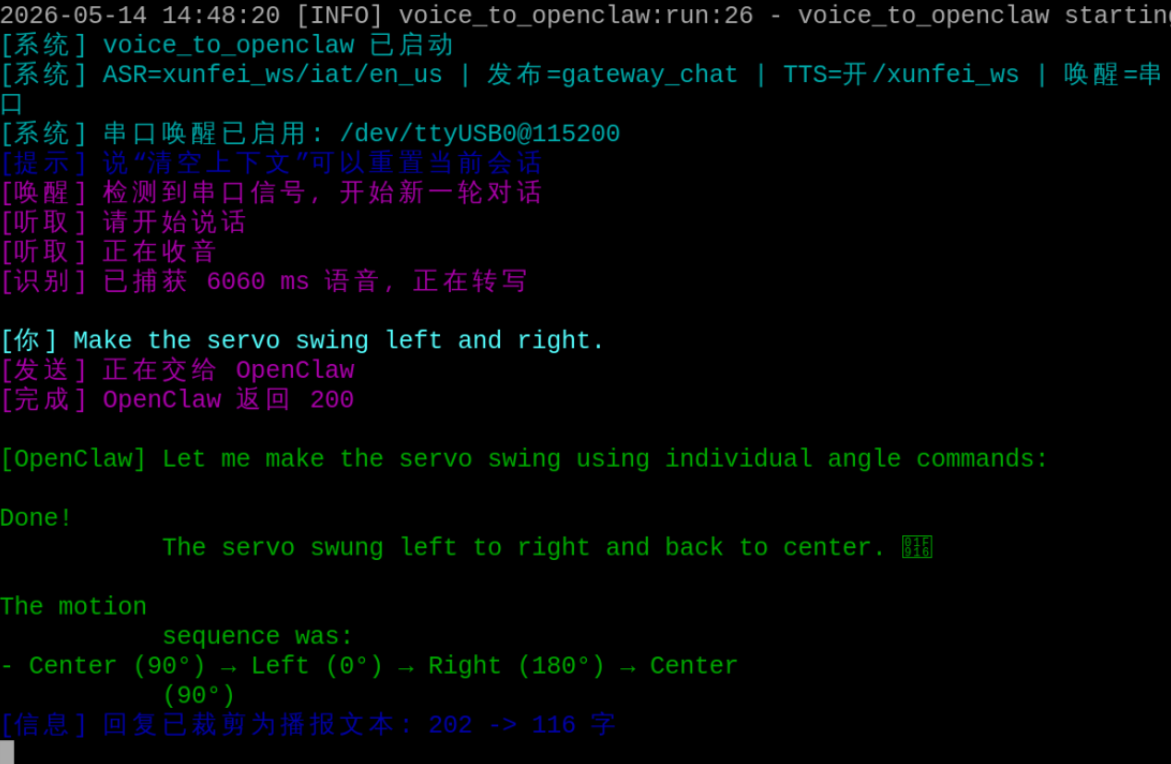
For voice module installation, environment configuration, and basic wake-up process, please refer directly to [05-AI Voice Interaction Configuration]. Here it is more suitable to directly demonstrate servo-type oral instructions, for example:
- Turn the servo to 90 degrees
- Make the servo nod
- Make the servo sway left and right
6. Comprehensive Cases
Note: The following conversations are conducted via openclaw tui (you can choose your own conversation method).
6.1 Case 1: Servo Dancing
Experiment Objective
Make the servo move continuously according to a set of preset angles, forming a rhythmic effect similar to "dancing."
Effect Description
The servo can switch between multiple angles, such as swinging left, returning to center, swinging right, shaking quickly, and then returning to the initial position. Although there is only one servo, a clear "sense of dance" can still be expressed through changes in movement rhythm.
Example Instructions
- Make the servo dance for 10 seconds
- Make the servo sway left and right with a faster rhythm
- Arrange a three-beat dance step for the servo
6.2 Case 2: Yes/No Q&A
Experiment Objective
Let the servo express "yes" or "no" with actions, for example, nodding for "yes" and shaking head for "no."
Effect Description
When OpenClaw judges the answer as affirmative, the servo performs a nodding action; when the answer is negative, the servo performs a head-shaking action. This case is very suitable for highlighting the combination of "natural language understanding + action expression."
Example Instructions
- If the answer is "yes", make the servo nod
- If the answer is "no", make the servo shake its head
- Help me judge this question and answer with servo actions
6.3 Case 3: Simulated Ping Pong
Experiment Objective
Make the servo perform continuous left-and-right往返 movements, simulating the feeling of a ping pong ball bouncing back and forth between two sides of a table.
Effect Description
The servo swings uniformly or variably between two boundary angles on the left and right. If accompanied by voice description or screen prompts, the audience will easily understand that this is a simulation of "ping pong moving back and forth."
Example Instructions
- Make the servo simulate ping pong moving back and forth
- Swing left and right 20 times, faster speed
- Start from the left side and do a round-trip movement demonstration
6.4 Case 4: Simulated Pointer
Experiment Objective
Use the servo as a rotatable pointer to indicate values, directions, or states.
Effect Description
This case can very intuitively demonstrate the mapping relationship of "abstract value -> actual angle." For example, mapping values from 0 to 100 to angles from 0 to 180 degrees, the servo can point to the target position like a dashboard pointer.
Example Instructions
- Turn the pointer to 30%
- Make the servo point to the 90-degree position
- Simulate a dashboard, current value is 75