Welcome to RDK X5 Board repository
3. OLED Display
OpenClaw OLED Display Tutorial
Before starting, please complete [01-Peripheral Hardware Configuration], [02-OpenClaw API-KEY Configuration], [03-OpenClaw Model Switching], [04-OpenClaw Prompts], [05-AI Voice Interaction Configuration], and [06-Three Conversation Scheme Configuration and Testing] in the
Preparation for Usedirectory. If you are currently only using TUI / WhatsApp, you can skip05for now. This document assumes the basic environment is already prepared and only expands on OLED-related content.
1. Tutorial Objectives
This tutorial demonstrates OpenClaw's natural language control capabilities through OLED peripherals. After completing this tutorial, readers will be able to:
- Understand the basic idea of OpenClaw controlling OLED displays
- Interact with OpenClaw via three methods: WhatsApp, TUI, and voice code
- Complete four OLED cases: text display, metric display, weather card, animation display
- Understand the complete pipeline from "user input" to "screen display"
2. Hardware Preparation
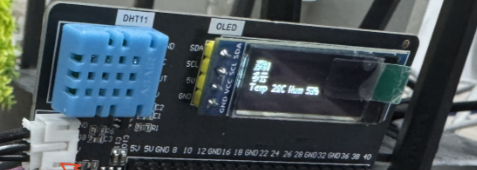
OpenClaw main board
OLED display
[Default SSD1306 128x32 / I2C Address 0x3C][Optional] Microphone moduleWiring diagram
3. Software Preparation
Code entry points used in the tutorial
- Low-level driver code:
/home/sunrise/hardware_hal_demo/ - OLED control command:
/home/sunrise/hardware_hal_demo/oled - Temperature and humidity linkage display:
/home/sunrise/hardware_hal_demo/dht_oled - Voice entry point:
/home/sunrise/voice_to_openclaw/src/main.py
The oled tool already supports the following capabilities:
- Display text
text - Display image
image - Display animation
animation - Display weather card
weather - Clear screen
clear
If you just want to quickly display temperature and humidity readings on the OLED, you can also use dht_oled directly.
dht_oled # Display temperature and humidity data to OLEDoled text --text 'Hello, World' # Display textoled weather --location 'Shenzhen' --condition 'Sunny' --temperature '26°C' --humidity '57%' # Weather cardoled image --path ~/hardware_hal_demo/assets/oled/mountain_photo_128x32.png # Display imageoled animation --path ~/hardware_hal_demo/assets/oled/sunrise_anim_128x32.gif # Display GIF animationoled clear # Clear screenNote: For GIF and image display, you can ask AI to generate images with 128x32 resolution and place them in this path: ~/hardware_hal_demo/assets/oled/
For more commands, you can check the md documents in this folder:
xxxxxxxxxx/home/sunrise/hardware_hal_demo/README.mdIf the low-level commands can be executed normally, it means the hardware connection and communication with the RDK X5 motherboard are normal.
4. Testing OLED Display
Before starting this tutorial, please complete a basic openclaw tui conversation self-check first; if you haven't done so, see [06-Three Conversation Scheme Configuration and Testing]. After confirming that OpenClaw can respond normally, proceed to the OLED-specific test.
Enter the following command in the terminal to enter TUI:
xxxxxxxxxxopenclaw tui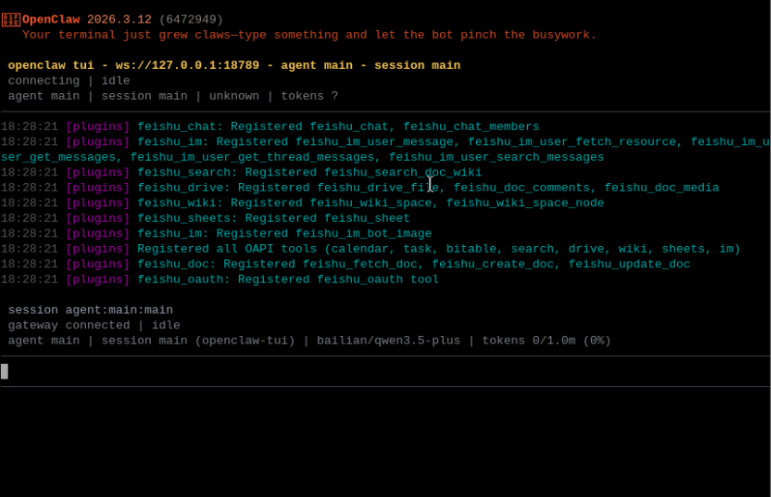
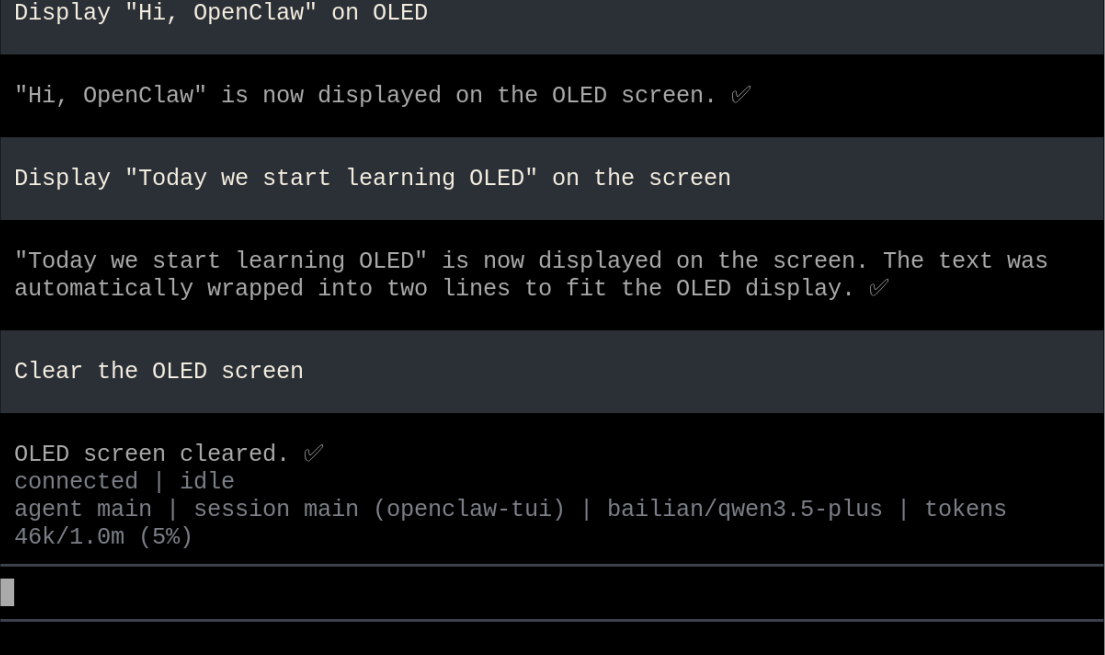
You can try entering the following content in the terminal:
- Display "Hello, OpenClaw" on the OLED
- Display "Start learning OLED today" on the screen
- Clear the OLED screen
- Display current status "System OK" on the OLED
5. Three Schemes for Conversing with OpenClaw
| Scheme | Suitable Scenarios | Advantages | Suggested Positioning |
|---|---|---|---|
| Remote control, classroom demonstration | Easy access, suitable for multi-user experience | Demonstrate "remote natural language control" | |
| TUI | Local debugging, command verification | Most direct, easiest to troubleshoot | Get the control pipeline running first |
| Voice Code | Voice interaction, complete AI experience | Closest to real conversation experience | As the final demonstration scheme |
If you have selected the AI voice module + speaker, Feishu dialogue, tui, and WhatsApp dialogue need to broadcast the content of openclaw's reply. You can run the following program on the terminal. The AI voice module dialogue does not need to be run repeatedly
- Modify whether to enable broadcast parameter
xxxxxxxxxx/home/sunrise/voice_to_openclaw/.env
xxxxxxxxxxENABLE_TTS=true # This parameter controls whether to broadcast. After modifying and saving, run the following program in the terminal.- Enter in terminal:
xxxxxxxxxxcd ~/voice_to_openclawsource .venv/bin/activatepython -m src.openclaw_session_tts
5.1 WhatsApp Scheme
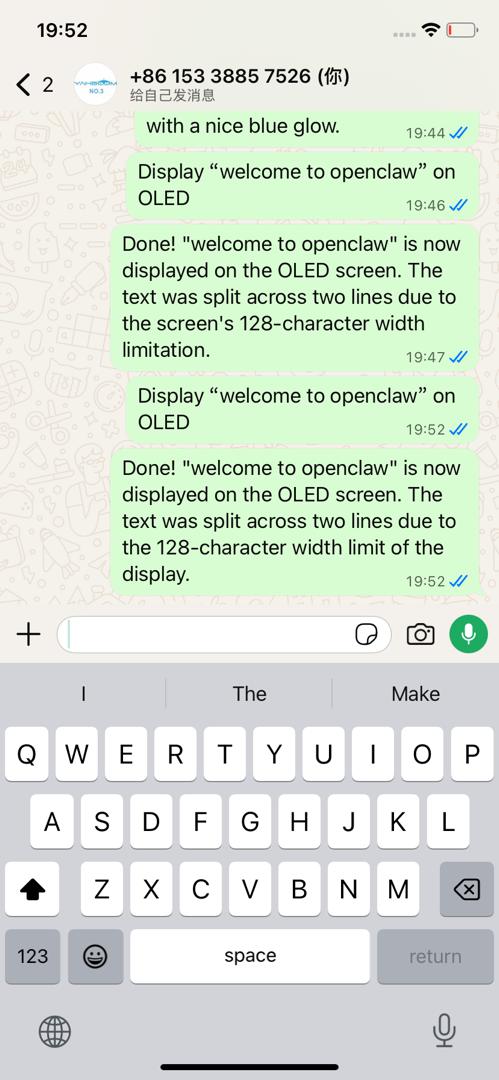
For WhatsApp access steps, please refer directly to [06-Three Conversation Scheme Configuration and Testing]. This section only retains conversation examples suitable for the OLED tutorial.
After creation, you can converse directly, for example:
- Display "Welcome to OpenClaw" on the OLED
- Help me display current temperature and humidity data on the OLED
- Clear the OLED screen
5.2 TUI Scheme
If you have completed the TUI self-check in Part 6, you can continue the conversation by entering the following command in the terminal:
xxxxxxxxxxopenclaw tui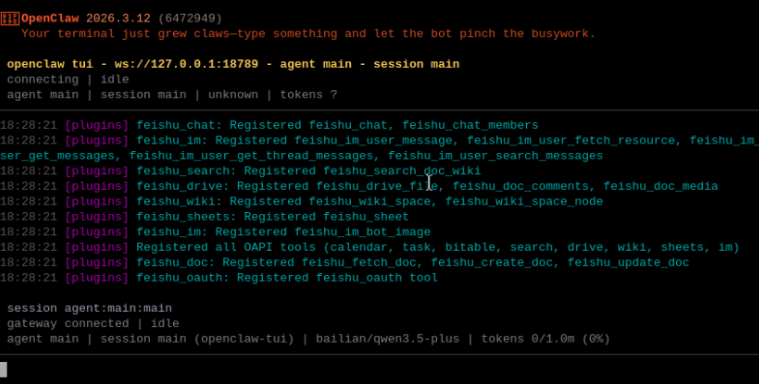
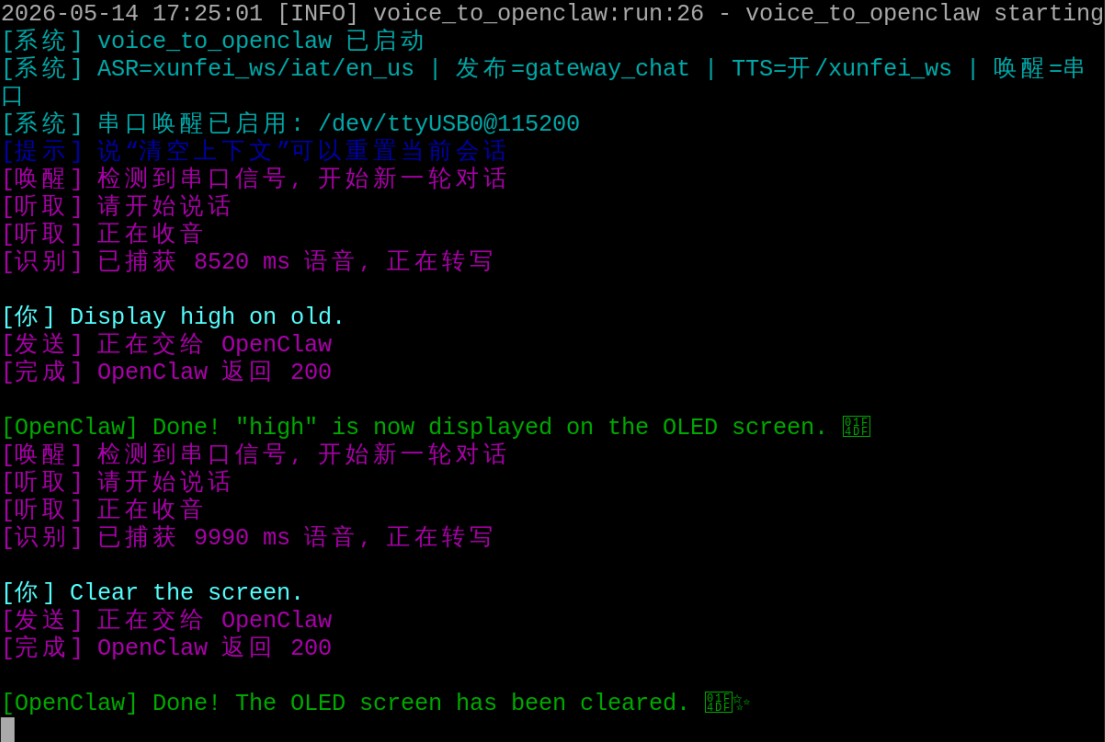
5.3 Voice Code Scheme
xxxxxxxxxxRequires selection of AI voice interaction module + speaker
For voice module installation, environment configuration, and basic wake-up process, please refer directly to [05-AI Voice Interaction Configuration].
xxxxxxxxxxcd /home/sunrise/voice_to_openclawsource .venv/bin/activatepython -m src.main
After wake-up, you can directly speak control content, for example:
- Display "Hello" on the OLED
- Change the screen content to "Welcome to OpenClaw"
- Clear the screen
6. Comprehensive Cases
Note: The following are conversation demonstrations conducted via openclaw tui. You can also choose WhatsApp or voice methods to complete them.
6.1 Case 1: Text Display
Experiment Objective
Let the OLED display a fixed segment of text to complete the most basic screen control.
Effect Description
After receiving the instruction, OpenClaw will render the specified text on the OLED screen. This case is suitable for verifying whether text rendering, line breaks, and screen refreshing are normal.
Example Instructions
- Display "Hello, OpenClaw" on the OLED
- Display "Today's task is to test OLED"
- Change the screen content to "System Ready"
6.2 Case 2: Metric Display
Experiment Objective
Let the OLED display single-line status metrics in a more compact way.
Effect Description
This mode is suitable for compressing short information such as temperature, humidity, battery level, and status values into one line for display, more like a simple dashboard reading.
Example Instructions
- Display "Temp 26C Hum 57%" on the OLED
- Write the current status as a short single-line display
- Change the screen content to "CPU OK RAM OK"
6.3 Case 3: Weather Card
Experiment Objective
Let the OLED display a more complete weather information card.
Effect Description
The screen can display information such as location, weather, temperature, and humidity. This case is suitable for making weather stations, environmental monitoring, or information panels.
Example Instructions
- Display Shenzhen sunny 26 degrees humidity 57% on the OLED
- Make a concise weather card
- Format the current temperature and humidity as a card style for display
6.4 Case 4: Animation Display
Experiment Objective
Let the OLED play images or animations to showcase richer visual effects.
Effect Description
In addition to static text, the OLED can also display bitmaps, GIF animations, or simple self-check animations. This case is very suitable for making boot pages, expression animations, or classroom demonstrations (you can prepare photos or GIF animations to be displayed and place them in the path /home/sunrise/hardware_hal_demo/assets/oled).
Example Instructions
- Play a simple animation on the OLED
- Display an icon image
- Make a boot welcome animation