Welcome to RDK X5 Robot repository
6. gmapping mapping algorithm
gmapping mapping algorithm
gmapping mapping algorithm6.1. Program Function Description6.2. Introduction to Gmapping6.3, Program code reference path6.4, Program startup6.4.1, Map creation6.4.2, map saving6.4.3, view the topic communication node graph6.4.4, view TF tree
6.1. Program Function Description
After the programs on the virtual machine and the car are started, the car is controlled by the handle or keyboard. The car will use the radar scanning data during the movement, use the gmapping algorithm to build a map, and save the map after the construction is completed. This process is visualized in rviz.
6.2. Introduction to Gmapping
wiki: http://wiki.ros.org/gmapping/
ros2 gmapping: https://github.com/Project-MANAS/slam_gmapping
- Gmapping is only applicable to points with less than 1440 laser points in a single frame. If the number of laser points in a single frame is greater than 1440, then the problem [[mapping-4] process has died] will appear.
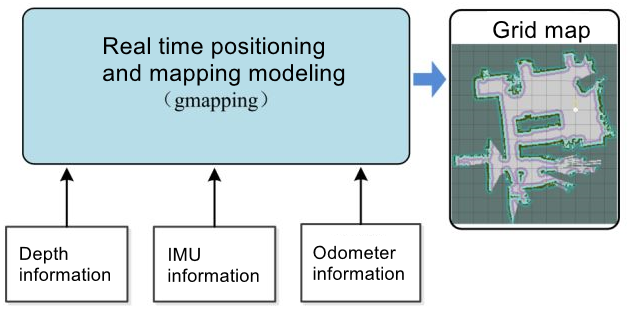
- Gmapping is based on the RBpf particle filter algorithm, and the real-time positioning and mapping processes are separated. Positioning is performed first and then mapping.
- Gmapping has made two major improvements on the RBpf algorithm: improved proposal distribution and selective resampling.
Advantages: Gmapping can build indoor maps in real time, and the amount of calculation required to build small scene maps is small and the accuracy is high.
Disadvantages: As the scene increases, the number of particles required increases, because each particle carries a map, so the memory and amount of calculation required to build a large map will increase. Therefore, it is not suitable for building large scene maps. And there is no loop detection, so the map may be misaligned when the loop is closed. Although increasing the number of particles can make the map closed, it comes at the cost of increasing the amount of calculation and memory.
6.3, Program code reference path
After SSH connects to the car, the location of the function source code is,
/home/sunrise/yahboomcar_ws/src/yahboomcar_nav/launch/map_gmapping_launch.py
The source code of the virtual machine is located at,
xxxxxxxxxx/home/yahboom/yahboomcar_ws/src/yahboomcar_rviz/launch/yahboomcar_mapping_launch.py
6.4, Program startup
6.4.1, Map creation
Open the virtual machine terminal and enter,
xxxxxxxxxxros2 launch yahboomcar_rviz yahboomcar_mapping_launch.pyAfter SSH connects to the car, input in the terminal,
xxxxxxxxxxros2 launch yahboomcar_nav map_gmapping_launch.py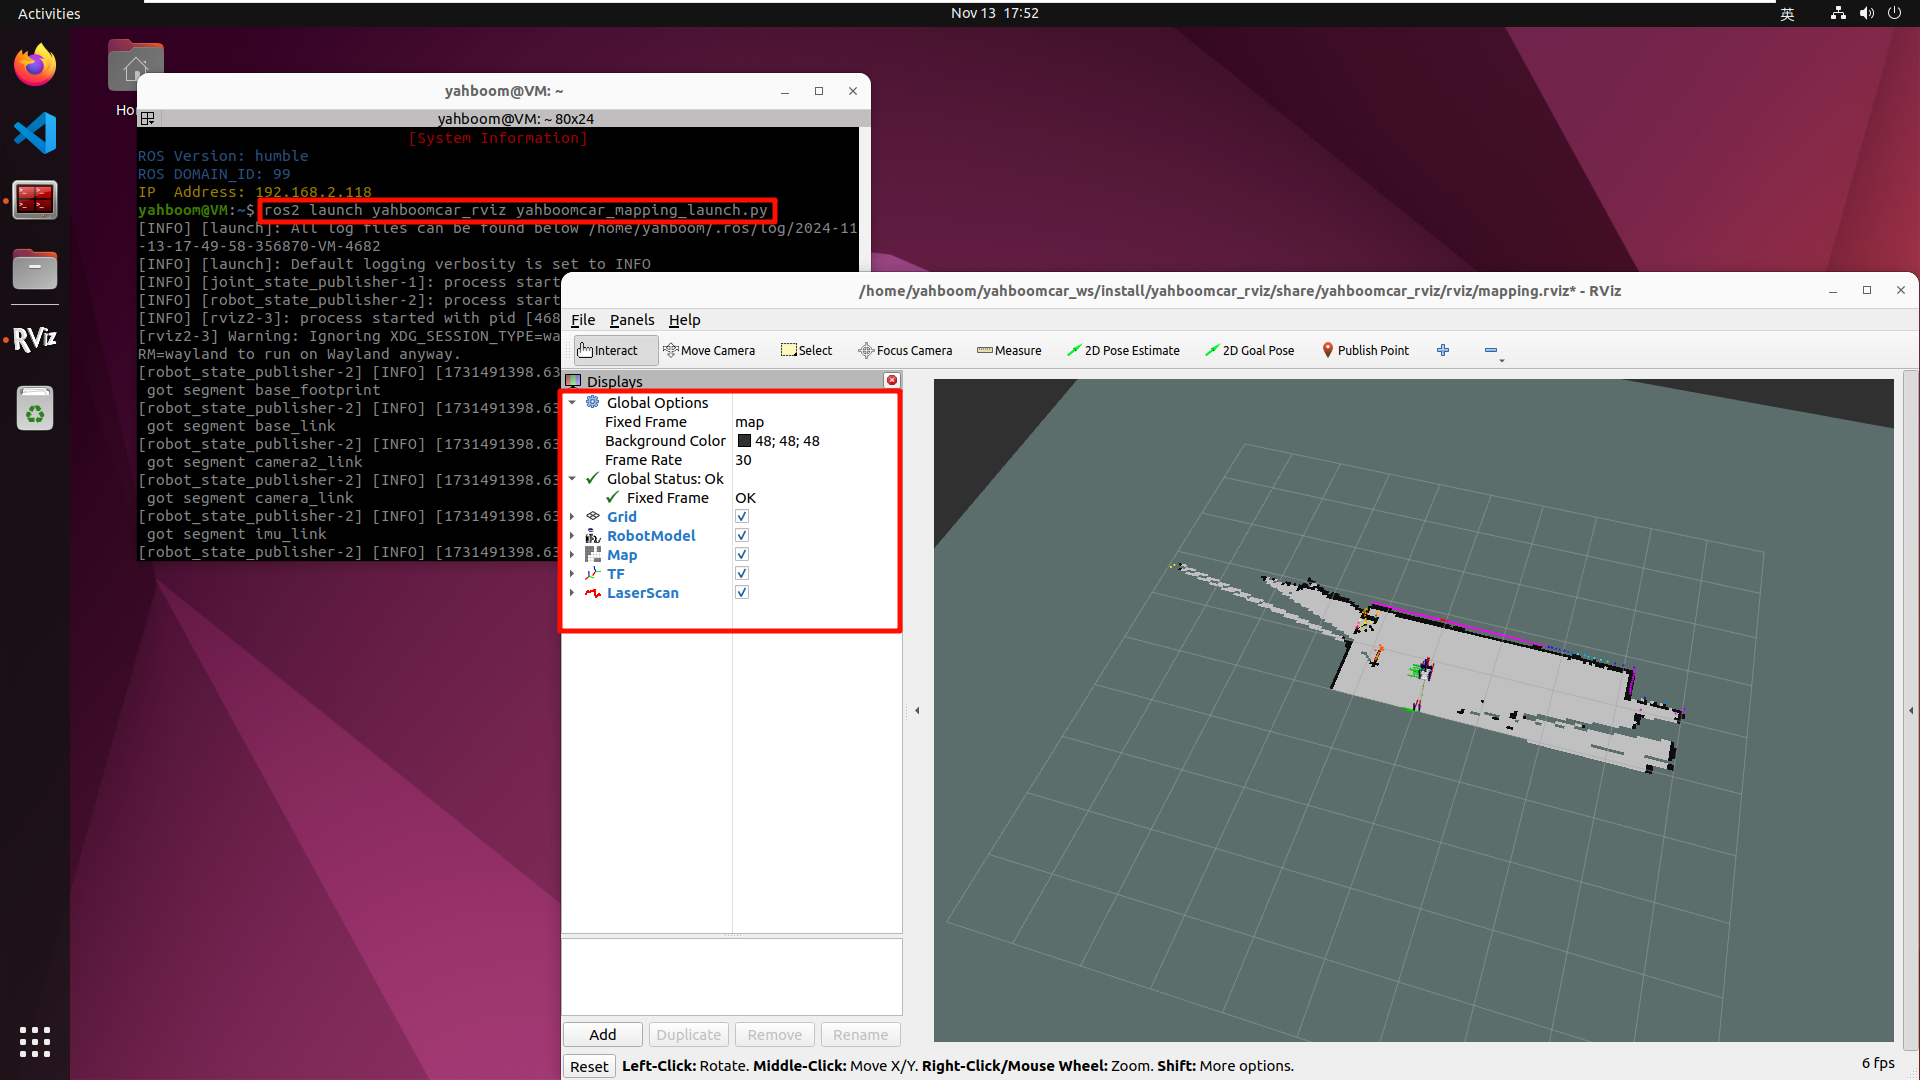
Unlock the [L1] key on the handle to control the movement of the car. If you do not use the handle, you can use the keyboard to control, input in the SSH car terminal,
xxxxxxxxxxros2 run yahboomcar_ctrl yahboom_keyboard
[Slowly move the car] to start building the map until the complete map is built.
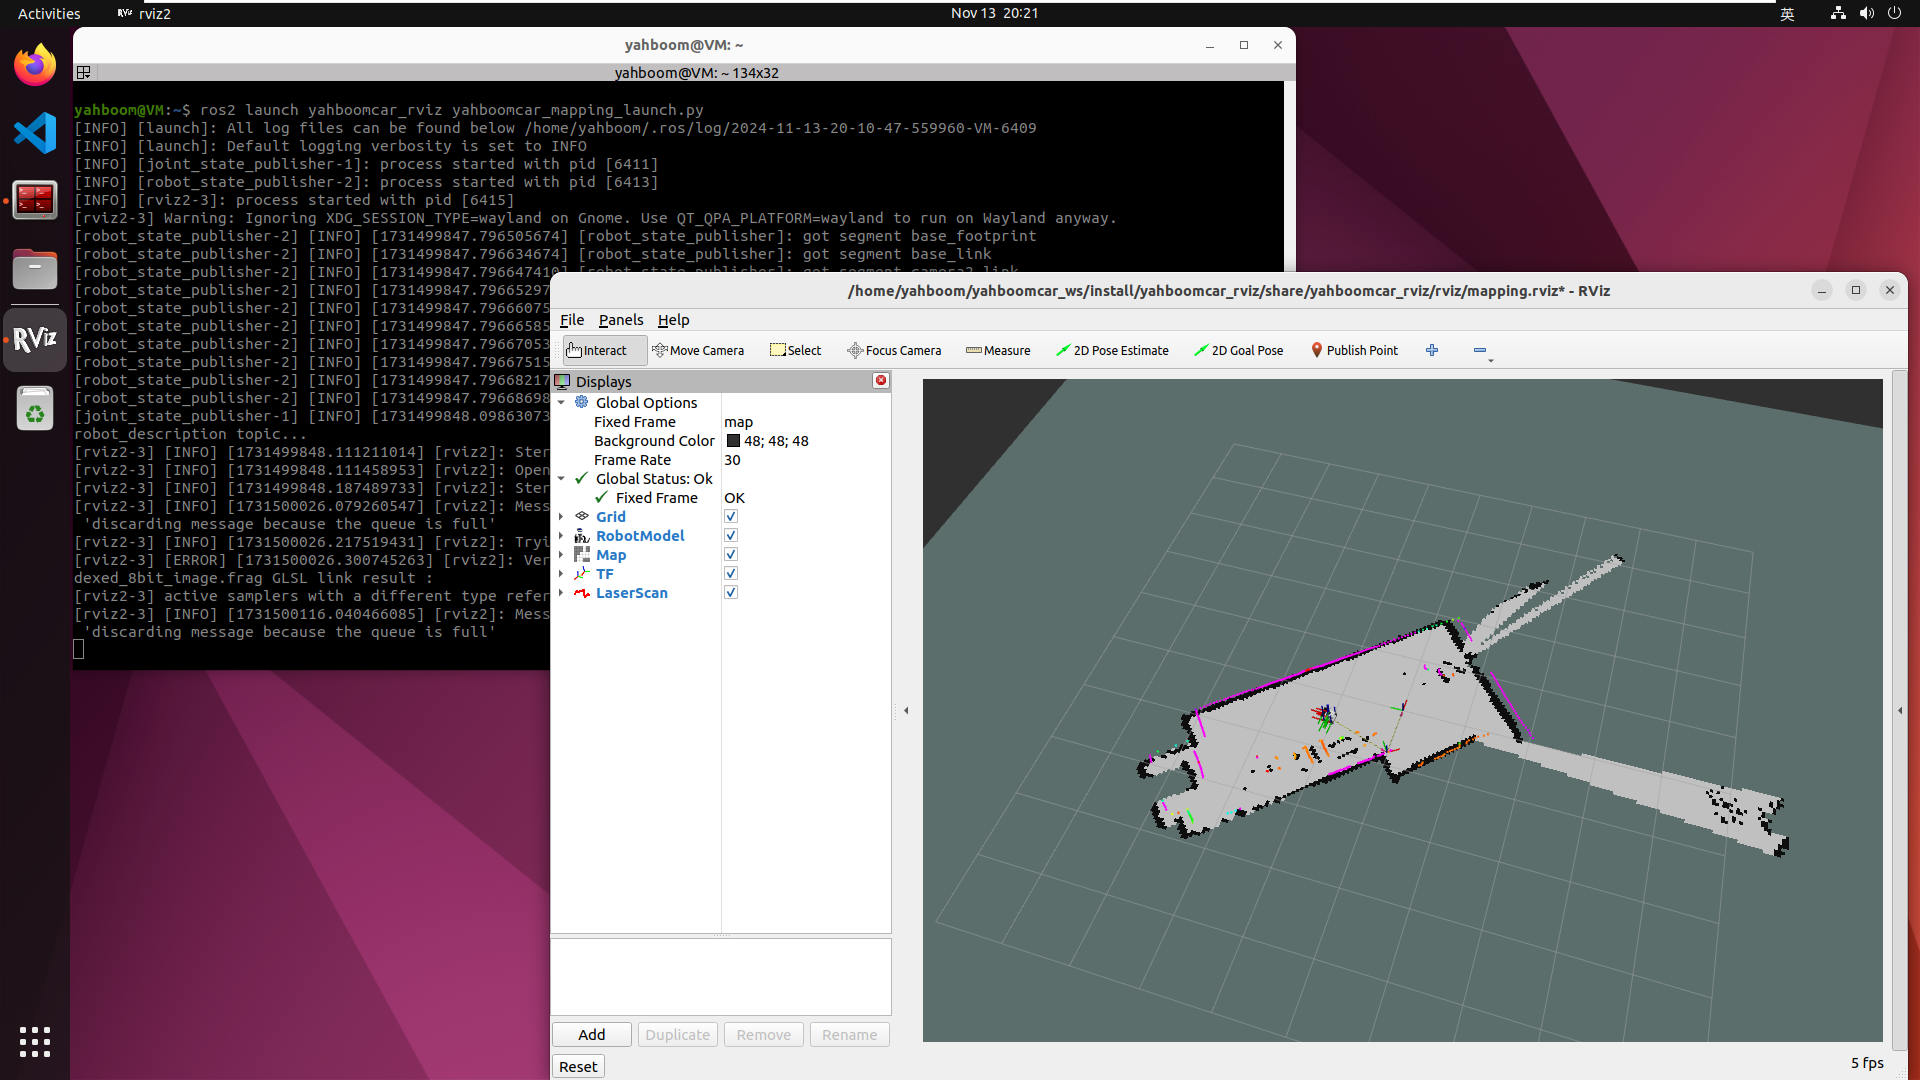
Note: When building a map, the slower the speed, the better the effect (especially the slower the rotation speed). If the speed is too fast, the effect will be very poor.
In addition, the path of gmapping related configuration parameters is,
xxxxxxxxxx/home/sunrise/yahboomcar_ws/src/slam_gmapping/params/slam_gmapping.yaml
You can modify it as needed, compile and run.
6.4.2, map saving
Input in the car terminal,
xxxxxxxxxxros2 launch yahboomcar_nav save_map_launch.py
The map saving path is as follows:
xxxxxxxxxx/home/sunrise/yahboomcar_ws/src/yahboomcar_nav/maps/yahboom_map
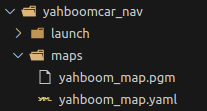
Includes a .pgm image and a .yaml file. Among them, the .yaml file content is as follows:
xxxxxxxxxximageyahboom_map.pgmmodetrinaryresolution0.05origin-10 -10 0negate0occupied_thresh0.65free_thresh0.25Parameter analysis:
- image: the path of the map file, which can be an absolute path or a relative path
- mode: this attribute can be one of trinary, scale or raw, depending on the selected mode, trinary mode is the default mode
- resolution: the resolution of the map, meters/pixels
- origin: the 2D pose (x, y, yaw) of the lower left corner of the map, where yaw is rotated counterclockwise (yaw=0 means no rotation). Currently, many parts of the system will ignore the yaw value.
- negate: whether to invert the meaning of white/black and free/occupied (the interpretation of the threshold is not affected)
- occupied_thresh: pixels with an occupation probability greater than this threshold are considered fully occupied.
- free_thresh: pixels with an occupation probability less than this threshold are considered fully free.
6.4.3, view the topic communication node graph
Virtual machine terminal input,
xxxxxxxxxxros2 run rqt_graph rqt_graph

6.4.4, view TF tree
Open the virtual machine terminal, input,
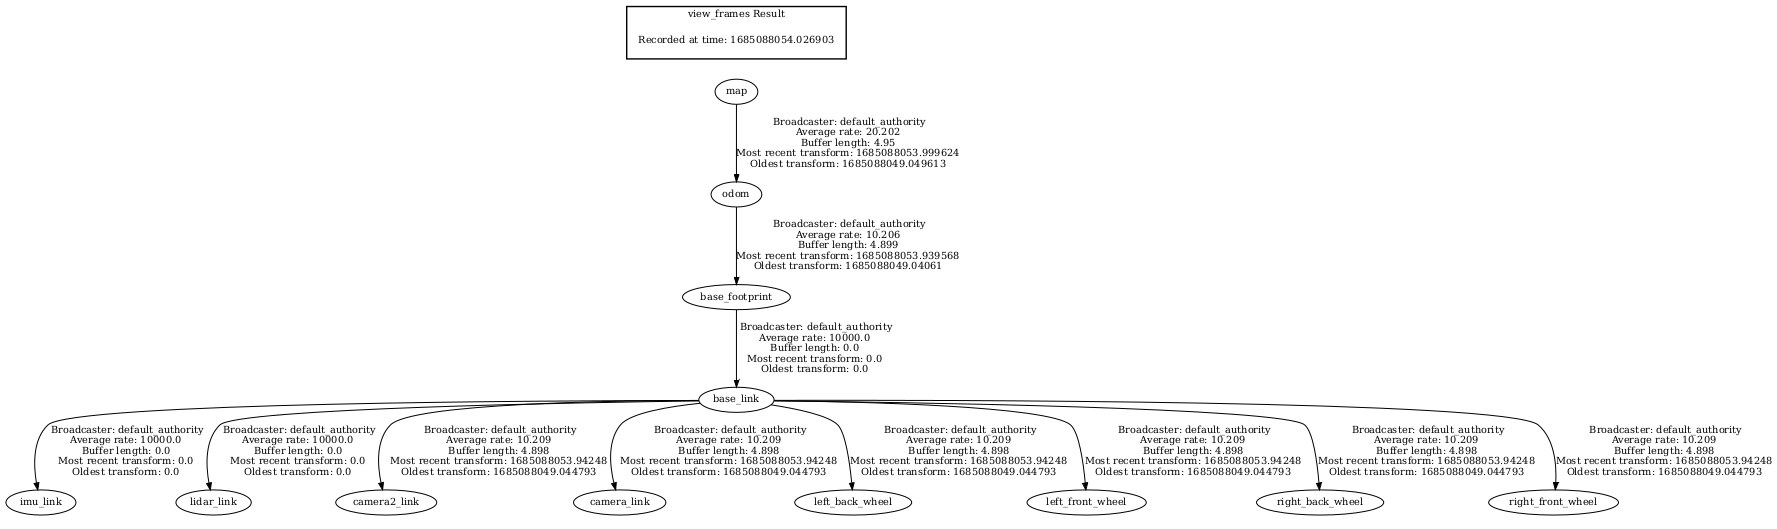
xxxxxxxxxx#Save tf treeros2 run tf2_tools view_frames#View tf treeevince frames.pdf