Welcome to RDK X5 Robot repository
22. ROS2 Gazebo simulation platform
22. ROS2 Gazebo Simulation Platform
1. Introduction to Gazebo
Gazebo is the most commonly used 3D physics simulation platform in the ROS system. It supports a dynamics engine and enables high-quality graphics rendering. It not only simulates the robot and its surrounding environment, but also incorporates physical properties such as friction and elasticity.
For example, if we want to develop a Mars rover, we can simulate the Martian surface environment in Gazebo. Or, if we're developing a drone, battery life and flight restrictions prevent us from frequently experimenting with the actual drone. In these cases, we can use Gazebo to simulate first, then deploy to the actual drone once the algorithm is fully developed.
Simulation platforms like Gazebo can help us verify robotic algorithms, optimize robot designs, and test robot applications, providing more possibilities for robotics development.
Note: This section is for learning purposes only. The tutorial does not configure the environment because we are using real-device debugging
2. Installation and Operation
- Install gazebo using the apt command
xxxxxxxxxxsudo apt install ros-${ROS_DISTRO}-gazebo-*- Run gazebo
- Launch gazebo using the following command or directly from the desktop icon
xxxxxxxxxxgazebo --verbose -s libgazebo_ros_init.so -s libgazebo_ros_factory.so
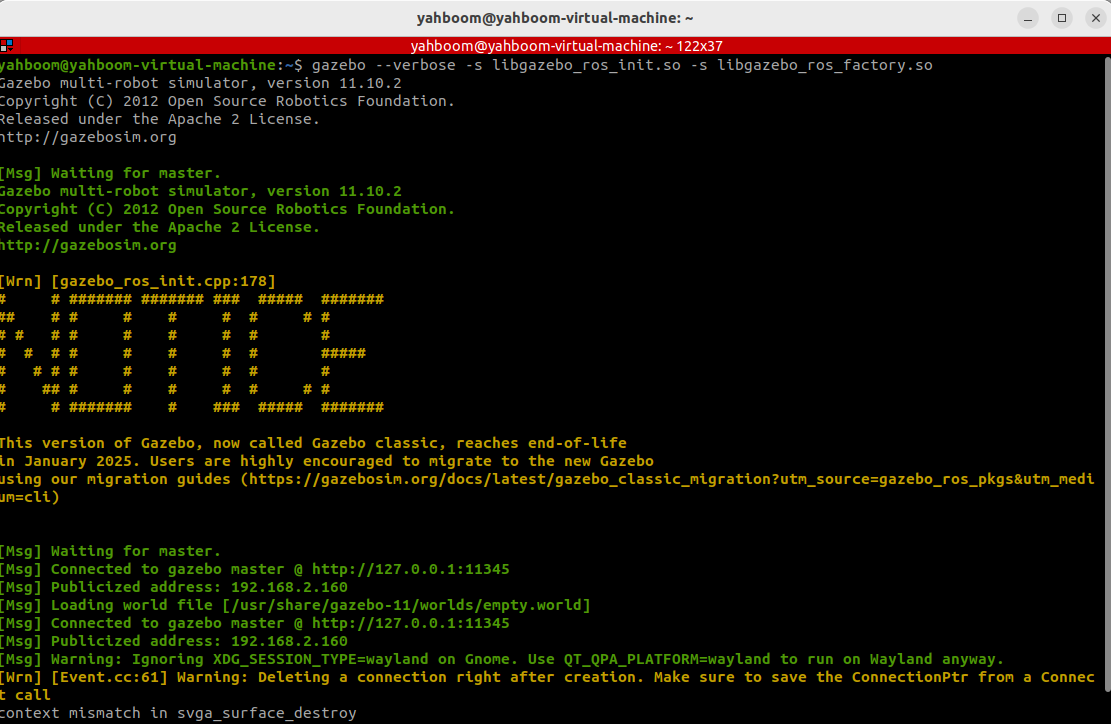
After running, you should see the following page:
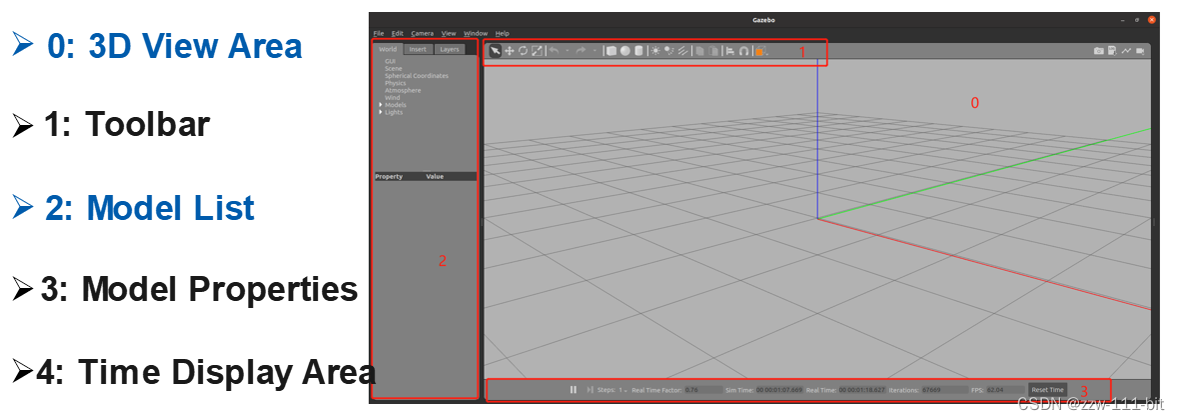
- Optional: To ensure smooth model loading, you can download the offline model and place it in the ~/.gazebo/models directory. The download link is as follows: https://github.com/osrf/gazebo_models
3. Start the Gazebo Node and Service
- View the Node
xxxxxxxxxxros2 node list
Correct return: /gazebo
- View the external services provided by the node:
xxxxxxxxxxros2 service listYou can see the following results:
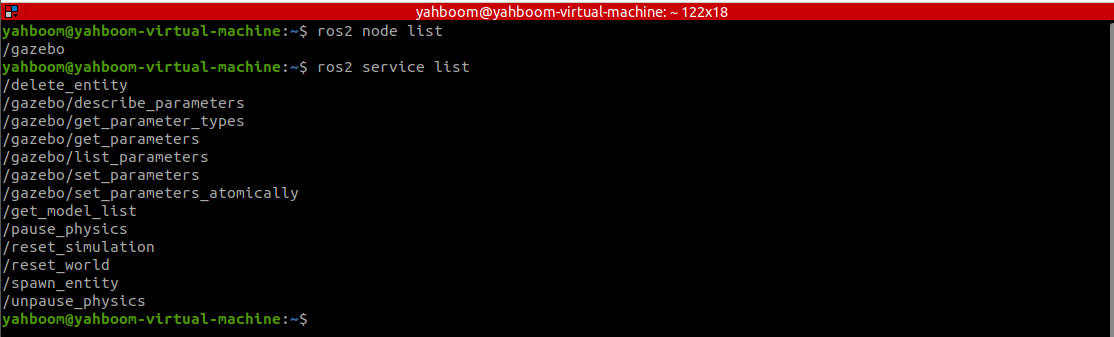
Excluding the last few regular services, we will only focus on the first three special services:
- /spawn_entity, used to load models into gazebo
- /get_model_list, used to obtain a model list
- /delete_entity, used to delete loaded models in gazebo
4. Create a function package
- Create a myrobot package to store our URDF model and launch files.
xxxxxxxxxxros2 pkg create myrobot --build-type ament_cmake- Go to the myrobot directory and create folders
launchandurdf. Within theurdffolder, create a file calleddemo01_base.urdf. This file is a simple demonstration file containing only a basic cube.
xxxxxxxxxx<robot name="myrobot"> <link name="base_link"> <visual> <geometry> <box size="0.2 0.2 0.2"/> </geometry> <origin xyz="0.0 0.0 0.0"/> </visual> <collision> <geometry> <box size="0.2 0.2 0.2"/> </geometry> <origin xyz="0.0 0.0 0.0"/> </collision> <inertial> <mass value="0.1"/> <inertia ixx="0.000190416666667" ixy="0" ixz="0" iyy="0.0001904" iyz="0" izz="0.00036"/> </inertial> </link> <gazebo reference="base_link"> <material>Gazebo/Red</material> </gazebo></robot>
5. Writing the launch file
Writing a launch file consists of two main parts: launching the Gazebo file and then loading the robot model into Gazebo.
xxxxxxxxxxstart_gazebo_cmd = ExecuteProcess( cmd=['gazebo', '--verbose','-s', 'libgazebo_ros_init.so', '-s', 'libgazebo_ros_factory.so'], output='screen')This command starts Gazebo. It is a simple startup command and is not particularly complicated. Here is the command to load the model:
xxxxxxxxxx spawn_entity_cmd = Node( package='gazebo_ros', executable='spawn_entity.py', arguments=['-entity', robot_name_in_model, '-file', urdf_model_path ], output='screen')Note the following two parameters in this command: -entity is the name of the model file, and -file is the parameter loaded through the urdf file. Later we can also see how the model is loaded through the topic. Create a bringup_model.launch.py file in the launch directory. The complete startup file is as follows:
xxxxxxxxxximport osfrom launch import LaunchDescriptionfrom launch.actions import ExecuteProcessfrom launch_ros.actions import Nodefrom launch_ros.substitutions import FindPackageSharefrom launch_ros.parameter_descriptions import ParameterValuefrom launch.substitutions import Commanddef generate_launch_description(): robot_name_in_model = 'myrobot' package_name = 'myrobot' urdf_name = "demo01_base.urdf" ld = LaunchDescription() pkg_share = FindPackageShare(package=package_name).find(package_name) urdf_model_path = os.path.join(pkg_share, f'urdf/{urdf_name}') # Start Gazebo server start_gazebo_cmd = ExecuteProcess( cmd=['gazebo', '--verbose','-s', 'libgazebo_ros_init.so', '-s', 'libgazebo_ros_factory.so'], output='screen') # Launch the robot spawn_entity_cmd = Node( package='gazebo_ros', executable='spawn_entity.py', arguments=['-entity', robot_name_in_model, '-file', urdf_model_path ], output='screen') ld.add_action(start_gazebo_cmd) ld.add_action(spawn_entity_cmd) return ld- Fill in the following content in Cmakelist to install our urdf and launch folders into the install directory
xxxxxxxxxxinstall( DIRECTORY urdf launch DESTINATION share/${PROJECT_NAME})
- Then compile and run the function package
xxxxxxxxxxcolcon build --packages-select myrobot
- Refresh the environment variables and run the launch startup file
xxxxxxxxxxros2 launch myrobot bringup_model.launch.py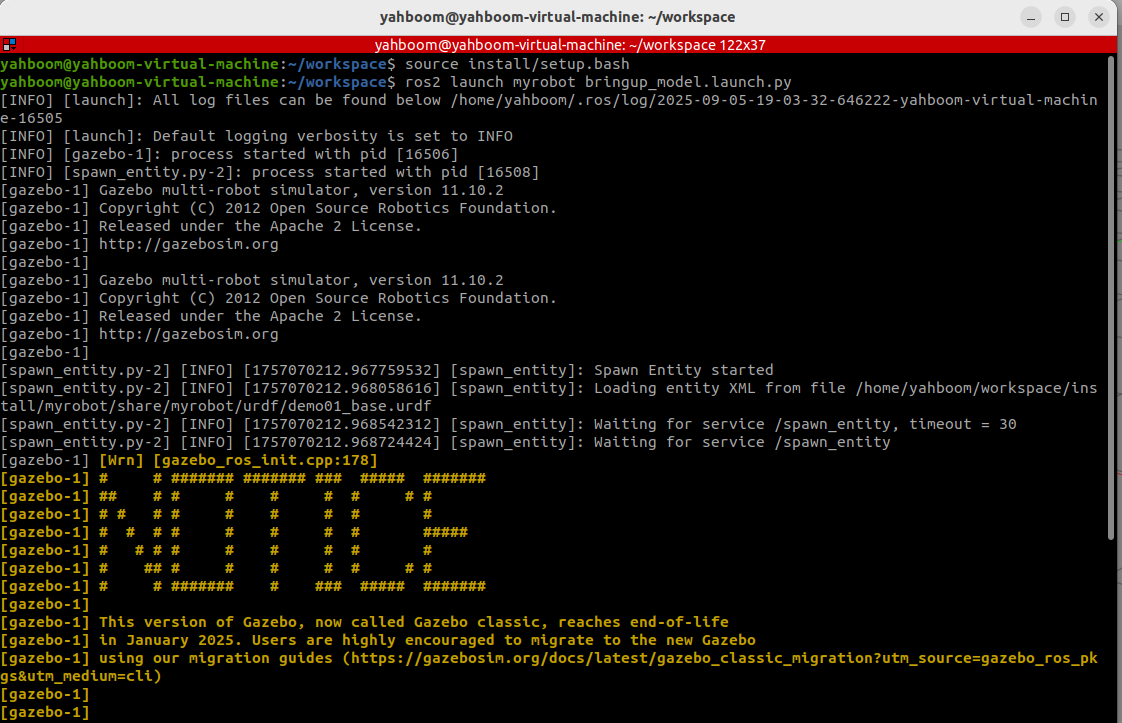
After launching, you should see the following Gazebo model:
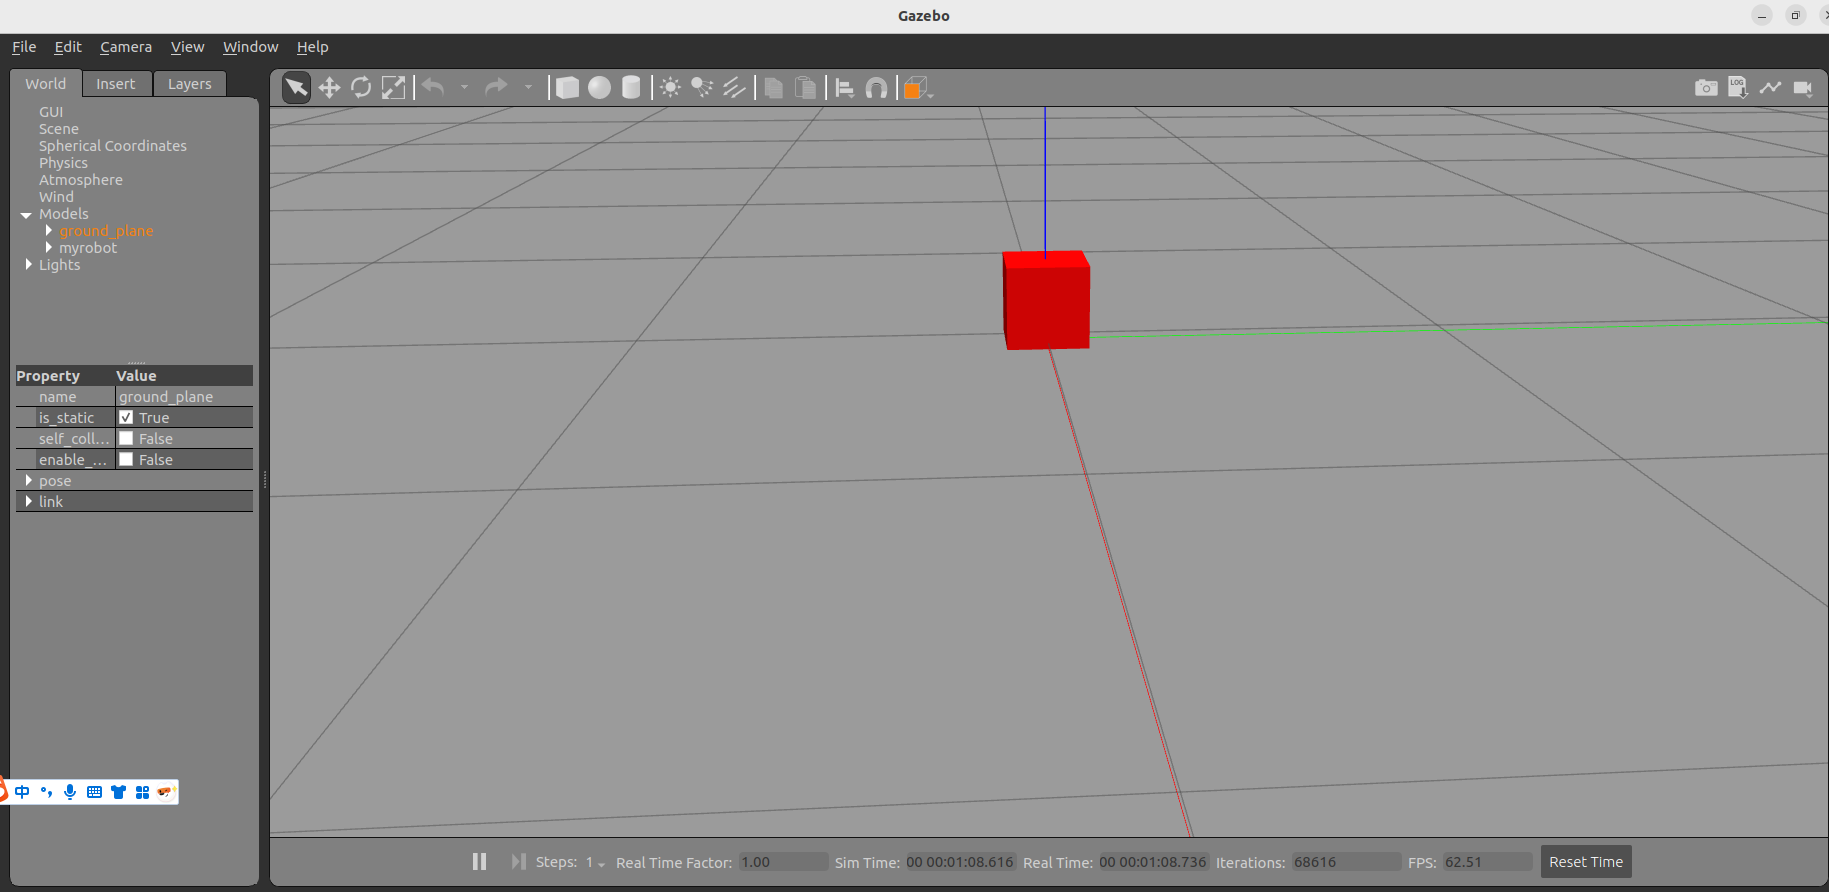
You can see the red model because you added the Gazebo tag settings.