Welcome to RDK X5 Robot repository
7. RTAB-Map 3D Mapping Navigation
RTAB-Map 3D Mapping Navigation
RTAB-Map 3D Mapping Navigation7.1. Introduction7.2, Map Building7.3, Navigation7.3.1, Start the camera [Execute on the car side]7.3.2, Start the chassis [Execute on the car side]7.3.3, Start rviz to display the map [Execute on the virtual machine side]7.3.4, Start the navigation node [virtual machine execution]7.3.5, Display rtabmap_viz [virtual machine execution]7.3.6, Navigation preparation7.3.7, Single-point navigation7.3.8, Multi-point navigation7.4. Node analysis7.4.1. Display calculation graph7.4.2. TF transformation
Official website of rtabmap: http://introlab.github.io/rtabmap/
rtabmap ros-humble: https://github.com/introlab/rtabmap/tree/humble-devel
7.1. Introduction
rtabmap is a SLAM method based on RGB-D images. It uses a global Bayesian loop closure detector based on bag of words and can build maps in real time in large-scale environments.
Features of rtabmap include:
It can use a handheld RGBD camera for 6-DOF RGB-D mapping, or a robot equipped with a lidar for 3-DOF (2D laser) or 6-DOF (3D laser) mapping.
It uses a memory management mechanism to divide the map into working memory (WM), short-term memory (STM) and long-term memory (LTM) to limit the number of positioning points used for loop closure detection and graph optimization to ensure real-time performance.
It uses a discrete Bayesian filter to estimate the probability of forming a loop closure and selects which positioning points to transfer or retrieve based on weight and time.
It uses an incremental dictionary creation method instead of a pre-trained dictionary, which can adapt to different environments.
It can run under ROS or as a standalone library and application.
7.2, Map Building
Note: When building a map, the slower the speed, the better the effect (note that the rotation speed should be slower), too fast, the effect will be very poor.
Execute the following launch files in the terminal:
Start the Astra camera, this step is executed on the car side
xxxxxxxxxxros2 launch astra_camera astro_pro_plus.launch.xml
Start the chassis, this step is executed on the car side
xxxxxxxxxxros2 launch yahboomcar_bringup rtabmap_bringup_launch.py
Start the map, this step is executed in the virtual machine, and multi-machine communication needs to be configured in the virtual machine
xxxxxxxxxxros2 launch yahboomcar_nav rtabmap_sync_launch.py
Start rviz to display the map, this step is executed in the virtual machine, and multi-machine communication needs to be configured in the virtual machine
xxxxxxxxxxros2 launch yahboomcar_nav display_rtabmap_map_launch.py
Note: If the 3D map is not displayed for a long time, or an error is reported in rviz, the reason should be: due to the limited resources of RDK X5, rtabmap mapping has to be executed in the virtual machine. The camera's RGB and depth data need to be transmitted between the RDK X5 master and the virtual machine. Unstable data transmission may cause mapping failure. The solution at this time is to connect a network cable to the RDK X5 master to improve the stability of data transmission and improve the mapping effect.
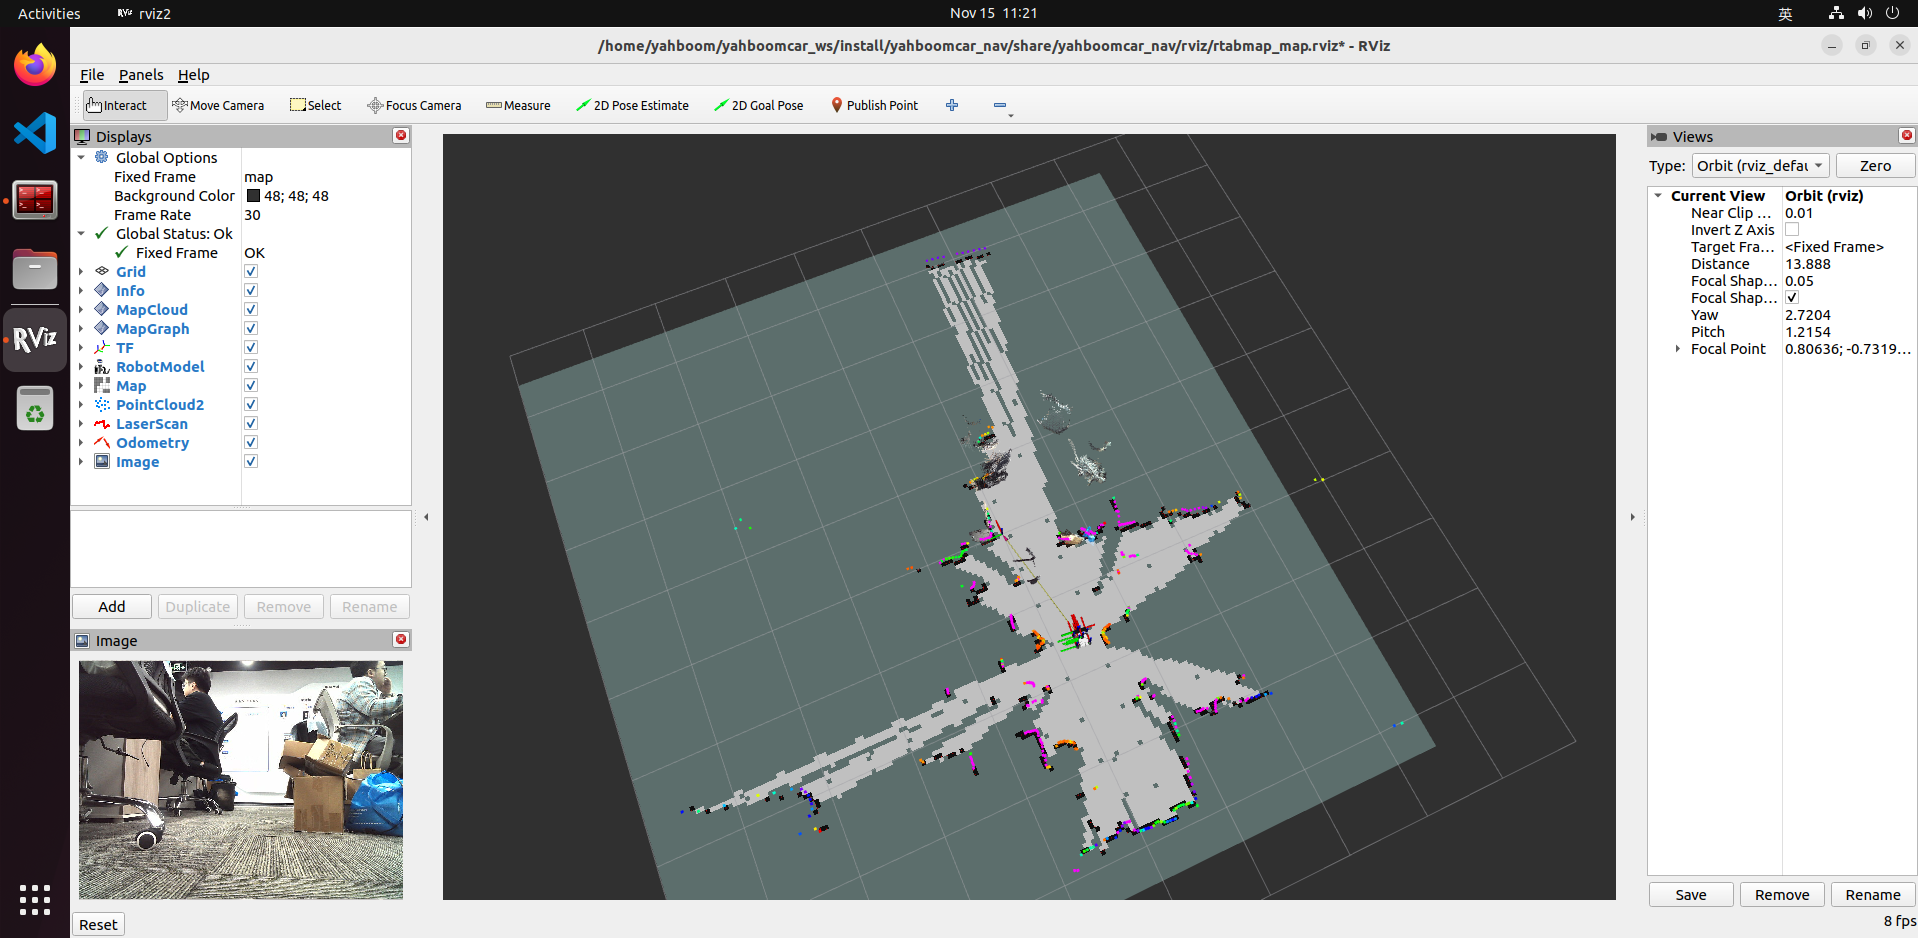
Start the keyboard control node. This step is performed in the car end, or use the remote control [Slowly move the car] to start building the map until the complete map is built
xxxxxxxxxxros2 run yahboomcar_ctrl yahboom_keyboard
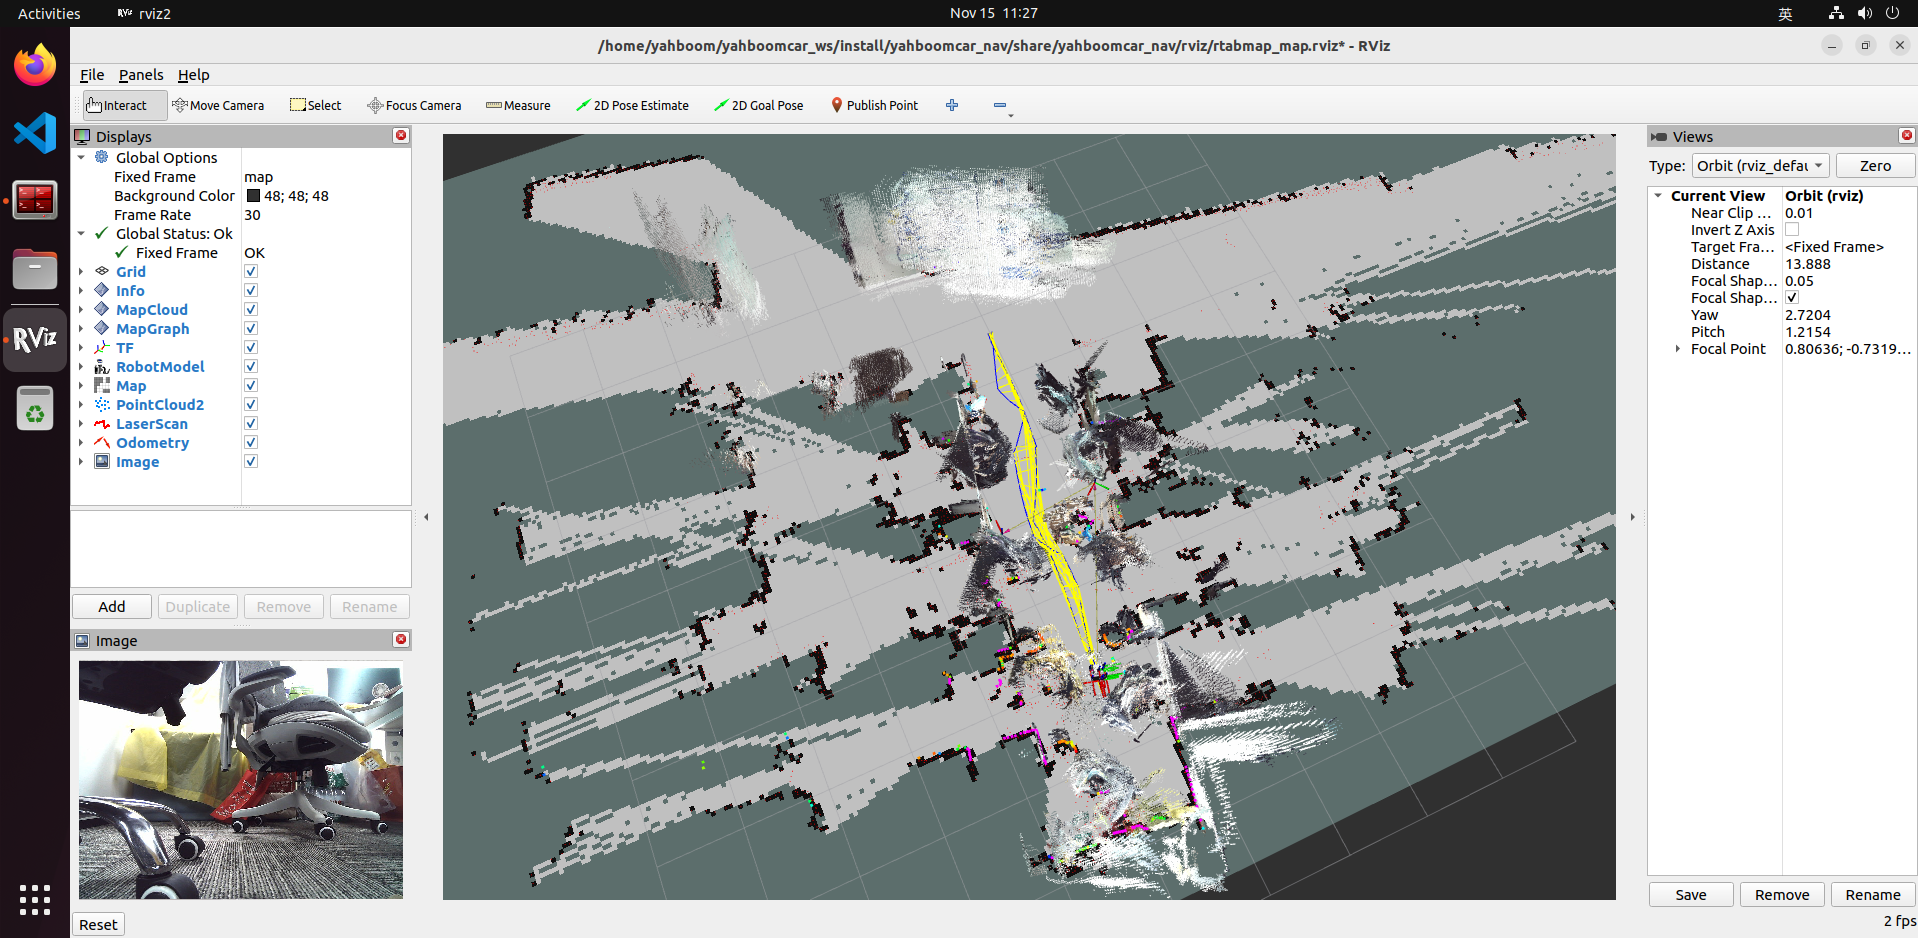
Save the map
When the map is built, just [ctrl+c] to exit the map building node, and the system will automatically save the map. The default map save path is [~/.ros/rtabmap.db]
7.3, Navigation
Execute in different terminals:
7.3.1, Start the camera [Execute on the car side]
xxxxxxxxxxros2 launch astra_camera astro_pro_plus.launch.xml
7.3.2, Start the chassis [Execute on the car side]
xxxxxxxxxxros2 launch yahboomcar_bringup rtabmap_bringup_launch.py
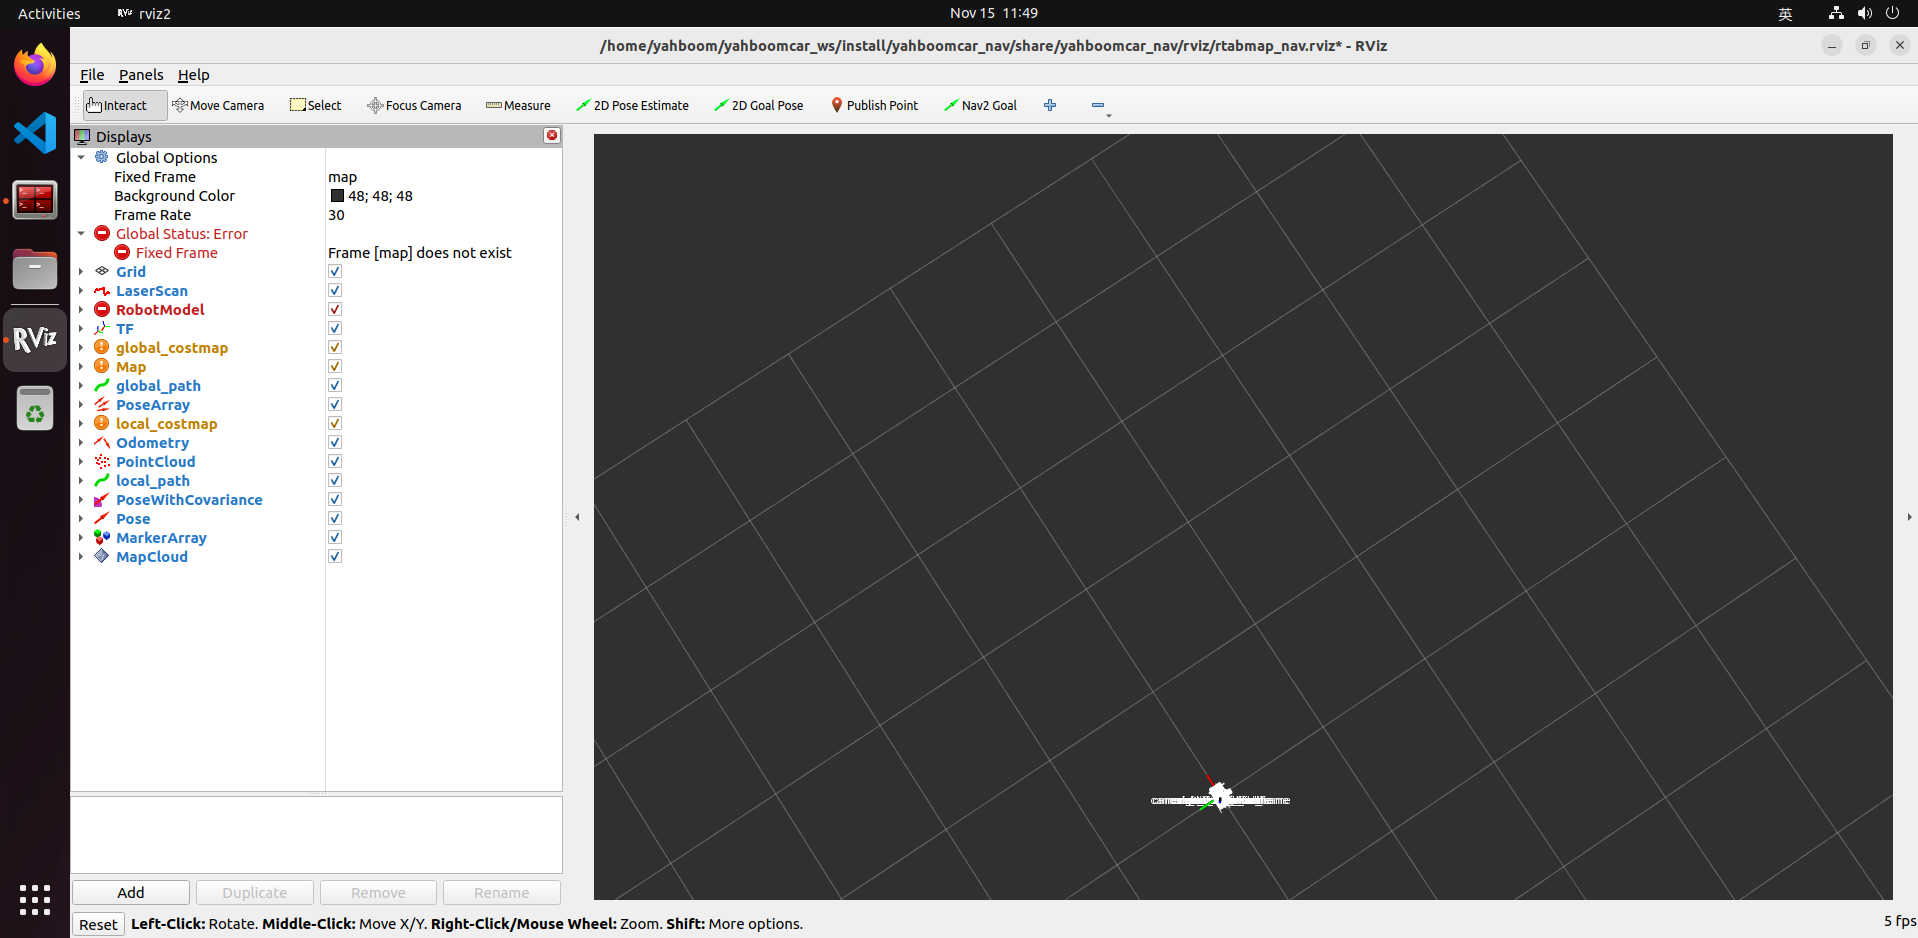
7.3.3, Start rviz to display the map [Execute on the virtual machine side]
This step is executed in the virtual machine, and multi-machine communication needs to be configured in the virtual machine.
xxxxxxxxxxros2 launch yahboomcar_nav display_rtabmap_nav_launch.py
7.3.4, Start the navigation node [virtual machine execution]
xxxxxxxxxxros2 launch yahboomcar_nav navigation_rtabmap_launch.py
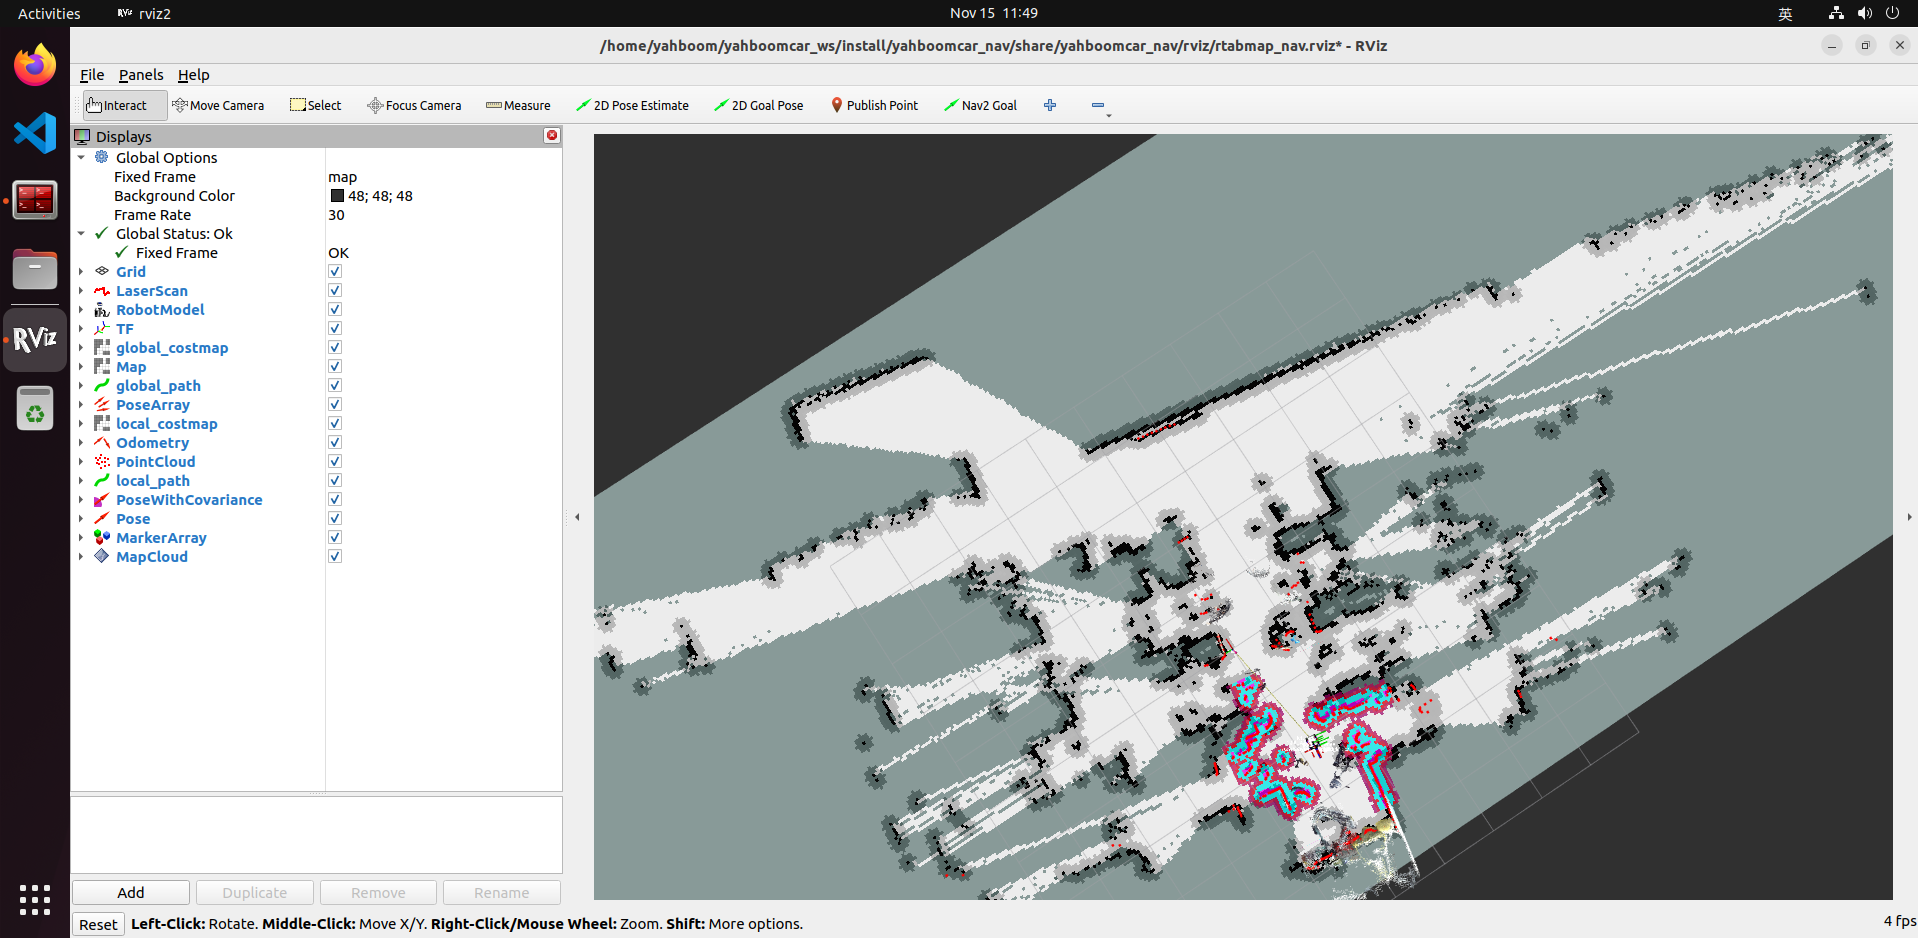
7.3.5, Display rtabmap_viz [virtual machine execution]
rtabmap_viz is the visualization interface of RTAB-Map, which is RTAB-Map A wrapper for the GUI graphics library, similar to rviz but with options for RTAB-Map. It can subscribe to different topics, such as odom, rgb/image, depth/image, scan, etc., to display the SLAM process and results, and load the 3D map into rviz. This step is started in the virtual machine.
xxxxxxxxxxros2 launch yahboomcar_nav rtabmap_viz_launch.py

7.3.6, Navigation preparation
Navigation can be divided into single-point navigation and multi-point navigation, which will be introduced below
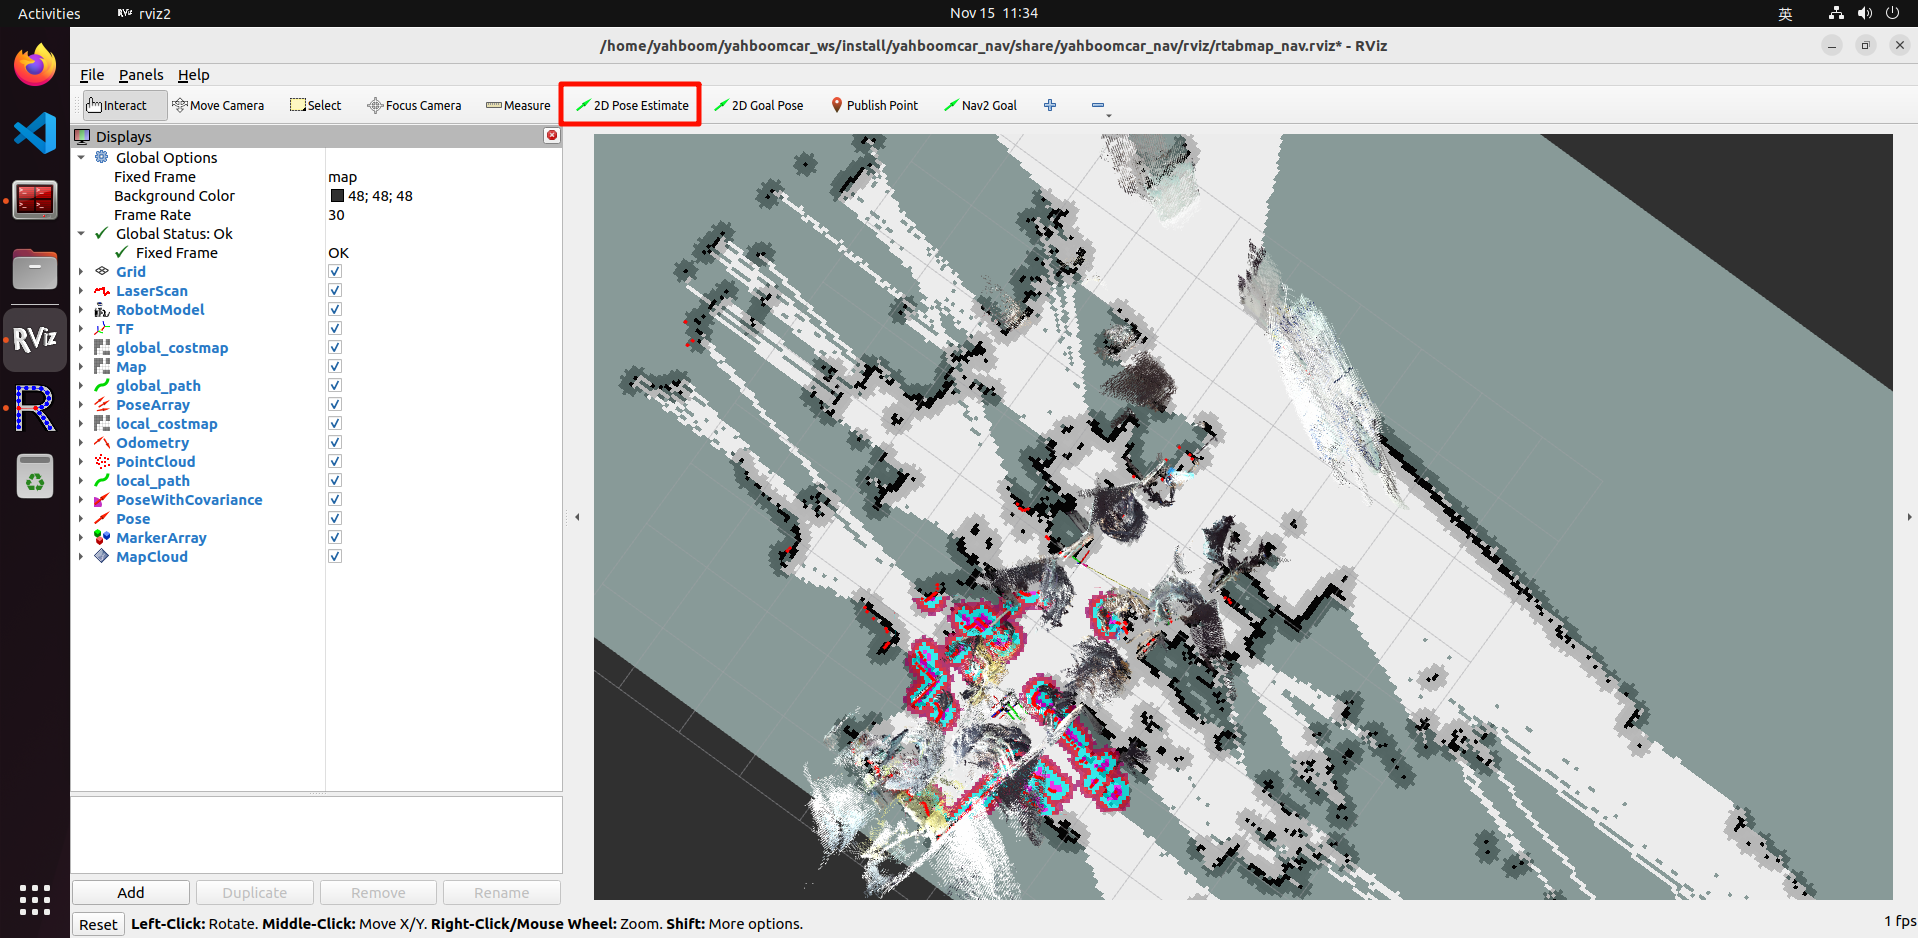
Click [2D Pose Estimate] on rviz, and then compare the position of the car to mark an initial position of the car on the map:
Compare the overlap of the radar scanning point and the obstacle, and set the initial position of the car multiple times until the radar scanning point and the obstacle roughly overlap;
7.3.7, Single-point navigation
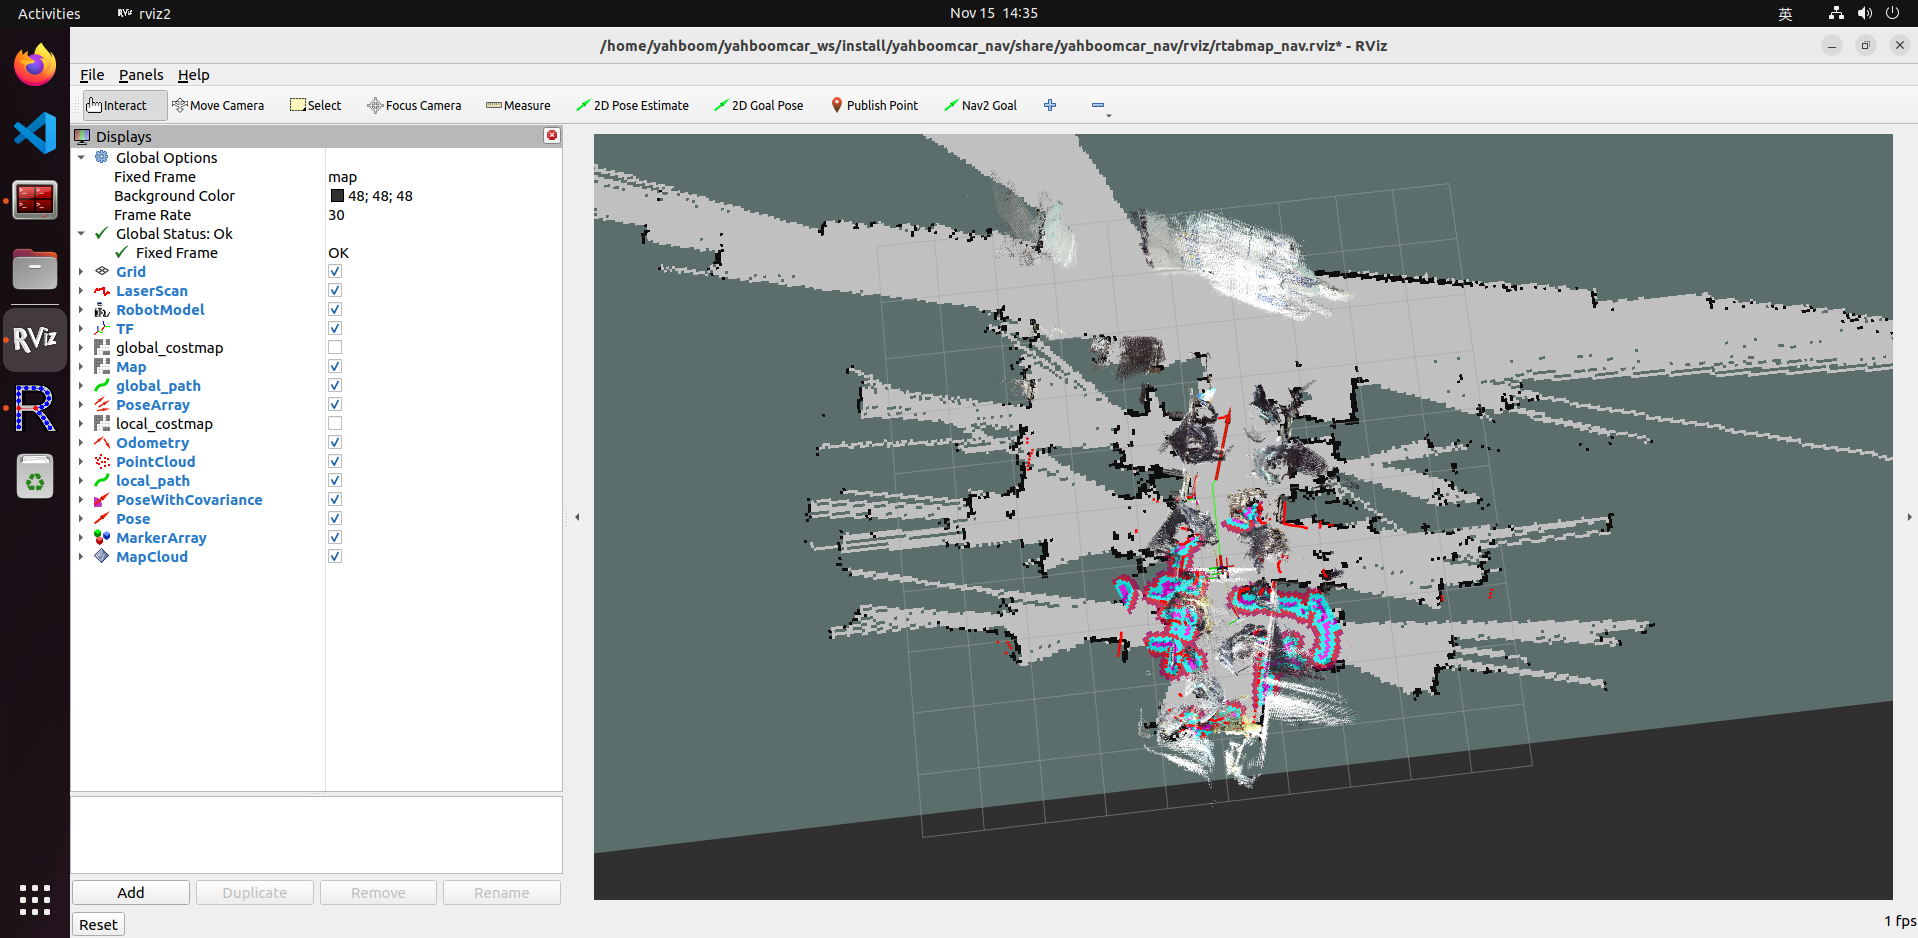
After the initial pose is set, you can click [2D Goal Pose] to set a navigation target point, and the car will start single-point navigation;
7.3.8, Multi-point navigation
After the initial pose is set, you can click [Panels] in the upper left corner of rviz---Select [Navigation 2], and the [Navigation 2] panel will be displayed
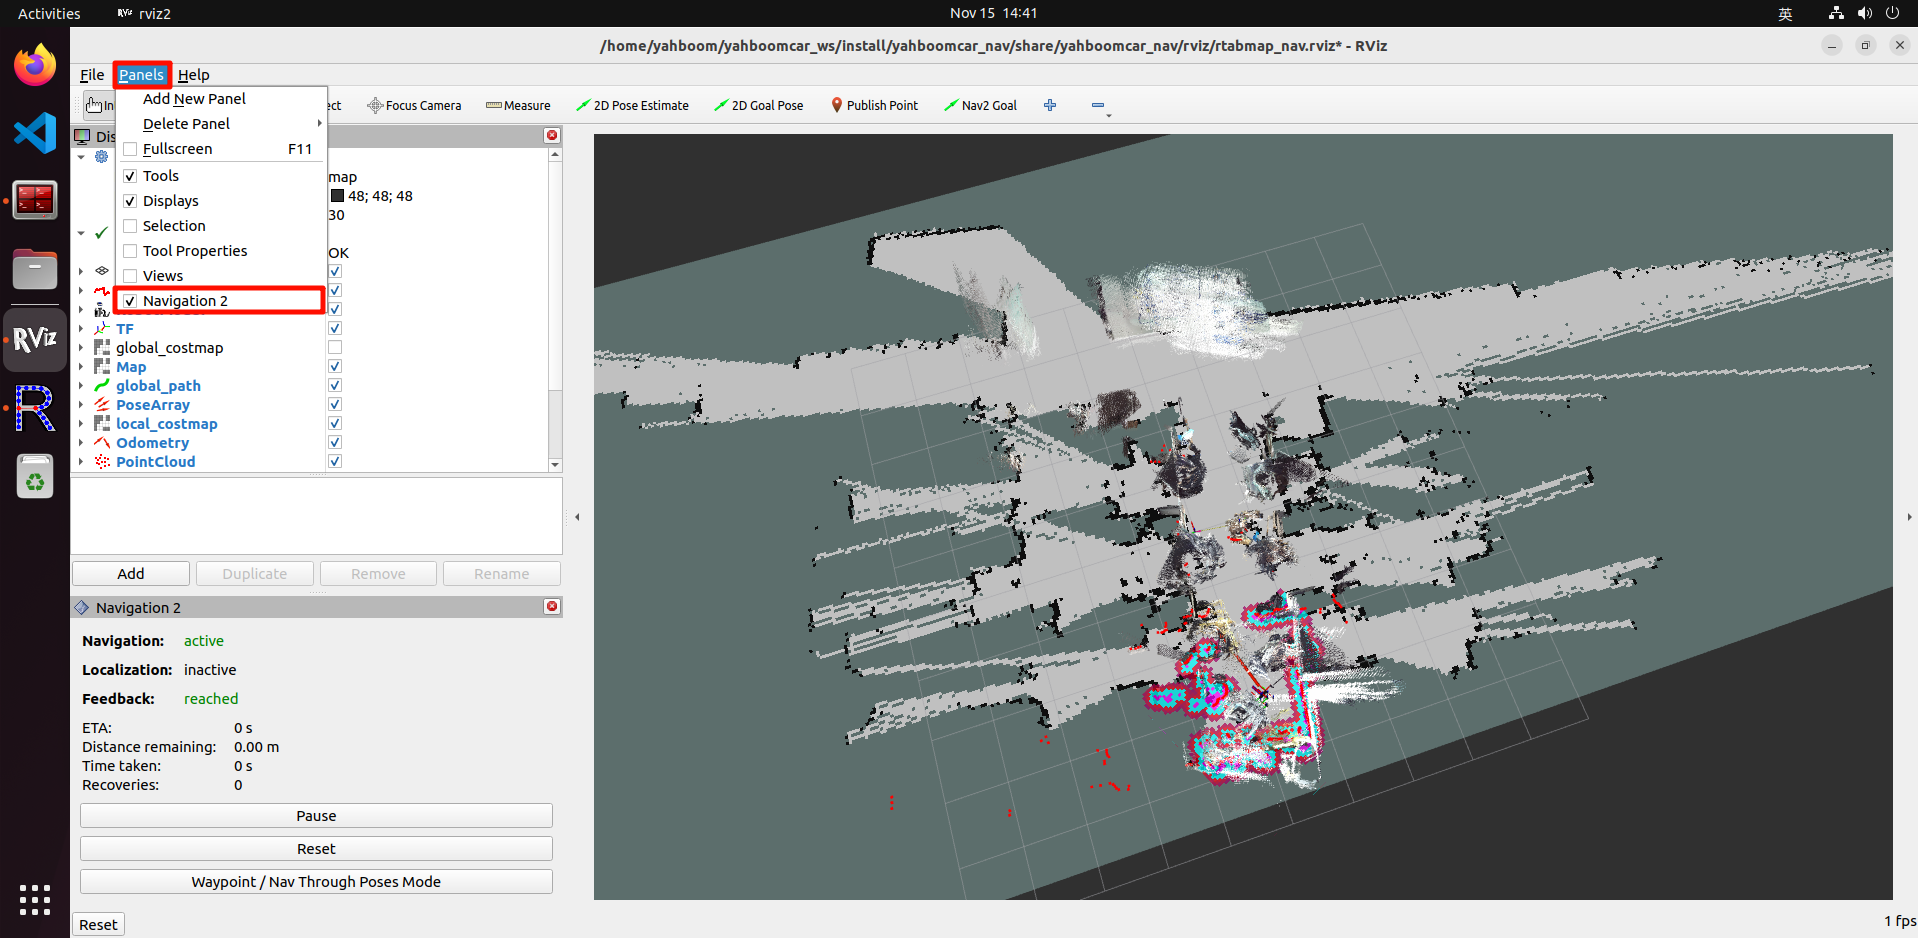
Click [Waypoint / Nav Through Poses Mode] in the above picture, and then click [Nav2 Goal】, you can mark a target point on the map, click [Navigation2 Goal] again, you can mark the second target point on the map, and repeat the cycle to mark multiple target points at once;
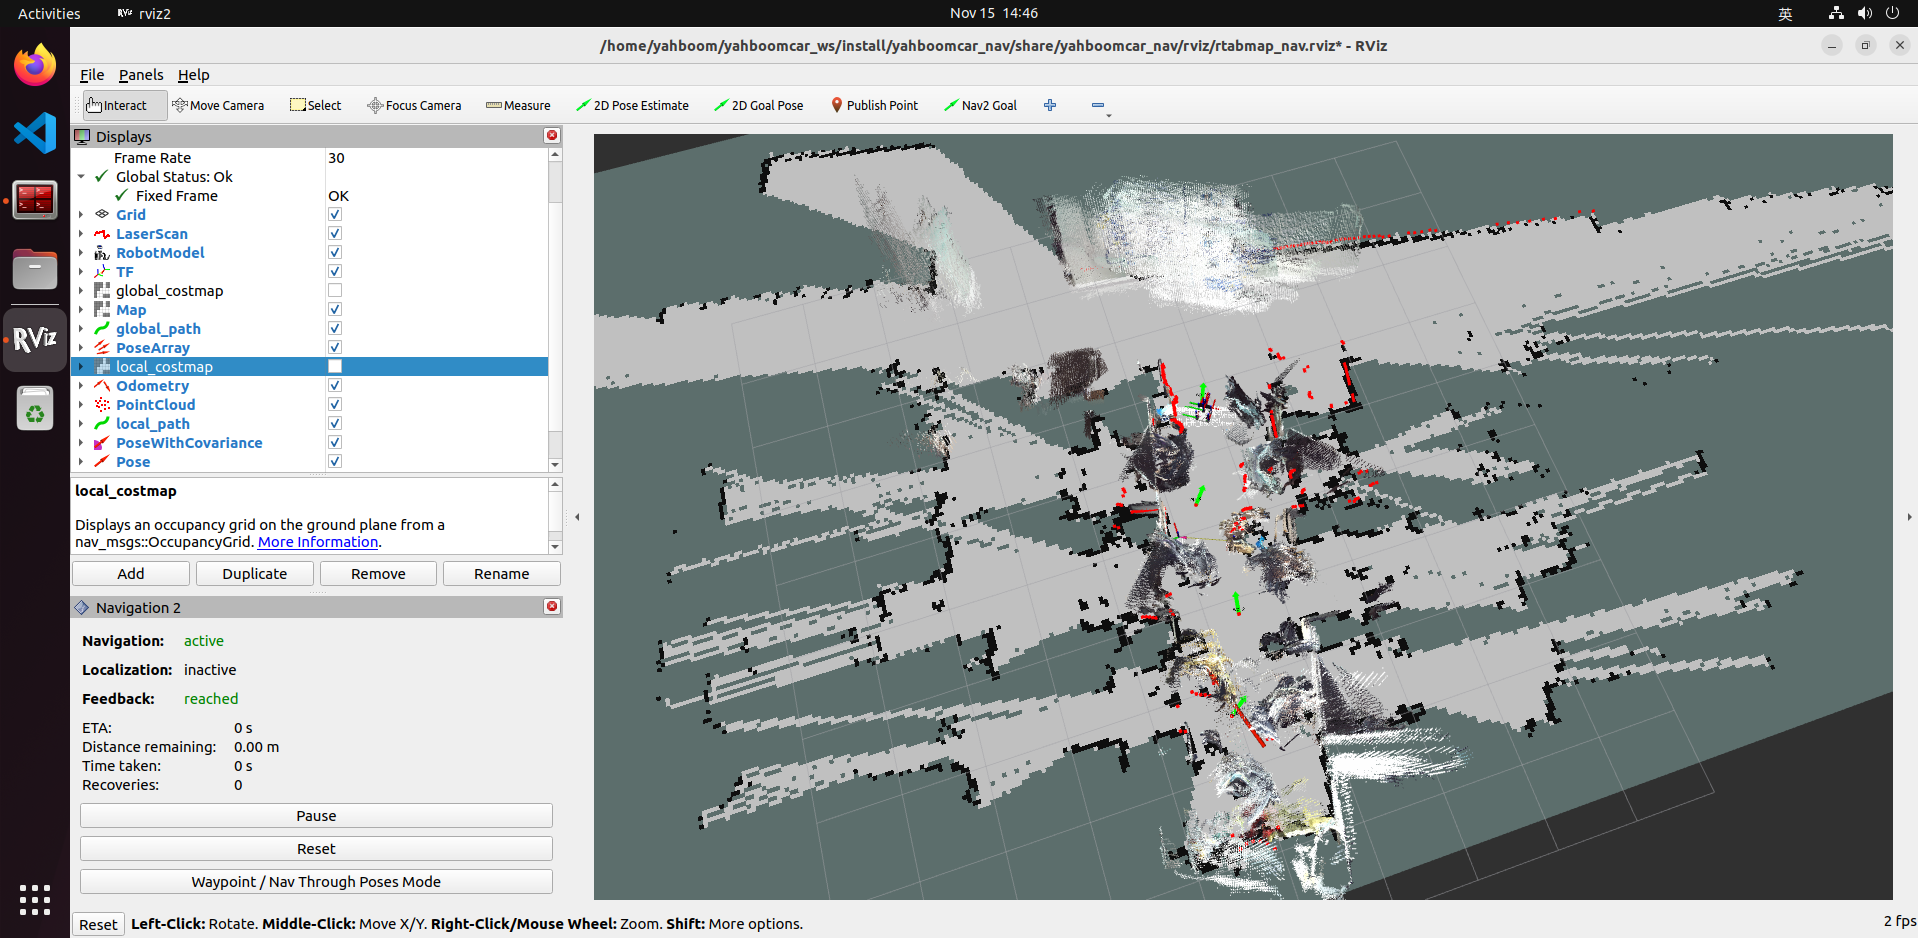
After marking multiple target points, click [Start Nav Through Poses] to start multi-point navigation. After multi-point navigation is completed, the car will stay at the position of the last target point;
rviz may exit during navigation, which may be caused by insufficient resources. You can turn off the display of rtabmap_viz on the virtual machine after the navigation node starts to fully display the 3D map
7.4. Node analysis
7.4.1. Display calculation graph
xxxxxxxxxxrqt_graph

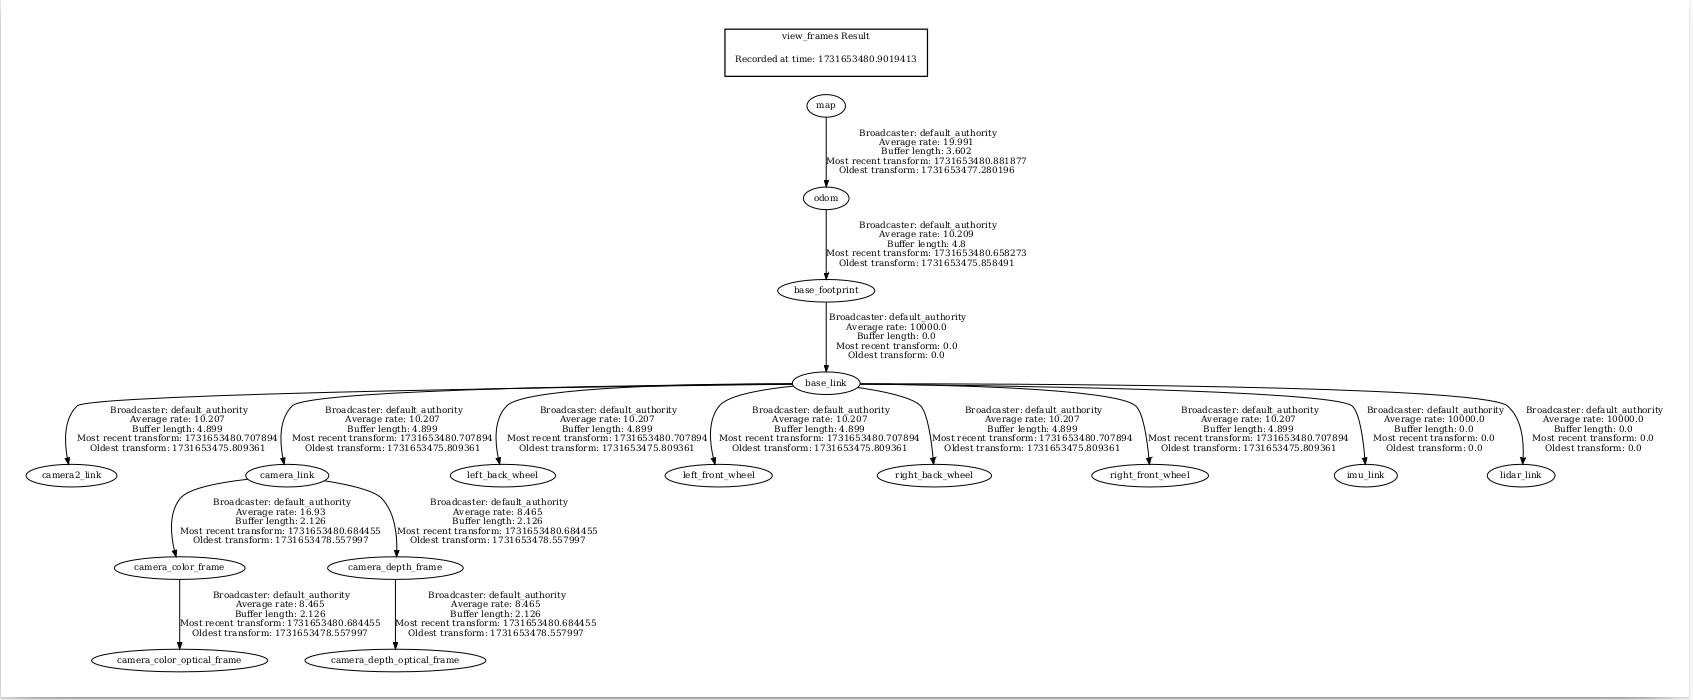
7.4.2. TF transformation
xxxxxxxxxxros2 run tf2_tools view_frames