Welcome to RDK X5 Robot repository
4. OpenCV image beautification
OpenCV image beautification
OpenCV image beautification4.1, Image Inpainting4.2, Brightness enhancement4.3, skin smoothing and whitening
Before running the example program, you need to switch to the directory where the code is located. After SSH connects to the car, run in the terminal,
xxxxxxxxxxcd /home/sunrise/yahboomcar_ws/src/yahboomcar_astra/opencv_examples4.1, Image Inpainting
Image inpainting is a class of algorithms in computer vision, whose goal is to fill in areas within an image or video. The area is identified using a binary mask, and the filling is usually done based on the boundary information of the area to be filled. The most common application of image inpainting is to restore old scanned photos. It is also used to remove small unwanted objects in images.
(1) First, add damage to the intact image, which can be understood as modifying the pixel value of a specific part of it.
After the car terminal switches to the directory where the code is located, run the program,
xxxxxxxxxxpython3 4_1_1.py
xxxxxxxxxximport cv2if __name__ == '__main__':img = cv2.imread('figures/yahboom.jpg')for i in range(50,100):img[i,50] = (0,0,0)img[i,50+1] = (0,0,0)img[i,50-1] = (0,0,0)for i in range(100,150):img[150,i] = (0,0,0)img[150,i+1] = (0,0,0)img[150-1,i] = (0,0,0)cv2.imwrite('figures/4_1_damaged.jpg',img)The resulting image is shown in the figure, which can be regarded as a damaged image of the original image.
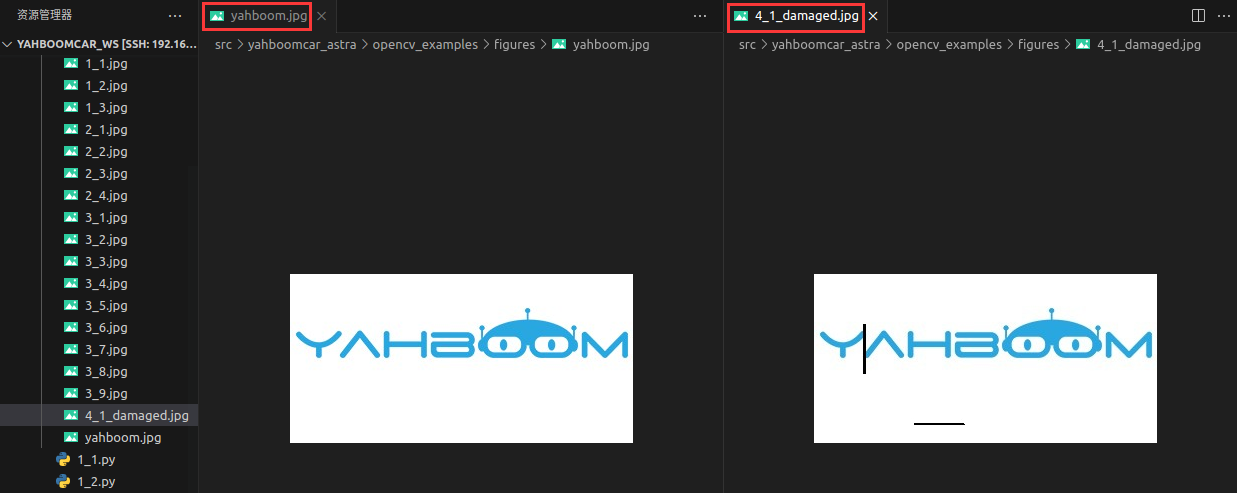
(2) Repair the photo just created. First read it, then create a mask, and finally use the function to repair it
After switching to the directory where the code is located in the car terminal, run the program,
xxxxxxxxxxpython3 4_1_2.py
xxxxxxxxxximport cv2import numpy as npif __name__ == '__main__':dam_img = cv2.imread('figures/4_1_damaged.jpg')imgInfo = dam_img.shapeheight = imgInfo[0]width = imgInfo[1]paint = np.zeros((height,width,1),np.uint8)for i in range(50,100):paint[i,50] = 255paint[i,50+1] = 255paint[i,50-1] = 255for i in range(100,150):paint[150,i] = 255paint[150+1,i] = 255paint[150-1,i] = 255dst_img = cv2.inpaint(dam_img,paint,3,cv2.INPAINT_TELEA)cv2.imwrite("figures/4_1_paint.jpg",paint)cv2.imwrite("figures/4_1_result.jpg",dst_img)
'''Draw text: dst = cv2.inpaint(src,inpaintMask,inpaintRadius,flags)src: source image, that is, the image to be repairedinpaintMask: binary mask indicating the pixels to be repaireddst: result imageinpaintRadius: indicates the radius of the repairflags: repair algorithm, mainly including,INPAINT_NS (Navier-Stokes based method)INPAINT_TELEA (Fastmarching based method)'''
The final image is as shown in the figure,
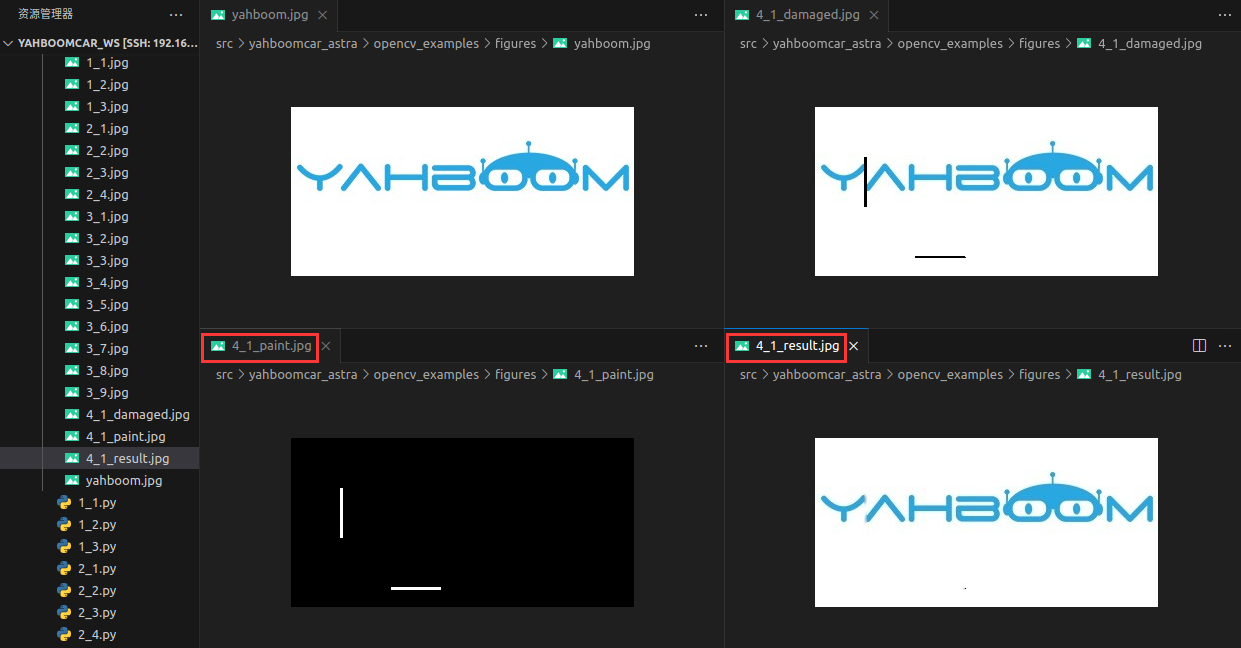
The lower left corner is the mask image, and the lower right corner is the repaired image, which is consistent with the original image in the upper left corner.
4.2, Brightness enhancement
Implementation process: Synchronously amplify the three-channel values of each pixel point, while keeping the channel value between 0-255. In fact, it is to traverse each pixel point, add or subtract values to them, and then determine whether the three channels rgb are in the range of 0-255. If it is greater or less than, it takes the value of 255 or 0.
After switching to the directory where the code is located in the car terminal, run the program,
xxxxxxxxxxpython3 4_2.py
xxxxxxxxxximport cv2import numpy as npif __name__ == '__main__':img = cv2.imread('figures/yahboom.jpg')imgInfo = img.shapeheight = imgInfo[0]width = imgInfo[1]dst = np.zeros((height,width,3),np.uint8)for i in range(0,height):for j in range(0,width):(b,g,r) = img[i,j]bb = int(b) + 100gg = int(g) + 100rr = int(r) + 100if bb > 255:bb = 255if gg > 255:gg = 255if rr > 255:rr = 255dst[i,j] = (bb,gg,rr)cv2.imwrite('figures/4_2.jpg',dst)The final image is as shown in the figure,
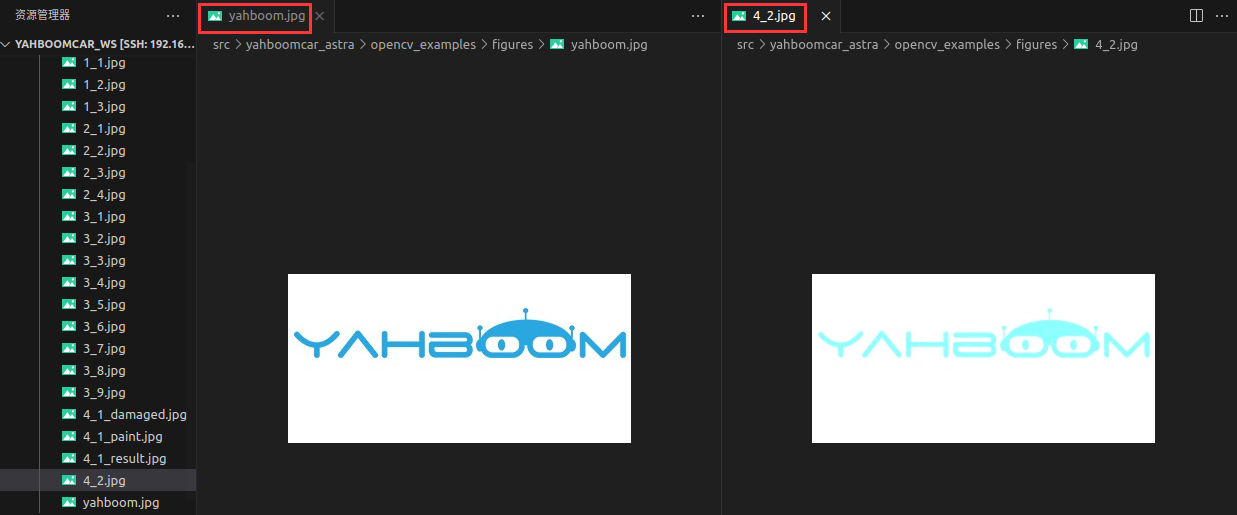
4.3, skin smoothing and whitening
OpenCV implements the function of skin smoothing and whitening for pictures. The principle of implementation is basically the same as the principle of brightness enhancement, but here we do not need to process the r value, just follow this formula, p = p(x)*1.4+ y, where p(x) represents the b channel or the g channel, and y represents the value to be increased or decreased. Similarly, after adding the value, we need to judge the value.
After switching to the directory where the code is located in the car terminal, run the program,
xxxxxxxxxxpython3 4_3.py
xxxxxxxxxximport cv2import numpy as npif __name__ == '__main__':img = cv2.imread('figures/yahboom.jpg')imgInfo = img.shapeheight = imgInfo[0]width = imgInfo[1]dst = np.zeros((height,width,3),np.uint8)for i in range(0,height):for j in range(0,width):(b,g,r) = img[i,j]bb = int(b*1.4) + 5gg = int(g*1.4) + 5if bb > 255:bb = 255if gg > 255:gg = 255dst[i,j] = (bb,gg,r)cv2.imwrite('figures/4_3.jpg',dst)The final image is as shown in the figure,
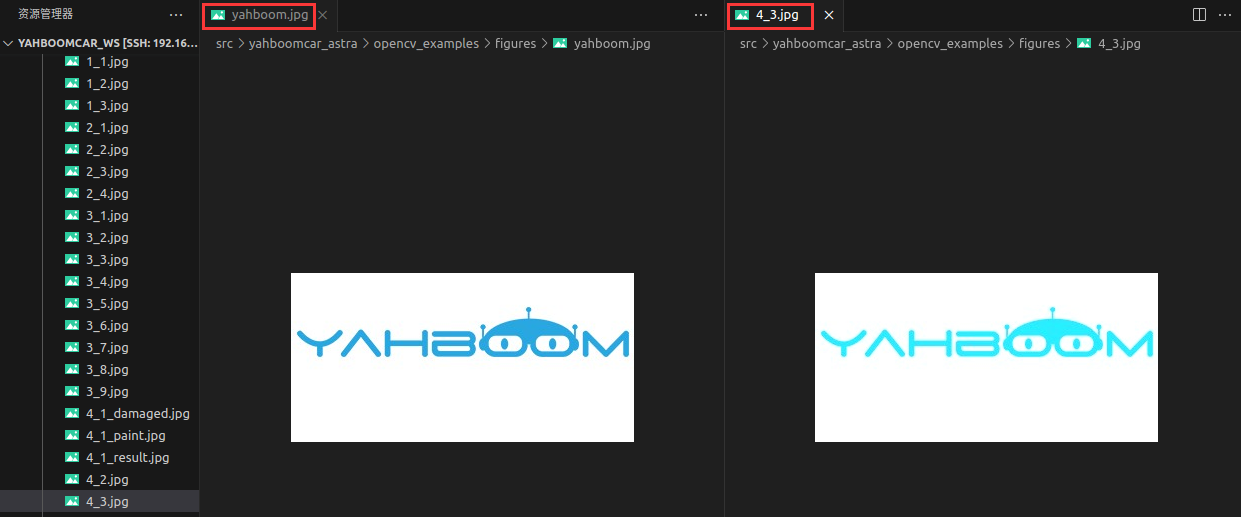
You can change the input image and try it yourself.