Welcome to Jetson AGX Thor repository
04.Flashing the Jetson Bootloader using L4T
Flashing the Jetson Bootloader using L4T
1. Downloading Files
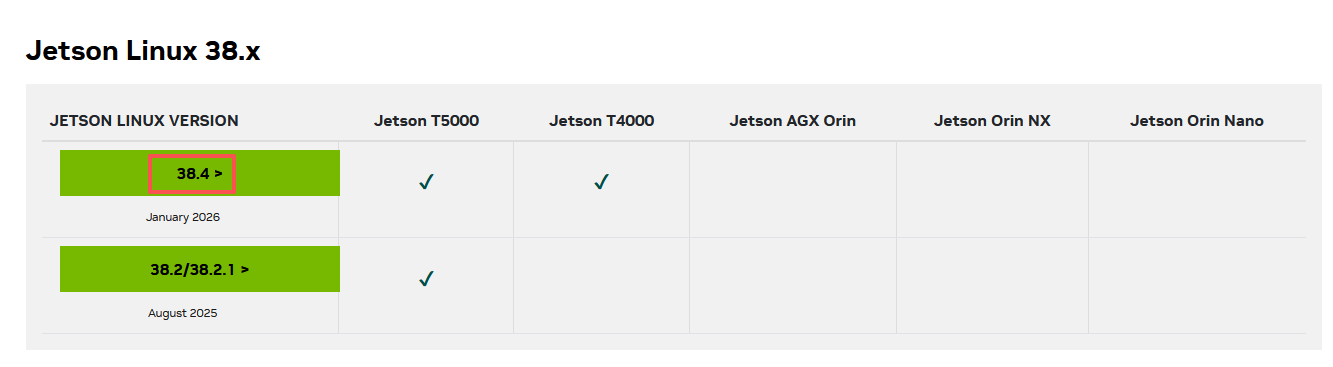
Open the following link in your web browser and select Jetson Linux version 38.4.
https://developer.nvidia.com/embedded/jetson-linux-archive
Click on [Driver Package (BSP)] to download the BSP file.
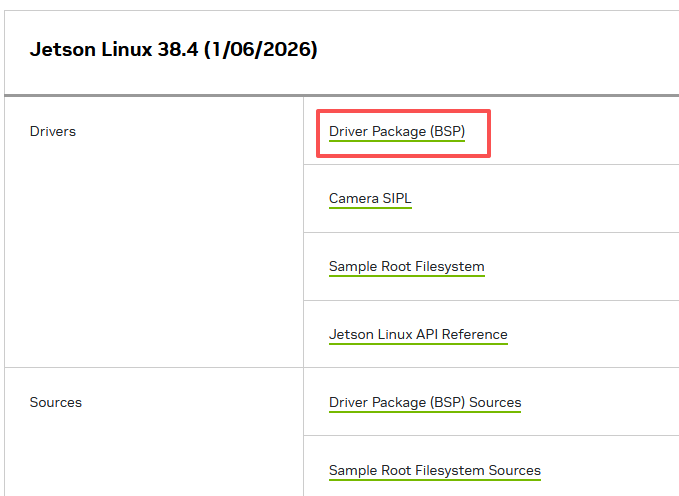

Download the BSP file to your Ubuntu computer or Ubuntu virtual machine. For this example, we will assume the file is downloaded to the ~/jetpack folder.
2. Extracting Files
Open the terminal on your Ubuntu computer or virtual machine and run the following commands:
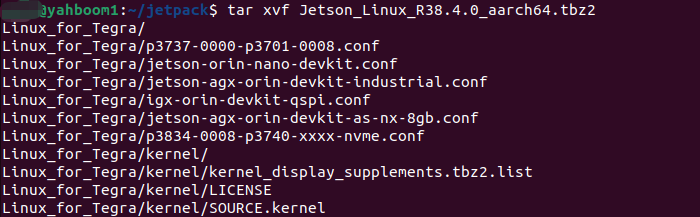
xxxxxxxxxxcd ~/jetpacktar xvf Jetson_Linux_R38.4.0_aarch64.tbz2
3. Hardware Connections
The Jetson AGX Thor mainboard requires a connection to both a power adapter and a Type-C data cable. The Type-C cable serves as the data link; one end must be connected to a USB port on your computer, while the other end must be connected to the specific Type-C port located right next to the HDMI port on the Jetson AGX Thor mainboard.
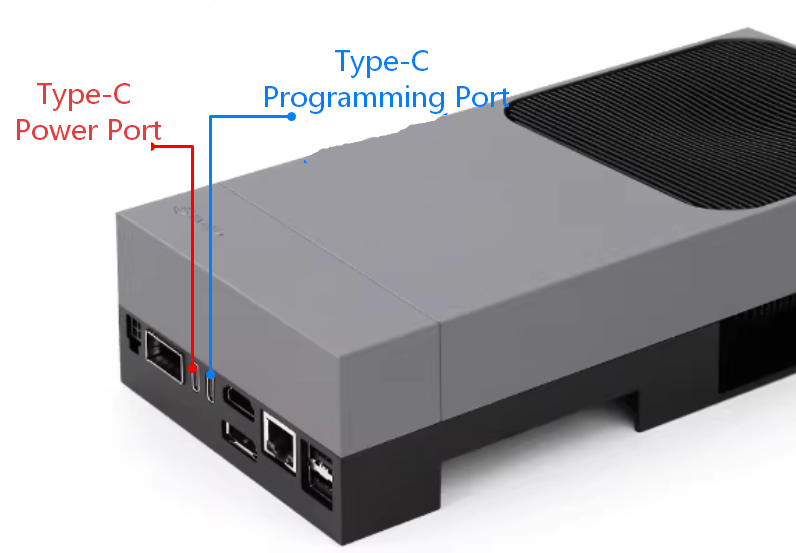
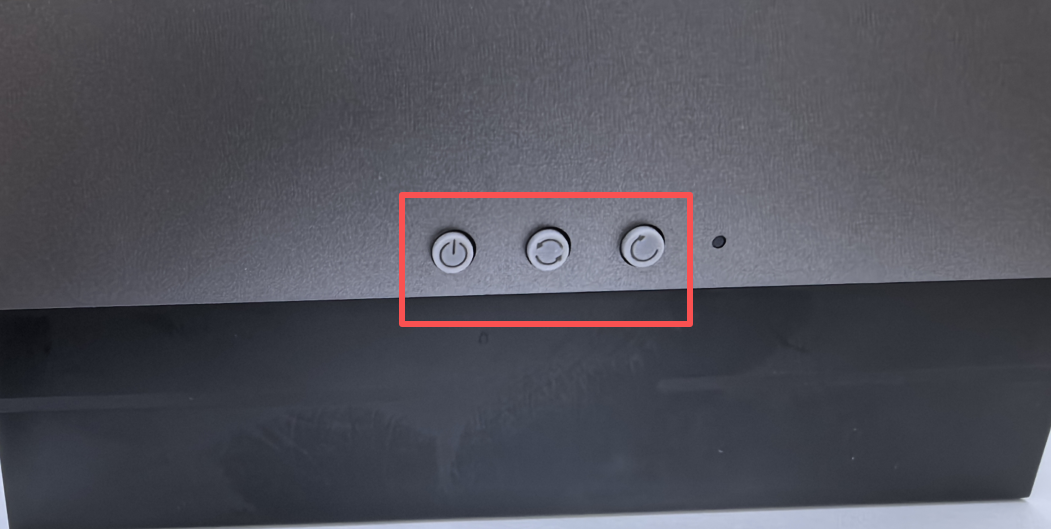
Connect the power adapter to the Jetson AGX Thor mainboard. Locate the three buttons at the rear of the board: press and hold the [Flash] button, then briefly press the [Reset] button. Wait for 3 seconds before releasing the [Flash] button to enter Flash Mode.
As shown in the figure below, the three buttons—from left to right—are the Power button, the Flash button, and the Reset button.
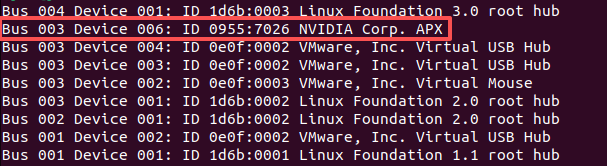
Open a terminal and check for connected USB devices. The appearance of ID 0955:7026 NVIDIA Corp. APX indicates that the connection has been successfully established.
xxxxxxxxxxlsusb
4. Start Flashing
Navigate to the JetPack system directory:
xxxxxxxxxxcd ~/jetpack/Linux_for_Tegra
Run the following command to begin flashing the bootloader. The entire process takes approximately 5 minutes; during this time, there may be extended periods where no output appears in the terminal, so please wait patiently.
xxxxxxxxxxsudo ./l4t_initrd_flash.sh --qspi-only jetson-agx-thor-devkit internal
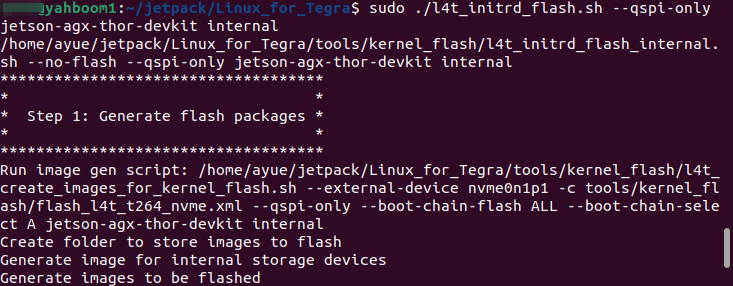
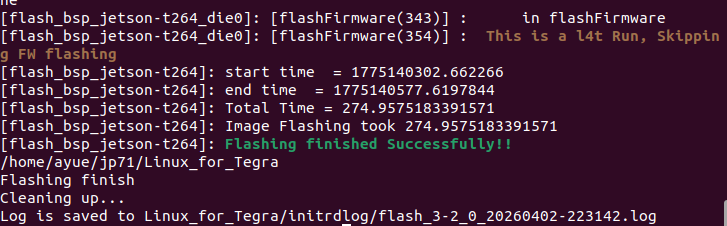
Once the message Flashing finish appears in the terminal output, the flashing process has completed successfully.
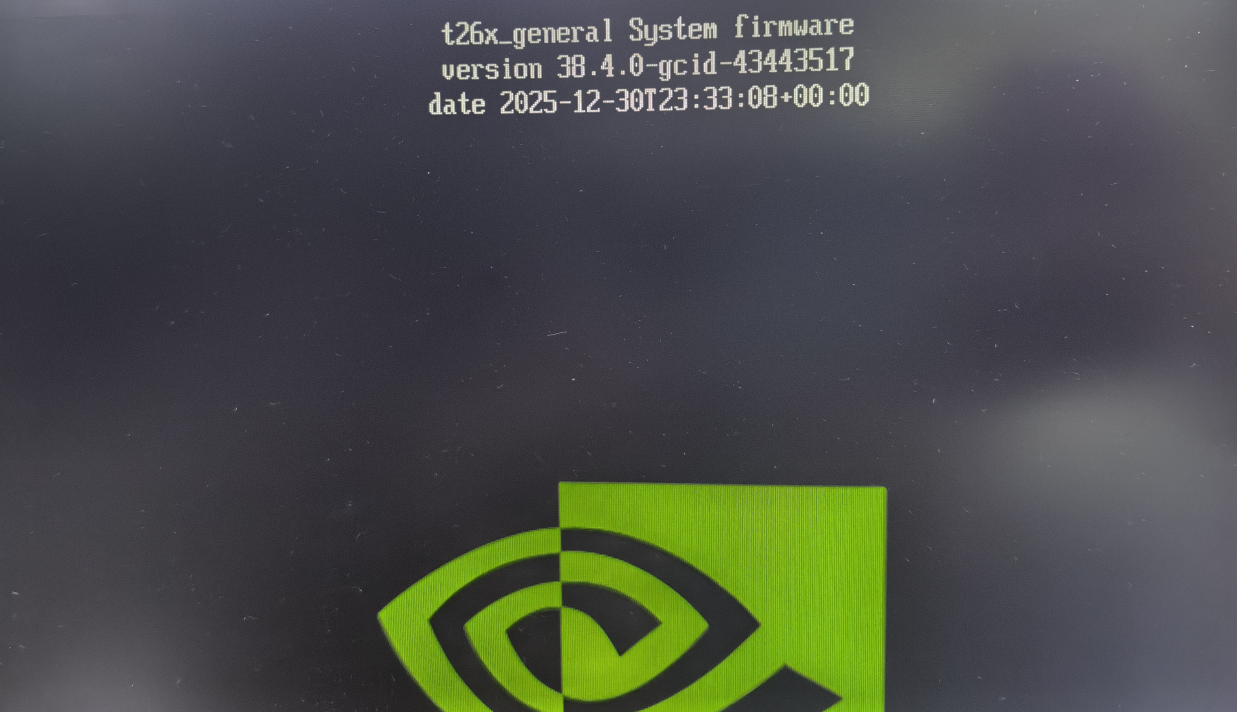
The device will not power on automatically after the flashing process is complete. You must connect a display monitor and then power cycle the device to boot it up; you will then be able to see the boot information for version R38.4.0.