Welcome to Transbot SE repository
1.HD camera calibration
1.HD camera calibration
Wiki: http://wiki.ros.org/camera_calibration
Ordinary camera: https://github.com/bosch-ros-pkg/usb_cam.git
Monocular teaching: http://wiki.ros.org/camera_calibration/Tutorials/MonocularCalibration
Due to some internal and external reasons of the camera, the image will be greatly distorted, mainly radial deformation and tangential deformation, causing the straight line to become curved. The farther the pixel is from the center of the image, the more serious the distortion will be. In order to avoid errors caused by data sources, the parameters of the camera need to be calibrated. Calibration essentially uses a known and determined spatial relationship (calibration plate) to reversely deduce the inherent and real parameters of the camera (internal parameters) by analyzing the pixels of the photographed pictures.
1.1. Preparation before calibration
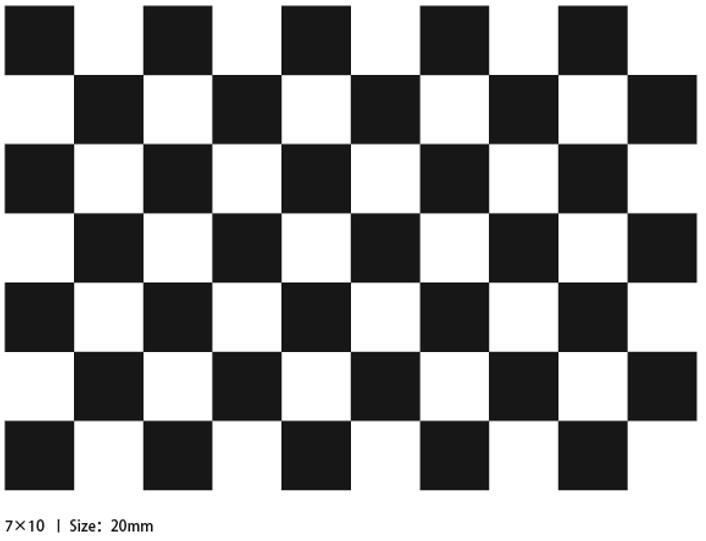
A large [chessboard] of known dimensions(http://wiki.ros.org/camera_calibration/Tutorials/MonocularCalibration?action=AttachFile&do=view&target=check-108.pdf). This tutorial uses a 9x6 checkerboard and a 20mm square, which needs to be flattened during calibration.
The calibration uses the internal vertices of the checkerboard, so a "10x7" checkerboard uses the internal vertex parameters "9x6", as shown in the example below.
Any calibration board can be used, as long as the parameters are changed.
An open area without obstacles and calibration board patterns
Monocular camera for publishing images via ROS
Checkerboard (calibration board)
1.2. Calibration
Start camera
jetson motherboard/Raspberry Pi 4B
roscorerosrun uvc_camera uvc_camera_node device:=/dev/video0Raspberry Pi 5
Before running, please confirm that the large program has been permanently closed
Enter docker
Note: If there is a terminal that automatically starts docker, or there is a docker terminal that has been opened, you can directly enter the docker terminal to run the command, and there is no need to manually start docker
Start docker manually
xxxxxxxxxx./run_docker.sh
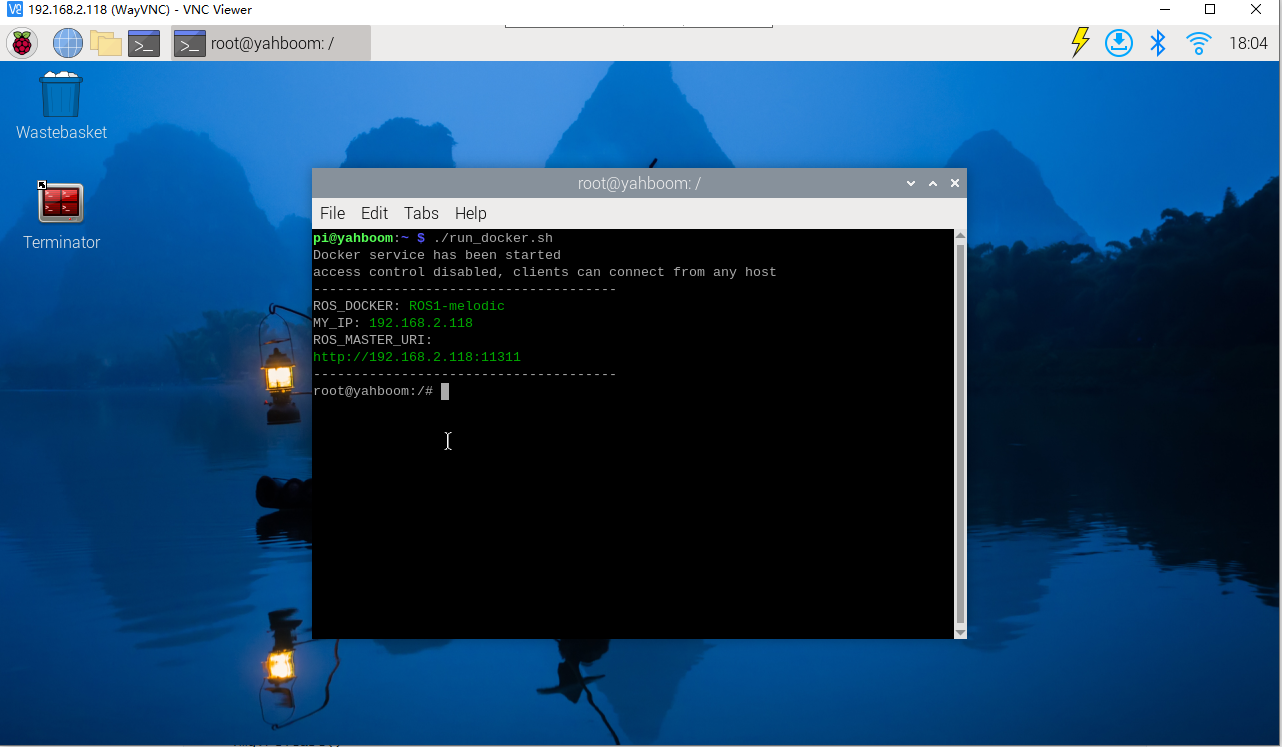
xxxxxxxxxxroscore
Enter the same docker from multiple terminals
Keep the program of the previous docker terminal running and open a new terminal
Enter the following command
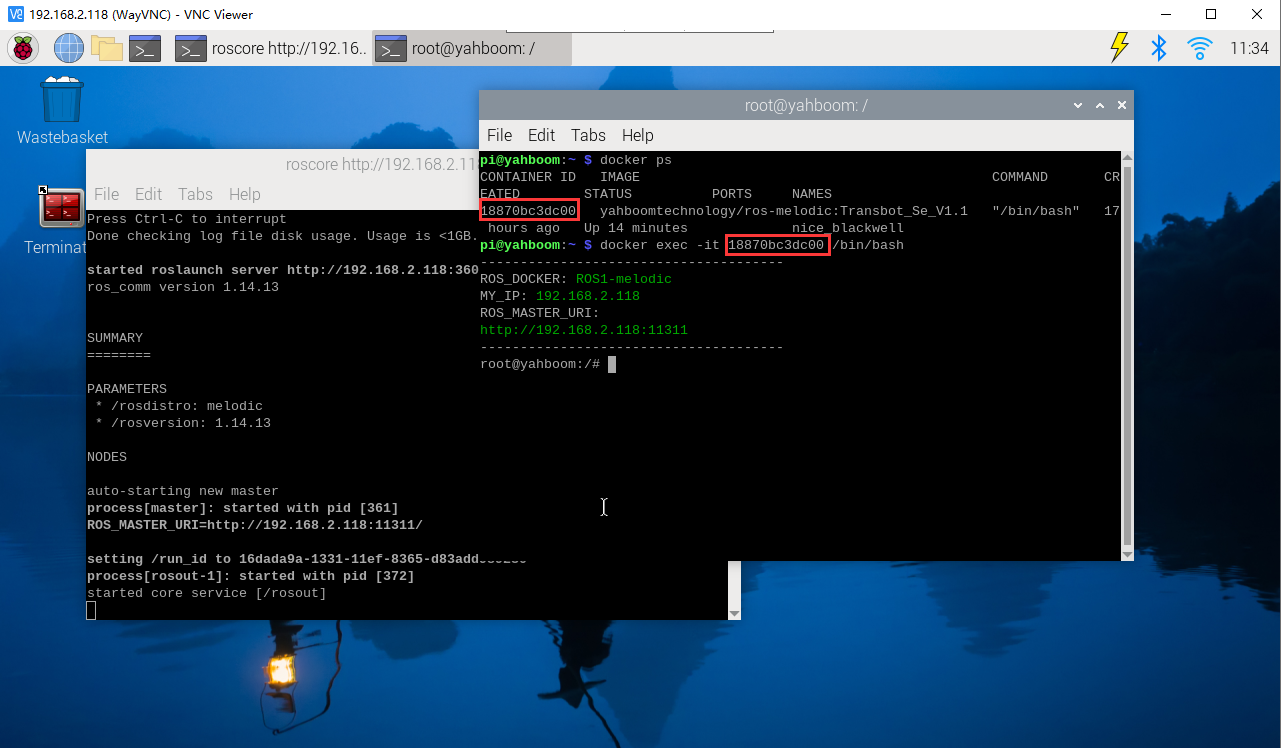
xxxxxxxxxxdocker ps
Enter the same docker and use the following 18870bc3dc00 to modify the ID displayed on the actual terminal.
xxxxxxxxxxdocker exec -it 18870bc3dc00 /bin/bash
xxxxxxxxxxrosrun uvc_camera uvc_camera_node device:=/dev/video0
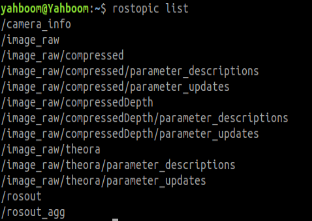
View Image Topics
Start calibration node
jetson motherboard/Raspberry Pi 4B
xxxxxxxxxxrosrun camera_calibration cameracalibrator.py image:=/image_raw camera:=/ --size 9x6 --square 0.02Raspberry Pi 5
Enter the same docker from multiple terminals
Keep the program of the previous docker terminal running and open a new terminal
Enter the following command
xxxxxxxxxxdocker ps
Enter the same docker and use the following 18870bc3dc00 to modify the ID displayed on the actual terminal.
xxxxxxxxxxdocker exec -it 18870bc3dc00 /bin/bash
xxxxxxxxxxrosrun camera_calibration cameracalibrator.py image:=/image_raw camera:=/ --size 9x6 --square 0.02
size: Calibrate the number of internal corner points of the checkerboard, for example, 9X6, with a total of six rows and nine columns of corner points.
square: The side length of the checkerboard, in meters.
image and camera: Set the image topic published by the camera.
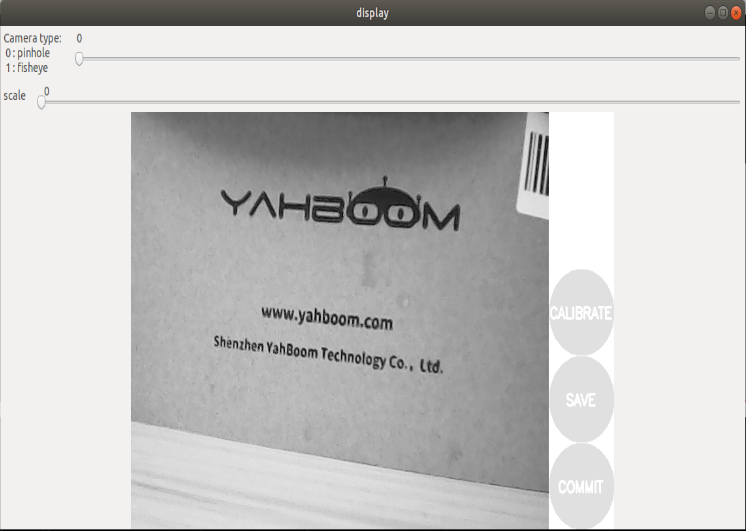
Calibration interface
X: The left and right movement of the checkerboard in the camera field of view
Y: The checkerboard moves up and down in the camera field of view
Size: the movement of the checkerboard back and forth in the camera field of view
Skew: The tilt and rotation of the checkerboard in the camera's field of view
After successful startup, place the checkerboard in the center of the screen and change to different positions. The system will identify it independently. The best situation is that the lines under [X], [Y], [Size], and [Skew] will first change from red to yellow and then to green as the data is collected, filling them as fully as possible.
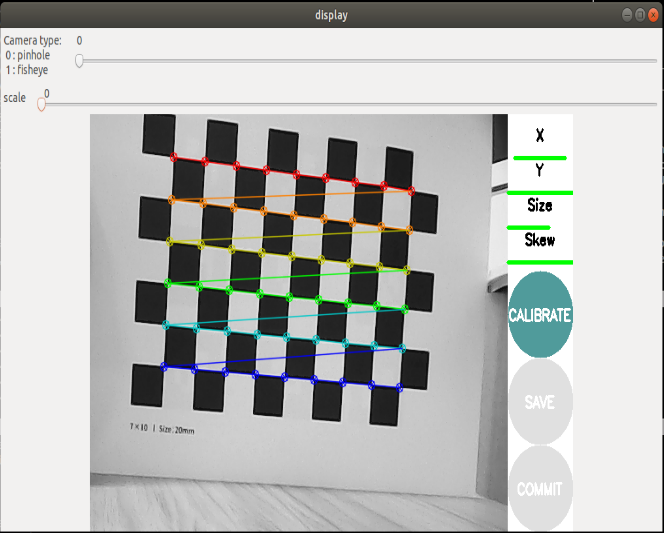
Click [CALIBRATE] to calculate the internal parameters of the camera. The more pictures you have, the longer it will take. Just wait. (Sixty or seventy pictures are enough, too many will easily cause jamming)
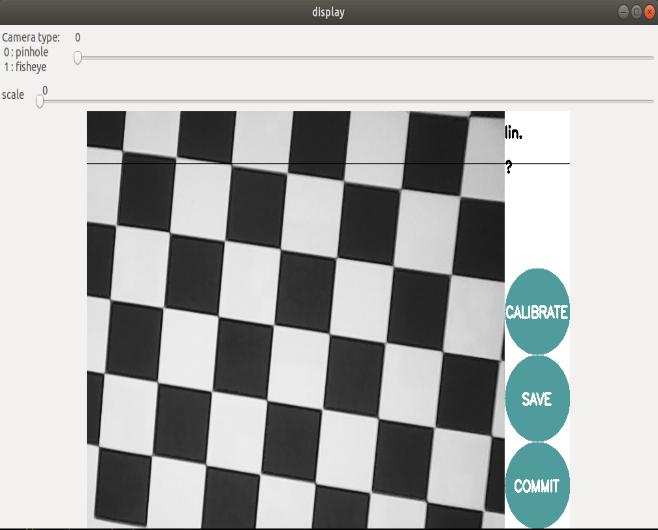
Click [SAVE] to save the non-calibration result. The bottom line appears. Click [COMMIT] to exit.
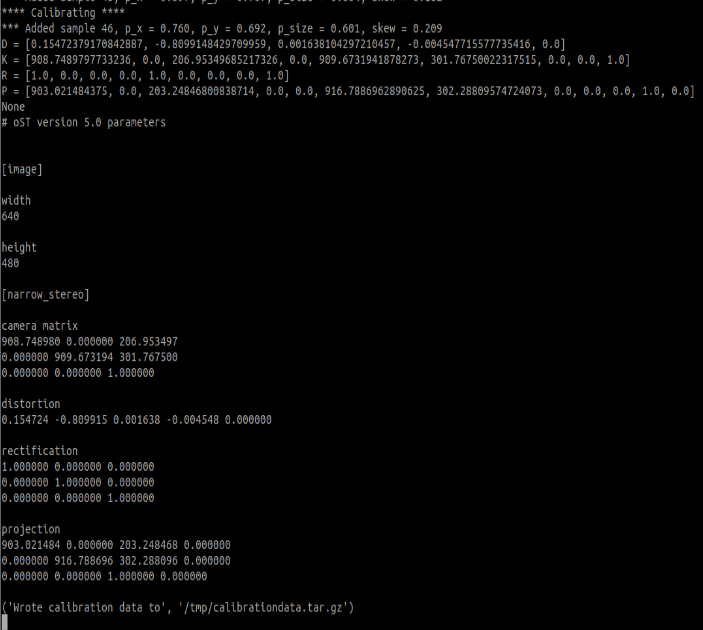
After the calibration is completed, the calibration results are stored in [/tmp/calibrationdata.tar.gz] and can be moved out to view the contents.
xxxxxxxxxxsudo mv /tmp/calibrationdata.tar.gz ~After decompression, there are the image just calibrated, an ost.txt file and an ost.yaml file. The yaml file is what we need, but it still needs to be modified before it can be used.
- Change ost.yaml to camera.yaml
- Change the name after camera_name: to camera
- Move the file to the ~/.ros/camera_info folder