Welcome to Transbot SE repository
2. Open Source CV geometric transformation
Geometric transformation
Geometric transformation2.1. OpenCV image scaling2.1.1. In OpenCV, the function to achieve image scaling is: cv2.resize(InputArray src, OutputArray dst, Size, fx, fy, interpolation)2.1.2. Code and actual effect display2.2. OpenCV image cropping2.2.1. Picture cutting2.2.2. Code and actual effect display2.3. OpenCV image translation2.3.1. In OpenCV, image translation is achieved through affine transformation. The method used is cv2.warpAffine(src, M, dsize[,dst[, flags[, borderMode[, borderValue]]] ])2.3.2. How to get the transformation matrix M? Here is an example to illustrate:2.3.3. Code and actual effect display2.4. OpenCV image mirroring2.4.1. Principle of image mirroring2.4.2. Take vertical transformation as an example to see how Python is written.
2.1. OpenCV image scaling
2.1.1. In OpenCV, the function to achieve image scaling is: cv2.resize(InputArray src, OutputArray dst, Size, fx, fy, interpolation)
Parameter meaning:
InputArray src: input image
OutputArray ds: output picture
Size: output image size
fx, fy: scaling coefficients along the x-axis and y-axis
interpolation: Interpolation mode, you can choose INTER_NEAREST (nearest neighbor interpolation), INTER_LINEAR (bilinear interpolation (default setting)), INTER_AREA (resampling using pixel area relationships), INTER_CUBIC (bicubic interpolation of 4x4 pixel neighborhoods), INTER_LANCZOS4 (Lanczos interpolation of 8x8 pixel neighborhood)
requires attention:
- The output size format is (width, height)
- The default interpolation method is: bilinear interpolation
2.1.2. Code and actual effect display
Run program
jetson motherboard/Raspberry Pi 4B
cd ~/transbot_ws/src/transbot_visual/opencvpython 1_1.pyRaspberry Pi 5
Before running, please confirm that the large program has been permanently closed
Enter docker
Note: If you have a terminal that automatically starts docker, you can directly enter the docker terminal to run the command, and there is no need to manually start docker
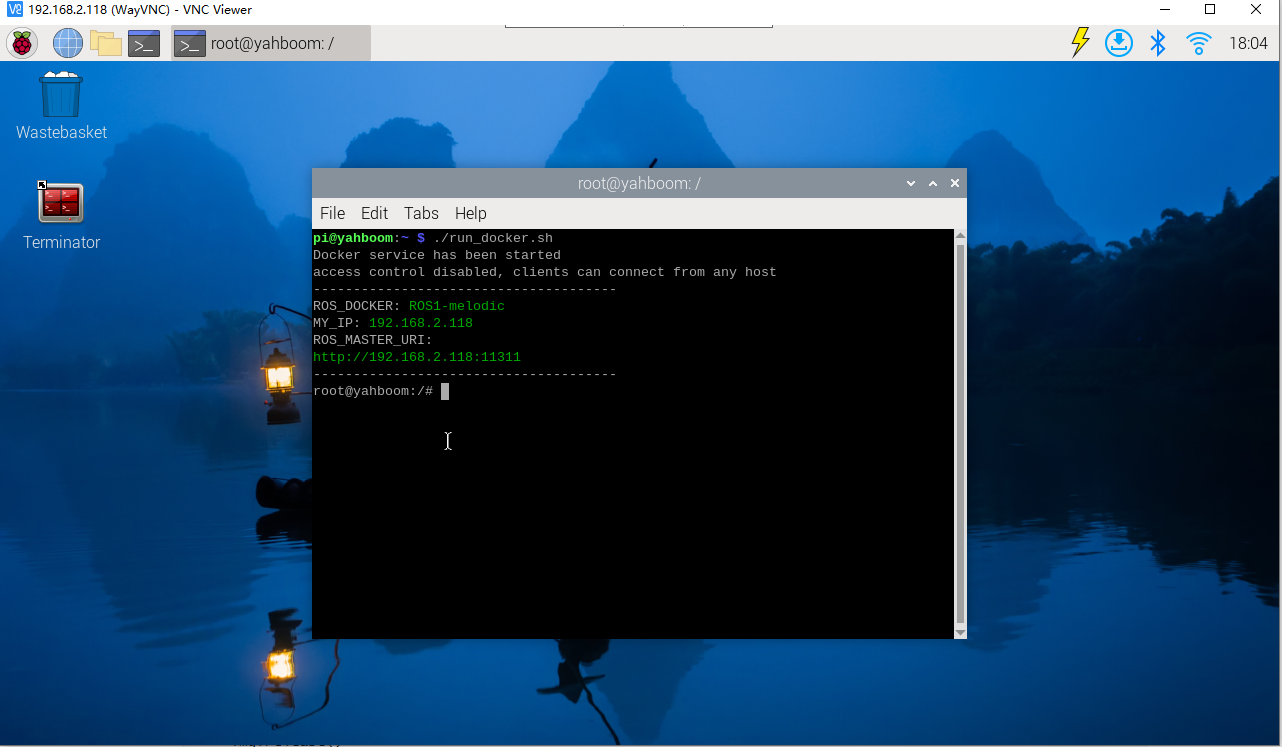
Start docker manually
xxxxxxxxxx./run_docker.sh
Run program
xxxxxxxxxxcd ~/transbot_ws/src/transbot_visual/opencvpython2_1.pyxxxxxxxxxximport cv2if __name__ == '__main__':img = cv2.imread('yahboom.jpg')print(img.shape)x, y = img.shape[0:2]img_test1 = cv2.resize(img, (int(y / 2), int(x / 2)))while True :cv2.imshow("frame",img)cv2.imshow('resize0', img_test1)action = cv2.waitKey(10) & 0xFFif action == ord('q') or action == 113:breakimg.release()cv2.destroyAllWindows()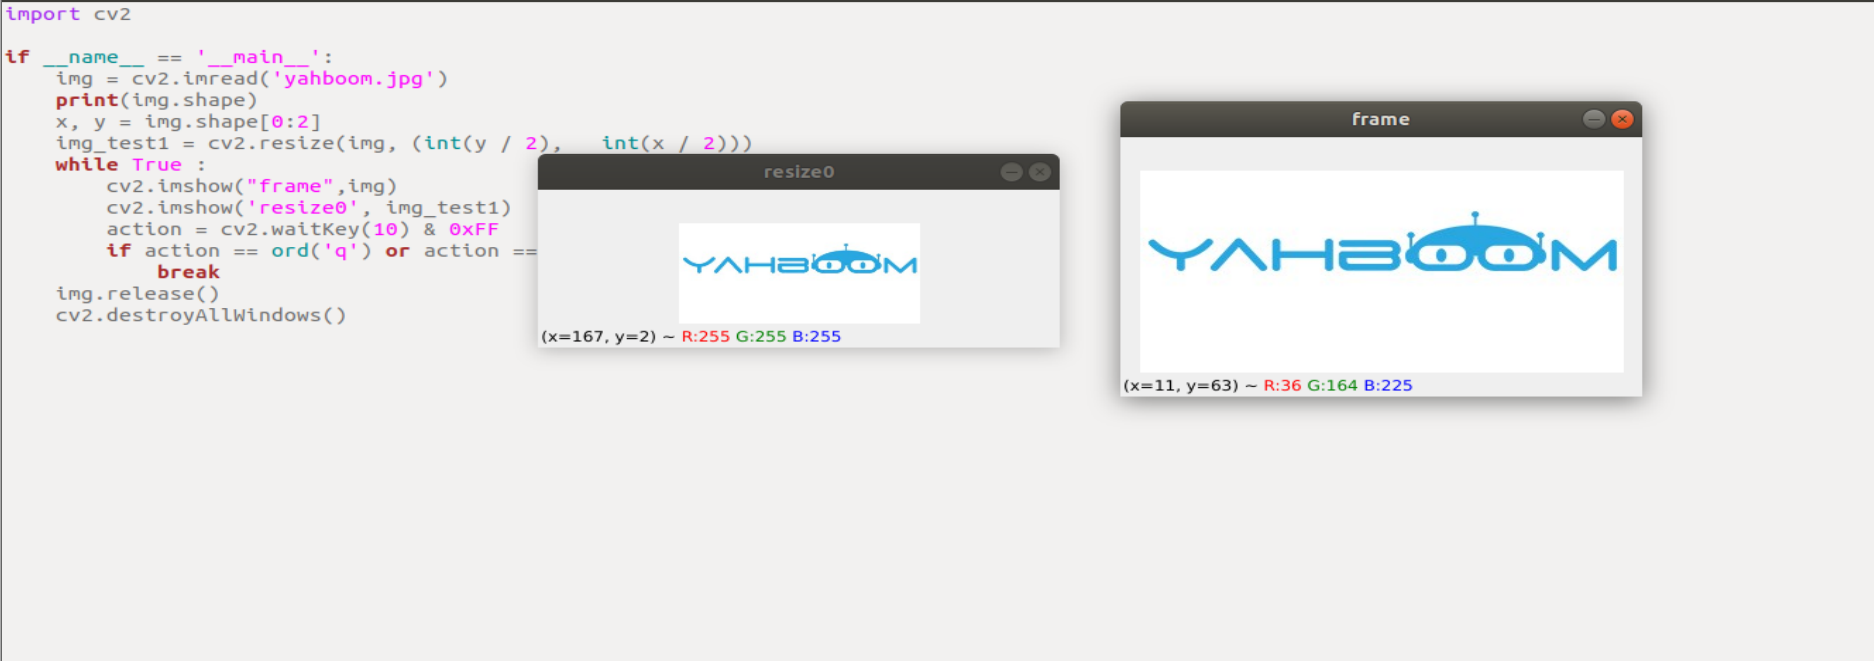
2.2. OpenCV image cropping
2.2.1. Picture cutting
First read the image, and then get the pixel area in the array. In the following code, select the shape area X: 300-500 Y: 500-700. Note that the image size is 800*800, so the selected area should not exceed this resolution.
2.2.2. Code and actual effect display
Run program
jetson motherboard/Raspberry Pi 4B
xxxxxxxxxxcd ~/transbot_ws/src/transbot_visual/opencvpython2_2.pyRaspberry Pi 5
Before running, please confirm that the large program has been permanently closed
Enter docker
Note: If you have a terminal that automatically starts docker, you can directly enter the docker terminal to run the command, and there is no need to manually start docker
Start docker manually
xxxxxxxxxx./run_docker.sh
Run program
xxxxxxxxxxcd ~/transbot_ws/src/transbot_visual/opencvpython2_2.pyxxxxxxxxxximport cv2if __name__ == '__main__':img = cv2.imread('yahboom.jpg')dst = img[0:100,100:200]while True :cv2.imshow("frame",img)cv2.imshow('dst', dst)action = cv2.waitKey(10) & 0xFFif action == ord('q') or action == 113:breakimg.release()cv2.destroyAllWindows()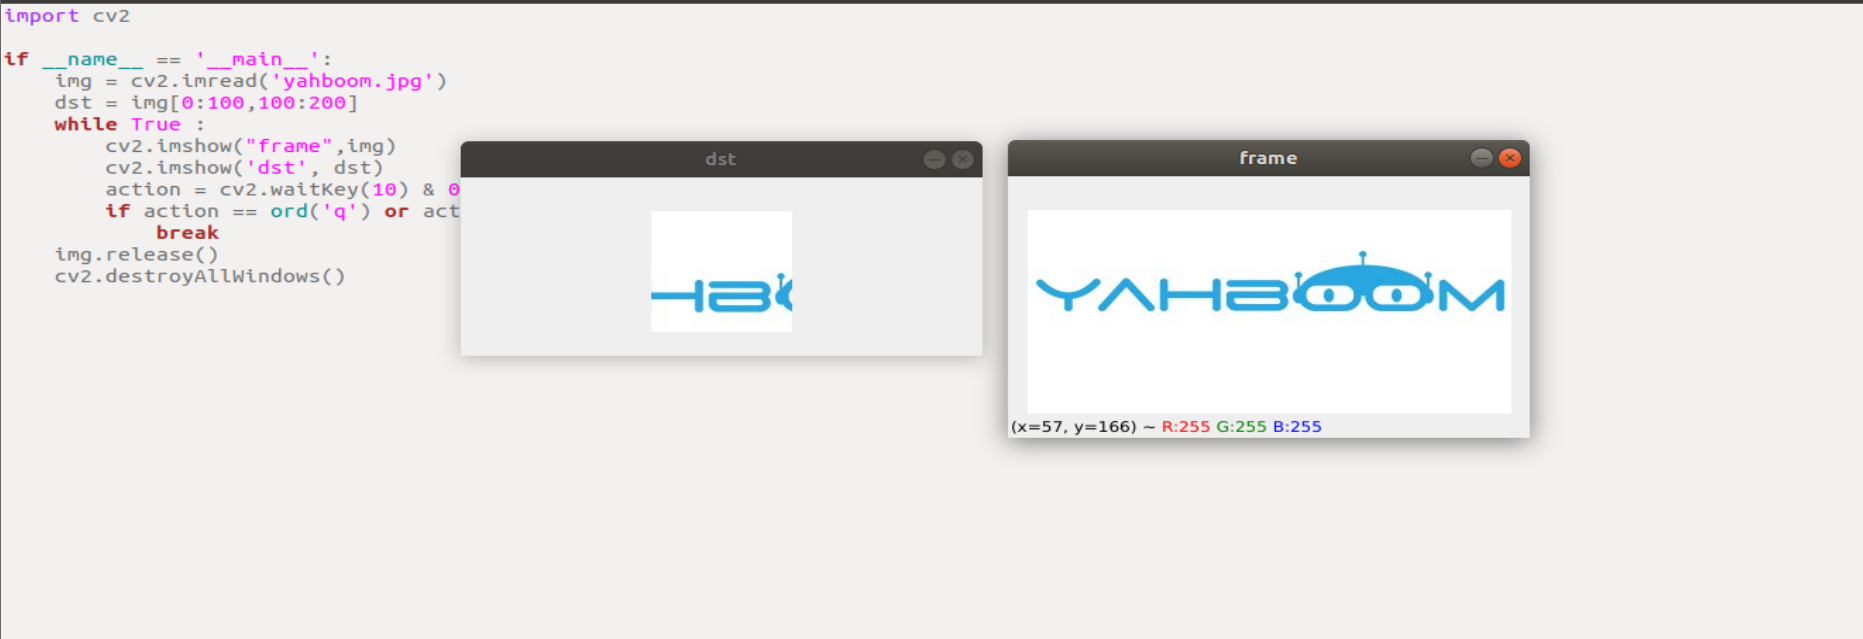
2.3. OpenCV image translation
2.3.1. In OpenCV, image translation is achieved through affine transformation. The method used is cv2.warpAffine(src, M, dsize[,dst[, flags[, borderMode[, borderValue]]] ])
Parameter meaning:
src - input image. M - Transformation matrix. dsize - the size of the output image. flags - a combination of interpolation methods (of type int!) borderMode - Border pixel mode (type int!) borderValue - (emphasis!) border padding value; by default, it is 0.
Among the above parameters: M is an affine transformation matrix, which generally reflects the relationship of translation or rotation, and is a 2×3 transformation matrix of the InputArray type. In daily affine transformation, basic affine transformation effects can be achieved by setting only the first three parameters, such as cv2.warpAffine(img,M,(rows,cols)).
2.3.2. How to get the transformation matrix M? Here is an example to illustrate:
The original image src is converted into the target image dst through the transformation matrix M:
dst(x, y) = src(M11x + M12y+M13, M21x+M22y+M23)
Move the original image src to the right by 200 and down by 100 pixels, then the corresponding relationship is:
dst(x, y) = src(x+200, y+100)
Complete the above expression, that is:
dst(x, y) = src(1·x + 0·y + 200, 0·x + 1·y + 100)
According to the above expression, it can be determined that the value of each element in the corresponding transformation matrix M is:
M11=1
M12=0
M13=200
M21=0
M22=1
M23=100
Substituting the above values into the transformation matrix M, we get:
M = [ ]
2.3.3. Code and actual effect display
Run program
jetson motherboard/Raspberry Pi 4B
xxxxxxxxxxcd ~/transbot_ws/src/transbot_visual/opencvpython2_3.pyRaspberry Pi 5
Before running, please confirm that the large program has been permanently closed
Enter docker
Note: If you have a terminal that automatically starts docker, you can directly enter the docker terminal to run the command, and there is no need to manually start docker
Start docker manually
xxxxxxxxxx./run_docker.sh
Run program