Welcome to ROSMASTER M3 repository
3.ROS2 development environment
3. ROS2 development environment
In theory, you can write basic ROS2 programs in Notepad, but to improve development efficiency, you can install the integrated development environment (VSCode).
1. Using the VSCode development environment
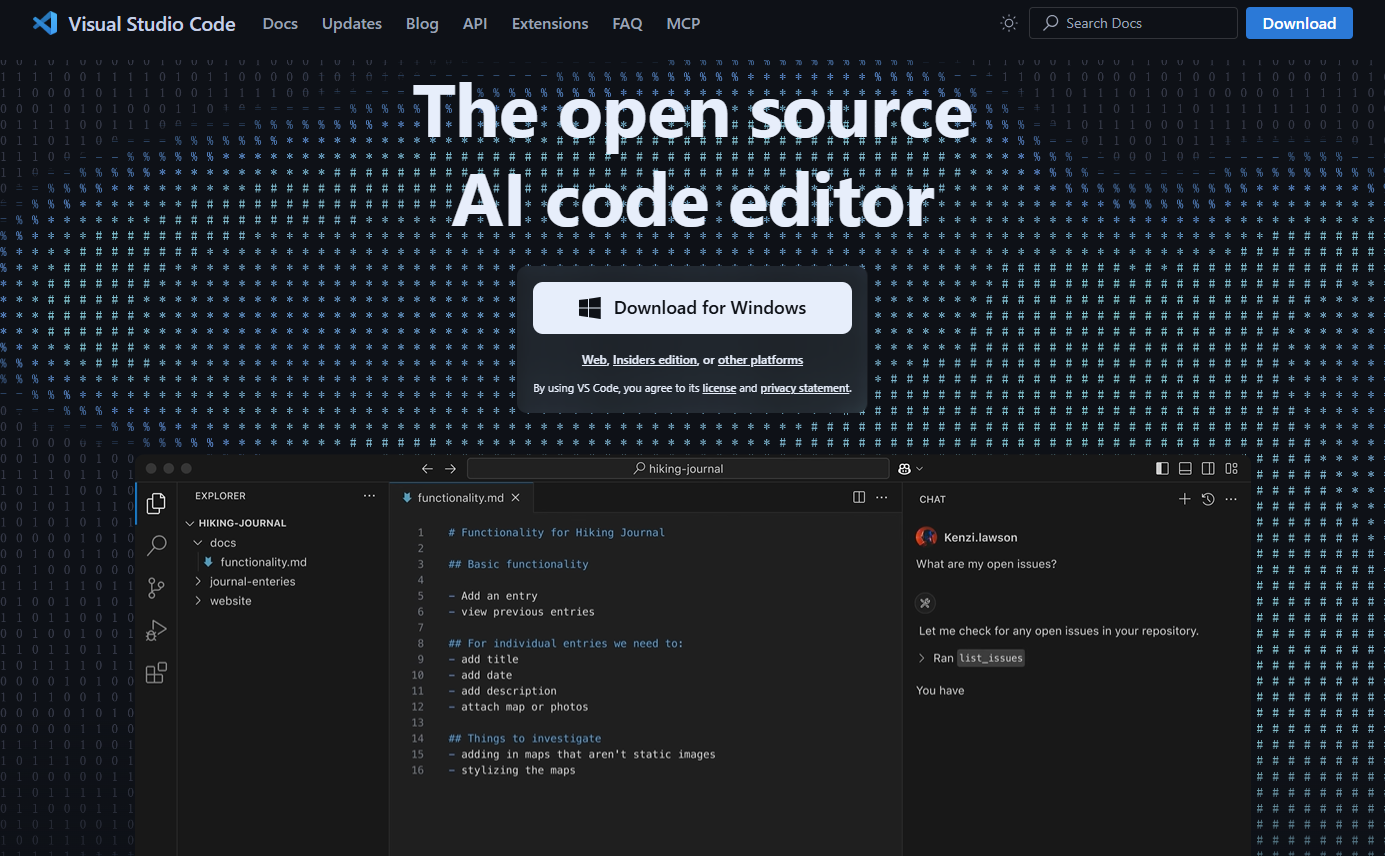
- Search for "VSCode" in your browser, select the installation package for your platform, download and install it.
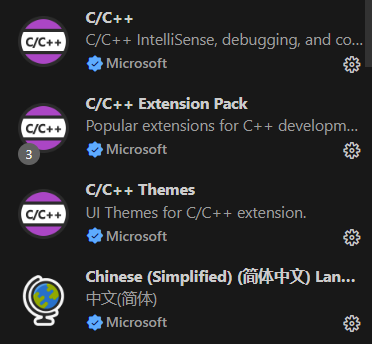
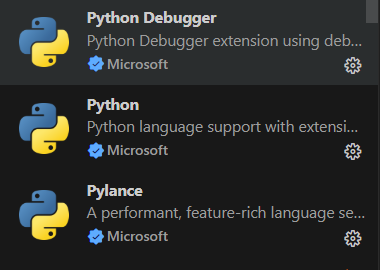
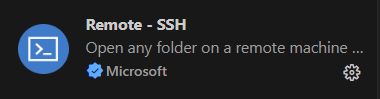
- Install commonly used plug-ins to improve work efficiency.
2. Using the Terminal
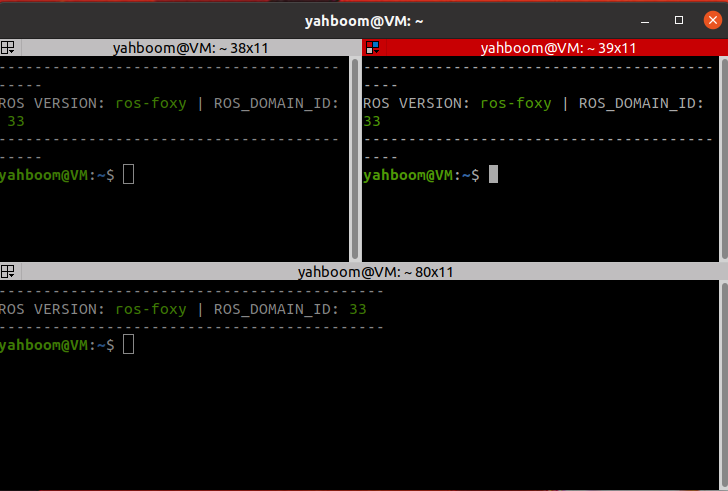
In ROS2, you'll frequently use the terminal. We recommend a relatively easy-to-use terminal: Terminator. The results are as follows:
2.1. Installation
xxxxxxxxxxsudo apt install terminator2.2. Launching
xxxxxxxxxxShortcut `Ctrl+Alt+T` to launch2.3. Common Terminator Shortcuts
About operations within the same tab:
xxxxxxxxxxAlt+Up // Move to the upper terminalAlt+Down // Move to the lower terminalAlt+Left // Move to the left terminalAlt+Right // Move to the right terminalCtrl+Shift+O // Split terminal horizontallyCtrl+Shift+E // Split terminal verticallyCtrl+Shift+Right // Move the splitter bar to the right in a vertically split terminalCtrl+Shift+Left // Move the splitter bar to the left in a vertically split terminalCtrl+Shift+Up // Move the splitter bar up in a horizontally split terminalCtrl+Shift+Down // Move the splitter bar down in a horizontally split terminalCtrl+Shift+S // Hide/Show scroll barsCtrl+Shift+F //SearchCtrl+Shift+C //Copy the selected content to the clipboardCtrl+Shift+V //Paste the clipboard content hereCtrl+Shift+W //Close the current terminalCtrl+Shift+Q //Exit the current window, all terminals in the current window will be closedCtrl+Shift+X //Maximize the current terminalCtrl+Shift+Z //Maximize the current terminal and enlarge the fontCtrl+Shift+N or Ctrl+Tab //Move to the next terminalCtrl+Shift+P or Ctrl+Shift+Tab //Crtl+Shift+Tab moves to the previous terminalAbout operations between tabs:
xxxxxxxxxxF11 //Full screen switchCtrl+Shift+T //Open a new tabCtrl+PageDown //Move to the next tabCtrl+PageUp //Move to the previous tabCtrl+Shift+PageDown //Exchange the current tab with the tab after itCtrl+Shift+PageUp //Exchange the current tab with the tab before itCtrl+Plus (+) //Increase the fontCtrl+Minus (-) //Decrease the fontCtrl+Zero (0) // Restore the font to its original sizeCtrl+Shift+R // Reset the terminal stateCtrl+Shift+G // Reset the terminal state and clear the screenSuper+g // Bind all terminals so that input into one terminal is automatically input into all terminalsSuper+Shift+G // UnbindSuper+t // Bind all terminals in the current tab so that input into one terminal is automatically input into the other terminalsSuper+Shift+T // UnbindCtrl+Shift+I // Open a new window; the new window will use the same process as the original windowSuper+i // Open a new window; the new window will use a different process than the original window3. Using Git
3.1. Installation
Since daily work involves teamwork and version management, Git is an essential skill. Git is a free and open source distributed version control system. To install Git in Ubuntu:
xxxxxxxxxxsudo apt install git3.2. Basic Git Operations
Git's job is to create and save snapshots of your project and compare them with subsequent snapshots.
This chapter introduces commands for creating and committing your project snapshots.
Git uses the following six commands: git clone, git push, git add, git commit, git checkout, and git pull. We'll explain them in detail later.
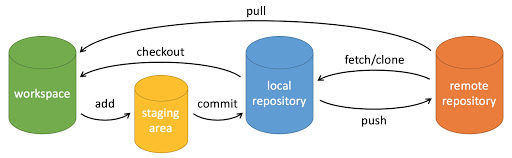
Description:
- workspace: Workspace
- staging area: Staging area
- local repository: Repository or local repository
- remote repository: Remote repository
A simple step-by-step guide:
xxxxxxxxxx$ git init$ git add .$ git commit- git init - Initializes the repository.
- git add . - Adds files to the staging area.
- git commit - Adds the contents of the staging area to the repository.
3.2.1. Repository Creation Commands
The following table lists the Git commands for creating repositories:
| Command | Description |
|---|---|
git init | Initializes a repository |
git clone | Makes a copy of a remote repository, essentially downloading a project. |
3.2.2. Committing and Modifying
Git's job is to create and save snapshots of your project and compare them with subsequent snapshots.
The following table lists the commands for creating and committing snapshots of your project:
| Command | Description |
|---|---|
git add | Adds files to the staging area |
git status | Views the current status of the repository, showing modified files. |
git diff | Compares file differences, that is, the differences between the staging area and the working directory. |
git commit | Commits the staging area to the local repository. |
git reset | Roll back a revision. |
git rm | Remove a file from the staging area and the working directory. |
git mv | Move or rename a file in the working directory. |
git checkout | Switch branches. |
git switch (introduced in Git 2.23) | Switch branches more cleanly. |
git restore (introduced in Git 2.23) | Revert or undo changes to a file. |
3.2.3. Commit Log
| Command | Description |
|---|---|
git log | View historical commits |
git blame <file> | View the modification history of a specified file in list form |
3.2.4. Remote Operations
| Command | Description |
|---|---|
git remote | Remote repository operations |
git fetch | Retrieve code from a remote repository |
git pull | Download and merge remote code |
git push | Upload and merge remote code |
For more information on using the Git tool, enter git --help in the terminal to view the help documentation.