Welcome to ESP32 Core Board repository
2. Environment Setup Introduction
Environment Setup Introduction
Environment Setup Introduction1. Overview of the Three Development Methods2. ESP-IDF + VSCode2.1 Introduction2.2 Toolchain Architecture2.3 Core Features2.4 Environment Setup Essentials3. Arduino + Arduino IDE3.1 Introduction3.2 Toolchain Architecture3.3 Core Features3.4 Environment Setup Essentials4. MicroPython + Thonny4.1 Introduction4.2 Toolchain Architecture4.3 Core Features4.4 Environment Setup Essentials5. How to Choose6. Development Environment Chapters in This Tutorial
1. Overview of the Three Development Methods
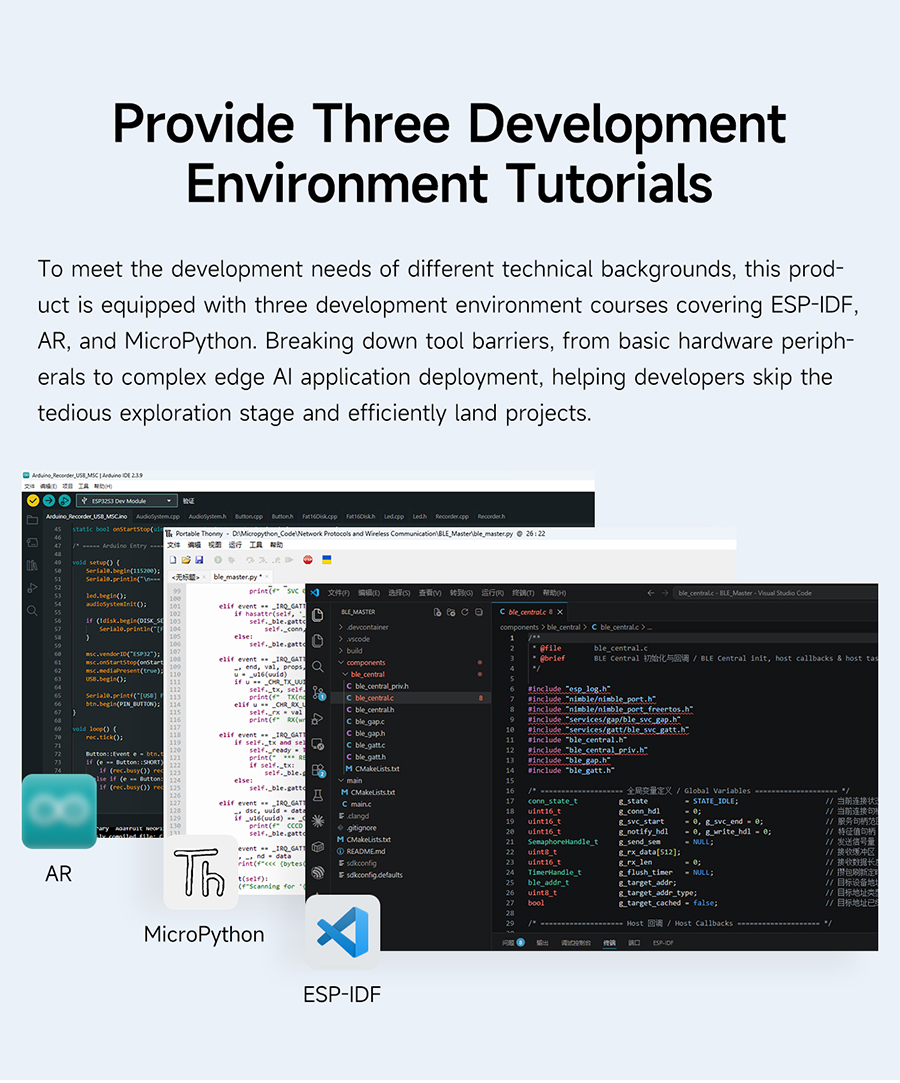
The ESP32-S3 supports multiple development methods. This tutorial covers the following three mainstream approaches:
| ESP-IDF | Arduino | MicroPython | |
|---|---|---|---|
| IDE | VSCode + ESP-IDF extension | Arduino IDE 2.x | Thonny IDE |
| Language | C | C++ | Python 3 |
| Compilation | Compile → flash (requires full toolchain) | Compile → flash (one click) | No compilation, upload .py directly |
| Execution speed | Fastest (native machine code) | Fast (near-native) | Slower (interpreted) |
| Flash footprint | Approx. 200 KB ~ several MB | Approx. 300 KB ~ several MB | Firmware approx. 1.5 MB |
| Debugging | JTAG hardware breakpoints + logs | Serial logs | REPL interaction + serial logs |
| Learning curve | Steep | Gentle | Lowest |
| Suitable for | Commercial products, performance-sensitive | Rapid prototyping, Arduino ecosystem | Teaching, scripting, quick verification |
2. ESP-IDF + VSCode
2.1 Introduction
ESP-IDF (Espressif IoT Development Framework) is Espressif's official C language development framework, providing the most complete hardware abstraction layer (HAL), FreeRTOS kernel integration, peripheral driver libraries, Wi-Fi/BLE protocol stacks, and a rich set of application examples.
ESP-IDF is the first-class citizen development method for Espressif chips — all new features (USB OTG, AI vector instructions, LCD/Camera interfaces) are first supported by ESP-IDF.
2.2 Toolchain Architecture
┌────────────────────────────────────────────────┐│ VSCode + ESP-IDF extension ││ Code editing, compilation, flashing, ││ monitoring, and debugging in one place │├────────────────────────────────────────────────┤│ ESP-IDF framework ││ ┌──────────┐ ┌──────────┐ ┌──────────────┐ ││ │Driver │ │Network │ │FreeRTOS │ ││ │layer │ │stack │ │kernel │ ││ │gpio │ │TCP/UDP │ │tasks/queues/ │ ││ │spi/i2c │ │HTTP/MQTT │ │semaphores │ ││ │uart │ │Wi-Fi/BLE │ │dual-core │ ││ │ │ │ │ │scheduling/ │ ││ │ │ │ │ │interrupts │ ││ └──────────┘ └──────────┘ └──────────────┘ │├────────────────────────────────────────────────┤│ Xtensa GCC toolchain + OpenOCD + esptool ││ Compile Debug Flash │├────────────────────────────────────────────────┤│ ESP32-S3 hardware │└────────────────────────────────────────────────┘
2.3 Core Features
| Feature | Description |
|---|---|
| Officially maintained | Developed by Espressif's full-time team, complete API documentation, hundreds of examples |
| Most complete hardware support | All peripherals, all sleep modes, and all security features are first supported by ESP-IDF |
| Component manager | Declare dependencies in idf_component.yml; third-party libraries are downloaded automatically |
| menuconfig | Graphical kernel configuration (task stack size, Wi-Fi parameters, Flash partitions, etc.) |
| Dual-core FreeRTOS | Makes full use of the dual cores + low-power coprocessor |
| OTA upgrade | Built-in OTA framework, supports HTTP / HTTPS remote upgrade |
2.4 Environment Setup Essentials
Windows: Requires installing the ESP-IDF offline installer (approx. 2 GB), which includes Python / Git / GCC toolchain / VSCode extension
Linux: Can be installed manually or use a pre-configured VMware virtual machine image (Ubuntu 24.04 + ESP-IDF 6.0.2 / 5.5.5)
VSCode extension: Provides GUI entries for project templates, compilation, flashing, monitoring, and menuconfig
For detailed setup steps, see
ESP-IDF → 1. Environment Setup.
3. Arduino + Arduino IDE
3.1 Introduction
Arduino Core for ESP32 wraps the ESP-IDF underlying layer into APIs consistent with classic Arduino (digitalWrite, analogRead, Serial.print, etc.), letting Arduino developers migrate to the ESP32-S3 with zero learning cost.
The underlying layer is still ESP-IDF; Arduino is a compatibility layer on top of it. Therefore the performance penalty is small, but the API coverage is not as comprehensive as ESP-IDF.
3.2 Toolchain Architecture
xxxxxxxxxx┌────────────────────────────────────────────────┐│ Arduino IDE 2.x ││ Code editing, one-click compile & flash, ││ serial monitor, library manager │├────────────────────────────────────────────────┤│ Arduino Core for ESP32 (BSP) ││ digitalWrite() analogRead() Serial.print() ││ WiFi.begin() MQTT client Wire.begin() │├────────────────────────────────────────────────┤│ ESP-IDF underlying ││ (auto-linked at compile time, invisible) │├────────────────────────────────────────────────┤│ ESP32-S3 hardware │└────────────────────────────────────────────────┘
3.3 Core Features
| Feature | Description |
|---|---|
| Extremely fast to get started | setup() + loop() model, zero learning cost for experienced Arduino users |
| Rich library ecosystem | Thousands of Arduino libraries can be used directly (sensor drivers, displays, motor control, etc.) |
| One-click compile and flash | No manual toolchain configuration; click → in the IDE to finish |
| Serial monitor | Built-in Serial Plotter for plotting sensor curves in real time |
| ESP32-specific APIs | Additional ESP32-specific functions such as ledcWrite(), touchRead() |
3.4 Environment Setup Essentials
Add the ESP32 board manager URL in the Arduino IDE:
https://espressif.github.io/arduino-esp32/package_esp32_index.jsonIn Board Manager, search for
esp32and install esp32 by Espressif SystemsSelect the board:
ESP32S3 Dev Module
For detailed setup steps, see
Arduino → 1. Before Development → 1. Environment Setup.
4. MicroPython + Thonny
4.1 Introduction
MicroPython is a lean implementation of Python 3 designed for microcontrollers. It wraps the ESP32-S3 hardware peripherals into the machine module (machine.Pin, machine.I2C, machine.PWM, etc.), executing Python code in real time through the REPL interactive console.
The MicroPython firmware itself is a complete Python interpreter, flashed to Flash in
.binform. After flashing, no compilation is needed; just send.pyscripts over the serial port to run them.
4.2 Toolchain Architecture
xxxxxxxxxx┌────────────────────────────────────────────────┐│ Thonny IDE ││ Editor + REPL Shell + file manager │├────────────────────────────────────────────────┤│ MicroPython firmware (in Flash) ││ ┌──────────┐ ┌──────────┐ ┌──────────────┐ ││ │ machine │ │ network │ │ socket │ ││ │ Pin/I2C │ │ WiFi STA │ │ TCP/UDP │ ││ │ PWM/ADC │ │ BLE │ │ HTTP/MQTT │ ││ └──────────┘ └──────────┘ └──────────────┘ ││ Python 3 interpreter (compiled C firmware) │├────────────────────────────────────────────────┤│ ESP32-S3 hardware │└────────────────────────────────────────────────┘
4.3 Core Features
| Feature | Description |
|---|---|
| No compilation | Write a .py file and upload it directly; code changes take effect immediately |
| REPL interaction | Enter Python statements directly at the >>> prompt and execute immediately, ideal for exploratory debugging |
| Concise syntax | Python 3 subset, no pointers / memory management / type declarations |
| Built-in file system | The device has a /flash file system supporting directory and file operations |
| mip package manager | import mip; mip.install("umqtt.simple") installs third-party libraries online |
| Auto-start on power-up | Automatically executes boot.py → main.py; can run standalone without the IDE |
4.4 Environment Setup Essentials
Flash the MicroPython firmware (
.bin) to the ESP32-S3 (using esptool or Flash Download Tool)Install Thonny IDE, select the interpreter as MicroPython (ESP32), and choose the correct COM port
Verify the connection through the REPL Shell and upload
.pyscripts via the file manager
For detailed setup steps, see
MicroPython → 1. Before Development → 1. Environment Setup.
5. How to Choose
xxxxxxxxxxWhat’s your requirement?╱ │ ╲Commercial Mass Rapid Teaching/Script DevelopmentProduction/High PrototypingPerformance╱ │ ╲ESP-IDF + VSCode Arduino + IDE MicroPython + Thonny
| Your situation | Recommendation |
|---|---|
| Beginner, never touched embedded development | MicroPython → first build hardware programming intuition |
| Have Arduino experience, want to migrate to ESP32 | Arduino → familiar APIs, get started directly |
| Pursuing ultimate performance or commercial products | ESP-IDF → complete hardware control, no shortcomings in OTA / security / low power |
| Want to learn all three | This tutorial covers all three routes, progressing chapter by chapter |
6. Development Environment Chapters in This Tutorial
| Development method | Environment setup chapter |
|---|---|
| ESP-IDF (Windows) | ESP-IDF → 1. Before Development → 1. Environment Setup (Windows) |
| ESP-IDF (Linux) | ESP-IDF → 1. Before Development → 2. Environment Setup (Linux) |
| Arduino | Arduino → 1. Before Development → 1. Environment Setup |
| MicroPython | MicroPython → 1. Before Development → 1. Environment Setup |