Welcome to ROSMASTER M1 repository
13.APP mapping navigation
APP mapping navigation
1. Content Description
This course explains how to use the ROS Robot app to control a robot for mapping and navigation.
This section requires entering commands in the terminal. The terminal you open depends on your board type. This lesson uses the Raspberry Pi as an example. For Raspberry Pi and Jetson-Nano boards, you need to open a terminal on the host computer and enter the command to enter the Docker container. Once inside the Docker container, enter the commands mentioned in this lesson in the terminal. For instructions on entering the Docker container from the host computer, refer to [01. Robot Configuration and Operation Guide] -- [4.Enter Docker (For JETSON Nano and RPi 5)].
For RDKX5 and Orin boards, simply open a terminal and enter the commands mentioned in this lesson.
1.1. Preparation
You must first download the ROS Rotbot app on your phone. Android/iOS phone users, please scan the QR code to download the remote control software. iOS users can also search and download the ROSRobot map navigation app from the App Store.

The robot and phone must be on the same local area network, which can be achieved by connecting to the same Wi-Fi network.
2. App Map Creation
2.1. Program Startup
For Raspberry Pi and Jetson-Nano boards, you need to enter the Docker container first. For RDKX5 and Orin controllers, this is not necessary.
Enter the Docker container (see [Docker course] --- [4. Docker Startup Script] for steps).
All the following commands must be executed within the same Docker container (see [Docker course] --- [3. Docker Submission and Multi-Terminal Access] for steps).
Enter the following command on the Car terminal to start the Car app map creation.
xxxxxxxxxx#Start the camera#nuwaros2 launch yahboomcar_depth camera_app.launch.py#usbros2 launch usb_cam camera.launch.py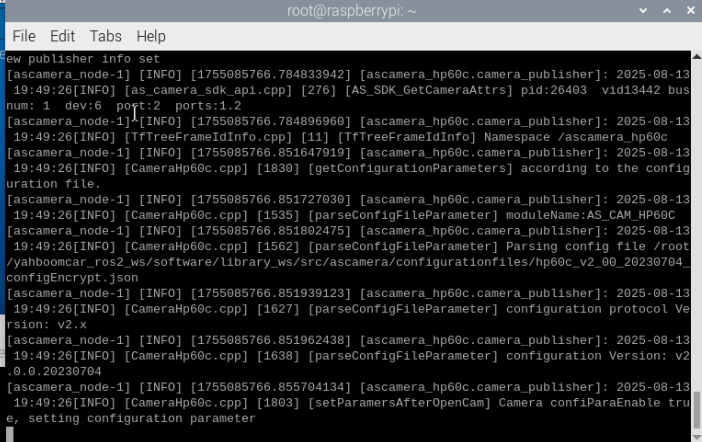
xxxxxxxxxx#Choose one of the two mapping algorithmsros2 launch yahboomcar_nav map_gmapping_app_launch.xmlros2 launch yahboomcar_nav map_cartographer_app_launch.xml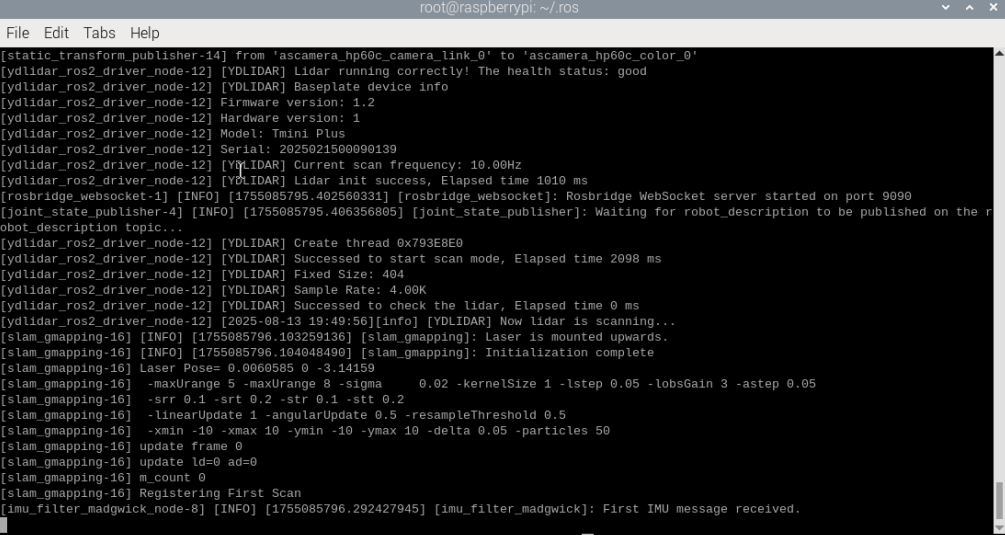
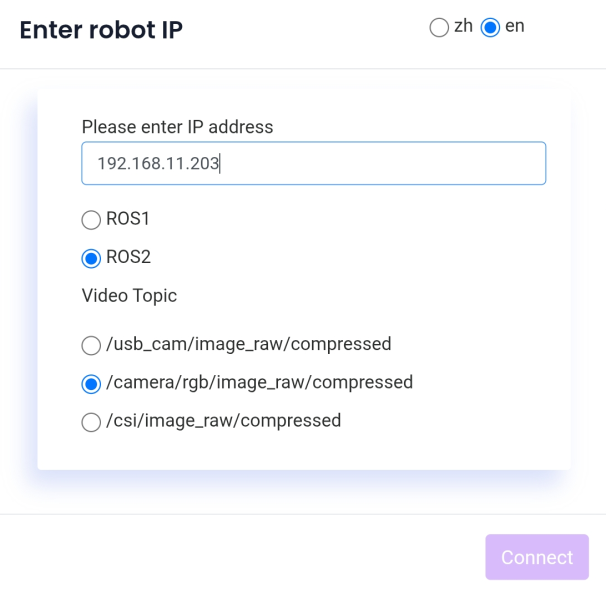
The mobile app displays the following image. Enter the car's IP address, using [zh] for Chinese and [en] for English. Select ROS2. In the Video Target area below, select /camera/rgb/image_raw/compressed. Finally, click [Connect].
After successfully connecting, the following display appears:
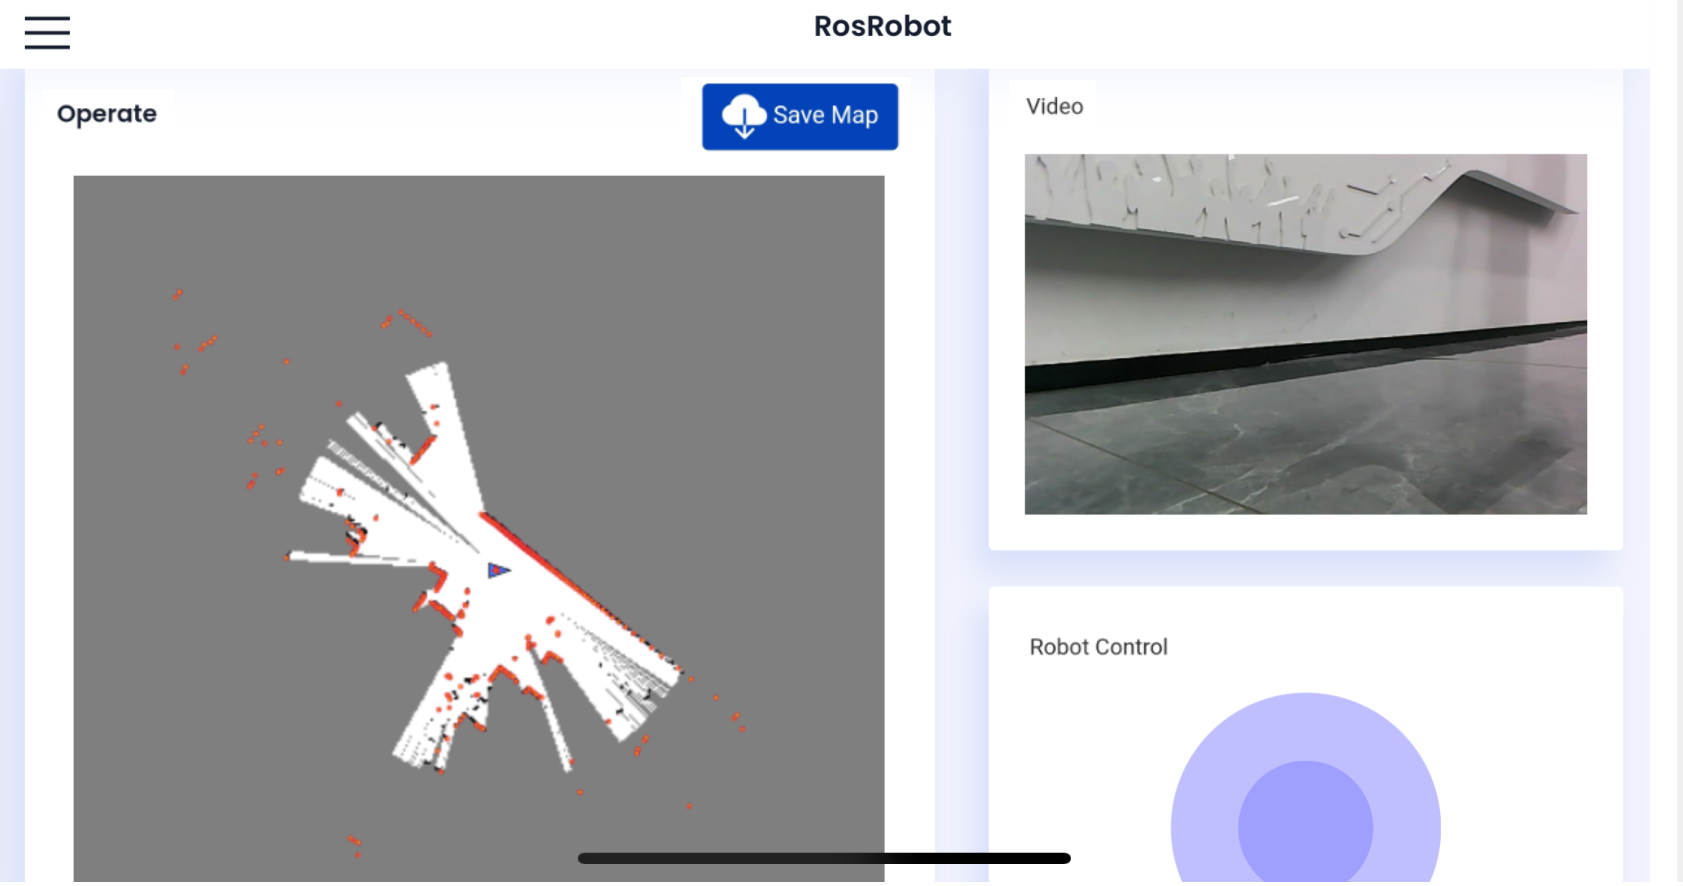
Use the wheel to slowly move the car around the area you want to map. Then click Save Map, enter a map name, and click Submit to save the map.
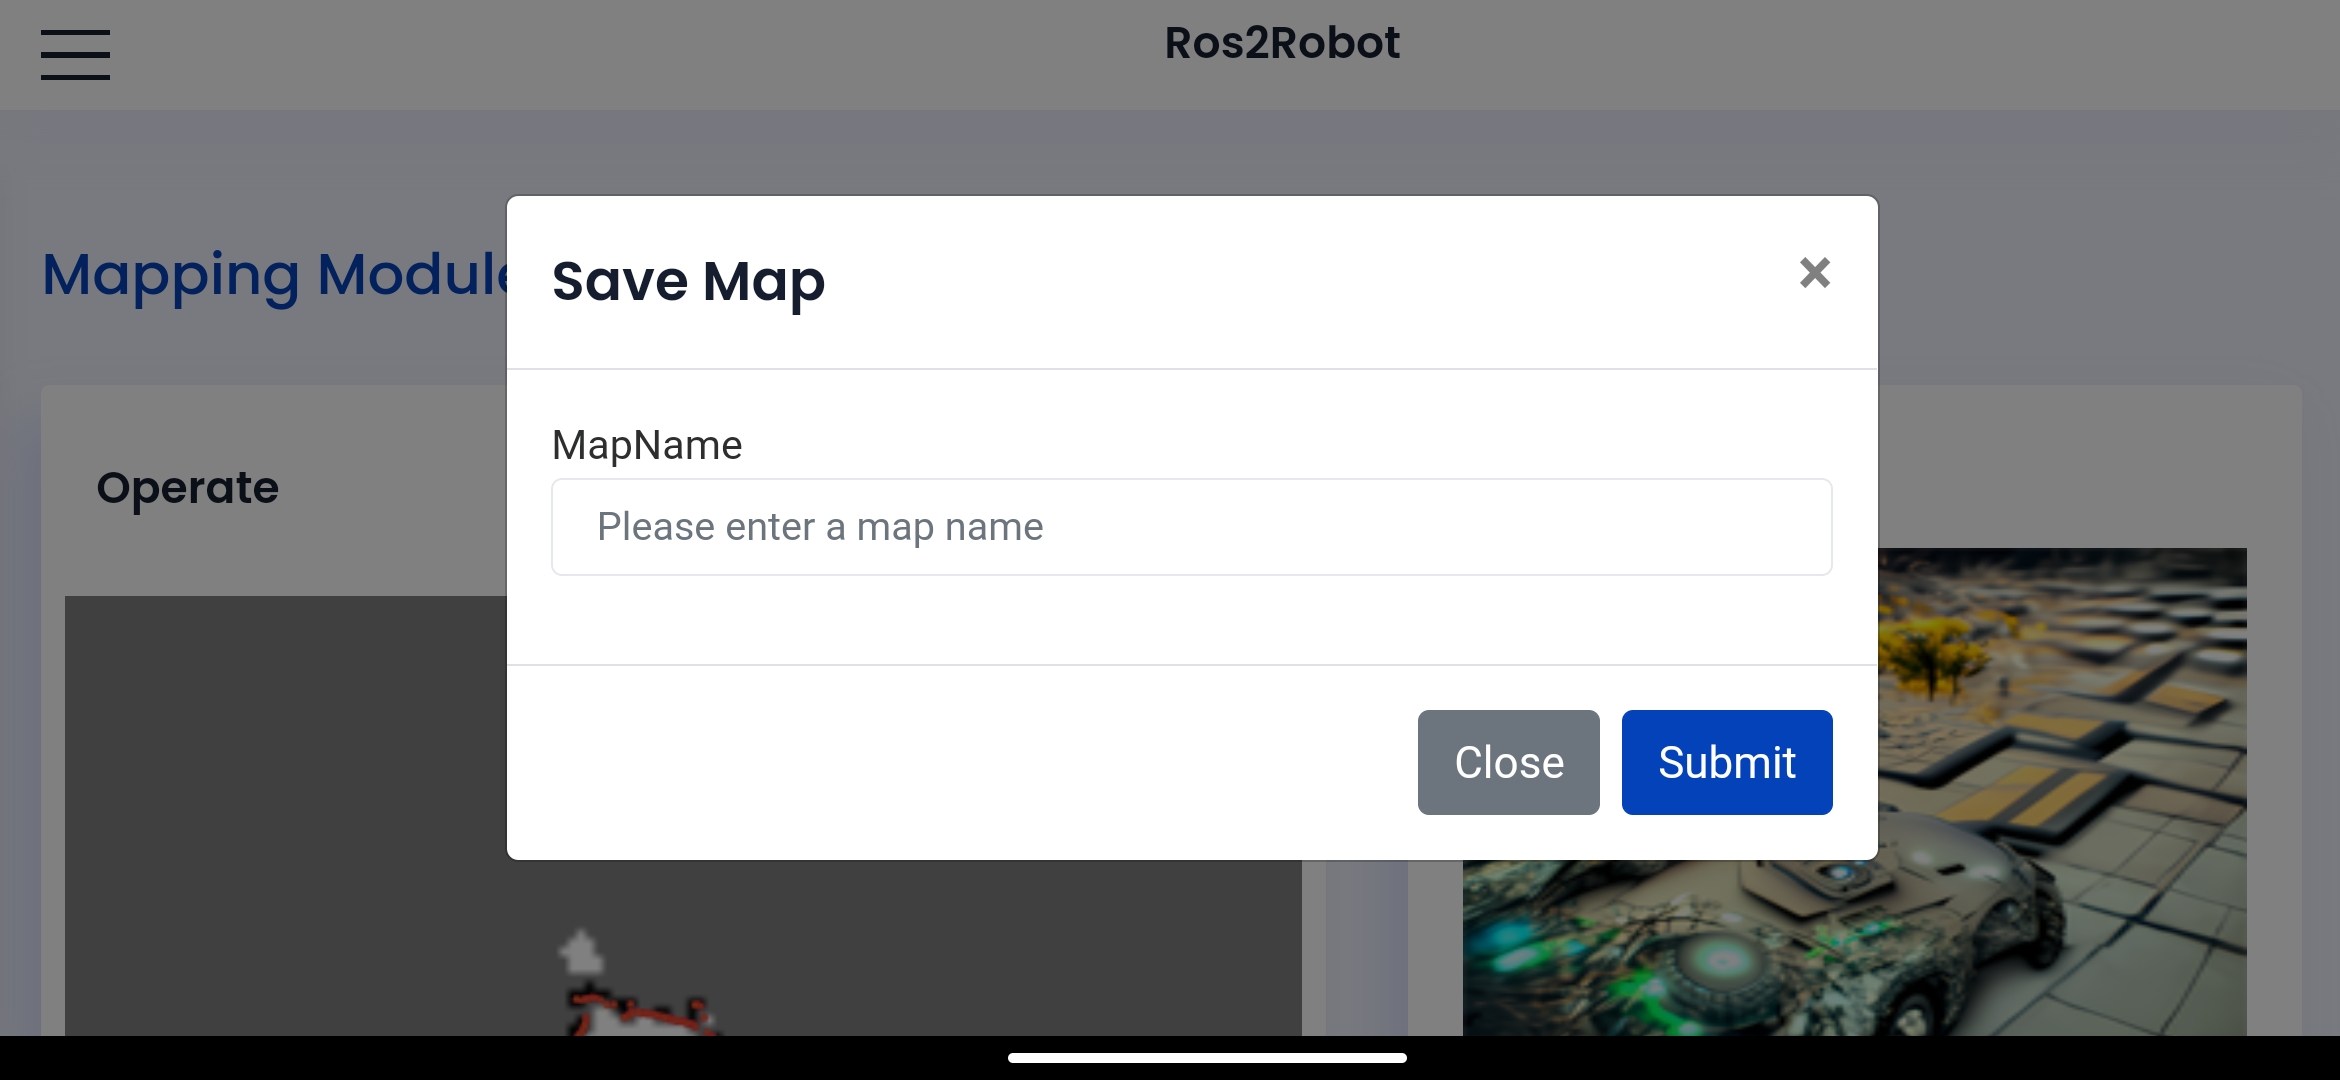
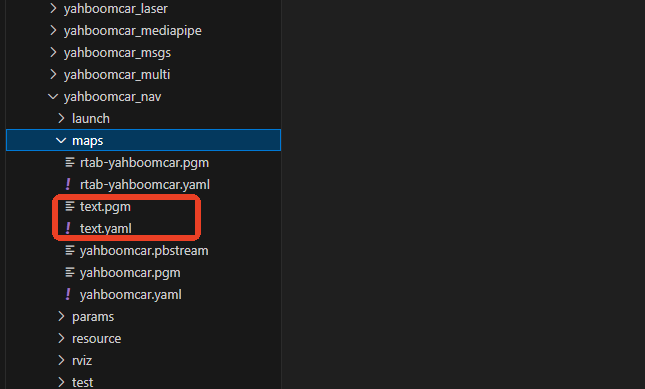
The map is saved in:
xxxxxxxxxx~/yahboomcar_ros2_ws/yahboomcar_ws/src/yahboomcar_nav/maps
2.2. Launch Command Analysis
Code Path:
xxxxxxxxxx~/yahboomcar_ros2_ws/yahboomcar_ws/src/yahboomcar_nav/launch/map_gmapping_app_launch.xml
Using the map_gmapping_app_launch.xml file as an example, we will explain which launch files are launched. The map_gmapping_app_launch.xml file is as follows:
xxxxxxxxxx<launch> <arg name="use_rviz" default="false" /> <include file="$(find-pkg-share rosbridge_server)/launch/rosbridge_websocket_launch.xml"/> <node name="laserscan_to_point_publisher" pkg="laserscan_to_point_publisher" exec="laserscan_to_point_publish"/> <include file="$(find-pkg-share yahboomcar_nav)/launch/map_gmapping_launch.py"> <arg name="use_rviz" value="$(var use_rviz)"/> </include> <include file="$(find-pkg-share robot_pose_publisher_ros2)/launch/robot_pose_publisher_launch.py"/> <include file="$(find-pkg-share yahboomcar_app_save_map)/yahboom_app_save_map.launch.py"/></launch>rosbridge_websocket_launch.xml: Launches the rosbridge WebSocket server for ROS (Robot Operating System)
laserscan_to_point_publisher: Publishes radar point cloud data to the app
map_gmapping_launch: Gmapping mapping-related nodes
robot_pose_publisher_launch.py: Publishes vehicle position information
yahboom_app_save_map.launch.py: Saves the map node
3. App Navigation
3.1. Program Startup
Enter the following command on the car terminal to start the car chassis and radar.
xxxxxxxxxxros2 launch yahboomcar_nav laser_bringup_launch.py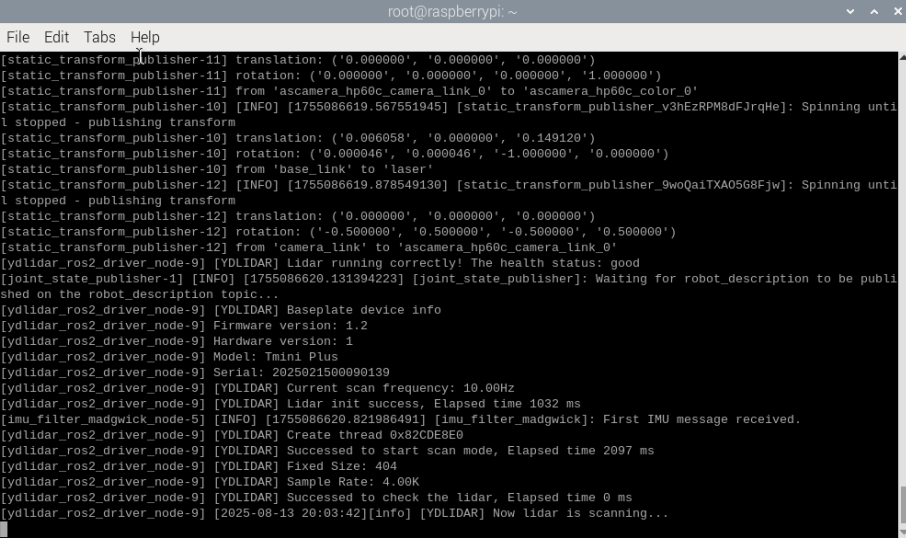
Enter the following command on the car terminal to start the camera.
xxxxxxxxxx#Start the camera#nuwaros2 launch yahboomcar_depth camera_app.launch.py#usbros2 launch usb_cam camera.launch.py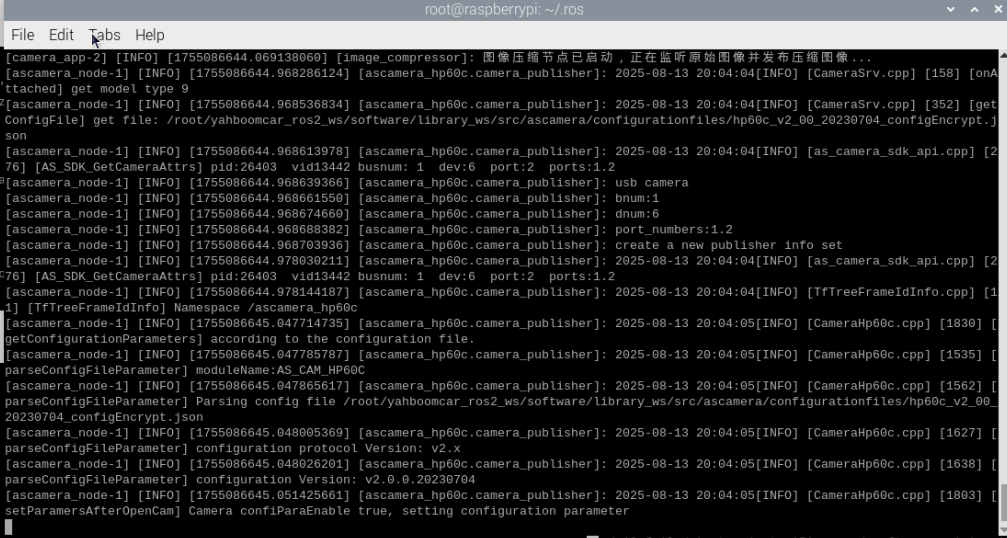
Enter the following command on the car terminal to launch the app navigation.
If you want to use fast relocalization navigation, you must first follow the tutorials [6. LiDAR - 7. Cartographer Mapping] to save a map in pbstream format and a map in yaml format.
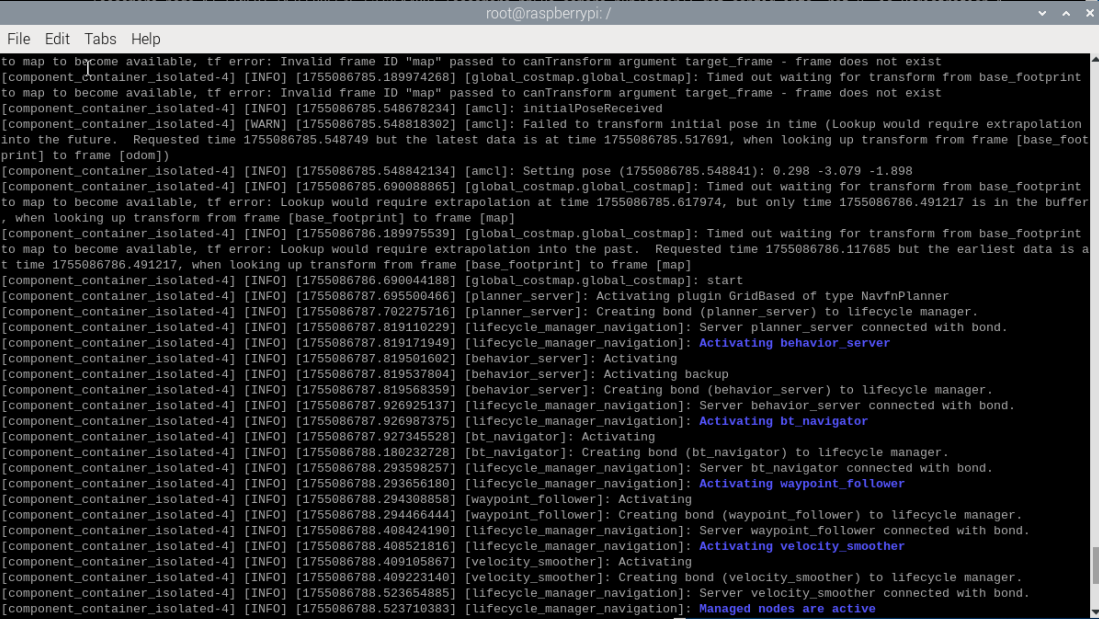
xxxxxxxxxx# Navigation: Choose one of the two options#1. Normal positioning and navigation#dwaros2 launch yahboomcar_nav navigation_dwa_app_launch.xml#tebros2 launch yahboomcar_nav navigation_teb_app_launch.xml#2. Fast relocalization and navigation#2.1 Positioning#jetson nano、raspberry Pi5ros2 launch yahboomcar_nav localization_imu_odom.launch.py use_rviz:=false load_state_filename:=/root/yahboomcar_ros2_ws/yahboomcar_ws/src/yahboomcar_nav/maps/yahboomcar.pbstream #ORINros2 launch yahboomcar_nav localization_imu_odom.launch.py use_rviz:=false load_state_filename:=/home/jetson/yahboomcar_ros2_ws/yahboomcar_ws/src/yahboomcar_nav/maps/yahboomcar.pbstream #RDK X5ros2 launch yahboomcar_nav localization_imu_odom.launch.py use_rviz:=false load_state_filename:=/home/sunrise/yahboomcar_ros2_ws/yahboomcar_ws/src/yahboomcar_nav/maps/yahboomcar.pbstream #2.2Navigation#jetson nano、raspberry Pi5ros2 launch yahboomcar_nav navigation_cartodwb_app_launch.xml maps:=/root/yahboomcar_ros2_ws/yahboomcar_ws/src/yahboomcar_nav/maps/yahboomcar.yaml#ORINros2 launch yahboomcar_nav navigation_cartodwb_app_launch.xml maps:=/home/jetson/yahboomcar_ros2_ws/yahboomcar_ws/src/yahboomcar_nav/maps/yahboomcar.yaml#RDK X5ros2 launch yahboomcar_nav navigation_cartodwb_app_launch.xml maps:=/home/sunrise/yahboomcar_ros2_ws/yahboomcar_ws/src/yahboomcar_nav/maps/yahboomcar.yamlTake Normal positioning navigation as an example.
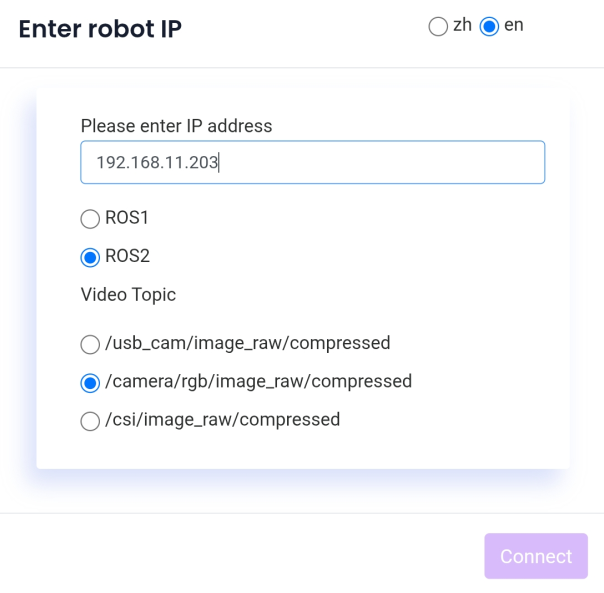
The mobile app will display the following image. Enter the car's IP address, using [zh] for Chinese and [en] for English. Select ROS2 and select /camera/rgb in the VideoTpoic field at the bottom. Finally, click [Connect].
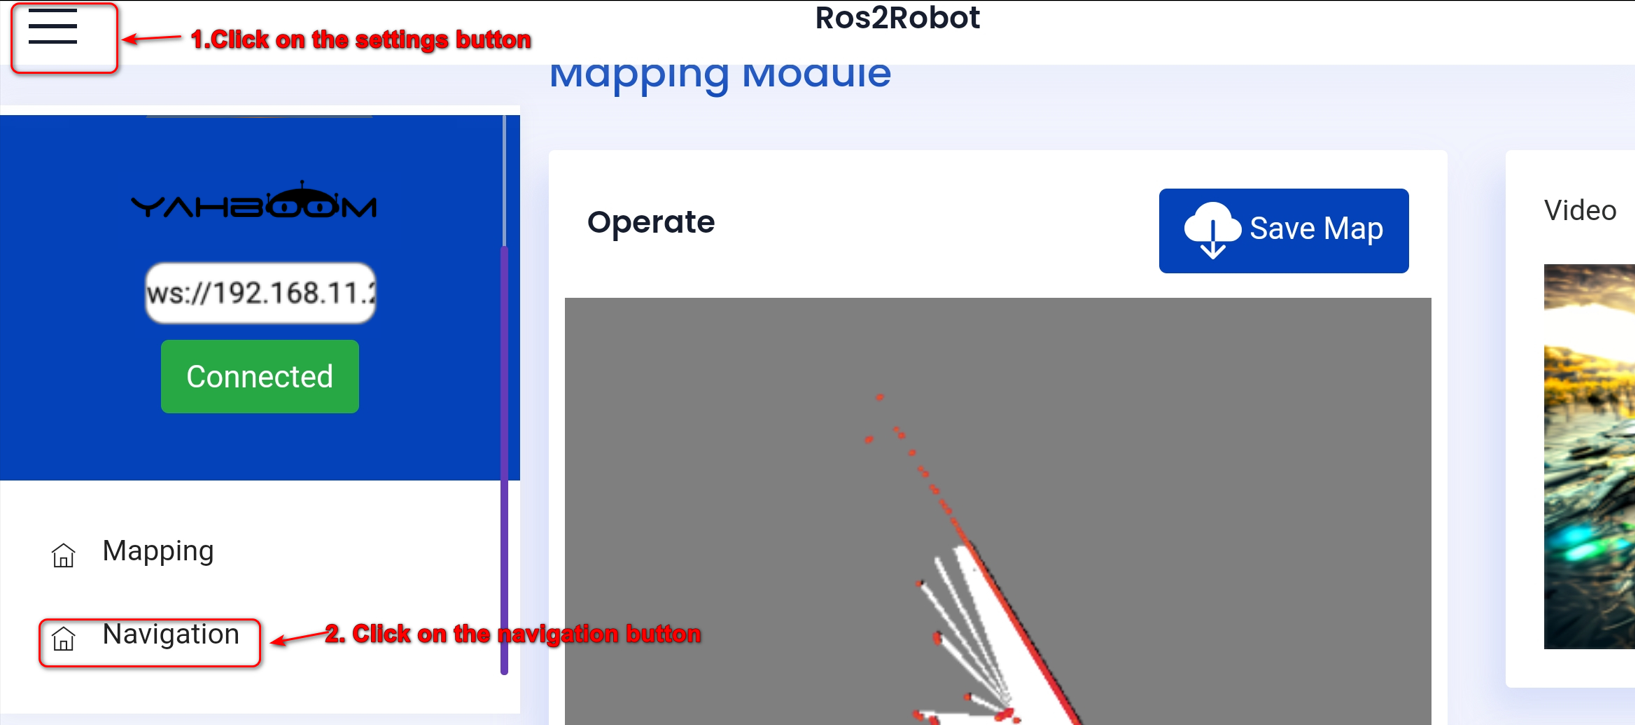
After successfully connecting, select the navigation interface, as shown below.
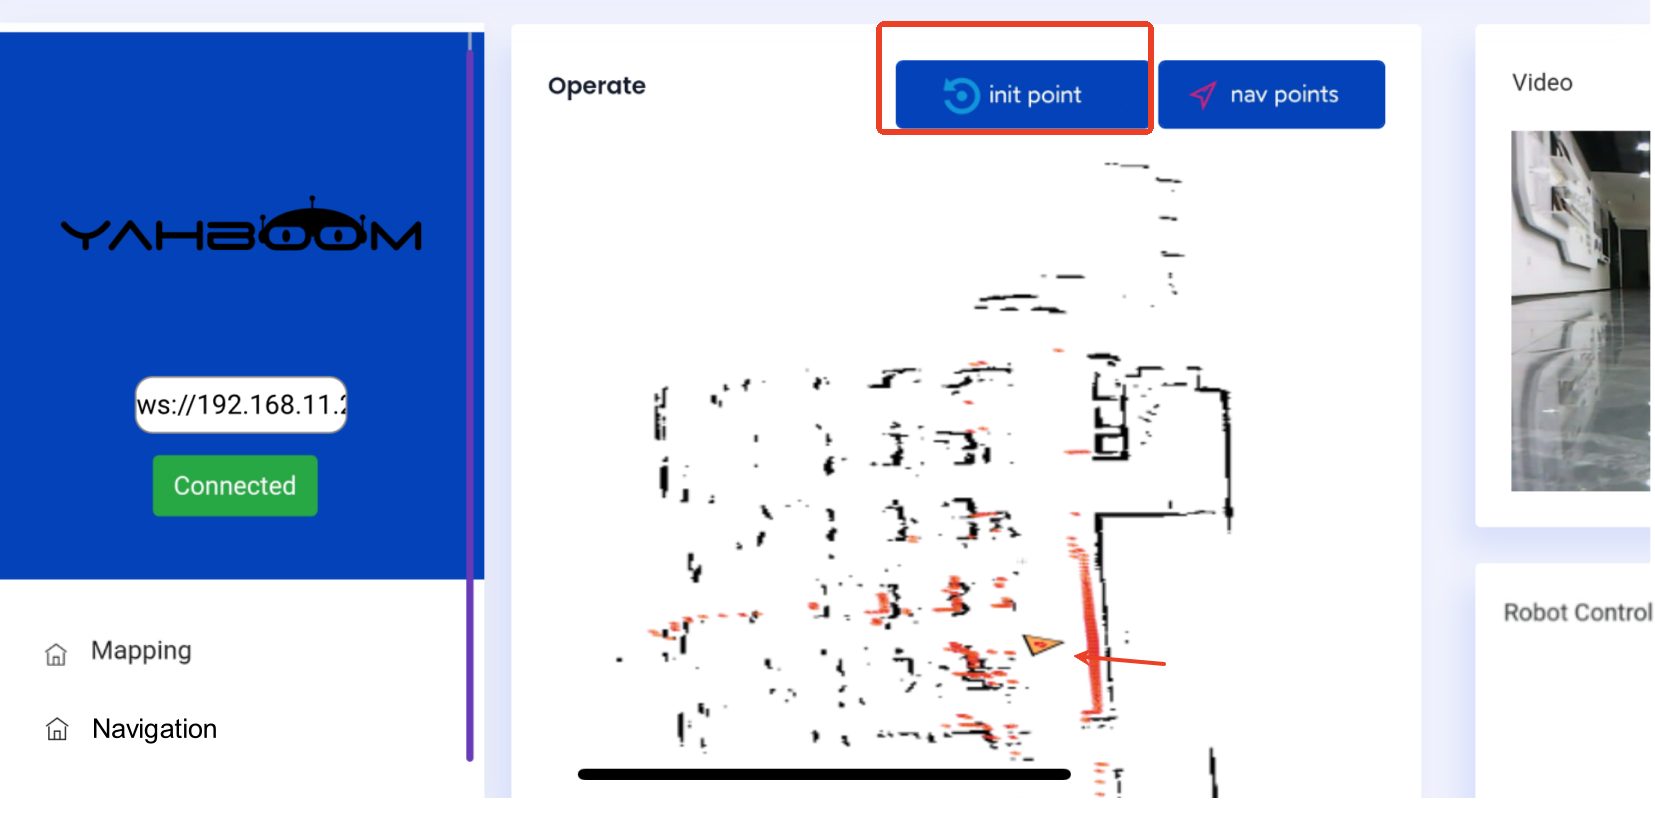
Then, based on the actual position of the robot, click [Set Initialization Point] to set an initial target point for the robot. If the radar scan area roughly overlaps with the actual obstacle, the position is accurate. As shown in the image below,
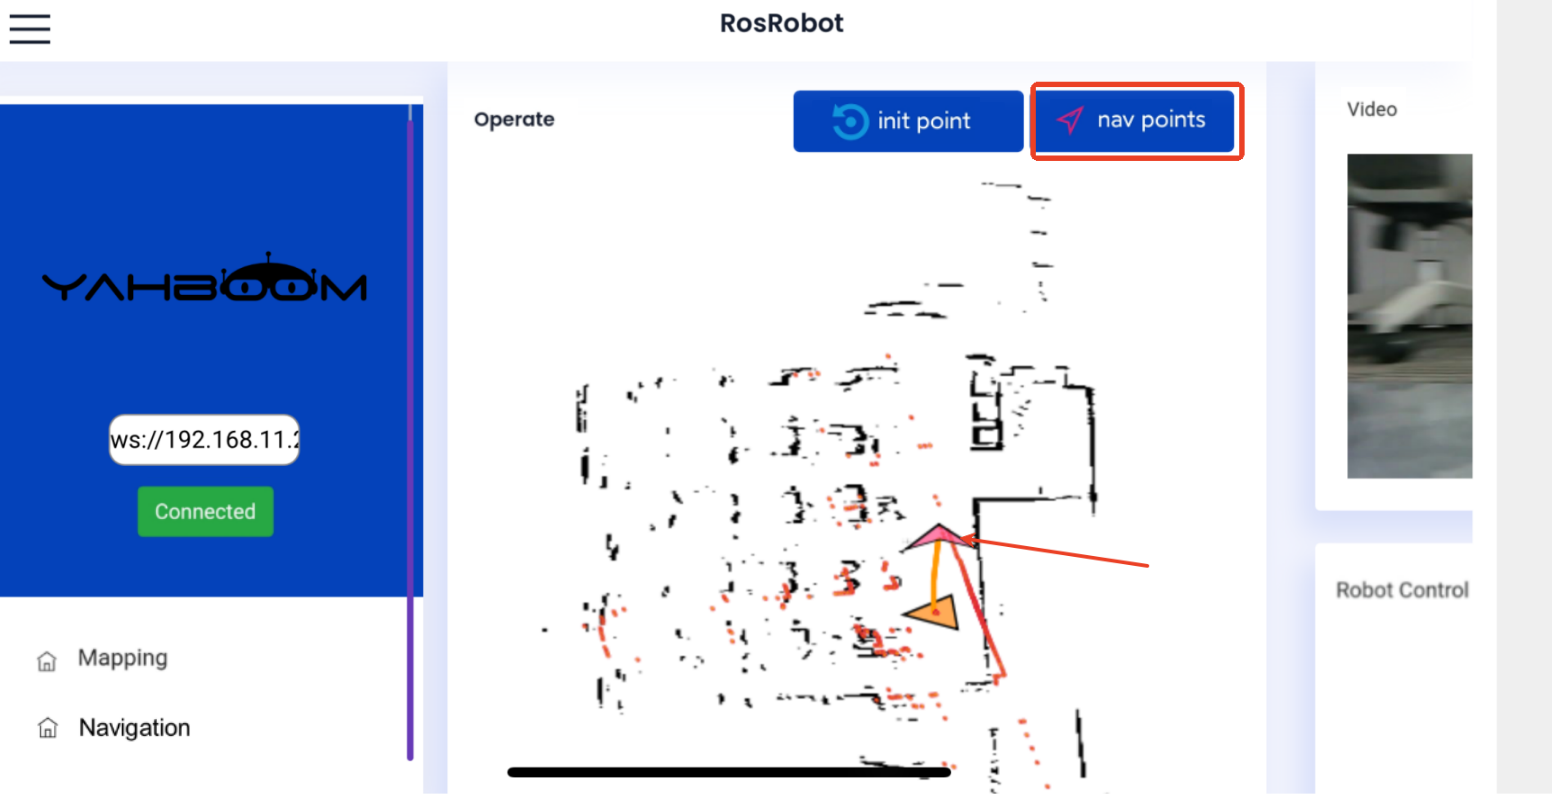
Then, click [Set Navigation Point] and give the car a destination. The car will then map a route and follow it to the destination. As shown in the image below,
3.2. Instruction Analysis
Code Path:
xxxxxxxxxx~/yahboomcar_ros2_ws/yahboomcar_ws/src/yahboomcar_nav/launch/navigation_teb_app_launch.xml
Using the navigation_teb_app_launch.xml file as an example, we will explain which launch files are launched. The navigation_teb_app_launch.xml file is as follows:
xxxxxxxxxx<launch> <include file="$(find-pkg-share rosbridge_server)/launch/rosbridge_websocket_launch.xml"/> <node name="laserscan_to_point_publisher" pkg="laserscan_to_point_publisher" exec="laserscan_to_point_publish"/> <include file="$(find-pkg-share yahboomcar_nav)/launch/navigation_teb_launch.py"/> <include file="$(find-pkg-share robot_pose_publisher_ros2)/launch/robot_pose_publisher_launch.py"/></launch>rosbridge_websocket_launch.xml: Launches the rosbridge WebSocket server for ROS (Robot Operating System)
laserscan_to_point_publisher: Publishes radar point cloud data to the app
robot_pose_publisher_launch.py: Publishes vehicle position information
app_send_goal: Publishes navigation target topic to the app
navigation_teb_launch.py: Navigation-related programs for Navi2