Welcome to ROSMASTER M1 repository
1. Multimodal visual understand+SLAM navigation
【Track Map】Multimodal visual understand+SLAM navigation
【Track Map】Multimodal visual understand+SLAM navigation1. Course Content2. Preparation2.1 Content Description2.2 Configuring the Mapping File3. Run the Example3.1 Starting the Program3.2 Test Cases3.2.1 Case 1
1. Course Content
- Learn to use the robot's visual understanding combined with SLAM navigation on a Track map.
2. Preparation
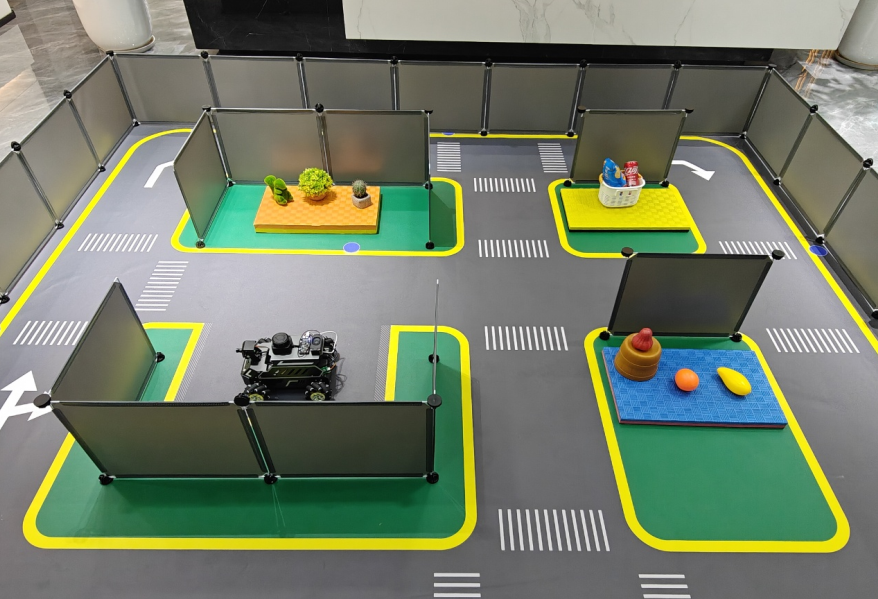
2.1 Content Description
This lesson uses the rdkx5, USB camera PTZ version user as an example. For Raspberry Pi and Jetson-Nano boards, you need to open a terminal on the host computer and enter the command to enter the Docker container. Once inside the Docker container, enter the commands mentioned in this lesson in the terminal. For instructions on entering the Docker container from the host computer, refer to [01. Robot Configuration and Operation Guide] -- [4.Enter Docker (For JETSON Nano and RPi 5)]. For RDKX5 and Orin boards, simply open a terminal and enter the commands mentioned in this lesson.
📝 This example uses model:"qwen/qwen2.5-vl-72b-instruct:free","qwen-vl-latest"
⚠️ The responses from the big model for the same test command may not be exactly the same and may differ slightly from the screenshots in the tutorial. To increase or decrease the diversity of the big model's responses, refer to the section on configuring the decision-making big model parameters in [04.AI Large Model Development] -- [5.Deploy the RAG knowledge base] .
2.2 Configuring the Mapping File
For detailed information on the principles and concepts of map mapping, please refer to the course content in [2. AI Large Model Basics - 3. Embodied Intelligent Robot System Architecture].
Before running this example, you need to construct and save a map using one of the following algorithms from the [LiDAR Course ]-[5.Gmapping-SLAM mapping], [6.Cartographer-SLAM mapping], [7.slam_toolbox mapping] , resulting in a .yaml map file.
For Raspberry Pi and Jetson-Nano boards, you need to enter the Docker container first. For RDKX5 and Orin controllers, this is not necessary.
Enter the Docker container (see [Docker course] --- [4. Docker Startup Script] for steps).
All the following commands must be executed within the same Docker container (see [Docker course] --- [3. Docker Submission and Multi-Terminal Access] for steps).
Connect to the robot's desktop via VNC, open the terminal, and enter the command.
ros2 launch yahboomcar_nav laser_bringup_launch.py
Start the virtual machine by creating a new terminal. (For RDKX5, Raspberry Pi, and Jetson Nano, it is recommended to run the visualization on the virtual machine.)
xxxxxxxxxxros2 launch yahboomcar_nav display_nav_launch.py
Wait for the navigation algorithm to activate and the map to appear, then open the terminal and enter.
x# Choose one of the two navigation algorithms # Standard navigationros2 launch yahboomcar_nav navigation_teb_launch.py #Fast relocalization navigation (RDKX5 , jetson nano and Raspberry Pi 5 are not supported)ros2 launch yahboomcar_nav localization_imu_odom.launch.py use_rviz:=false load_state_filename:=/home/jetson/yahboomcar_ros2_ws/yahboomcar_ws/src/yahboomcar_nav/maps/yahboomcar.pbstream ros2 launch yahboomcar_nav navigation_cartodwb_launch.py maps:=/home/jetson/yahboomcar_ros2_ws/yahboomcar_ws/src/yahboomcar_nav/maps/yahboomcar.yaml params_file:=/home/jetson/yahboomcar_ros2_ws/yahboomcar_ws/src/yahboomcar_nav/params/cartoteb_nav_params.yamlNote: yahboomcar.yaml and yahboomcar.pbstream must be mapped simultaneously, meaning they are the same map. Refer to the cartograph mapping algorithm for saving maps.
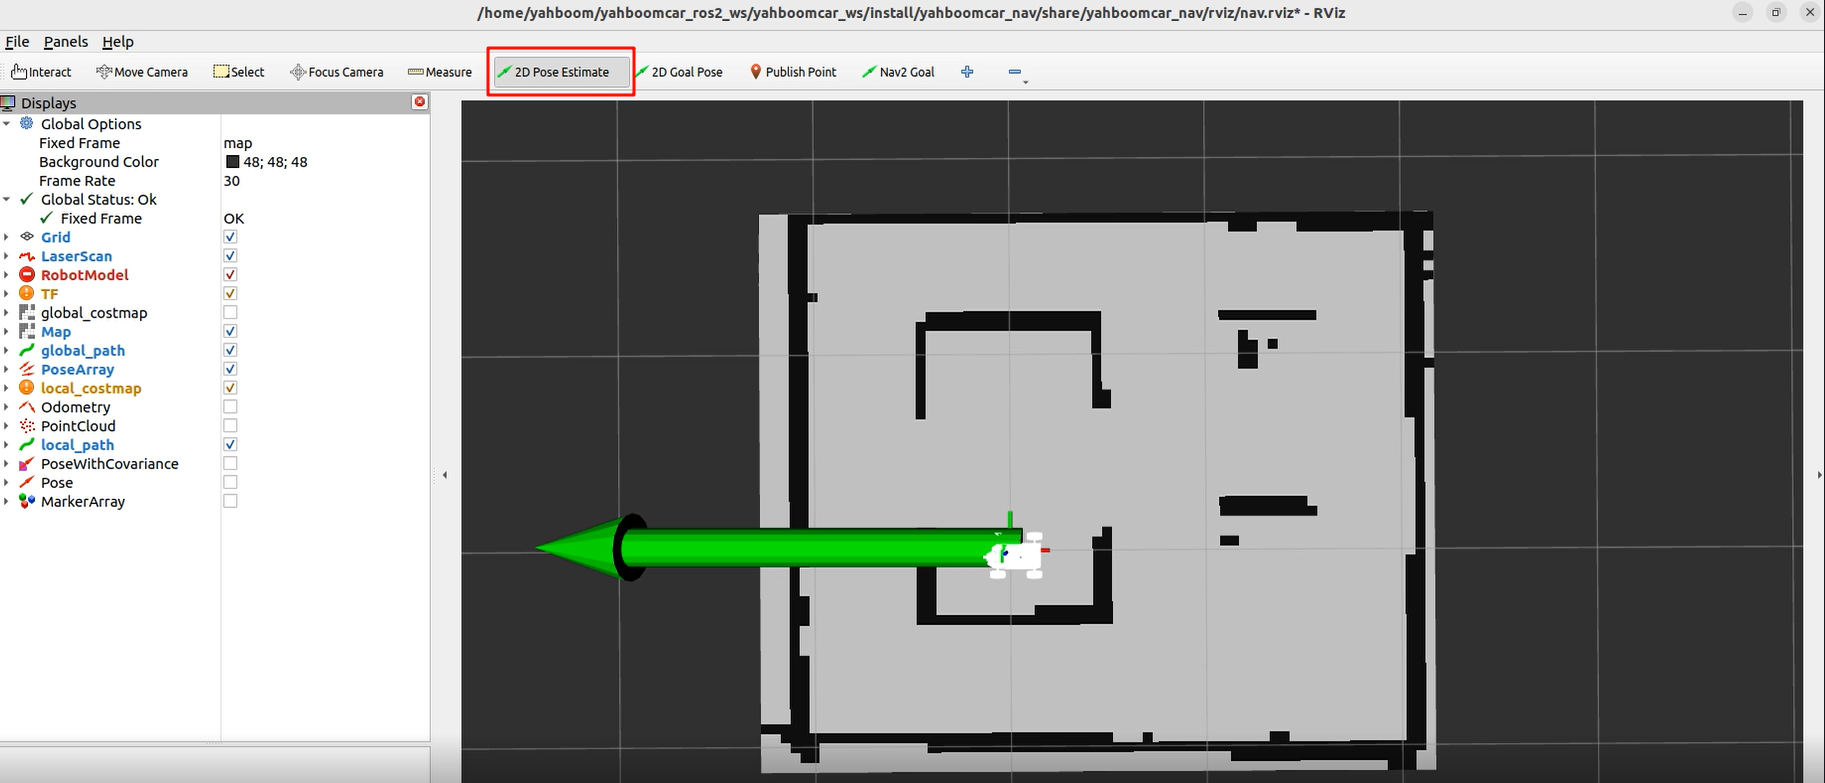
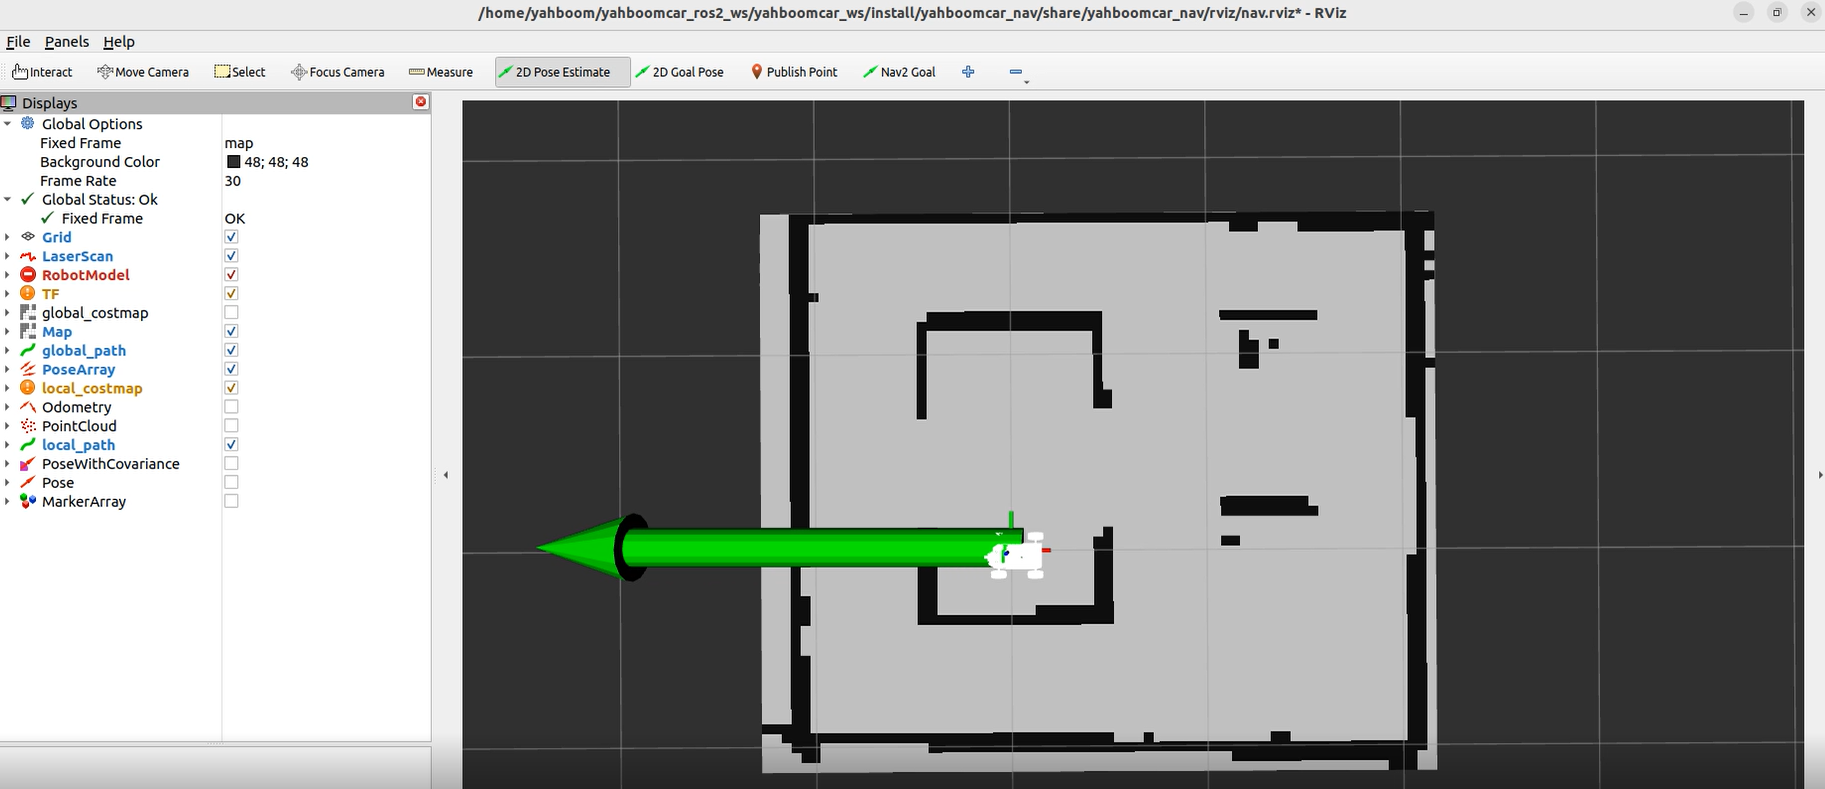
After that, follow the navigation function startup process to initialize positioning. The rviz2 visualization interface will open. Click 2D Pose Estimate in the upper toolbar to enter the selection state. Roughly mark the robot's position and orientation on the map. After initializing positioning, preparations are complete.
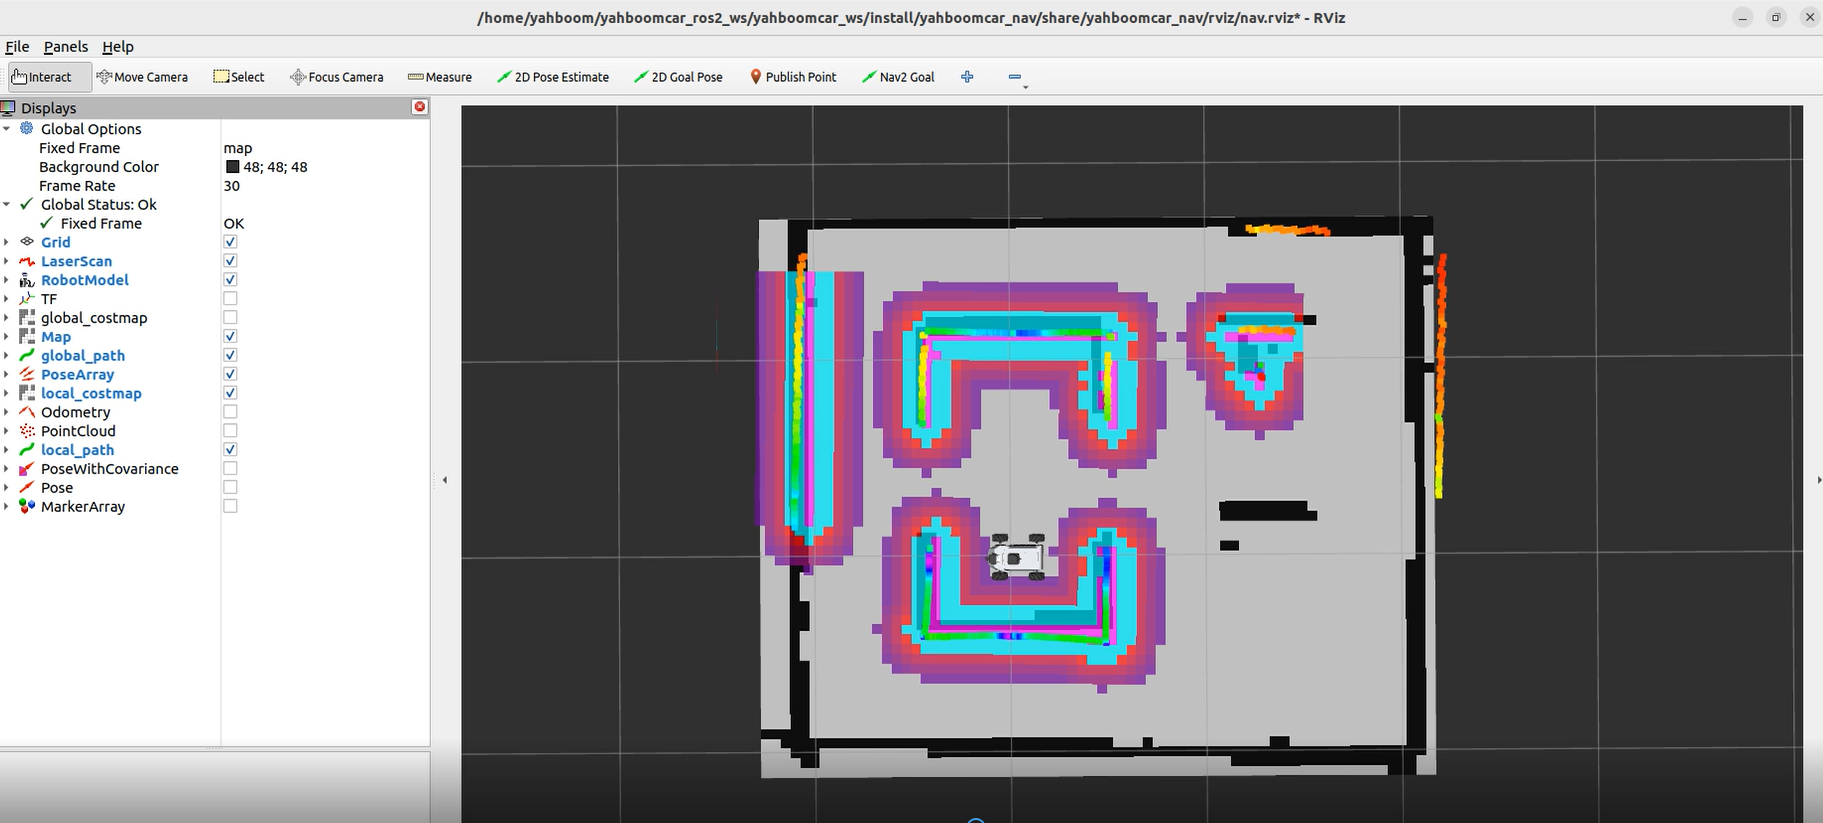
The robot's model will be displayed on the map, as shown in the image below:
Create another terminal in the virtual machine and enter the command.
xxxxxxxxxxros2 topic list
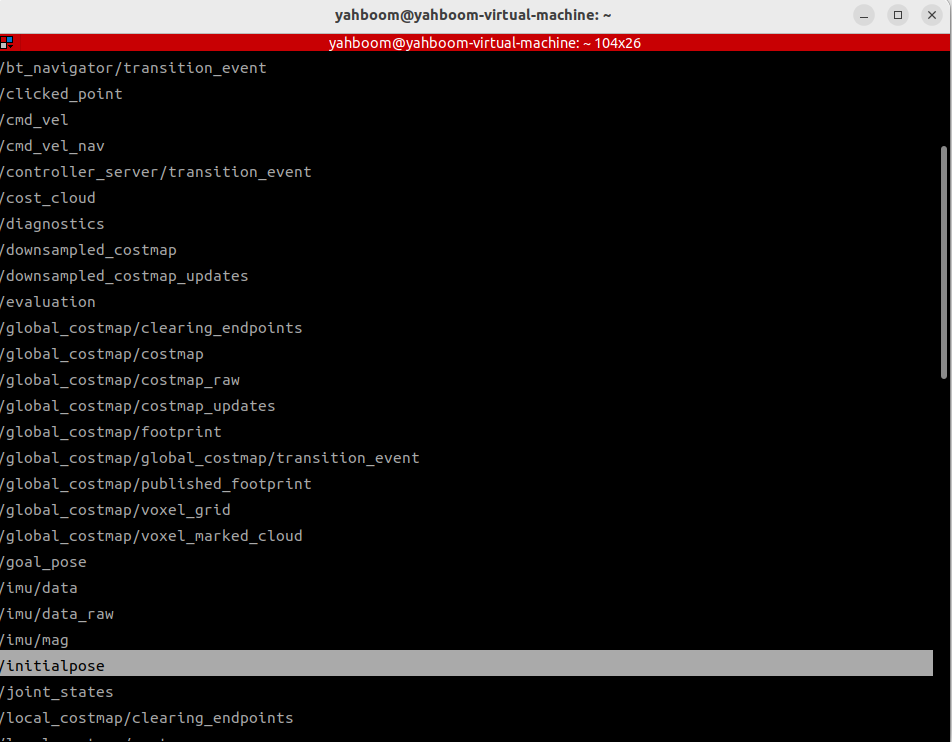
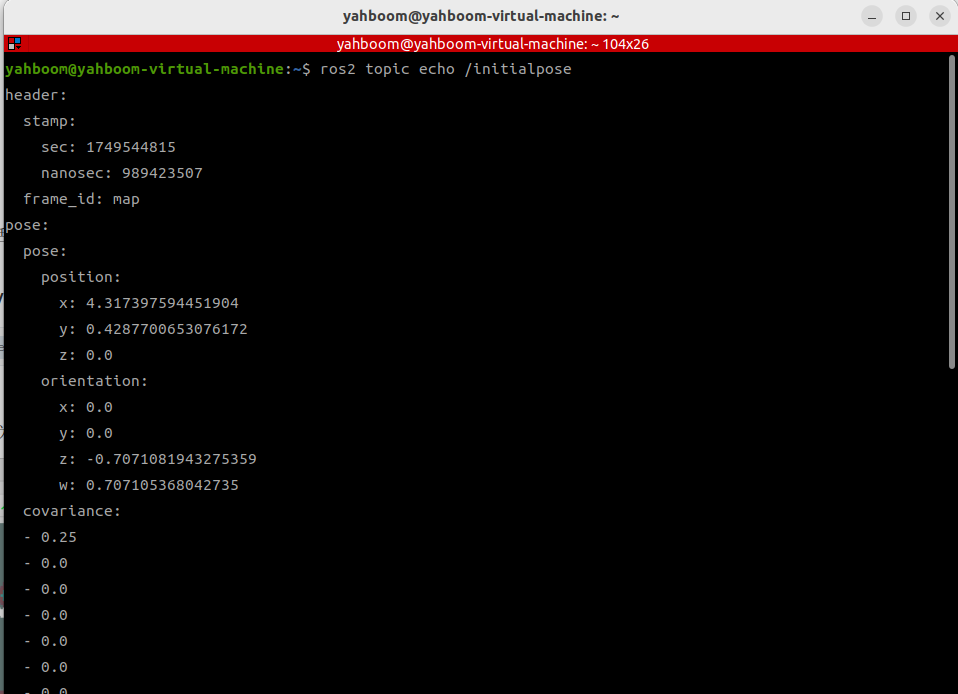
You can see the /initialpose topic. This topic was published using the 2D Pose Estimate tool in rviz2 in the previous step. We can use this tool to publish coordinates and view the data of the /initialpose topic to obtain the coordinates and orientation angle of a point on the map.
Enter the following command in the terminal to observe the data on the /initialpose topic.
xxxxxxxxxxros2 topic echo /initialpose
We can name any point on the map; here's an example of naming as shown in the image.
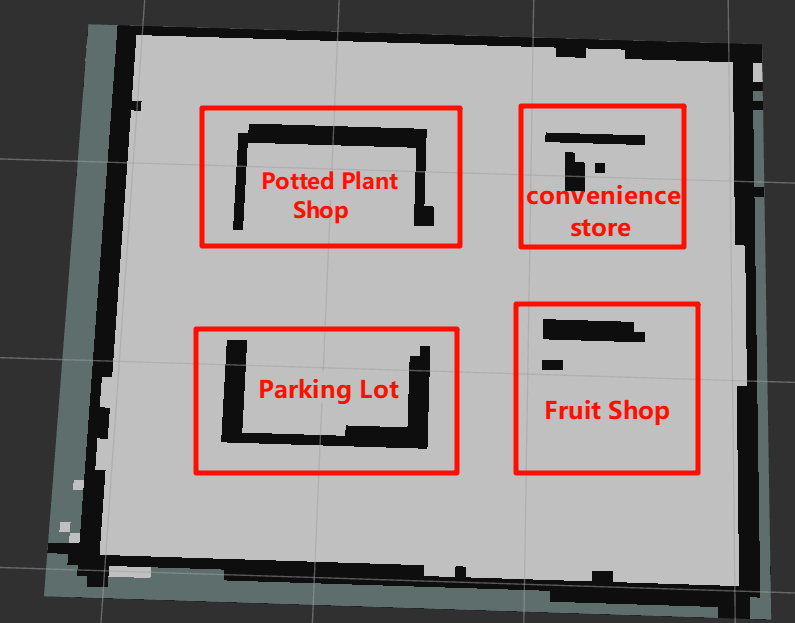
As shown in the image below, first click the 2D Pose Estimate tool, then left-click and hold any location in the "Fruit Shop" area to adjust the orientation. Release the mouse button when you're satisfied.
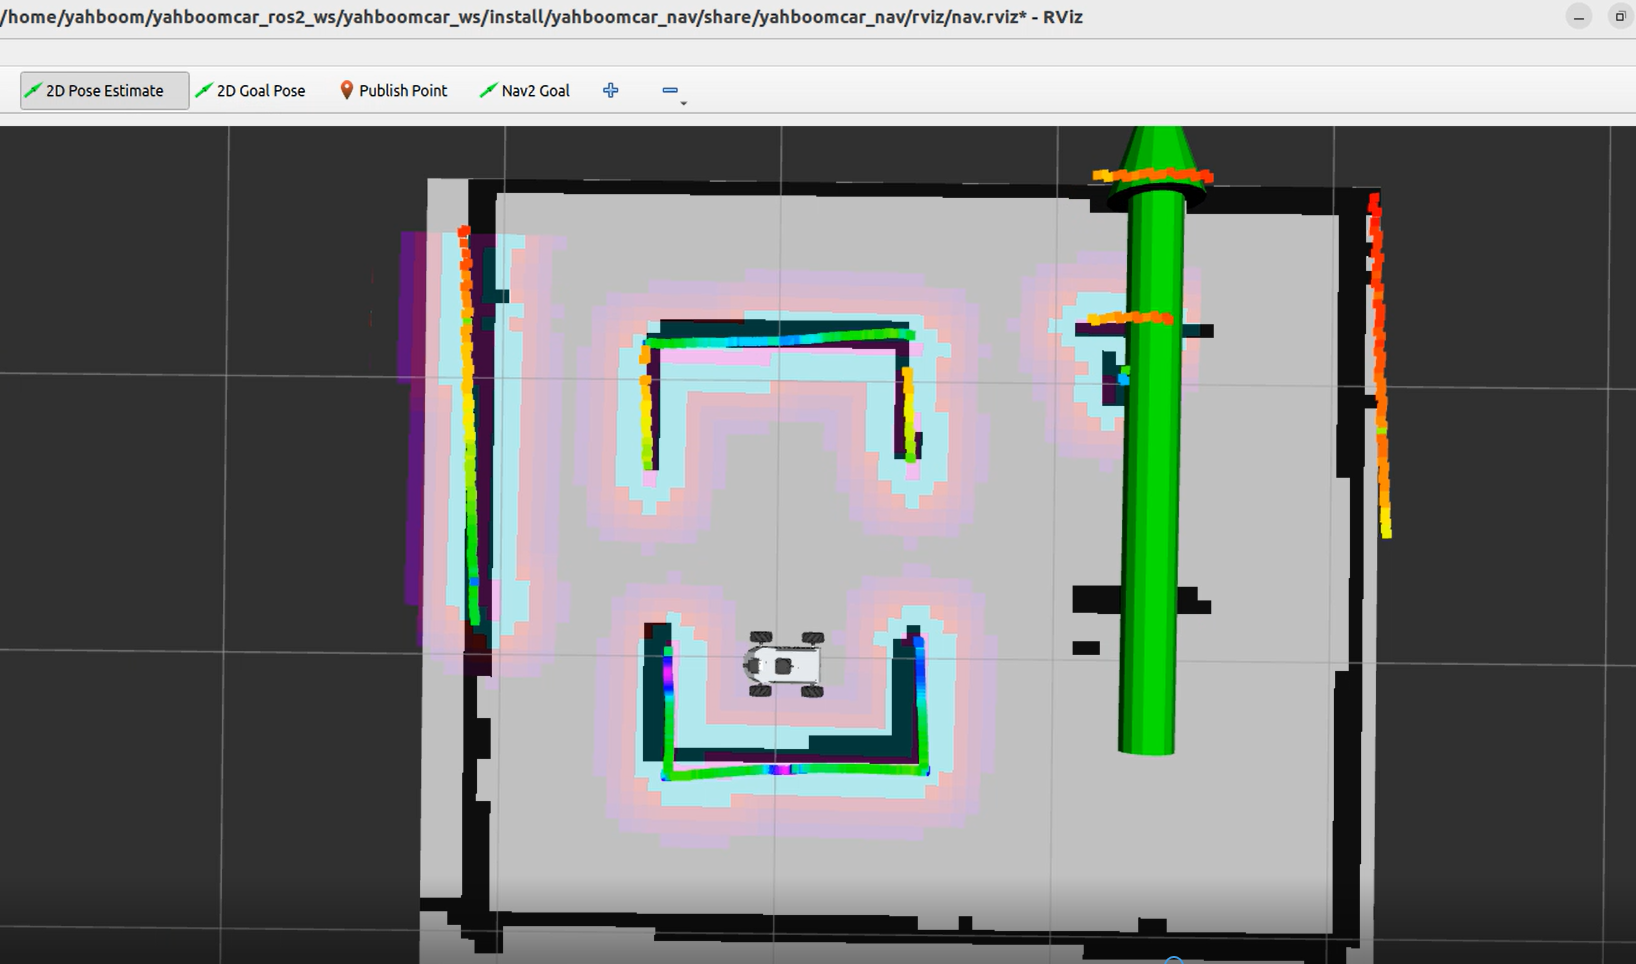
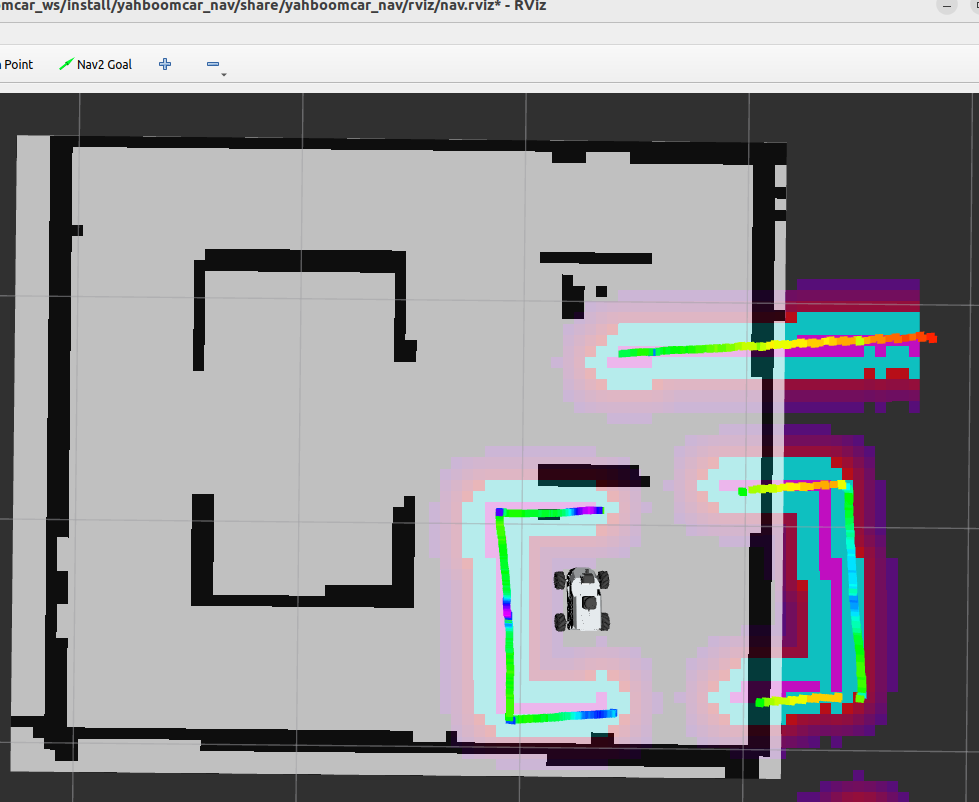
The robot's position will be adjusted to the previously selected location and orientation. You can preview the robot's expected position and orientation in RViz.
The last frame of information in the terminal window shows the coordinates of the target point we just marked using the 2D Pose Estimate tool.
Open the map_mapping.yaml map mapping file, located at:
rdk x5:
xxxxxxxxxx/home/sunrise/yahboomcar_ros2_ws/yahboomcar_ws/src/multi_brains/config/map_mapping.yaml
jetson orin:
xxxxxxxxxx/home/jetson/yahboomcar_ros2_ws/yahboomcar_ws/src/multi_brains/config/map_mapping.yamlJetson Nano and Raspberry Pi (requires Docker access first)
xxxxxxxxxx/root/yahboomcar_ros2_ws/yahboomcar_ws/src/multi_brains/config/map_mapping.yamlReplace "name" in A with "Fruit Shop", "position", and "orientation" in the terminal with the data we just saw in the /initialpose topic.
xxxxxxxxxx#根据实际的场景环境,自定义地图中的区域,可以添加任意个区域,注意和大模型的地图映射保持一致即可#According to the actual scene environment, customize the areas in the map. You can add any number of areas, just make sure they are consistent with the map mapping of the large model#地图映射Map mappingA: name: 'Fruit Shop' position: x: 1.339120626449585 y: -0.4776395797729492 z: 0.0 orientation: x: 0.0 y: 0.0 z: 0.7038725577603971 w: 0.7103262788548911#此处可新增添加区域对应的栅格地图坐标点,注意和上面格式保持一致#Here, you can add the raster map coordinate points corresponding to the added area. Please note that the format should be consistent with the aboveIn the same way, we can add a map mapping for the "Potted Plant Shop".
xxxxxxxxxx#根据实际的场景环境,自定义地图中的区域,可以添加任意个区域,注意和大模型的地图映射保持一致即可#According to the actual scene environment, customize the areas in the map. You can add any number of areas, just make sure they are consistent with the map mapping of the large model#地图映射Map mappingA: name: 'Fruit Shop' position: x: 1.339120626449585 y: -0.4776395797729492 z: 0.0 orientation: x: 0.0 y: 0.0 z: 0.7038725577603971 w: 0.7103262788548911B: name: 'Potted Plant Shop' position: x: -0.0008649379014968872 y: 0.4937915802001953 z: 0.0 orientation: x: 0.0 y: 0.0 z: 0.7133229968132297 w: 0.7008354316224266#此处可新增添加区域对应的栅格地图坐标点,注意和上面格式保持一致#Here, you can add the raster map coordinate points corresponding to the added area. Please note that the format should be consistent with the aboveThen, switch to the /yahboomcar_ros2_ws/yahboomcar_ws#/ workspace in the terminal: recompile the largemodel package to apply the configuration. (For Jetson Nano and Raspberry Pi hosts, you need to enter Docker first)
xxxxxxxxxxcd ~/yahboomcar_ros2_ws/yahboomcar_ws/
Recompile the package:
xxxxxxxxxxcolcon build --packages-select multi_brains

3. Run the Example
3.1 Starting the Program
Open the host terminal and start the Dify environment.
xxxxxxxxxxsh ~/bringup_dify.sh
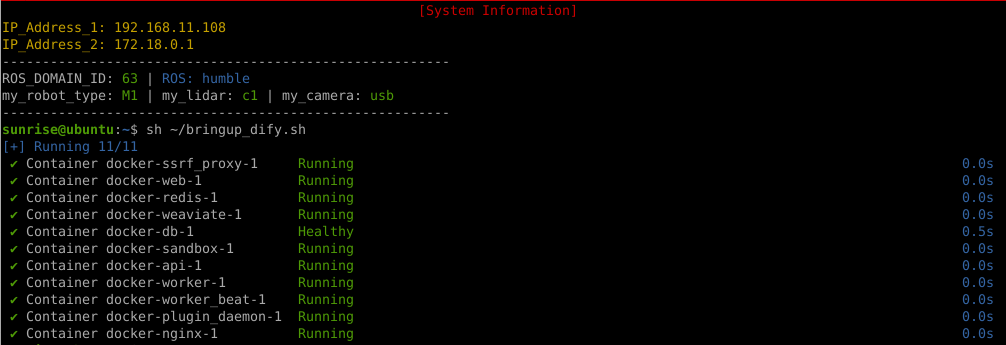
For Raspberry Pi and Jetson-Nano boards, you need to enter the Docker container first. For RDKX5 and Orin controllers, this is not necessary.
Open the terminal and enter the command:
xxxxxxxxxxros2 launch multi_brains llm_agent_control.launch.py
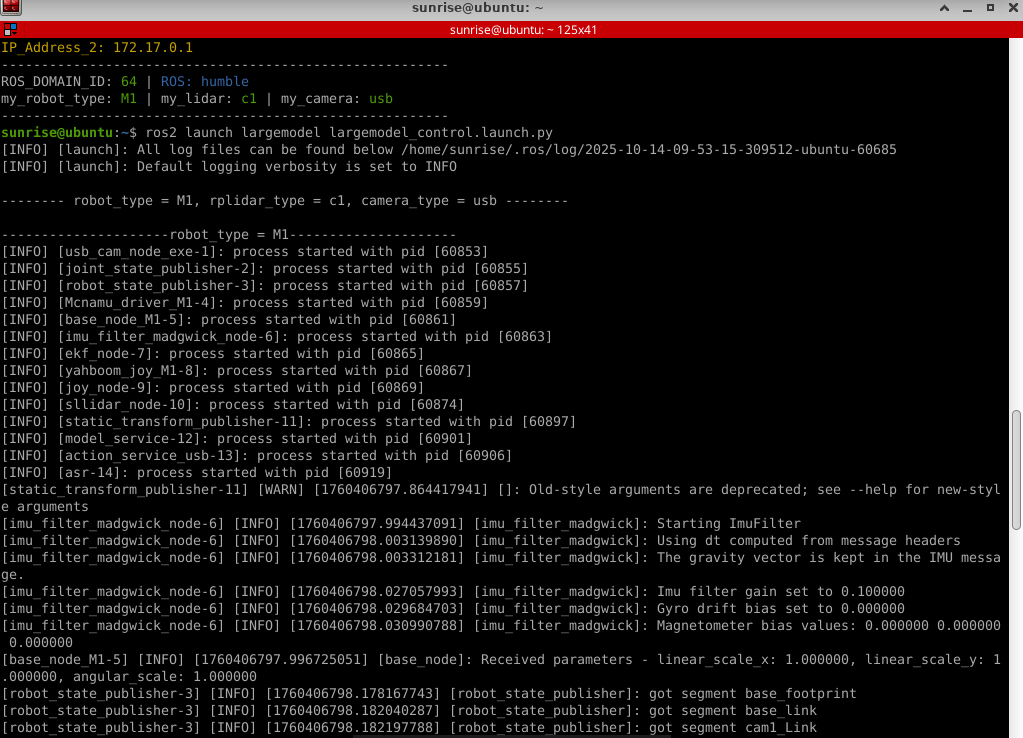
Start the virtual machine by creating a new terminal. (For RDKX5, Raspberry Pi, and Jetson Nano, it is recommended to run the visualization on the virtual machine.)
xxxxxxxxxxros2 launch yahboomcar_nav display_nav_launch.py
Wait for the navigation algorithm to activate and the map to appear, then open the terminal and enter...
xxxxxxxxxx# Choose one of the two navigation algorithms # Standard navigationros2 launch yahboomcar_nav navigation_teb_launch.py #Fast relocalization navigation (RDKX5, Jetson nano and Raspberry Pi 5 are not supported)ros2 launch yahboomcar_nav localization_imu_odom.launch.py use_rviz:=false load_state_filename:=/home/jetson/yahboomcar_ros2_ws/yahboomcar_ws/src/yahboomcar_nav/maps/yahboomcar.pbstream ros2 launch yahboomcar_nav navigation_cartodwb_launch.py maps:=/home/jetson/yahboomcar_ros2_ws/yahboomcar_ws/src/yahboomcar_nav/maps/yahboomcar.yaml params_file:=/home/jetson/yahboomcar_ros2_ws/yahboomcar_ws/src/yahboomcar_nav/params/cartoteb_nav_params.yamlNote: yahboomcar.yaml and yahboomcar.pbstream must be mapped simultaneously, meaning they are the same map. Refer to the cartograph mapping algorithm for saving maps.
After that, follow the navigation function startup process to initialize positioning. The rviz2 visualization interface will open. Click 2D Pose Estimate in the upper toolbar to enter the selection state. Roughly mark the robot's position and orientation on the map. After initializing positioning, preparations are complete.
3.2 Test Cases
Here is a sample test case; users can create their own dialogue commands:
- Please remember your current location, then go to the fruit shop and the convenience store in sequence, return to your original location, and tell me what you saw.
3.2.1 Case 1
First, wake up the robot by saying "Hello yahboom". The robot will respond, "I'm here, please give me order." After the robot responds, its buzzer will sound briefly (beep-), and then the user can speak. The robot will perform dynamic sound detection; if there is sound activity, it will print "1", and if there is no sound activity, it will print "-". After speaking, it will detect the end of the sound; if there is silence for more than 450ms, recording will stop.
Dynamic Sound Detection (VAD) is shown in the following figure:
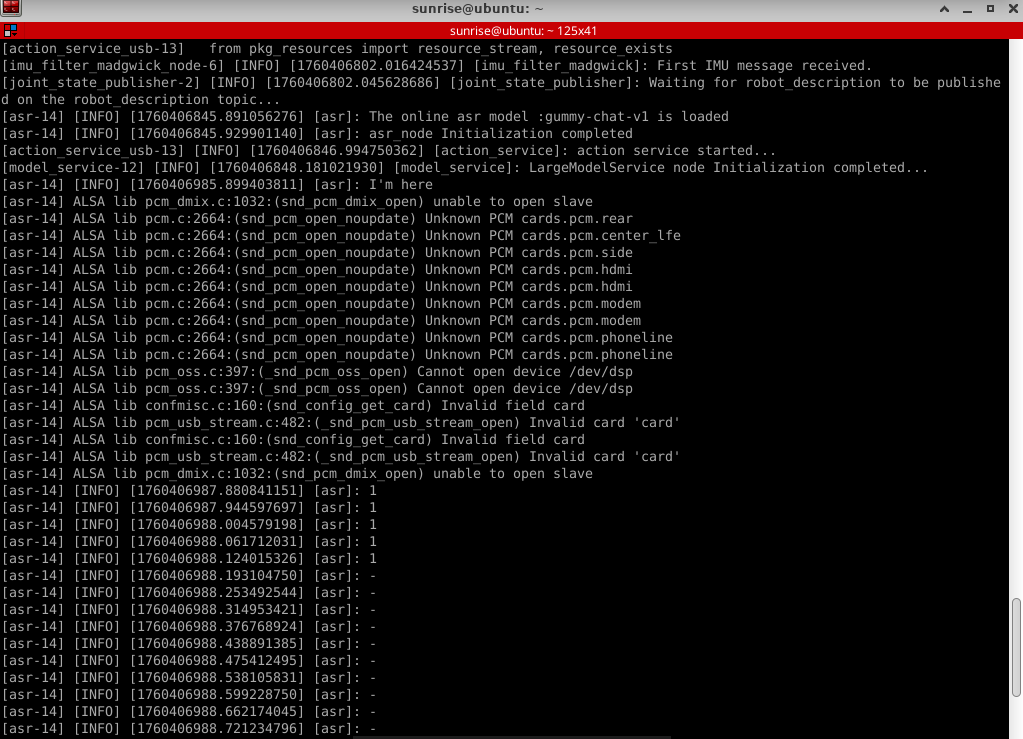
The robot will first interact with the user to get a response, then follow the instructions, and the terminal will print the following information:
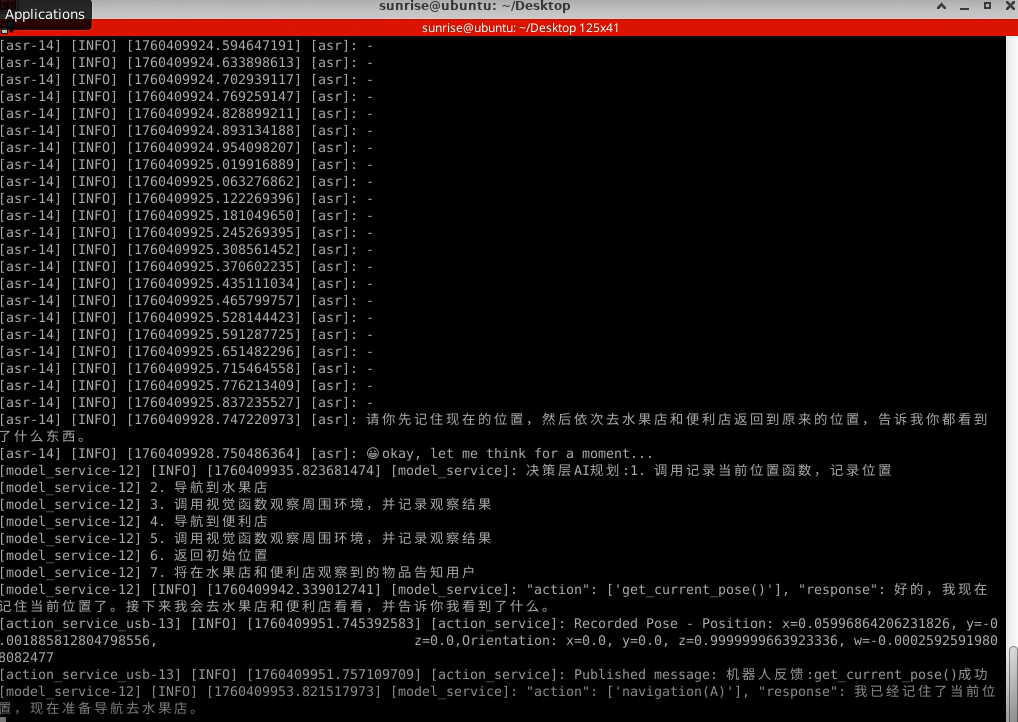
The large-scale model at the decision-making level outputs the planned task steps:

The execution layer will then follow the steps of this task:
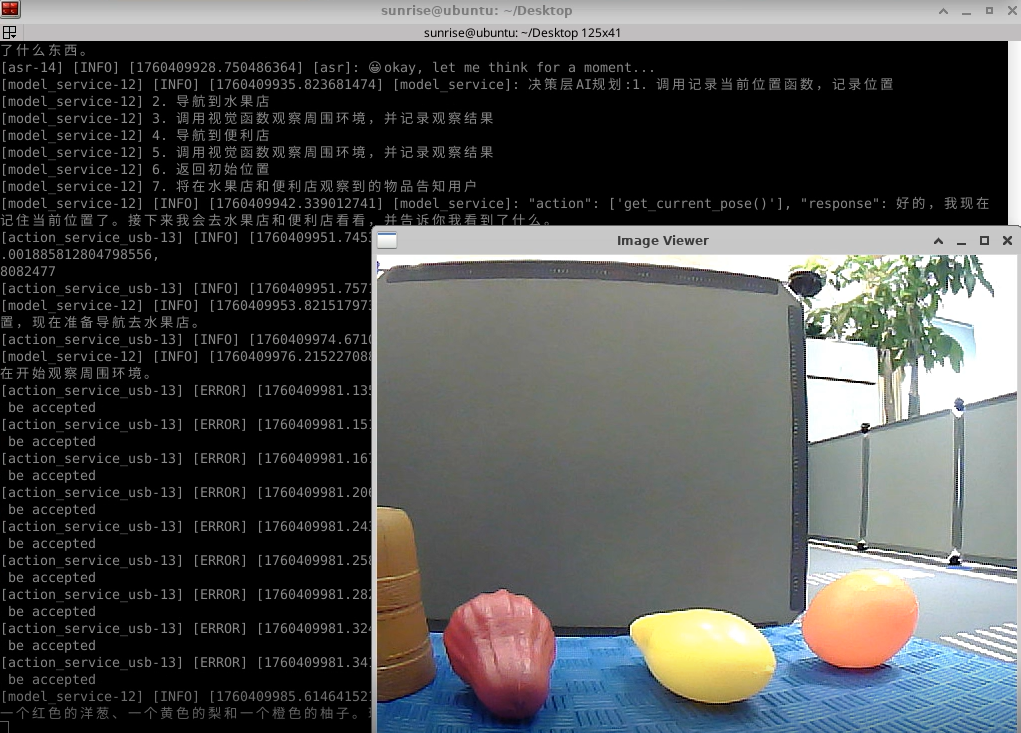
Once the task is completed, wake up the robot by saying "Hello yahboom," and the robot will respond, "I'm here, please give me order." At this point, you can proceed with the next command.
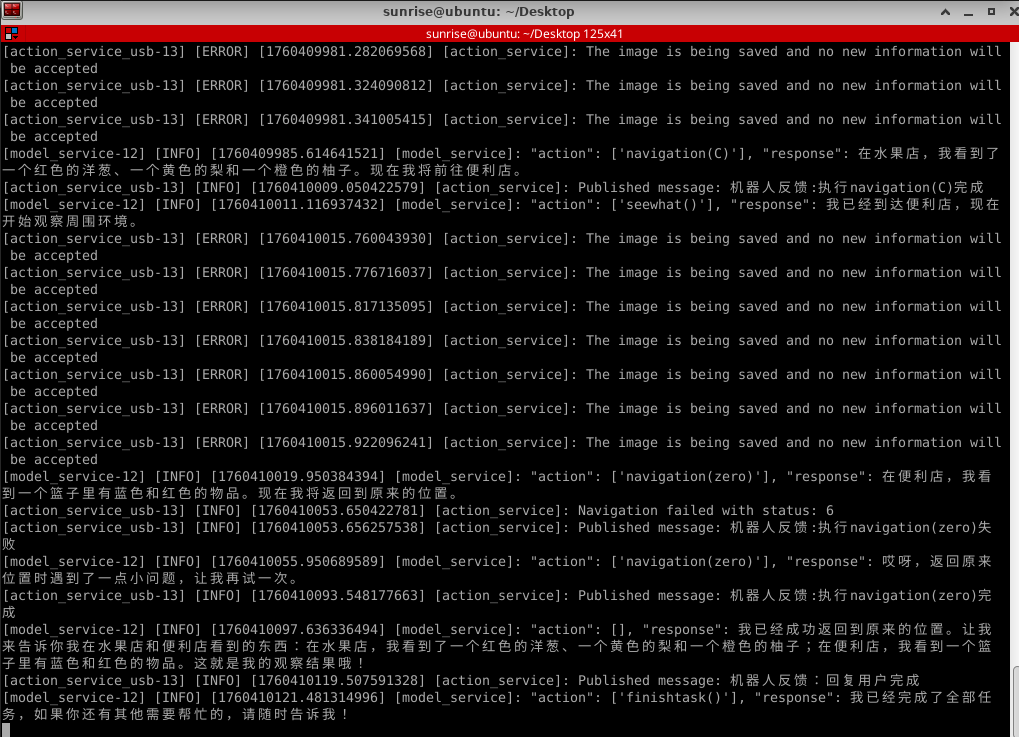
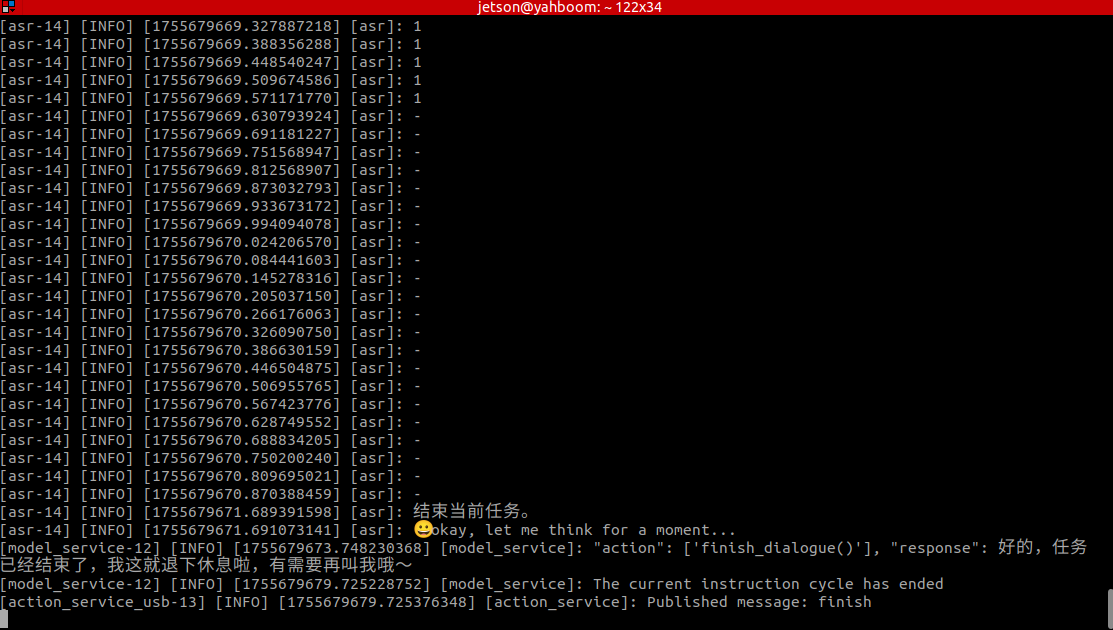
After completing its task, the robot will enter a waiting state. At this point, the robot will re-enter a free-conversation state, but all conversation history will be retained. You can then wake yahboom again and "End Current Task" to terminate the current task cycle, clear the conversation history, and begin a new task cycle.