Welcome to ROSMASTER M3 PRO repository
2. Build A Pose Map
Build A Pose Map
1. Course Content
Use slam_toolbox to build grid maps and pose maps
Note
At least one grid map is required before marking the road network .geojson file
The pose map enables fast relocalization when marking waypoints and navigating, improving global localization accuracy and enhancing waypoint marking accuracy
2. Building a Grid Map
If the chassis mircoROS agent communication is not started, first start the agent. If already started, no need to restart
sh start_agent.sh
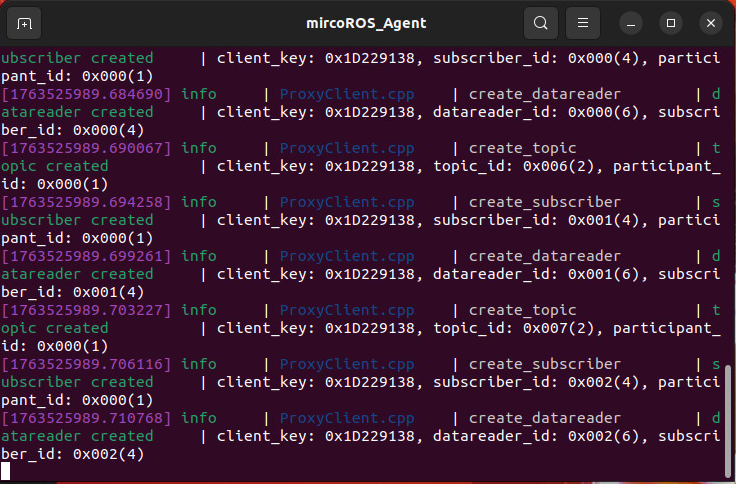
Enter the command in the terminal
xxxxxxxxxxros2 launch slam_mapping slam_toolbox.launch.py
Then start the keyboard control node (you can also use a gamepad)
xxxxxxxxxxros2 run teleop_twist_keyboard teleop_twist_keyboardControl the robot movement for mapping
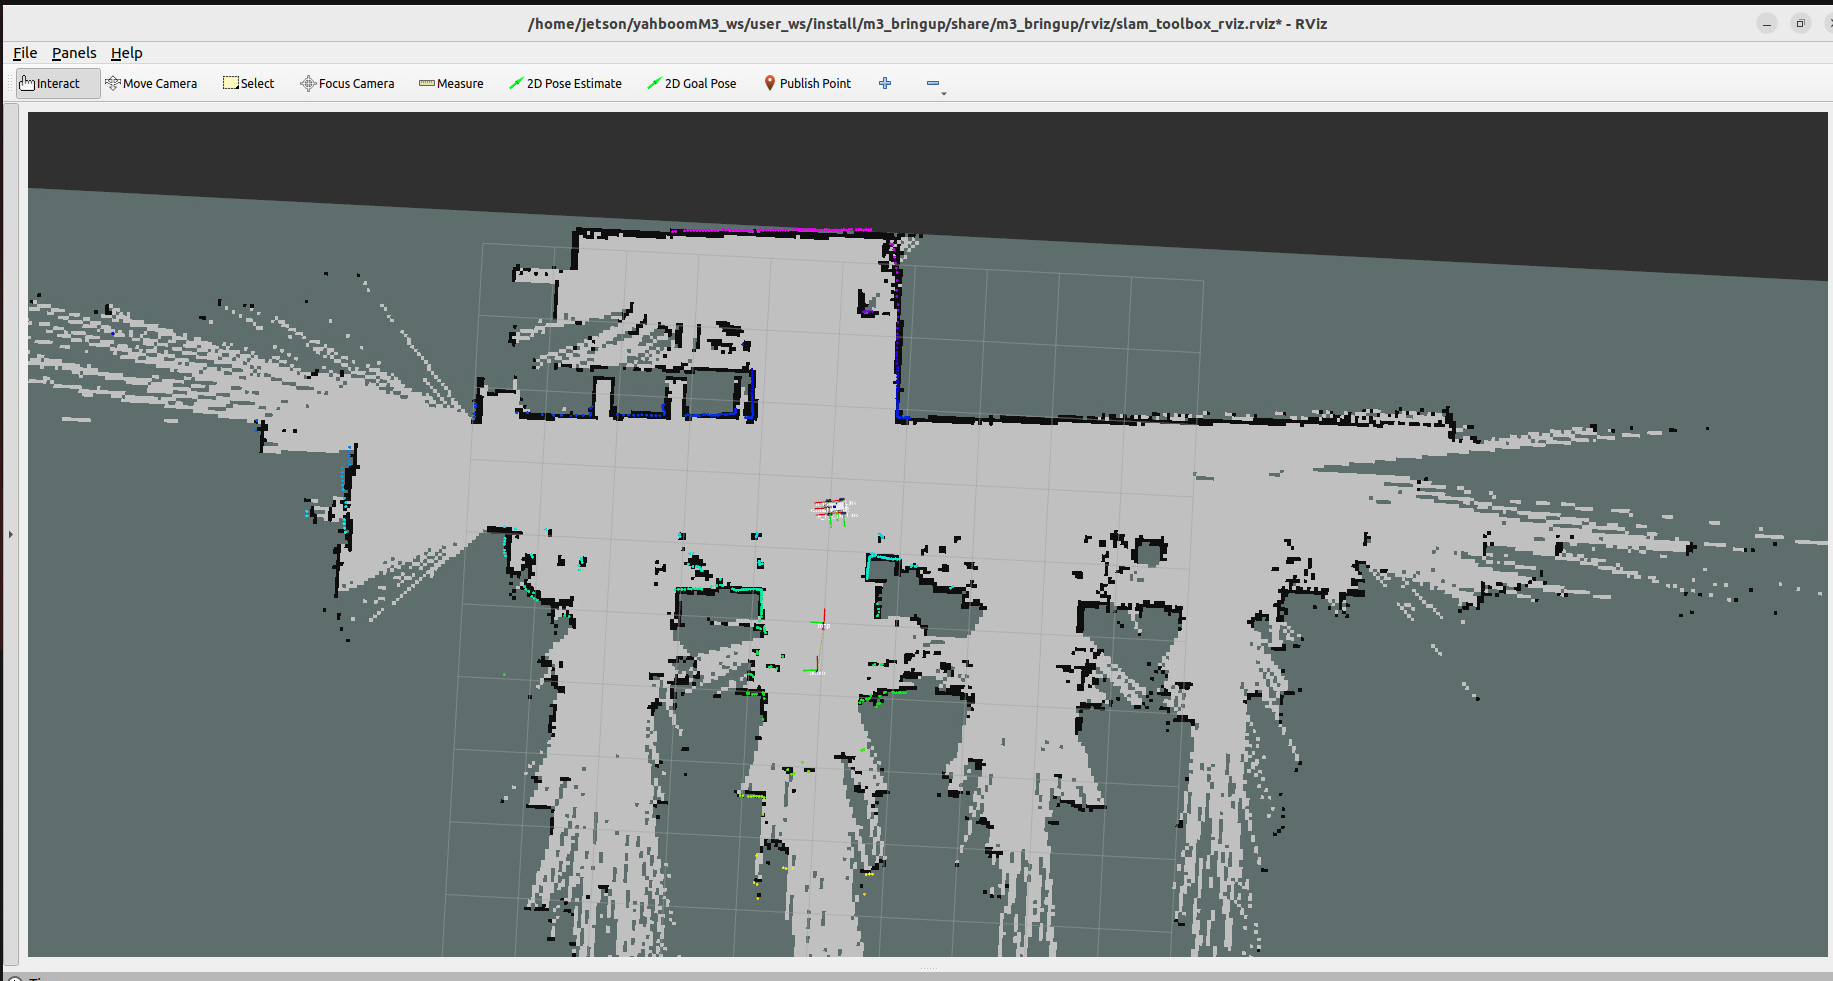
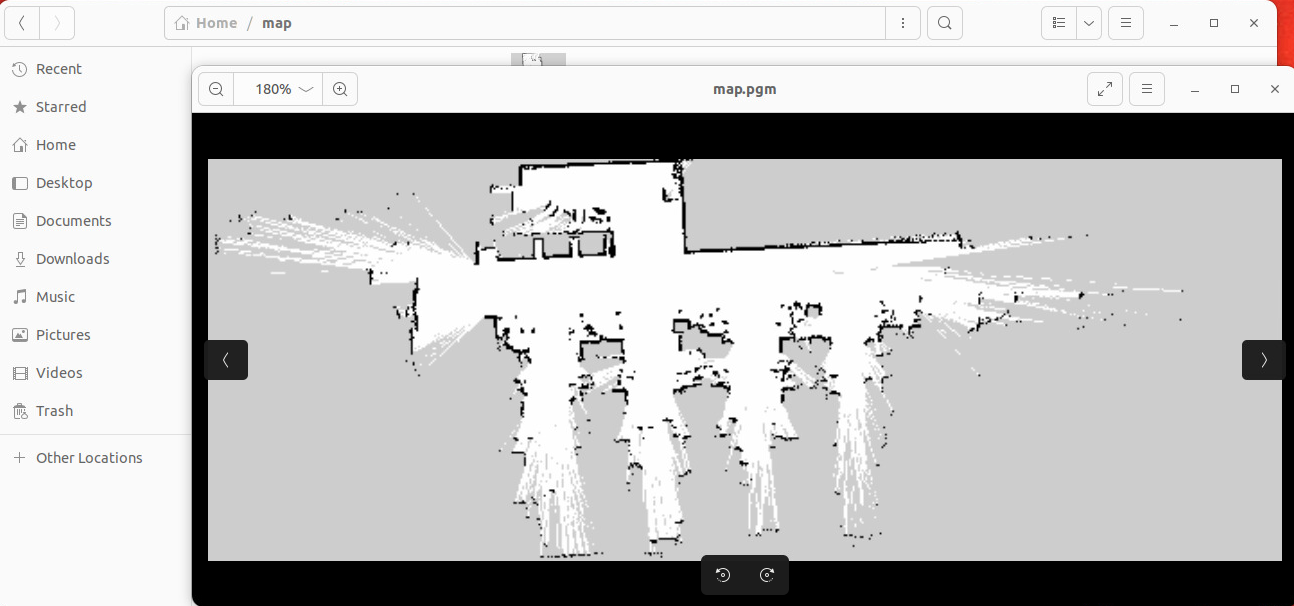
Save the Grid Map
xxxxxxxxxxros2 launch slam_mapping save_slamtoolbox_map.launch.py
Tip
map_name is used to specify the map name of the grid map to be saved. If no launch parameter is added, the default map name is
map, and all map files are saved in the~/mapdirectory,
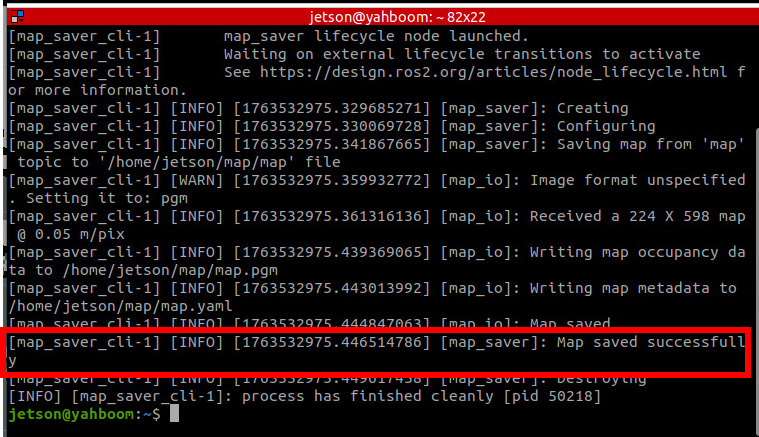
The terminal prompt Map saved sucessfully confirms the map was saved successfully
Check pose point quantity (Important)
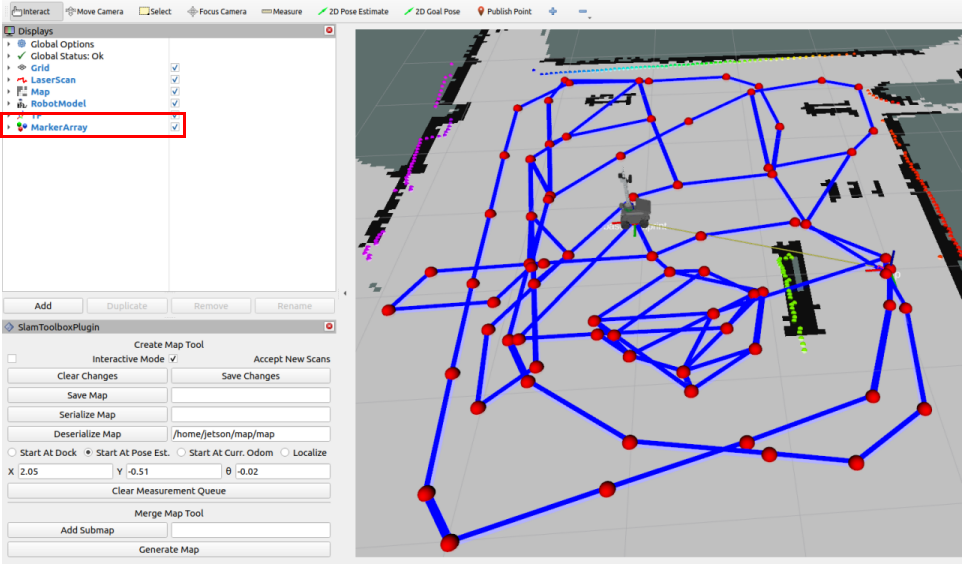
Click the MarkerArray option in the Display panel of Rviz to view the pose points of the pose map. Ensure there are sufficient pose points in the map area. If there are too few or no pose points in a certain area, the positioning effect in that area during navigation will be relatively poor.
Save the Pose Map
xxxxxxxxxxros2 launch slam_mapping save_slamtoolbox_map.launch.py map_type:=posegraphTip
map_type Save map type, defaults to
gridmapfor saving grid maps. Whenposegraphis selected, theslam_toolboxpose map is saved
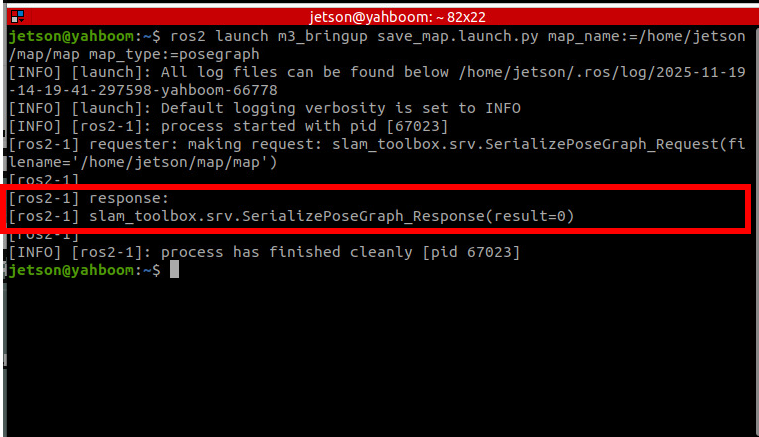
The terminal prompt slam_toolbox.srv.SerializePoseGraph_Response(result=0) confirms the pose map has been saved
Map files are saved in the
~/mapdirectory by default