Welcome to Muto RS Robot repository
11)RTAB-Map 3D mapping navigation
RTAB-Map 3D Mapping and Navigation
1. Preparation
1.1 Enter the Docker environment
Three terminals are required for this mapping task, and two terminals are required for navigation.
After opening a new terminal, start the Docker container in one of the terminals.
start_muto_dockerIn the first terminal, configure the LiDAR type.
xxxxxxxxxxvim ~/.bashrc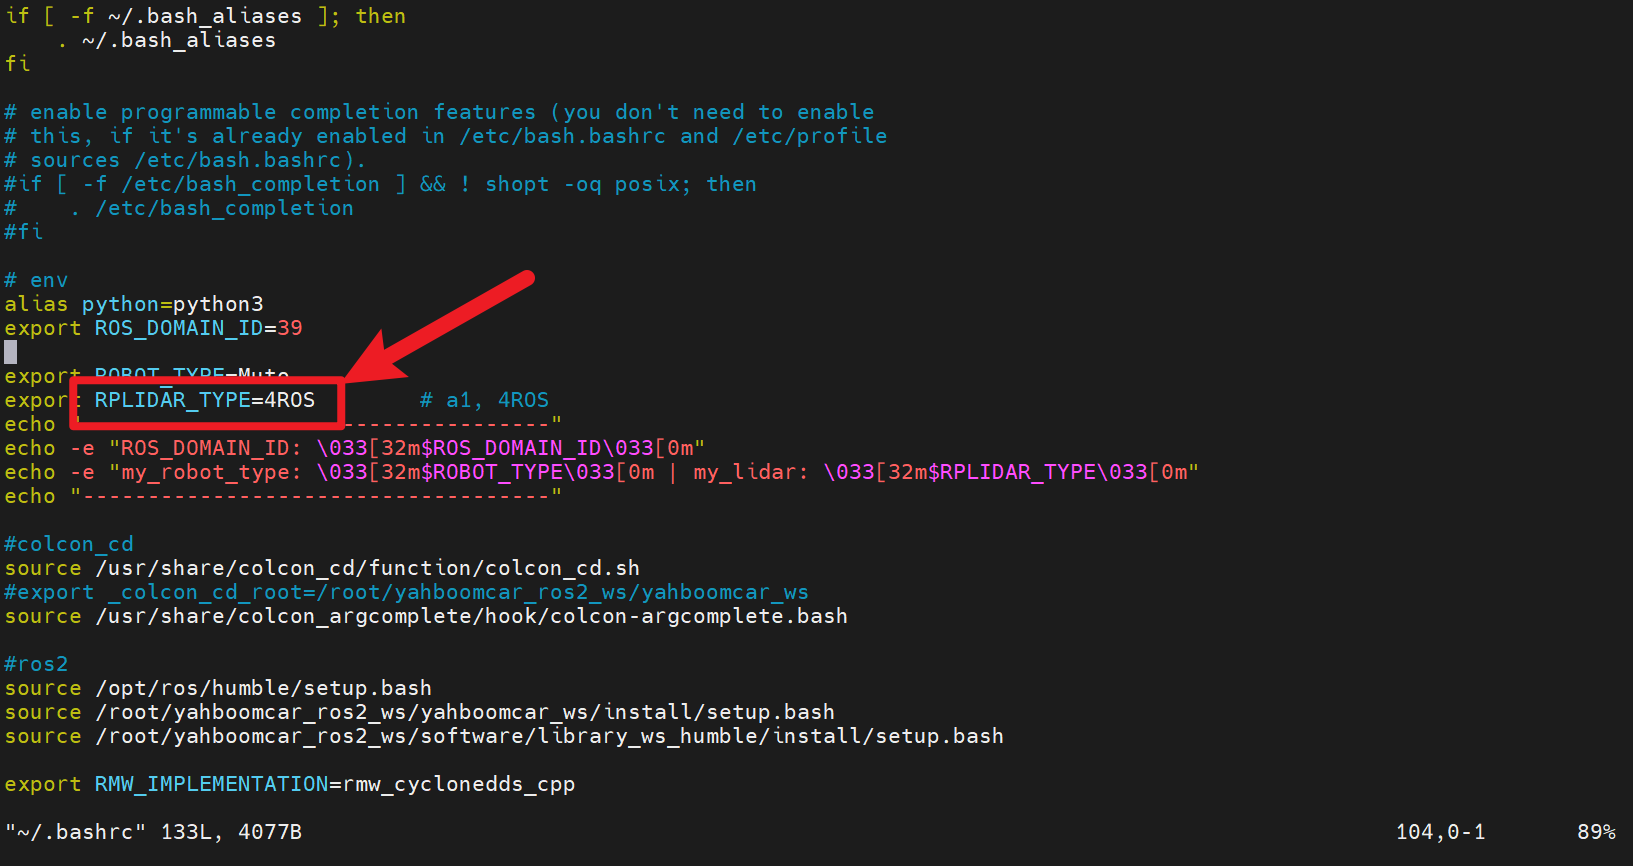
The other terminals only need to enter this already started container.
xxxxxxxxxxenter_muto_docker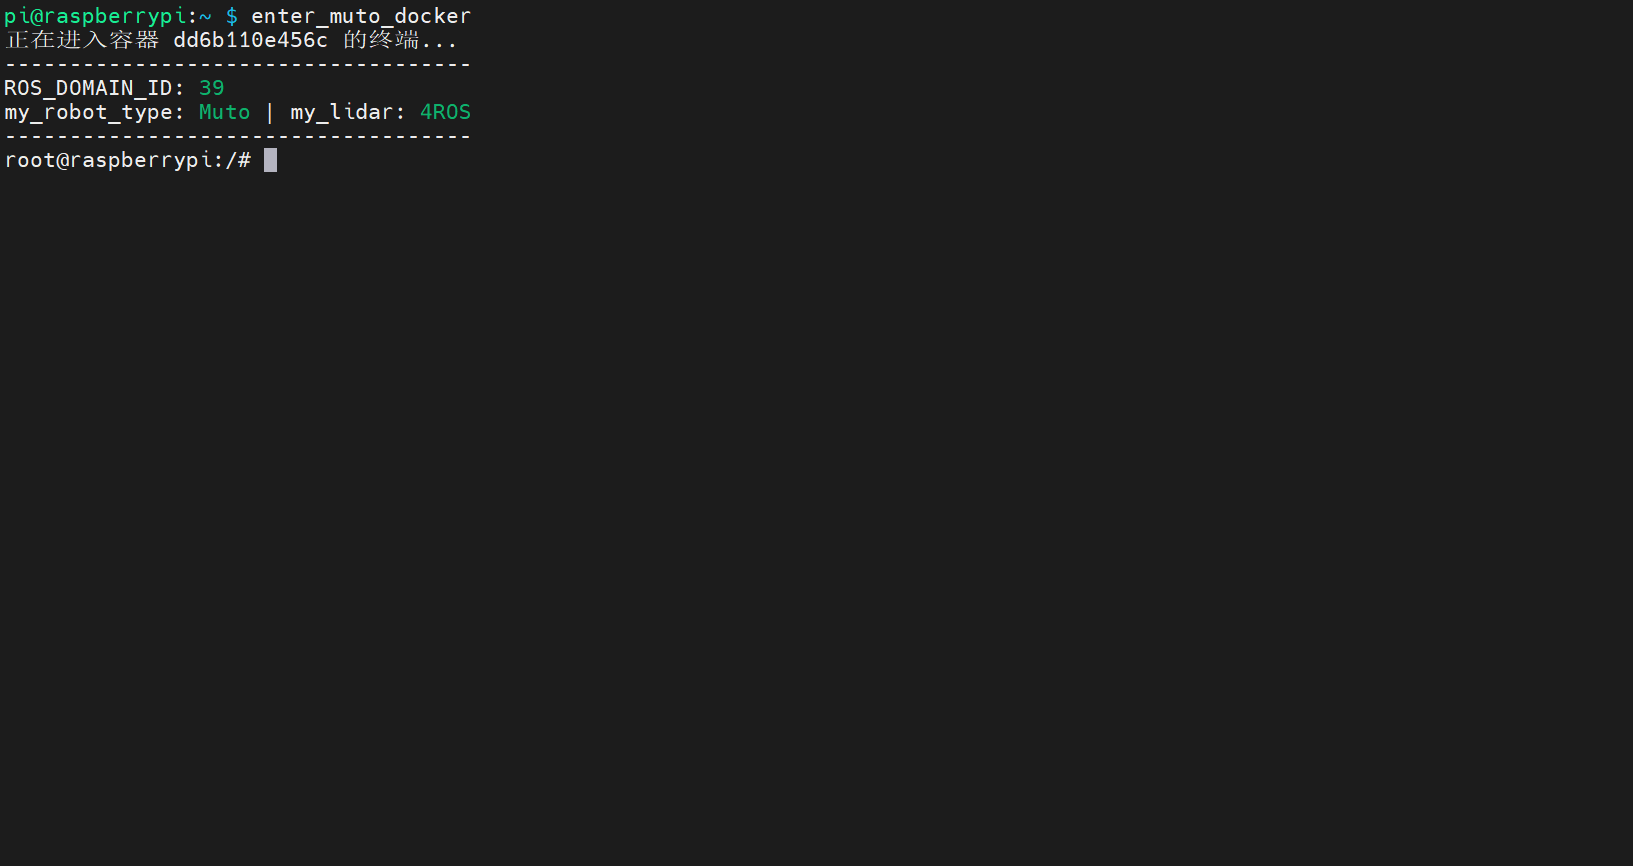
2. Mapping (RTAB-Map Mapping)
Target Deliverables
Ultimately, we need to save two types of data from mapping:
- RTAB-Map Database:
rtabmap.db(for 3D map/playback/visualization/subsequent localization) - Grid Map for Navigation:
rtab_map.yaml + rtab_map.pgm(for use with Nav2's map_server)
2.1 Step 1: Start Mapping
xxxxxxxxxxros2 launch yahboomcar_nav map_rtabmap_complete_launch.pyThis command will start the "camera + mapping-related nodes (odometry)" together.
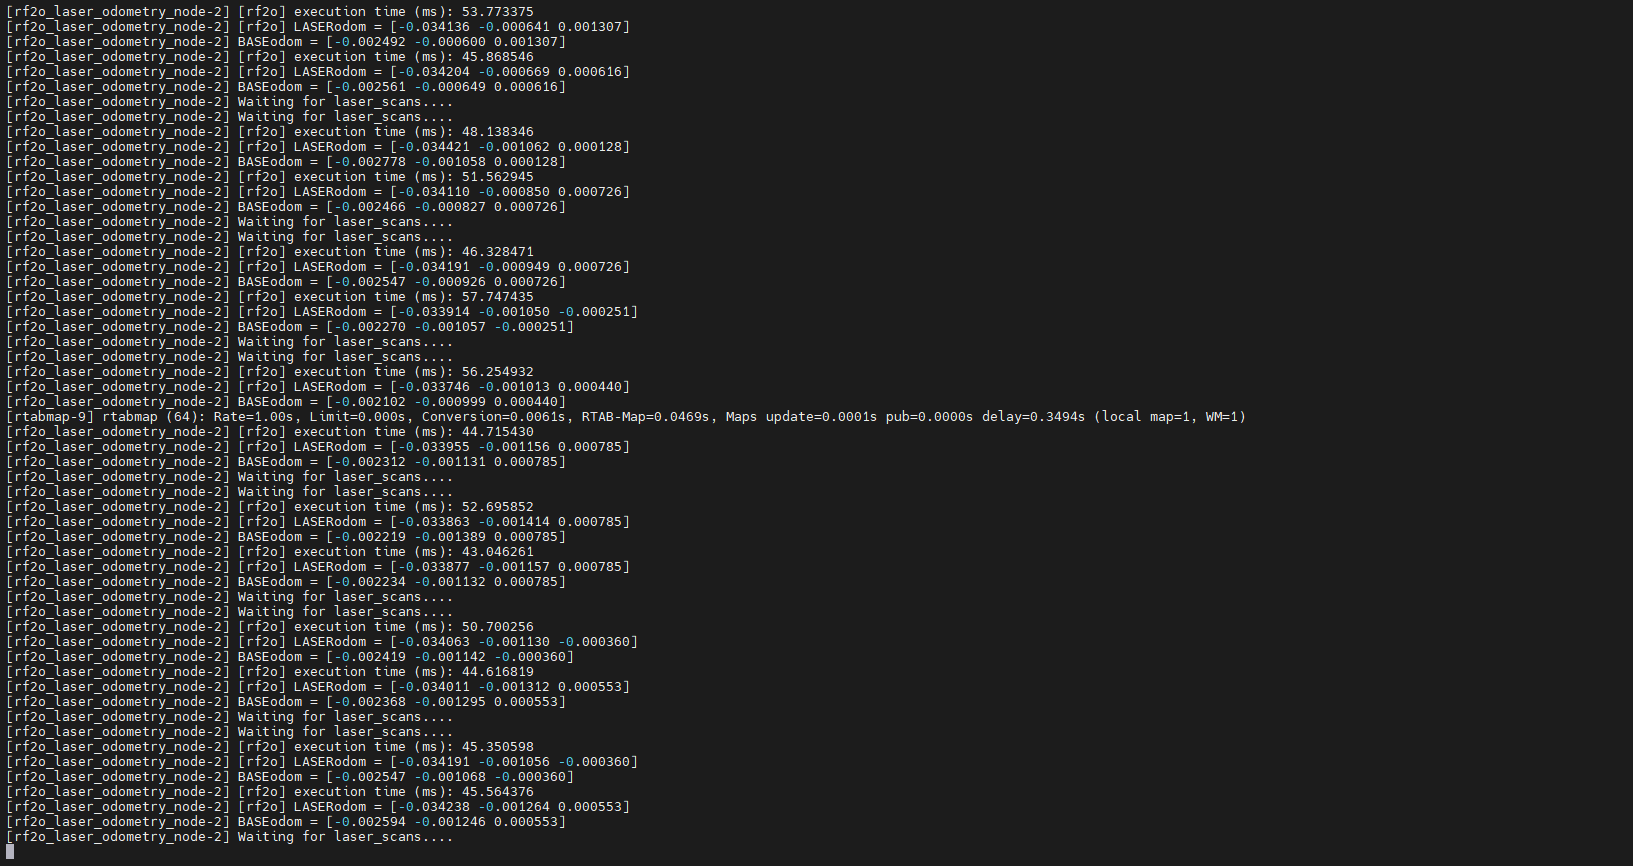
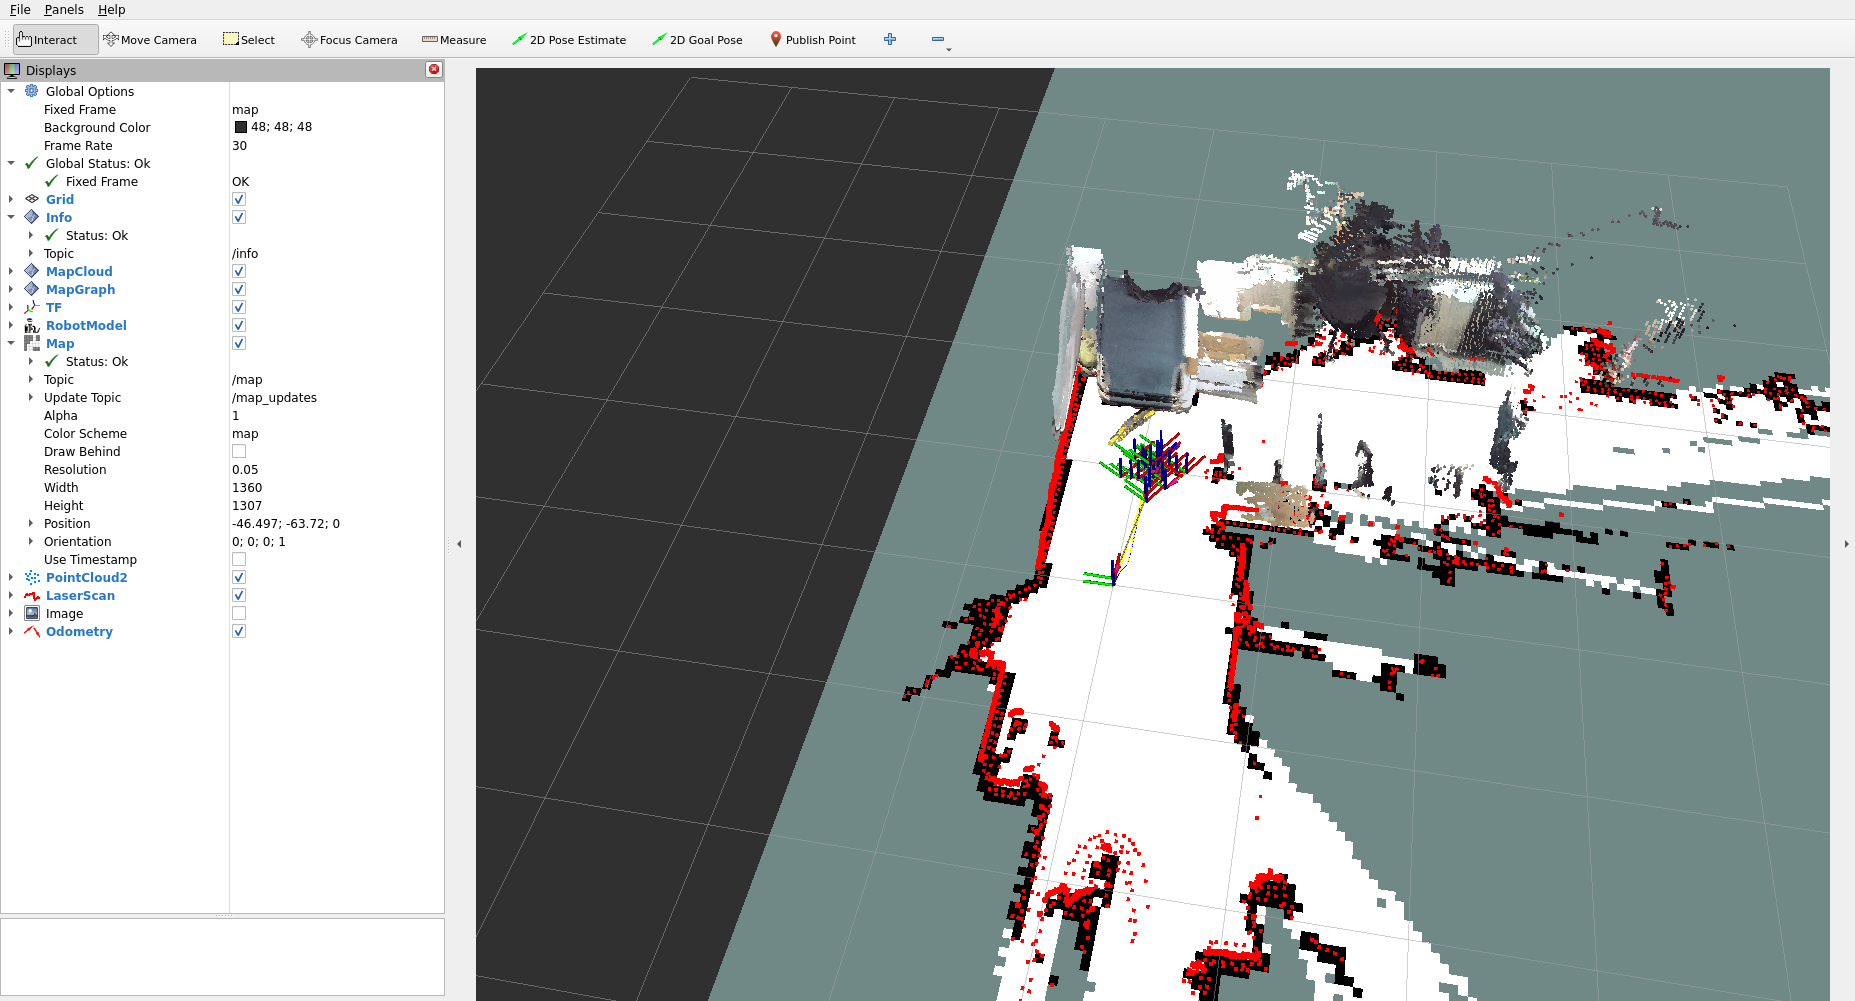
2.2 Step 2: Open RViz to view the mapping process
In another terminal, enter Docker (execute enter_muto_docker).
This step can also be performed in virtual machine, where RViz will run much more smoothly.
xxxxxxxxxxros2 launch yahboomcar_nav display_rtabmap_map_launch.py- RViz's Fixed Frame is generally set to
map. - If you can see the map/point cloud display from RTAB-Map, it means the mapping link is basically established.
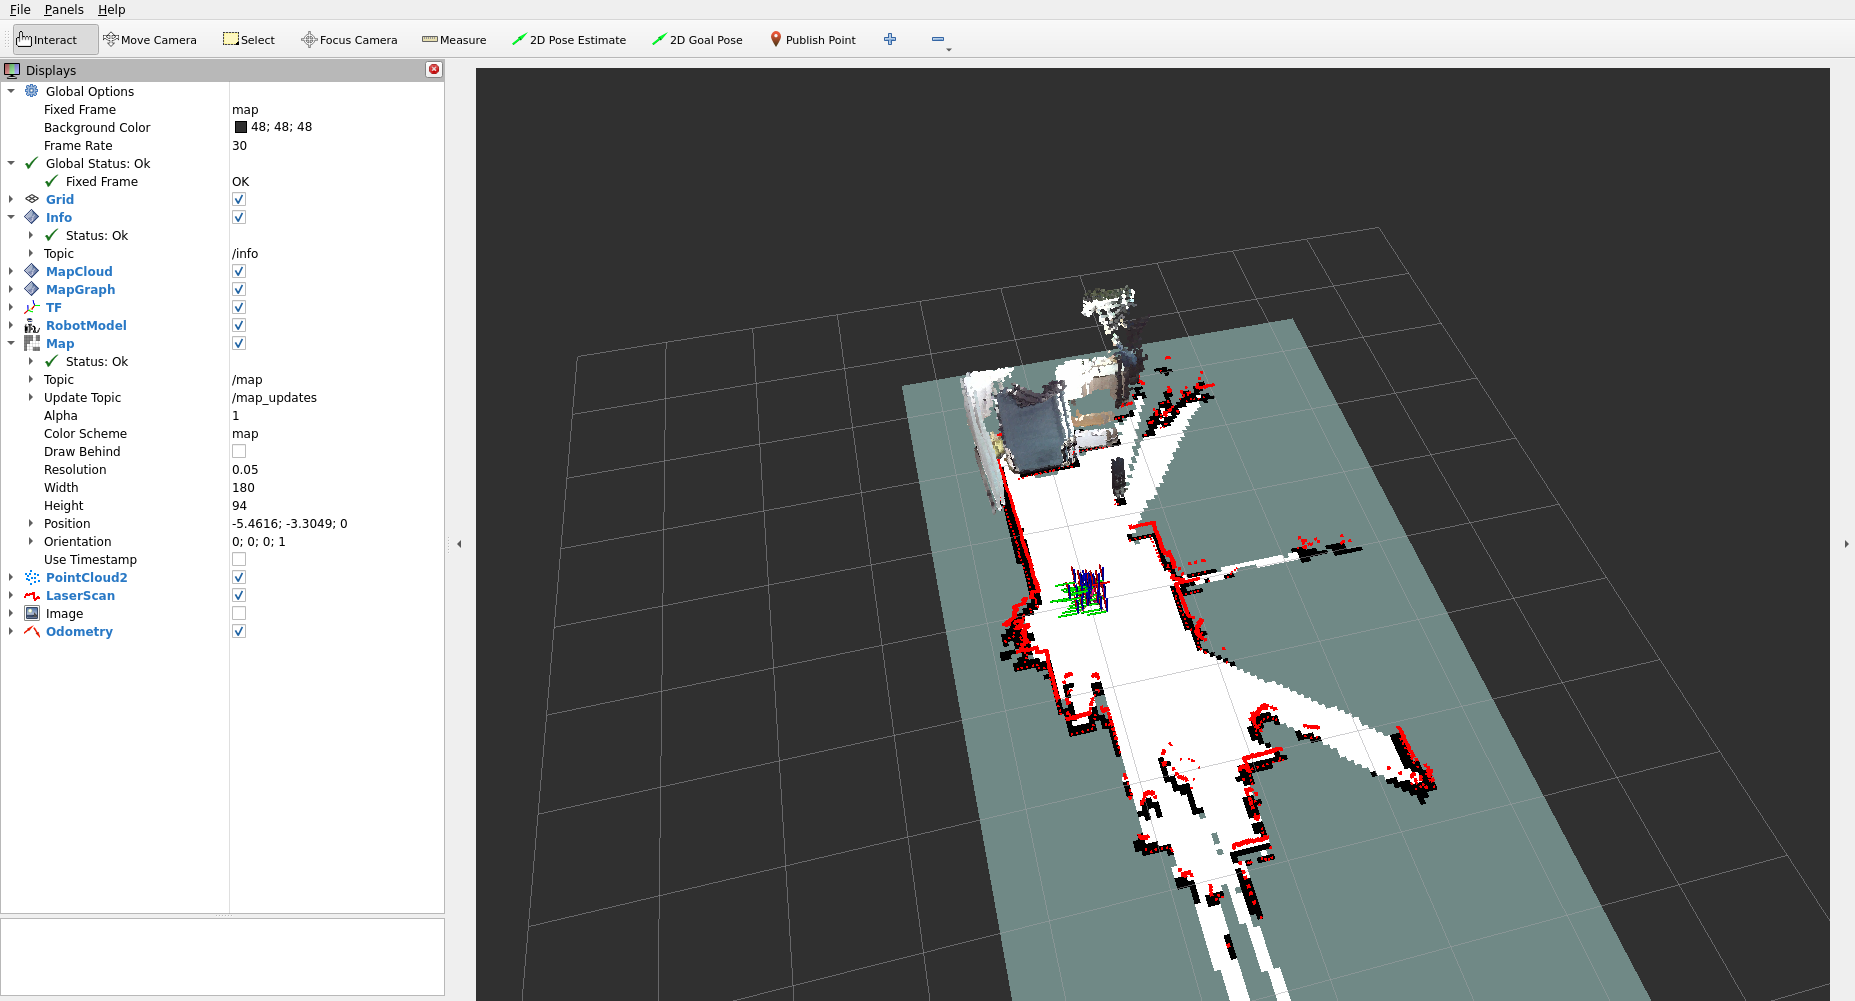
2.3 Step 3: Use keyboard to control the mobile robot to collect data
xxxxxxxxxxros2 run yahboomcar_ctrl yahboom_keyboard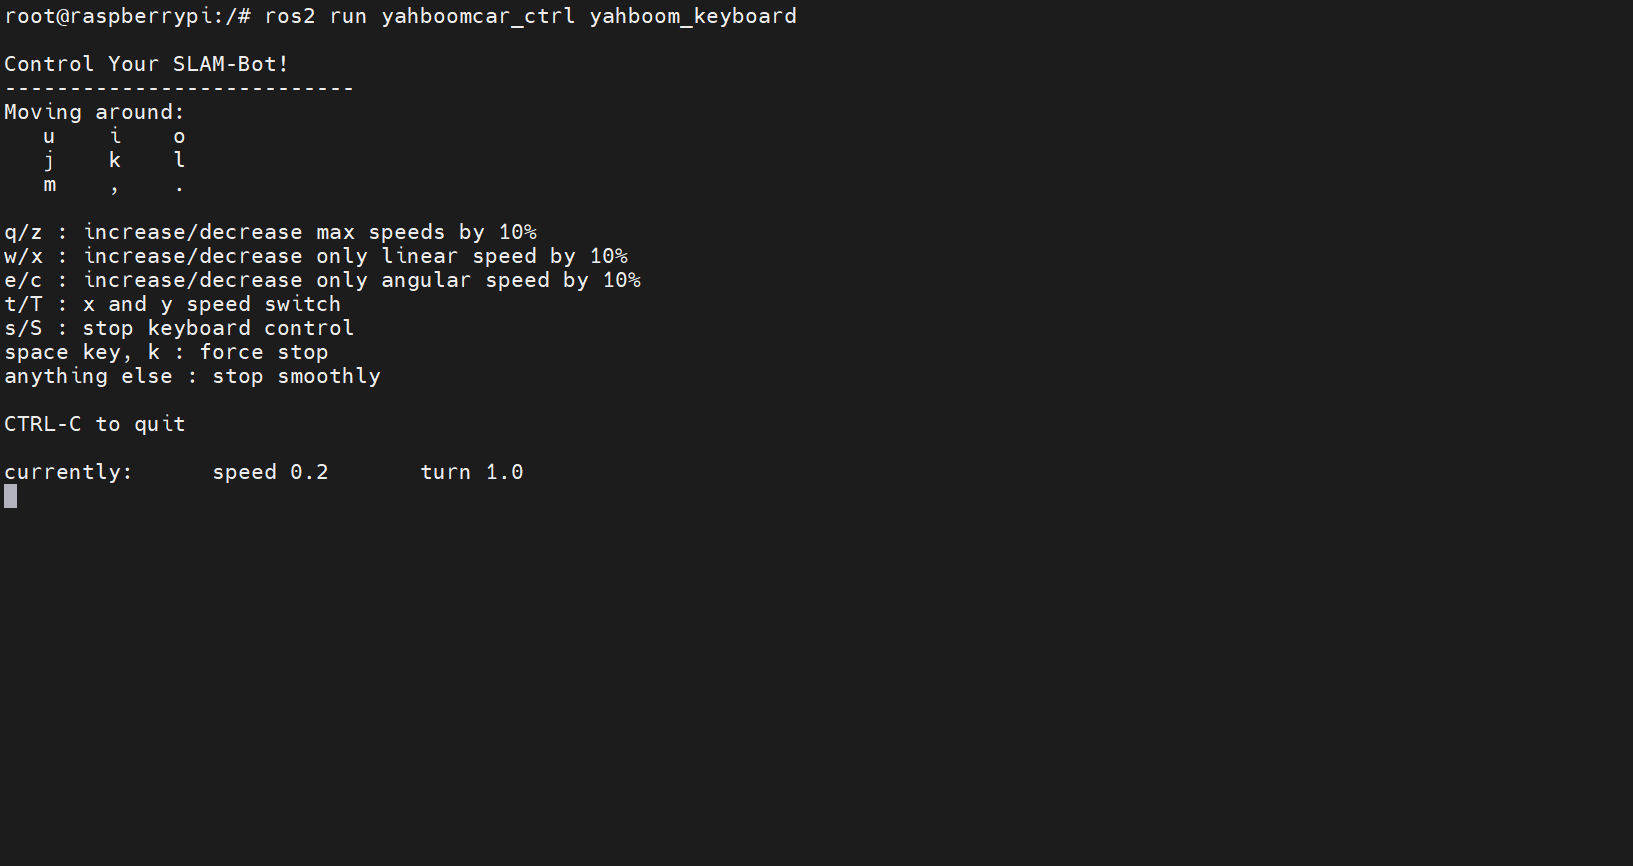
Move Muto according to the key prompts. Suggestions:
- Move slowly and at a constant speed.
- Try to perform a "closed loop" (return to near the starting point).
- Avoid rapid rotation/shaking, as the depth camera can easily lose features.
2.4 Save the map (a crucial step after mapping is complete)
Return to the navigation terminal and press Ctrl+C to end the process, which will save the map's db data.
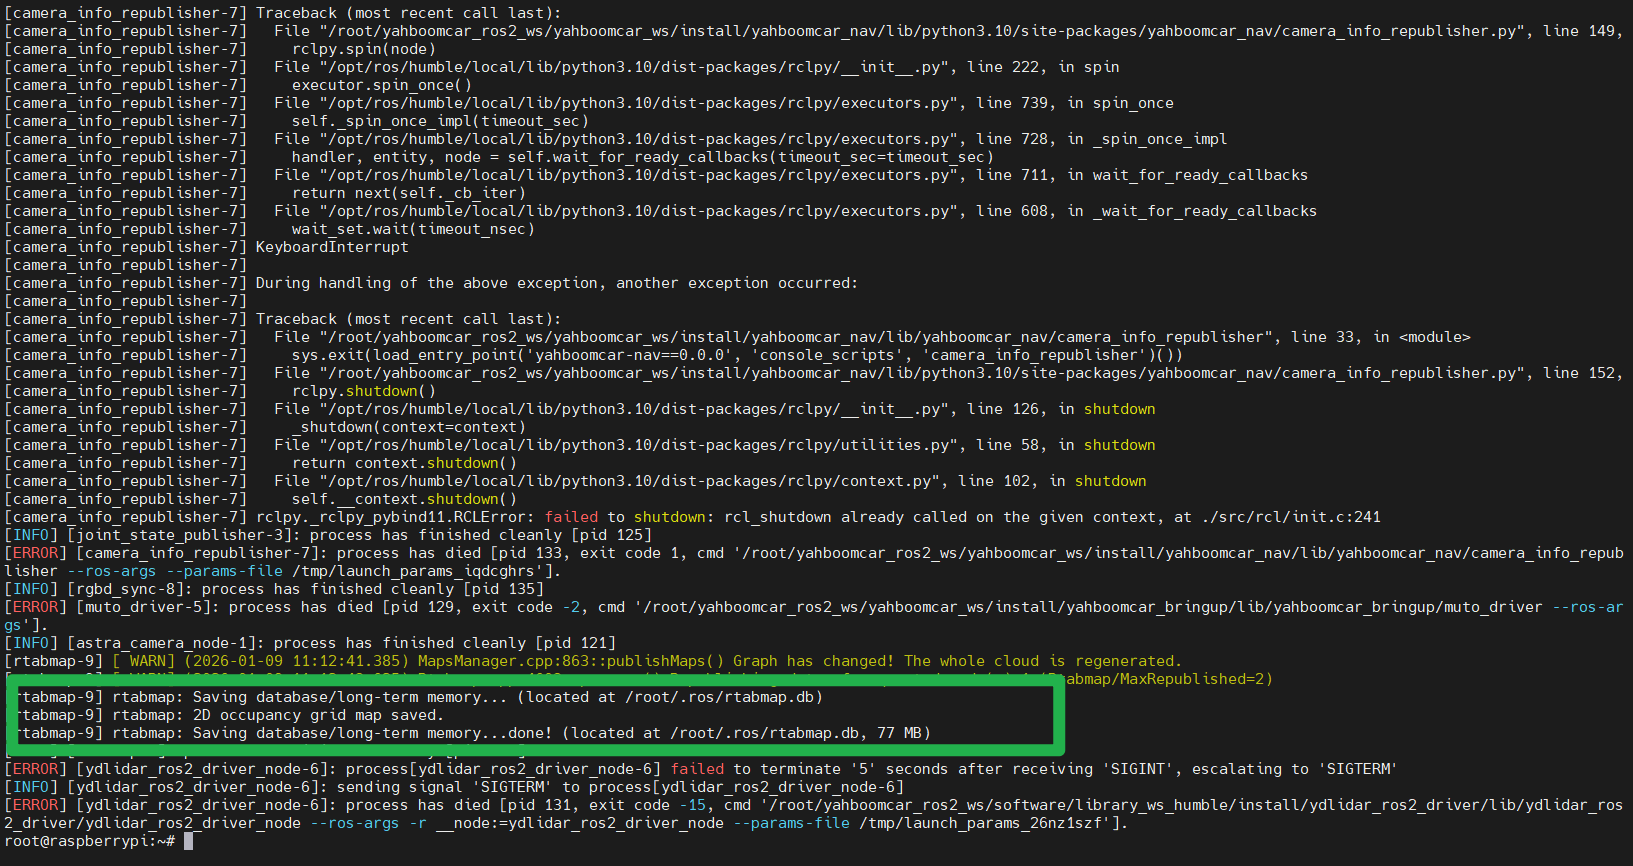
Back up the RTAB-Map database (optional)
Each time you start mapping, the RTAB-Map database will be overwritten.
/root/.ros/rtabmap.db
Back it up to a fixed location:
xxxxxxxxxxcp /root/.ros/rtabmap.db ~/yahboomcar_ros2_ws/maps/rtabmap.db3. Navigation (AMCL + Map Server + Nav2)
3.1 One-click start
xxxxxxxxxxros2 launch yahboomcar_nav rtabmap_nav_launch.py with_rtabmap:=true with_odom:=true launch_camera:=true publish_tf:=true
3.2 Step 2: Open navigation RViz (recommended to start in virtual machine)
xxxxxxxxxxros2 launch yahboomcar_nav display_rtabmap_nav_launch.py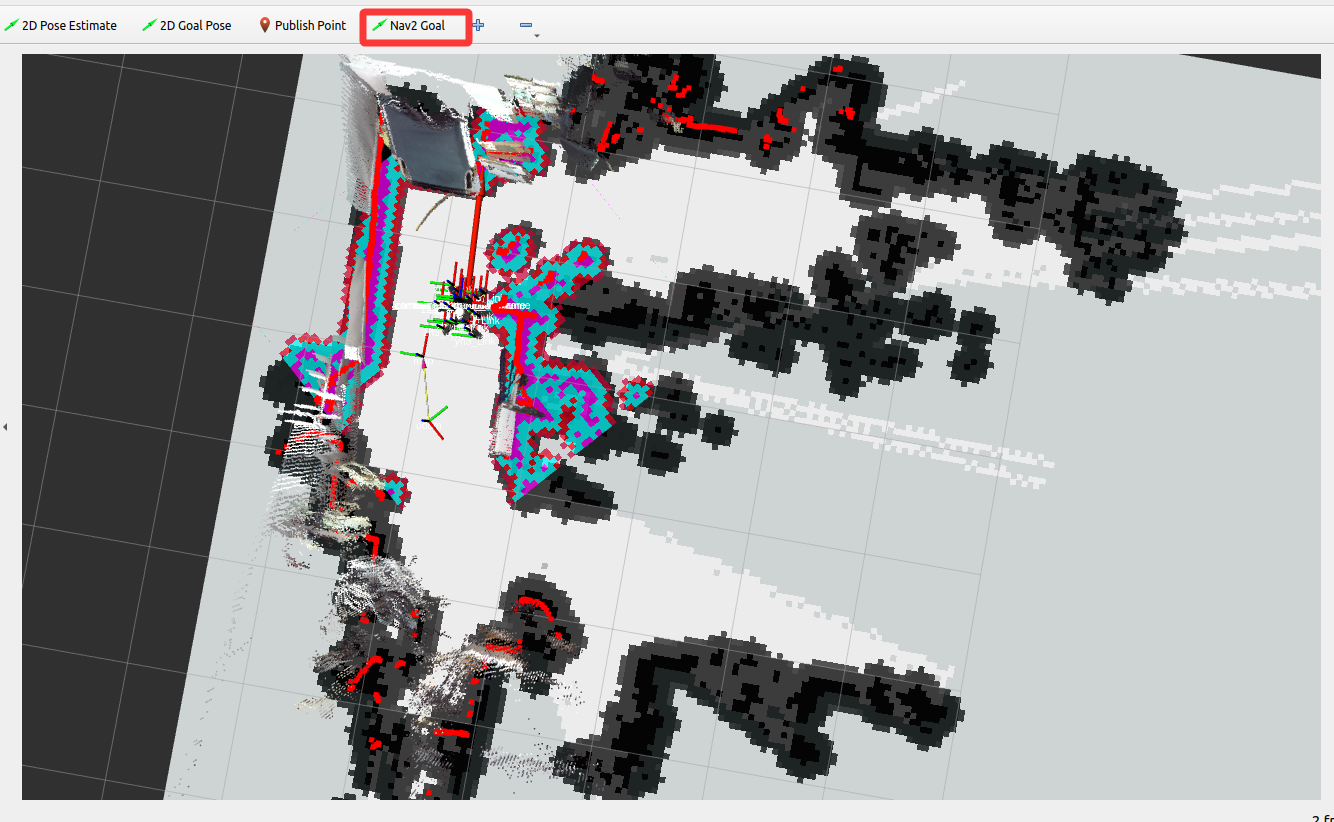
Here we can also open an rtabmap_viz window. rtabmap_viz is the visualization interface for RTAB-Map, a wrapper for the RTAB-Map GUI graphics library. It is similar to rviz but has options specific to RTAB-Map. It can subscribe to different topics, such as odom, rgb/image, depth/image, scan, etc., to display the SLAM process and results, while loading the 3D map into rviz. It is recommended to start this step in a virtual machine.
Note that after starting this step, the map will not be displayed. You need to wait for the navigation node to start in the next step before it will be displayed.
xxxxxxxxxxros2 launch yahboomcar_nav rtabmap_viz_launch.py
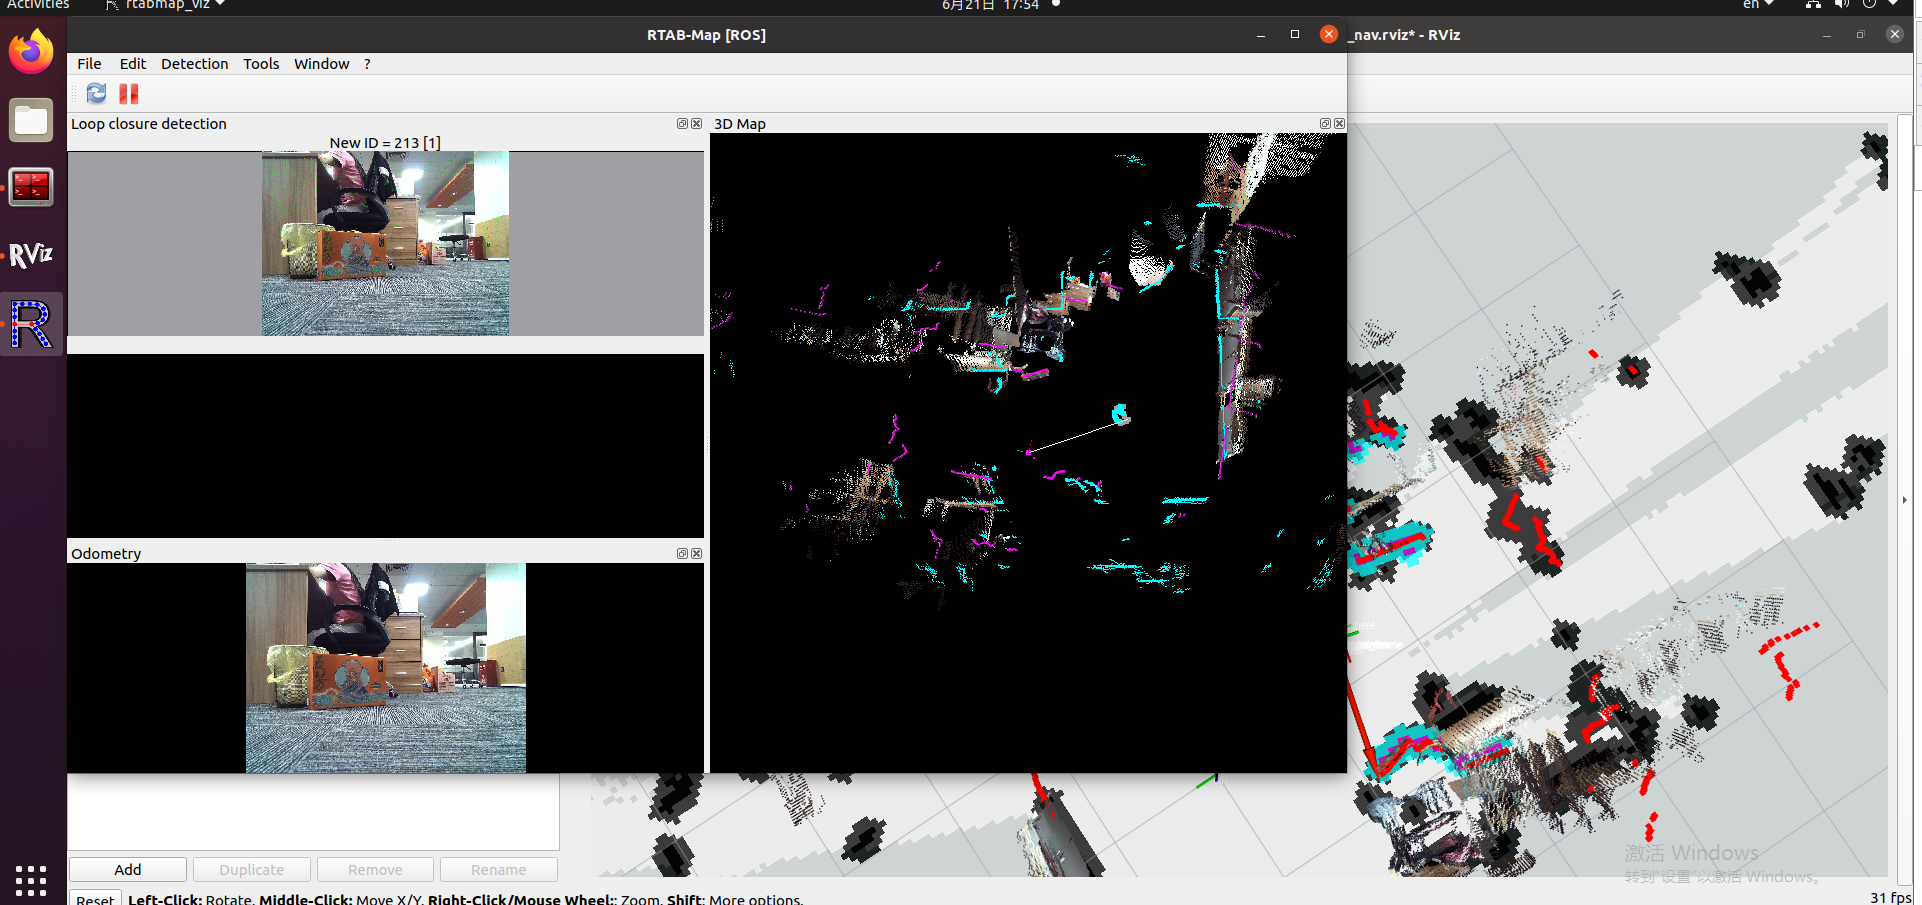
3.3 Standard navigation operations in RViz
- Set Fixed Frame to
map. - Click
Nav2 Goal, select a target location on the map, and drag a directional arrow. - The robot starts planning and moving.