Welcome to Muto RS Robot repository
10)ROS2 navigation and avoid
10.ROS2 navigation and avoid
10.ROS2 navigation and avoid1. Use1.1. Configuration before use1.2. Start chassis and lidar related nodes1.3. Start rviz to display the map1.4. Start navigation node1.5. Single-point navigation1.6. Multi-point navigation2. Node analysis2.1. Display calculation graph2.2. Navigate details of each node2.3. TF transformation
1. Use
1.1. Configuration before use
Note: Since the Muto series robots are equipped with multiple lidar devices, the factory system has been configured with routines for multiple devices. However, since the product cannot be automatically recognized, the lidar model needs to be manually set.
After entering the container: Make the following modifications according to the lidar type:
root@ubuntu:/# cdroot@ubuntu:~# vim .bashrc
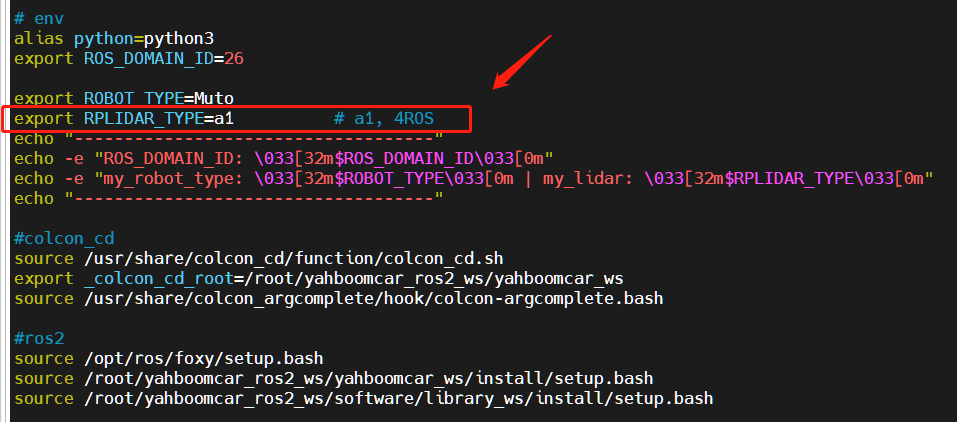
After the modification is completed, save and exit vim, and then execute:
xxxxxxxxxxroot@jetson-desktop:~# source .bashrc------------------------------------ROS_DOMAIN_ID: 26my_robot_type: Muto | my_lidar: a1------------------------------------root@jetson-desktop:~#
You can see the current modified lidar type.
1.2. Start chassis and lidar related nodes
First, the port binding operation needs to be performed on the host machine [that is, Muto's pi]. The two devices of lidar and serial port are mainly used here;
Then check whether the lidar and serial device are in the port binding state: on the host machine [that is, Muto's pi] refer to the following command to execute the check. The successful binding is as follows:

If it shows that the lidar or serial device is not bound, you can plug and unplug the USB cable to check again.
Enter the docker container and execute in a terminal:
xxxxxxxxxxros2 launch yahboomcar_nav laser_bringup_launch.py
1.3. Start rviz to display the map
Configure multi-machine communication in Ubuntu virtual machine and docker container
It is recommended to start this step in a virtual machine: to maintain time synchronization and reduce resource consumption, because if you use vnc, it is very dependent on the network and may cause navigation failure.
[Note that you must first start the node that displays the map, and then start the navigation node in step 3.This is because the navigation2 terminal map topic is only published once. If you start the navigation node first and then start the rviz display, you may not be able to subscribe to the map topic published only once, resulting in the map not being displayed]
xxxxxxxxxxros2 launch yahboomcar_nav display_nav_launch.py
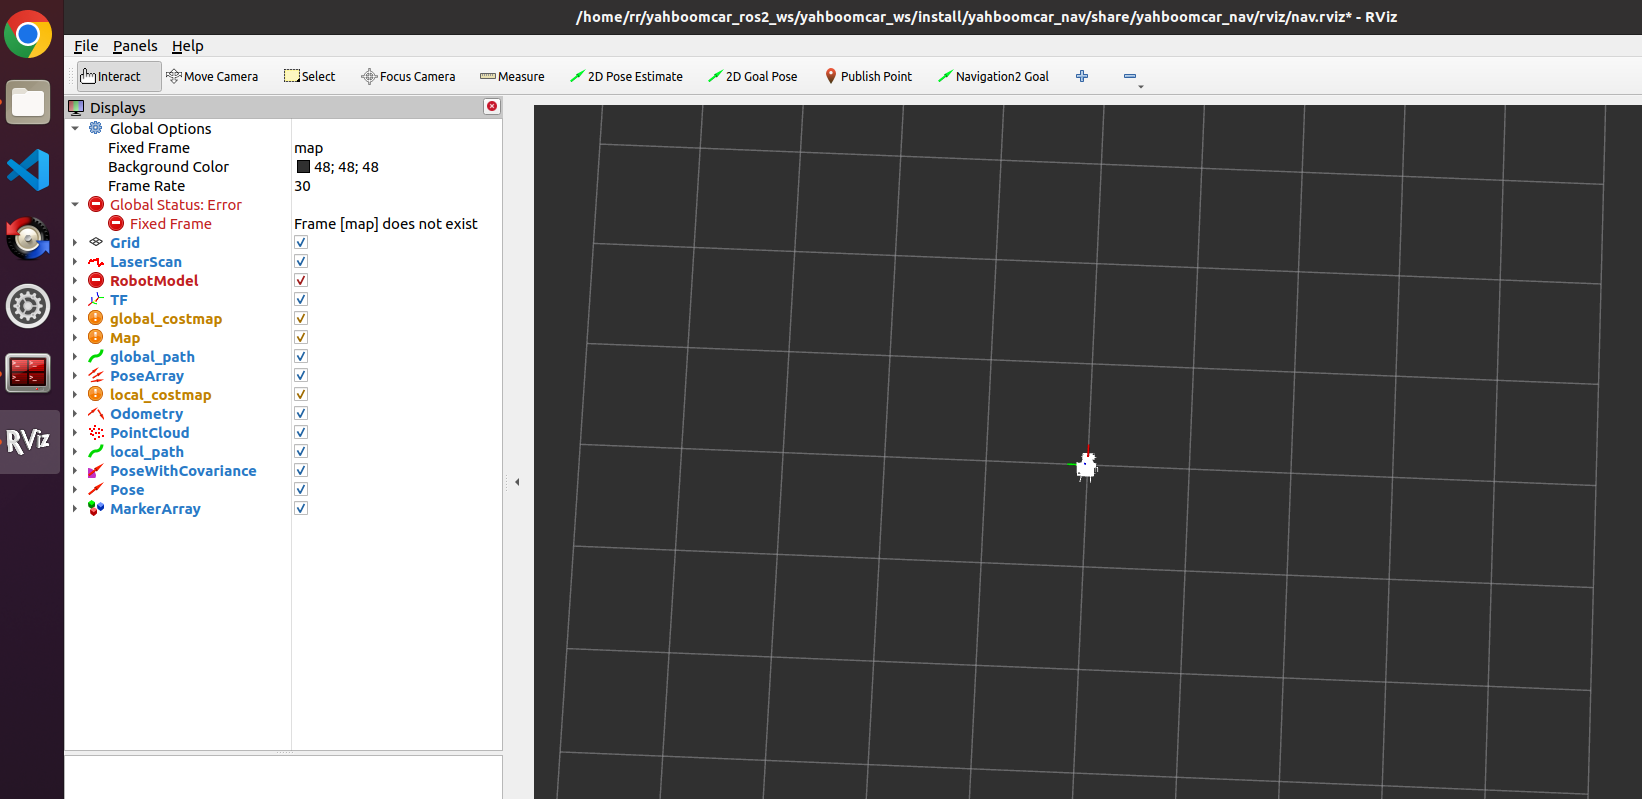
At this time, the map will not be displayed on the screen, and there is no need to worry about the red topics of each node on the left, because the navigation node has not been started yet.
1.4. Start navigation node
- There are two navigation algorithms: DWA and TEB
- Navigation can be divided into single-point navigation and multi-point navigation, which will be introduced below.
Enter the docker container and execute in a terminal:
- Start the lidar odometer
ros2 launch rf2o_laser_odometry rf2o_laser_odometry.launch.py
- Start the navigation node
x
ros2 launch yahboomcar_nav navigation_dwa_launch.py # dwb navigationOrros2 launch yahboomcar_nav navigation_teb_launch.py # teb navigation#The above method loads the yahboomcar map by default. If you need to load other maps, please use the following method to start:# dwb navigation ros2 launch yahboomcar_nav navigation_dwa_launch.py map:=/root/yahboomcar_ros2_ws/yahboomcar_ws/src/yahboomcar_nav/maps/test.yaml #The path of the map above is the path of the map that you want to load during navigation. test.yaml is the name of the map, which means that the test map is loaded during navigation. If it is another name, it should be changed accordingly.#or# teb navigation ros2 launch yahboomcar_nav navigation_teb_launch.py map:=/root/yahboomcar_ros2_ws/yahboomcar_ws/src/yahboomcar_nav/maps/test.yaml#The path of the map above is the path of the map that you want to load during navigation. test.yaml is the name of the map, which means that the test map is loaded during navigation. If it is another name, it should be changed accordingly.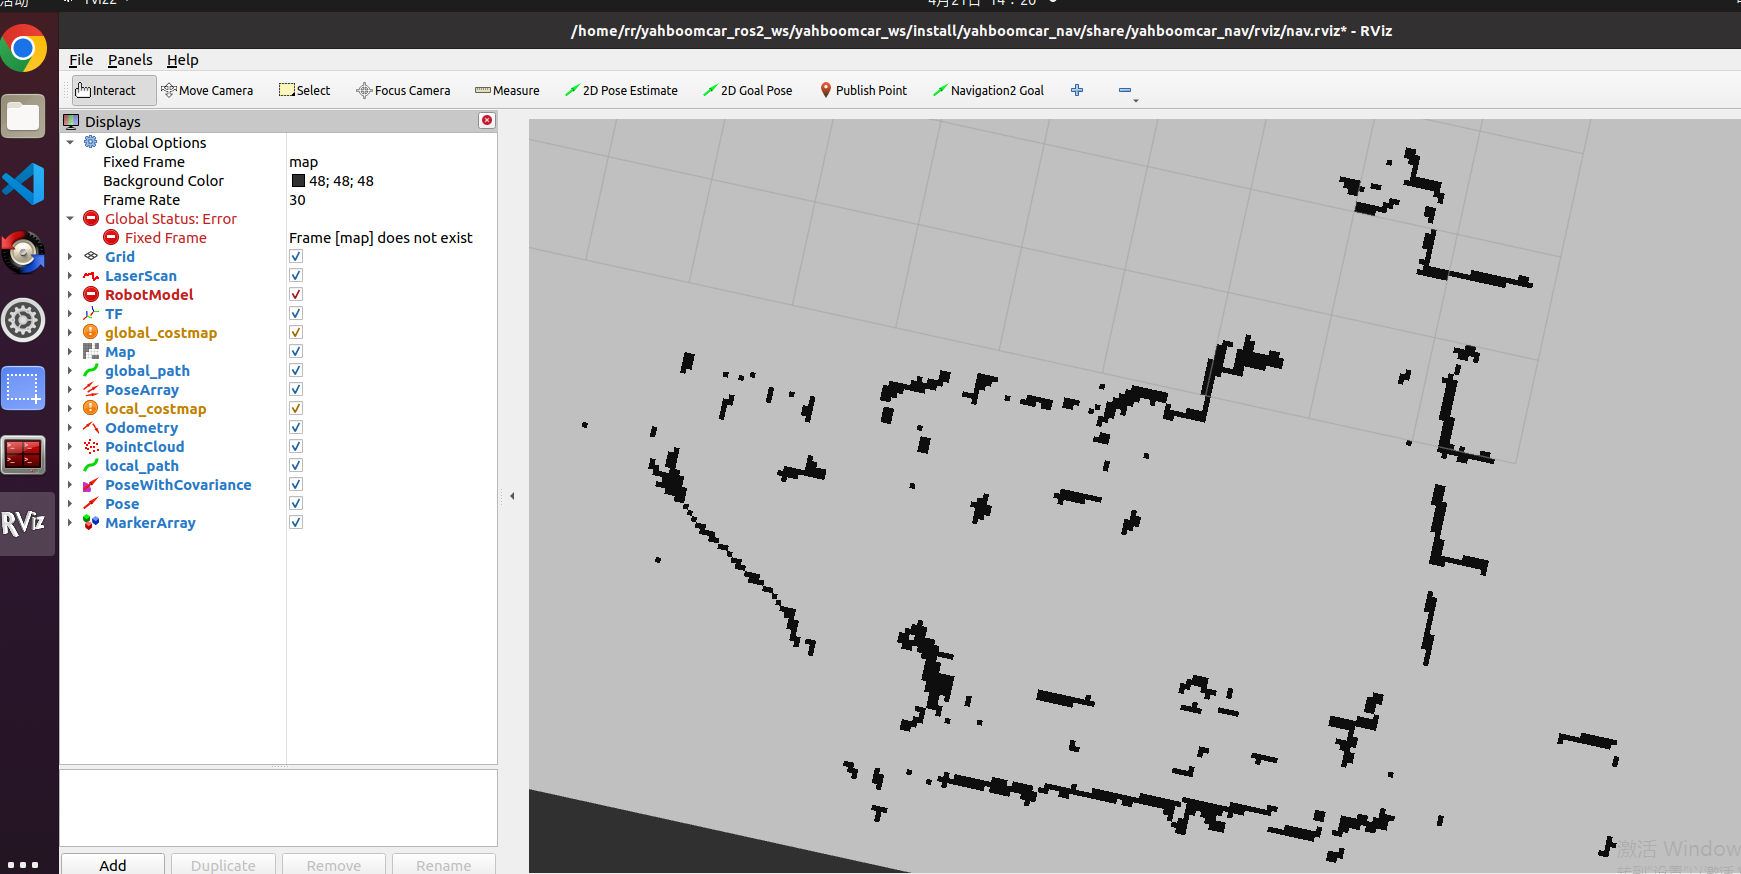
- Click [2D Pose Estimate] on rviz, then compare the pose of the car and mark an initial pose for the car on the map;

The display after marking is as follows:
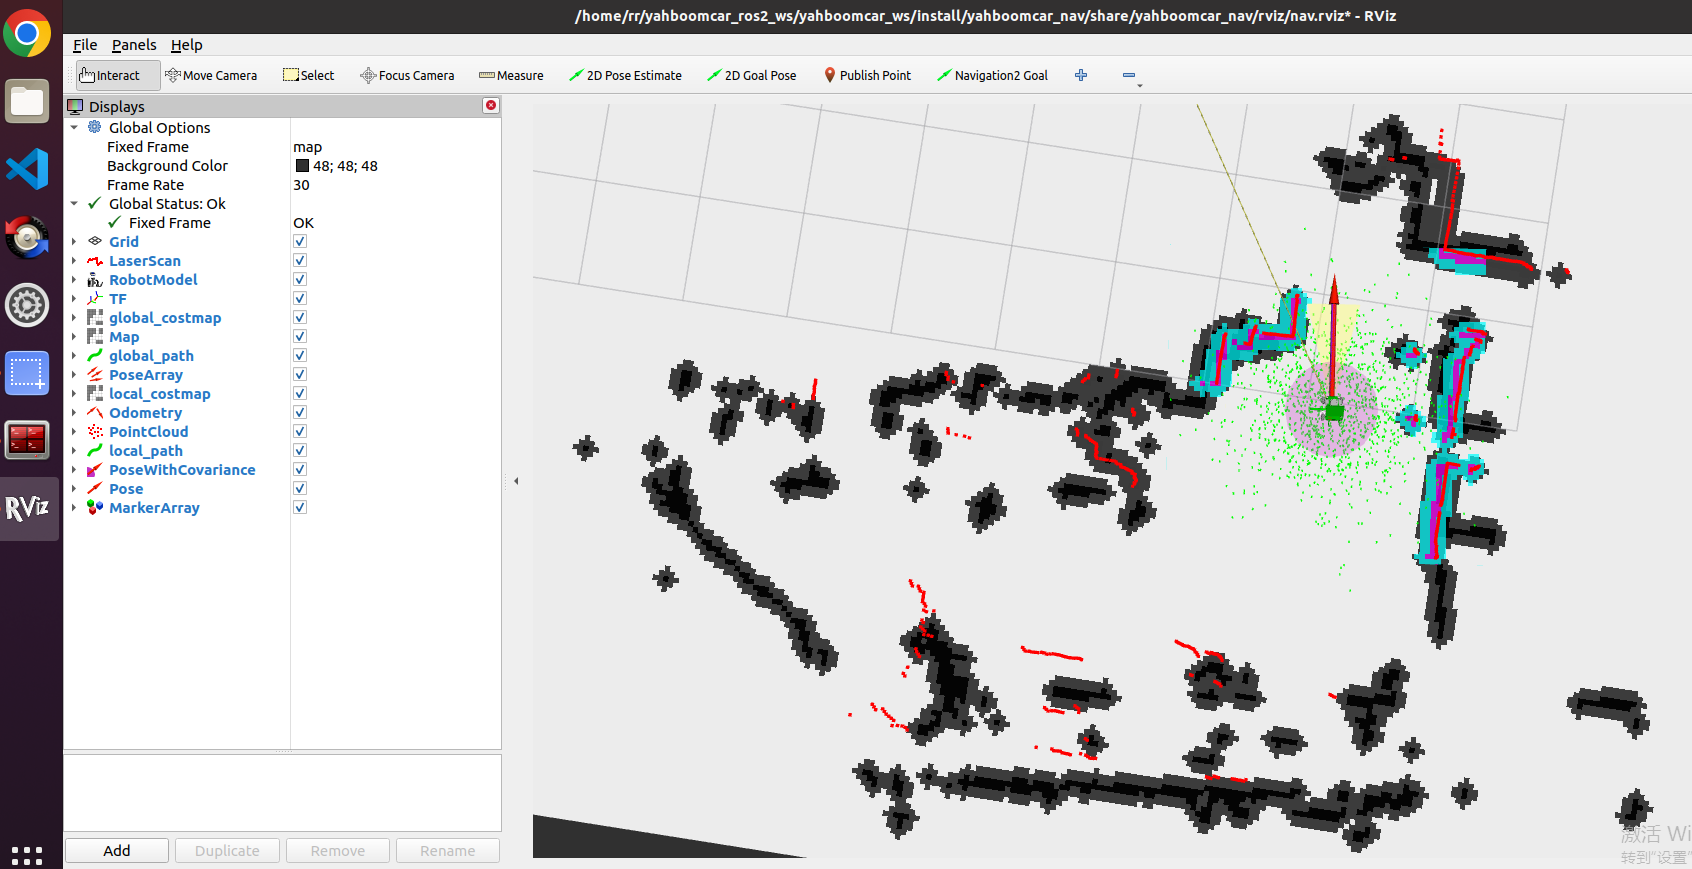
- Compare the overlap between the lidar scanning point and the obstacle, and set the initial pose of the car multiple times until the lidar scanning point and the obstacle roughly coincide;
1.5. Single-point navigation
After the initial pose is set, you can click [2D Goal Pose] to set a navigation target point, and the car will start single-point navigation;

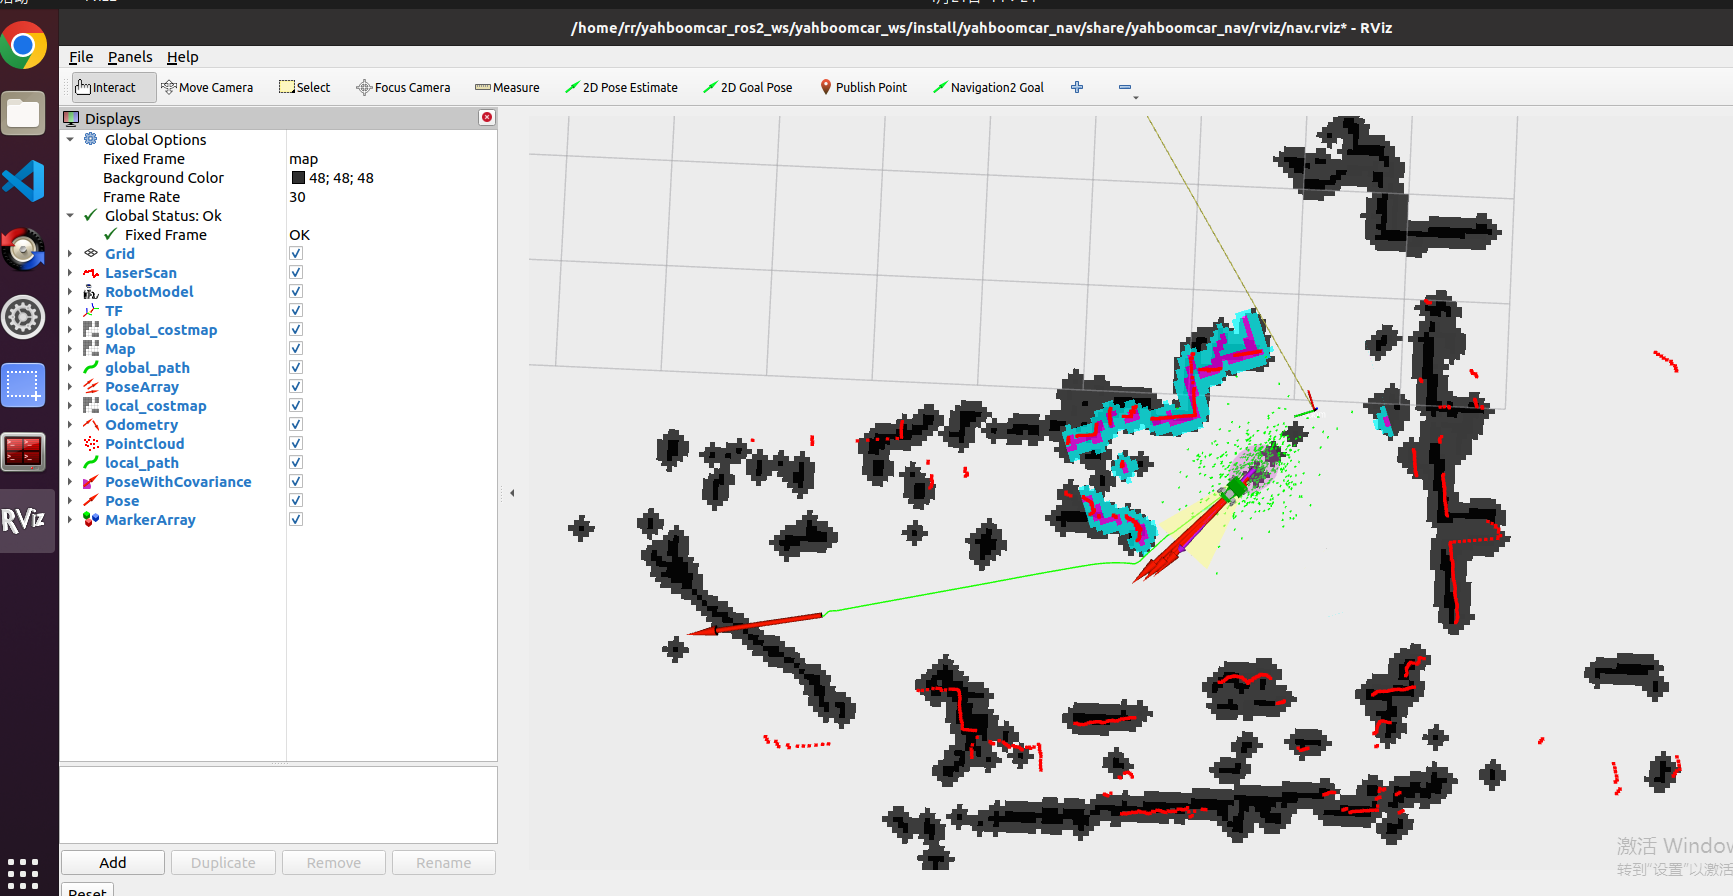
1.6. Multi-point navigation
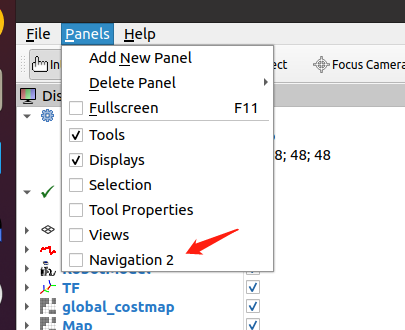
- After the initial pose is set, you can click [Panels] in the upper left corner of rviz --- select [Navigation 2], and the [Navigation 2] panel will be displayed.
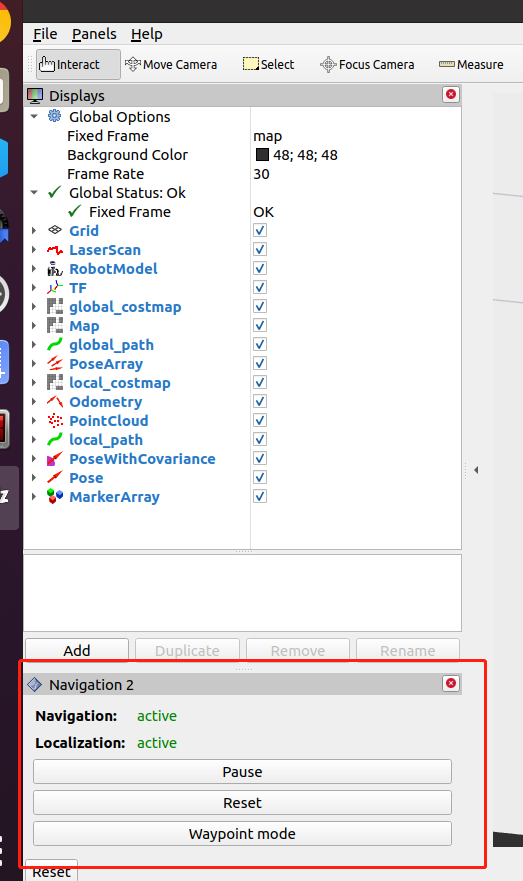
- Click [Waypoint mode] in the picture above, then click [Navigation2 Goal] on rviz to mark a target point on the map. Click [Navigation2 Goal] again to mark the second target point on the map, and the cycle continues, you can mark multiple target points at one time;
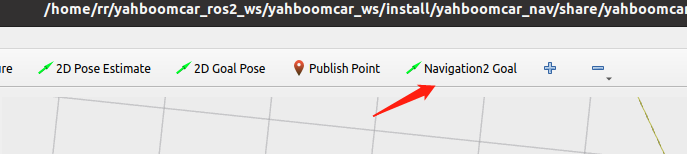
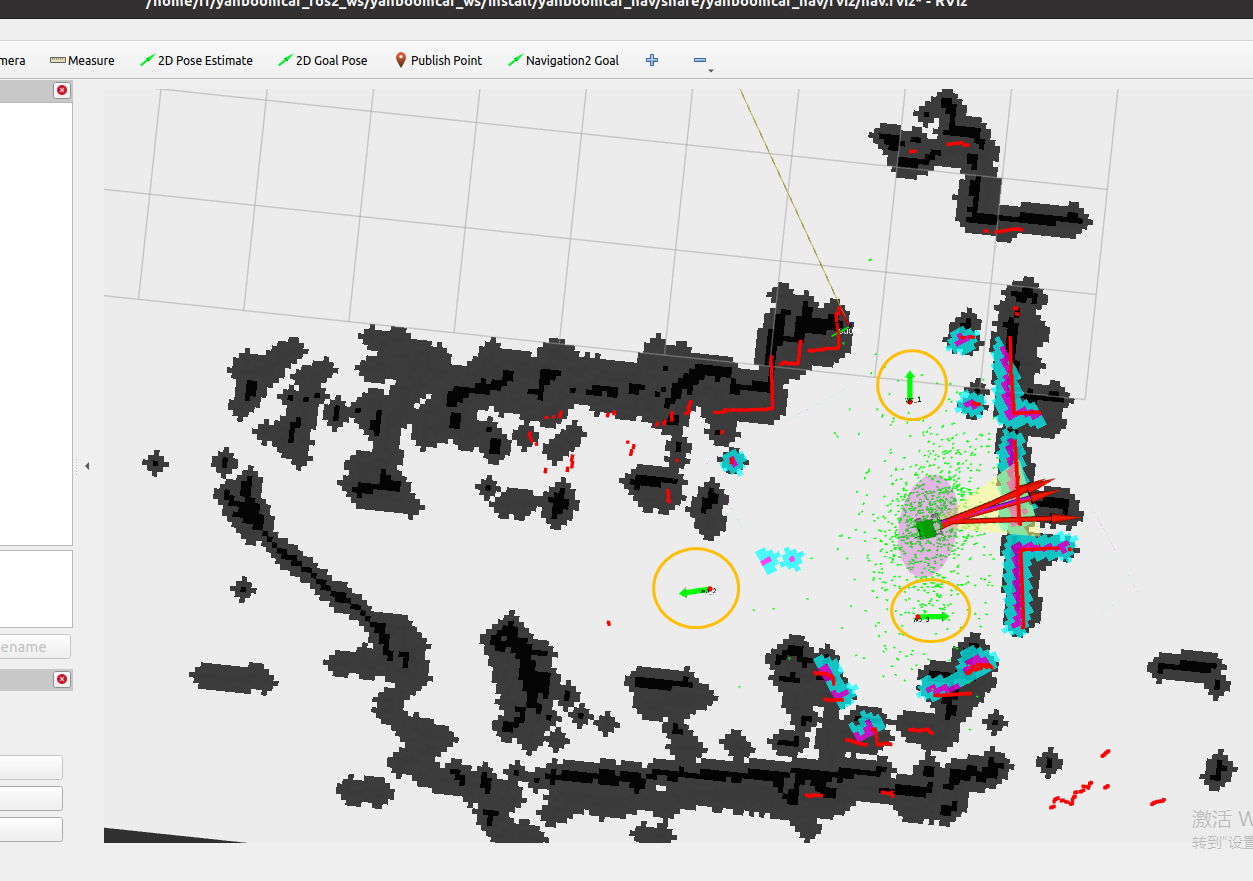
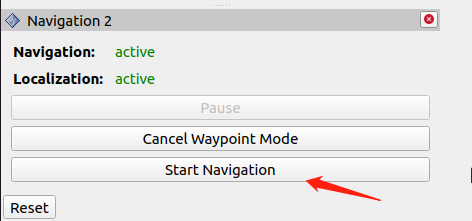
- After marking multiple target points, click [Start Navigation] to start multi-point navigation;
- After the multi-point navigation is completed, the car will stay at the position of the last target point;
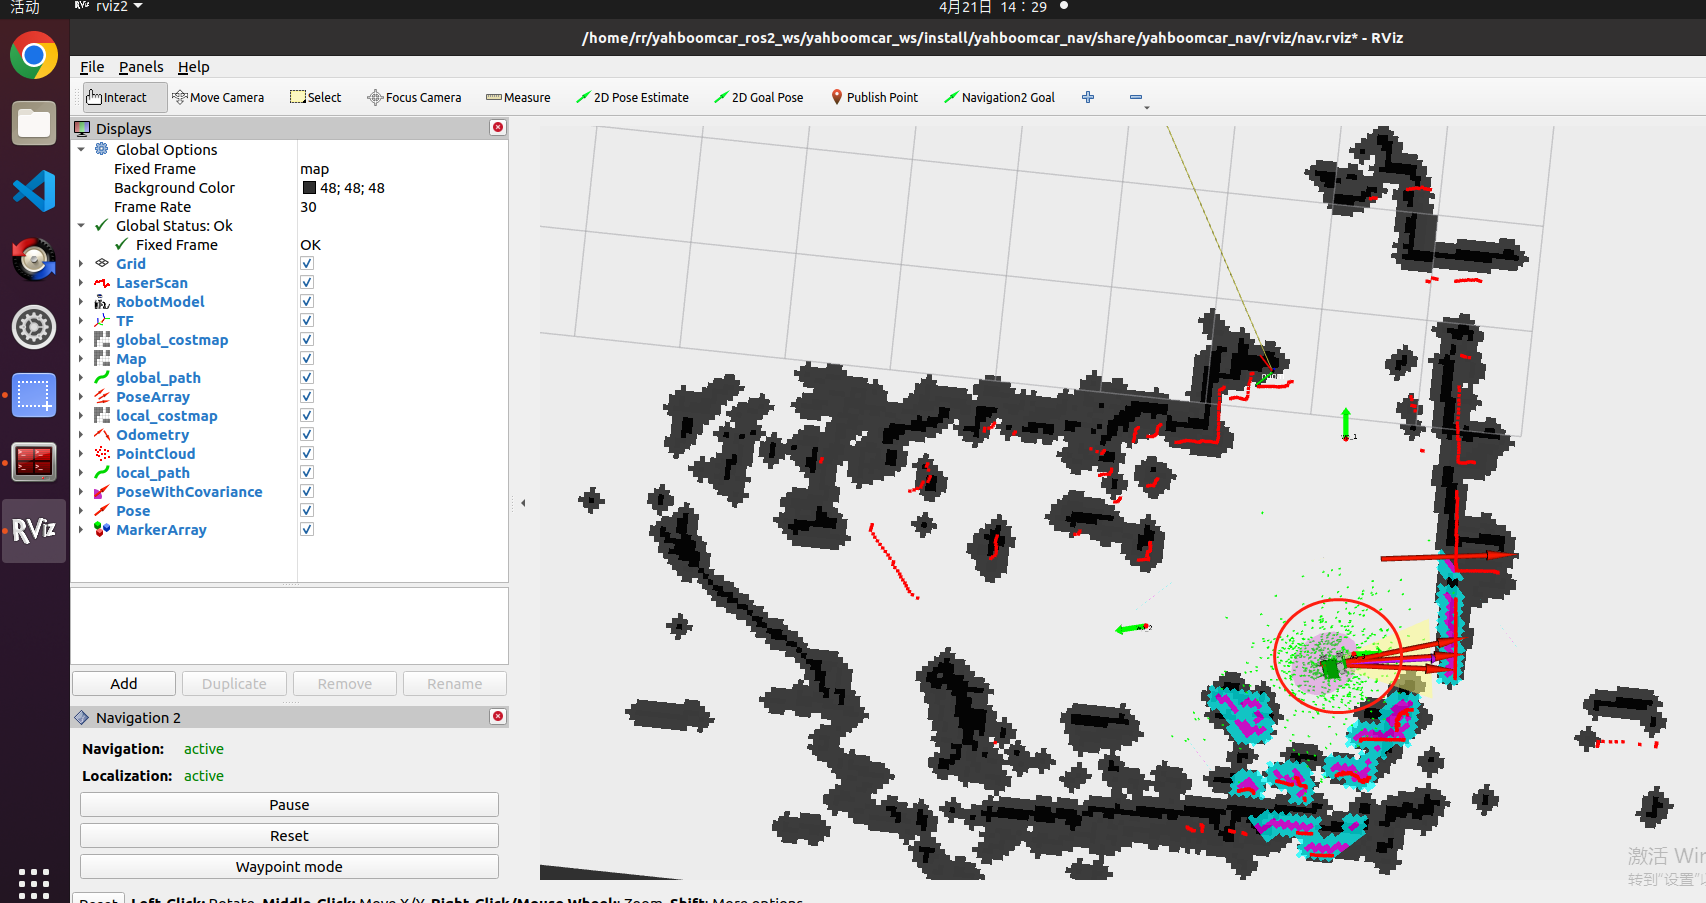
- It may appear during the navigation process. This is due to the navigation2 itself in the ros-foxy version. The subsequent ros2 version has been fixed.

2. Node analysis
2.1. Display calculation graph
xxxxxxxxxxrqt_graph
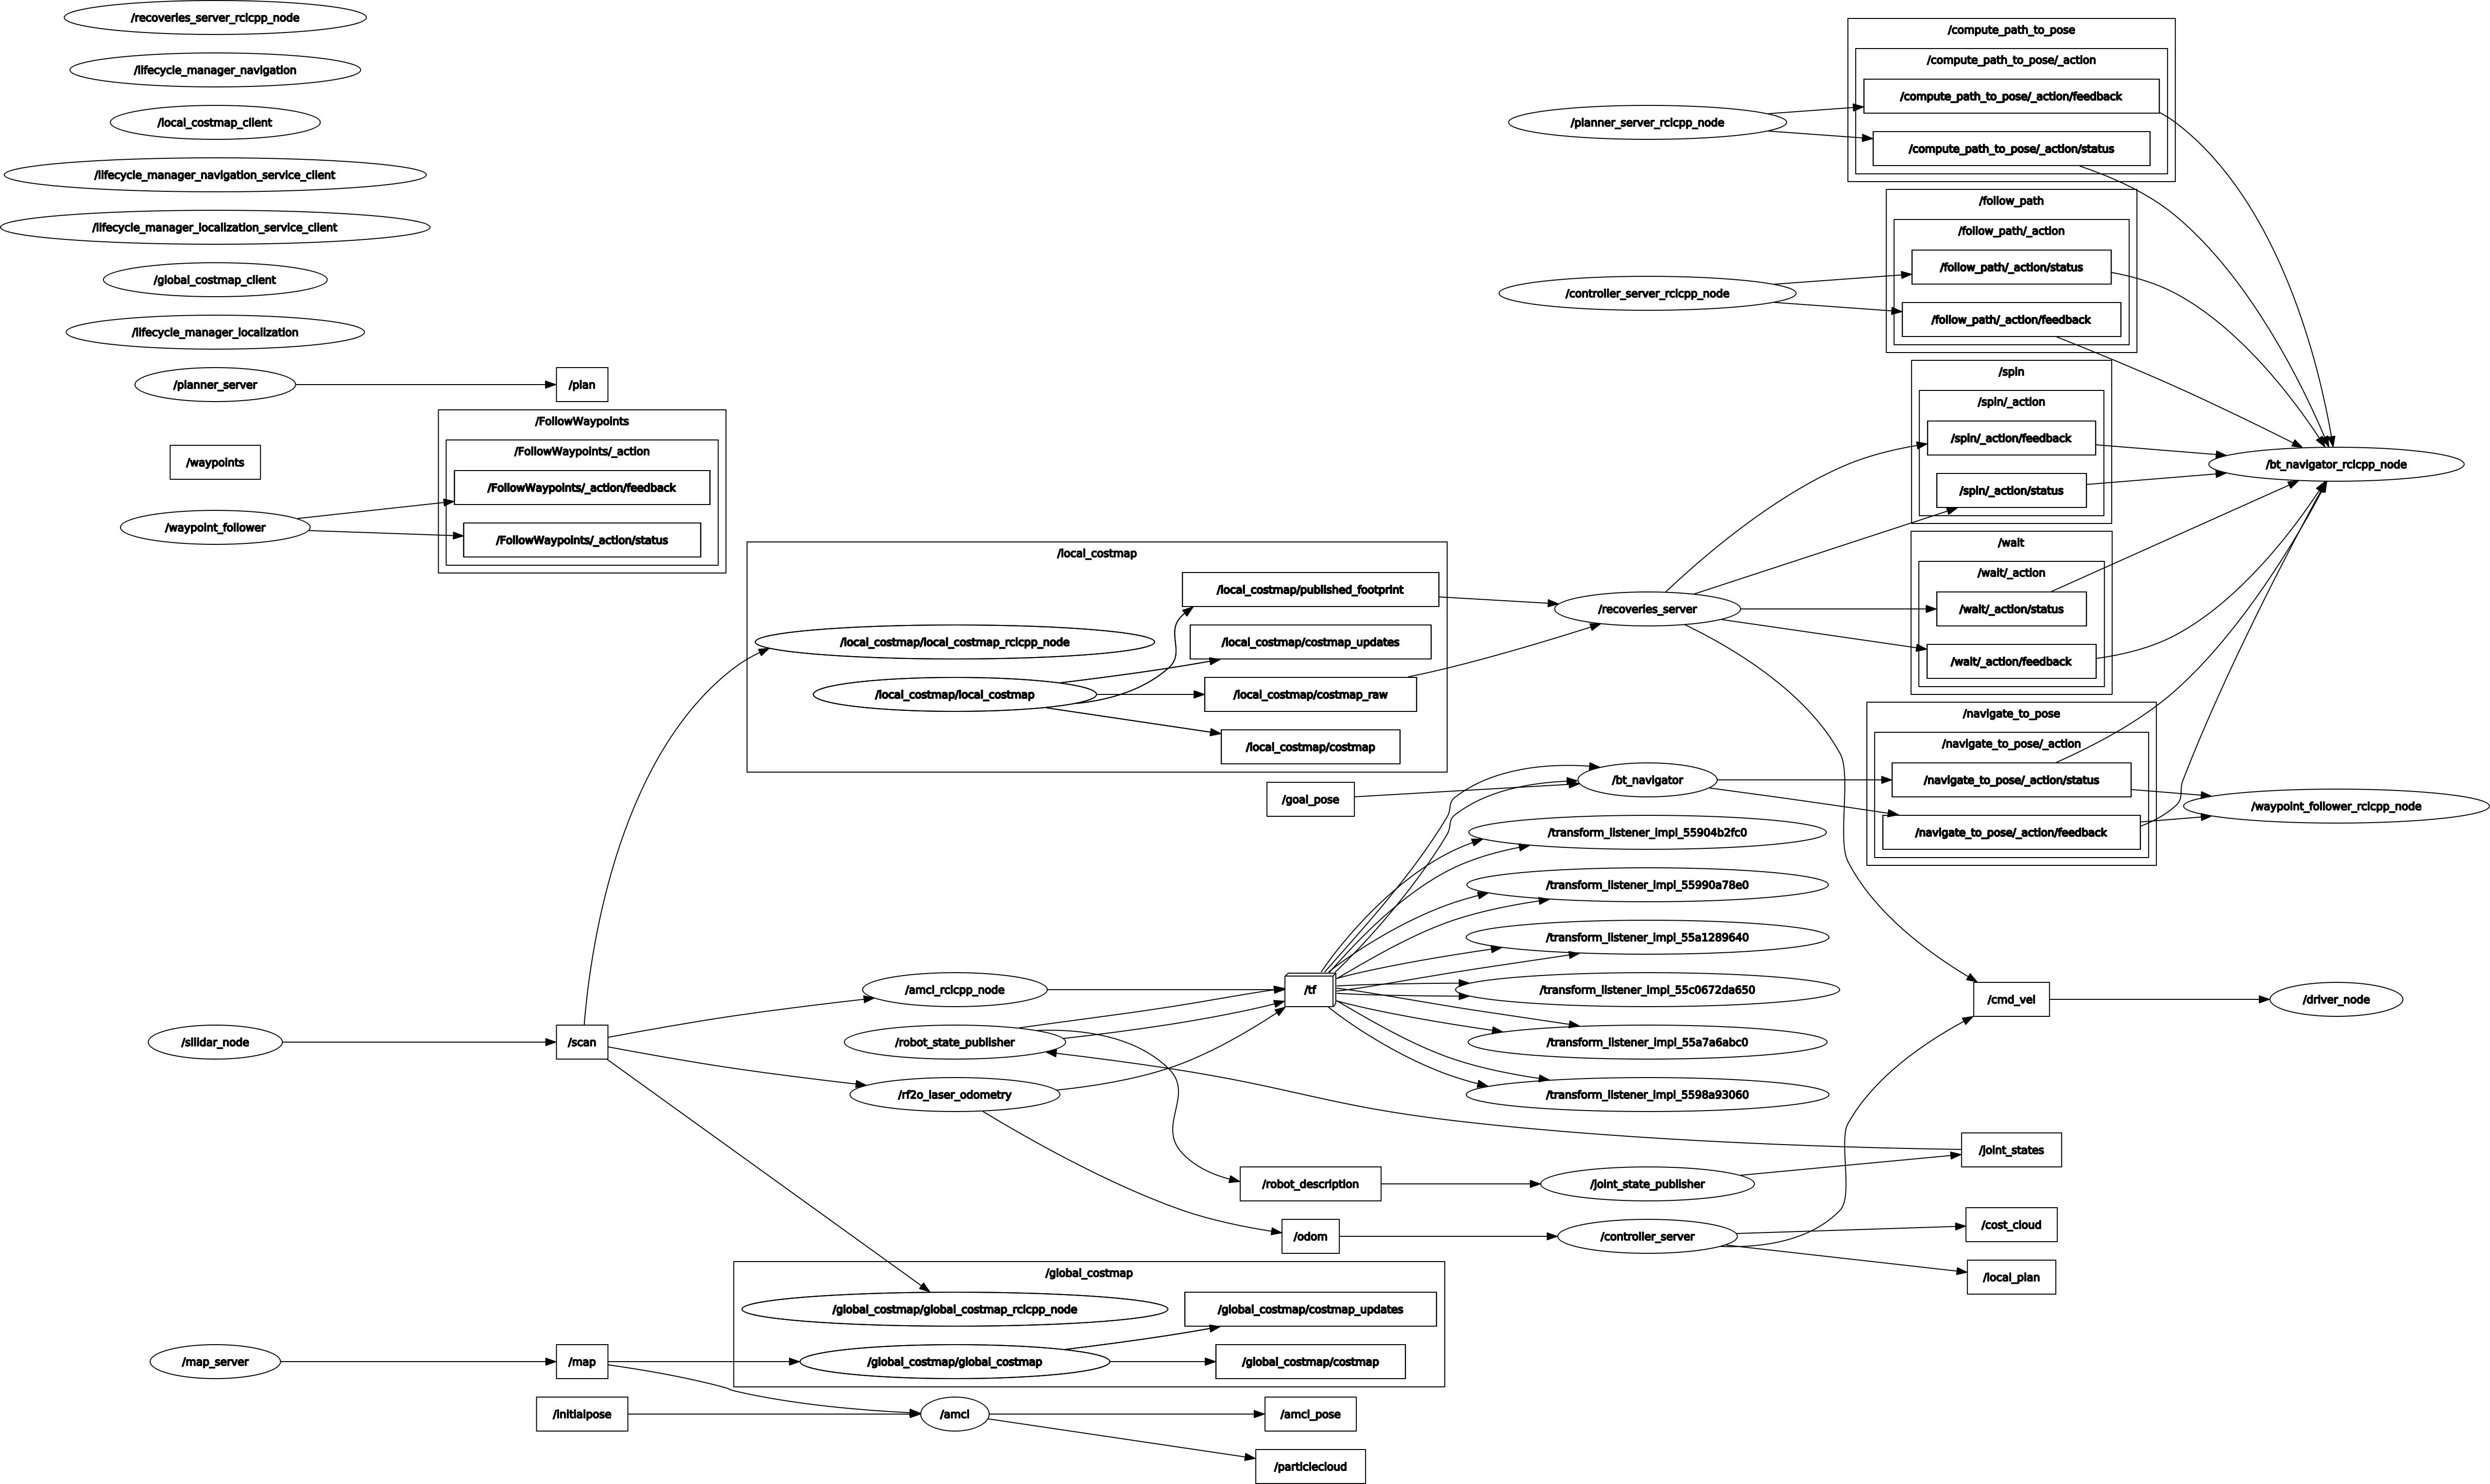
2.2. Navigate details of each node
/amcl
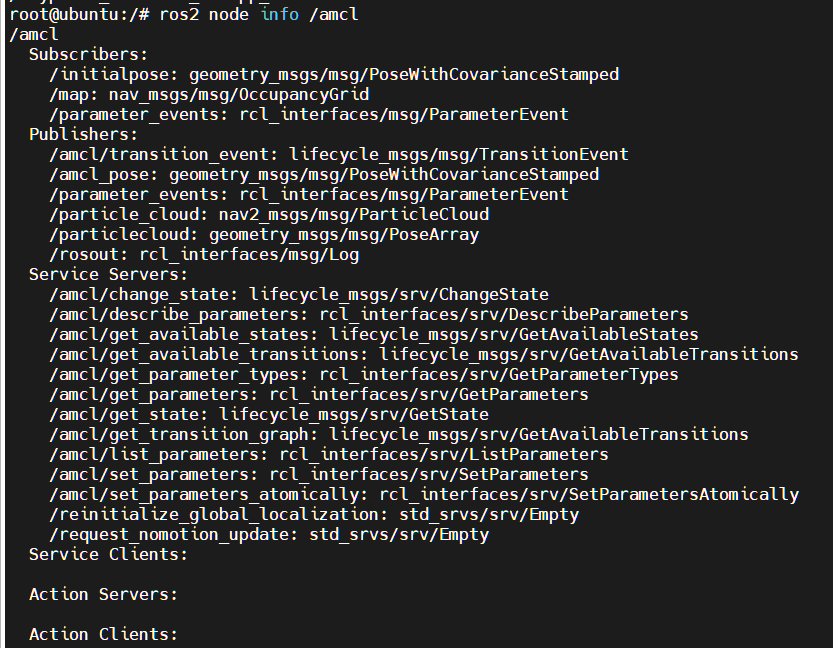
/bt_navigator
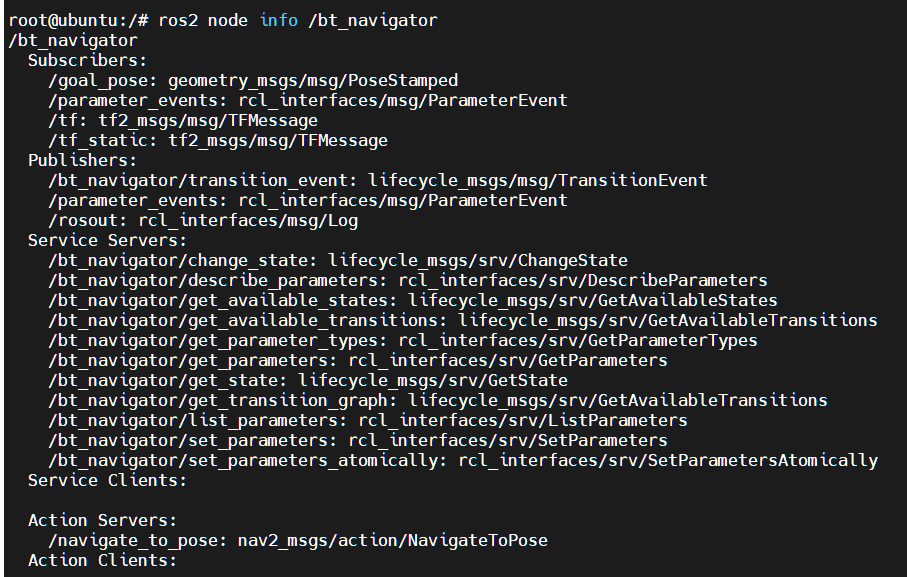
/controller_server
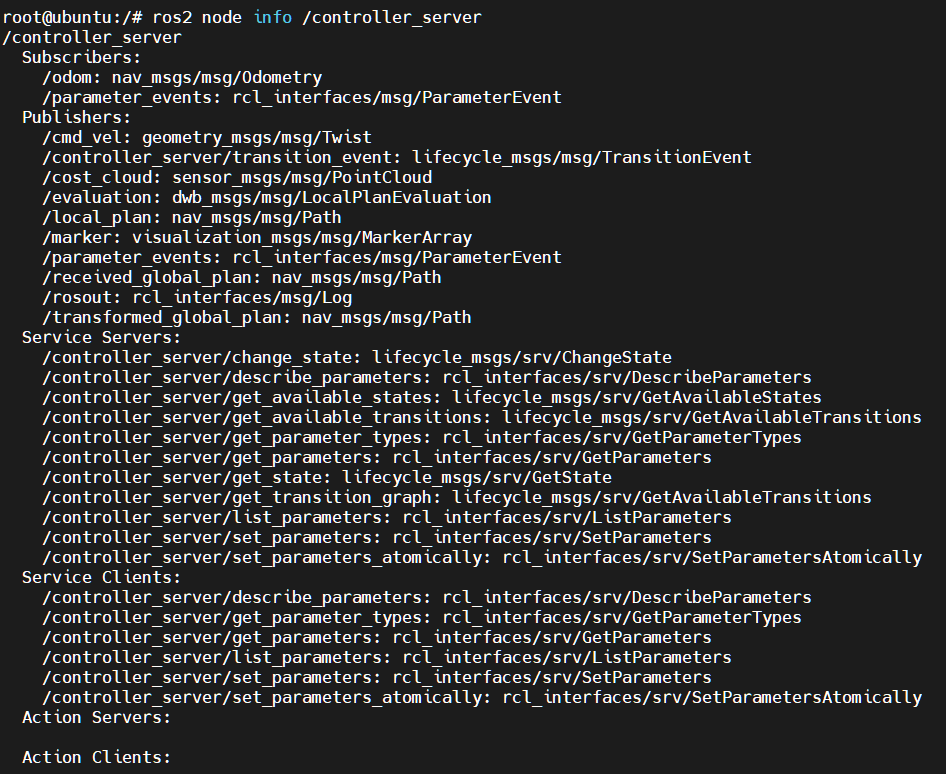
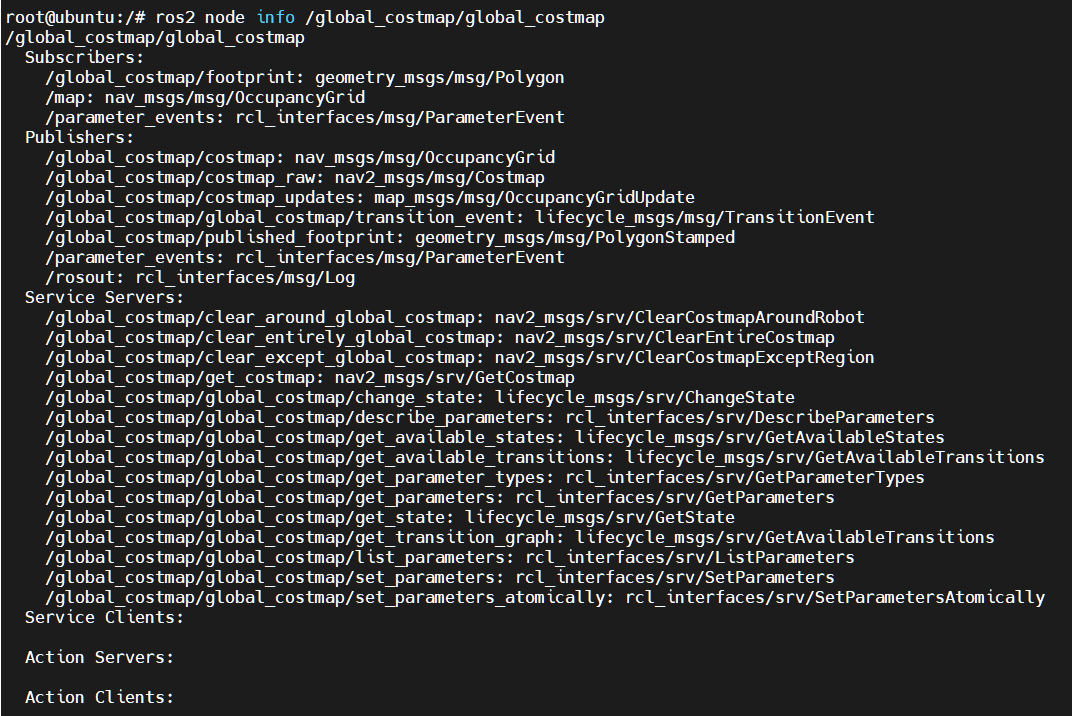
/global_costmap/global_costmap
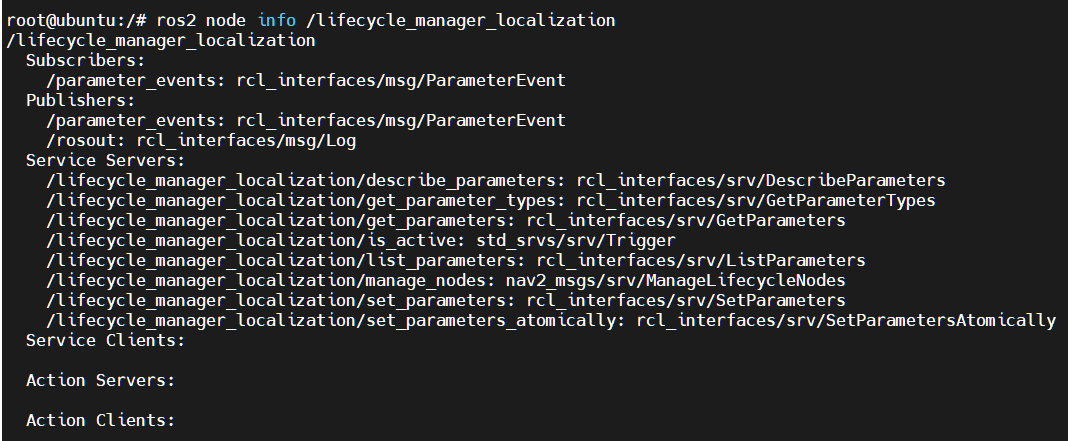
/lifecycle_manager_localization
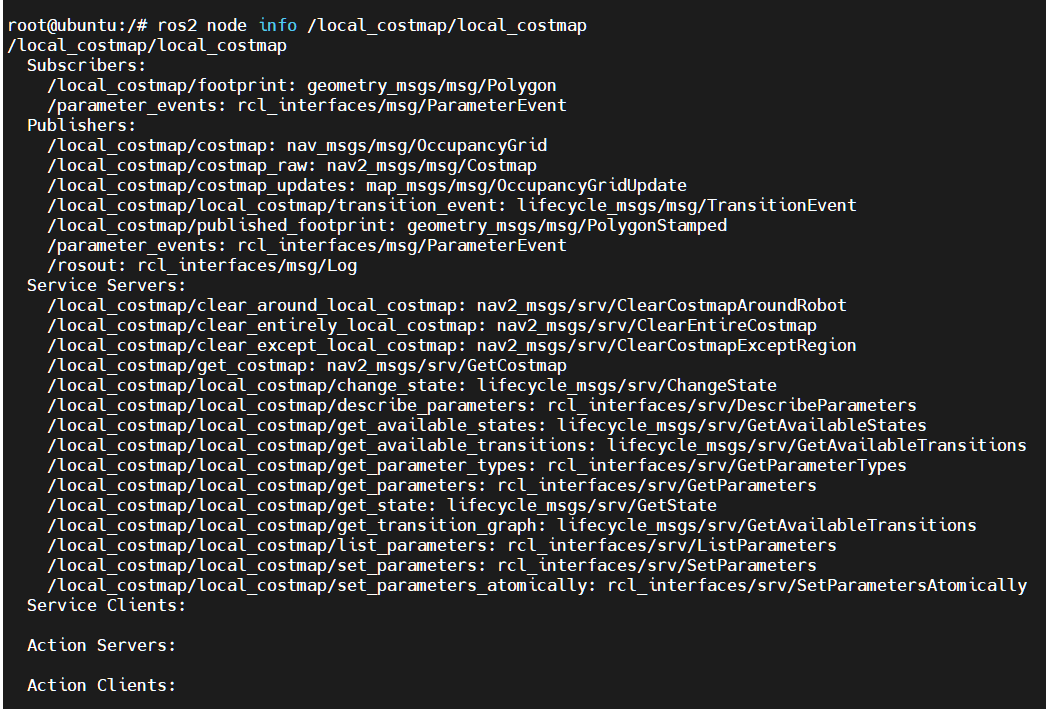
/local_costmap/local_costmap
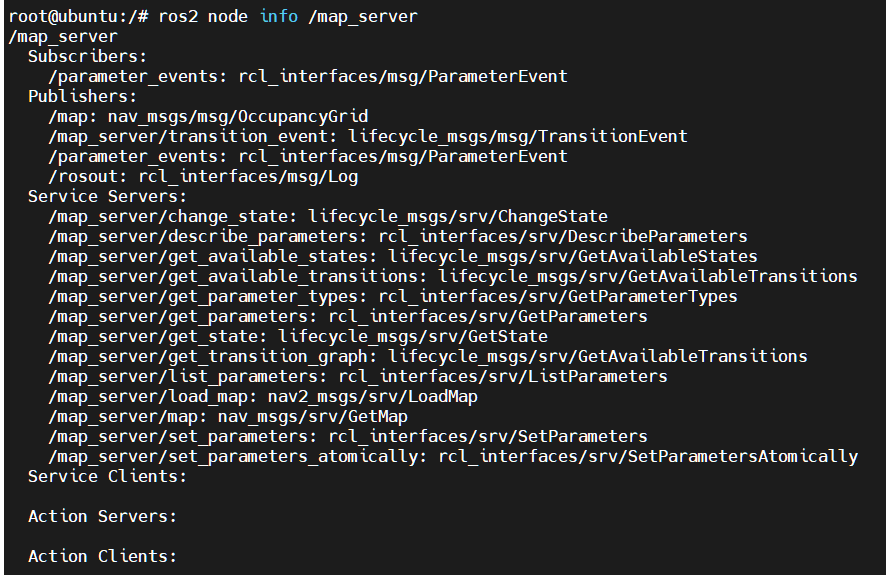
/map_server
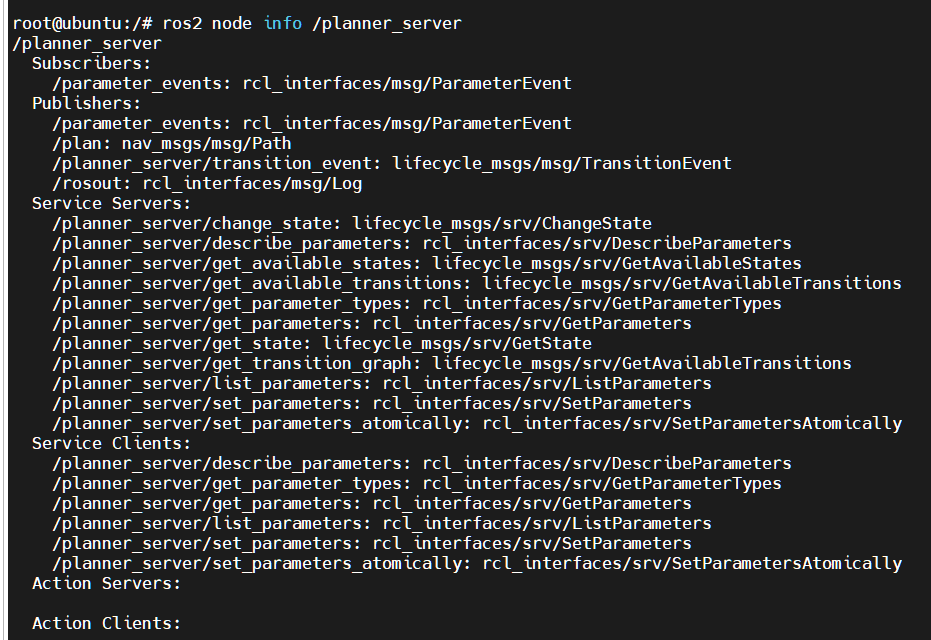
/planner_server
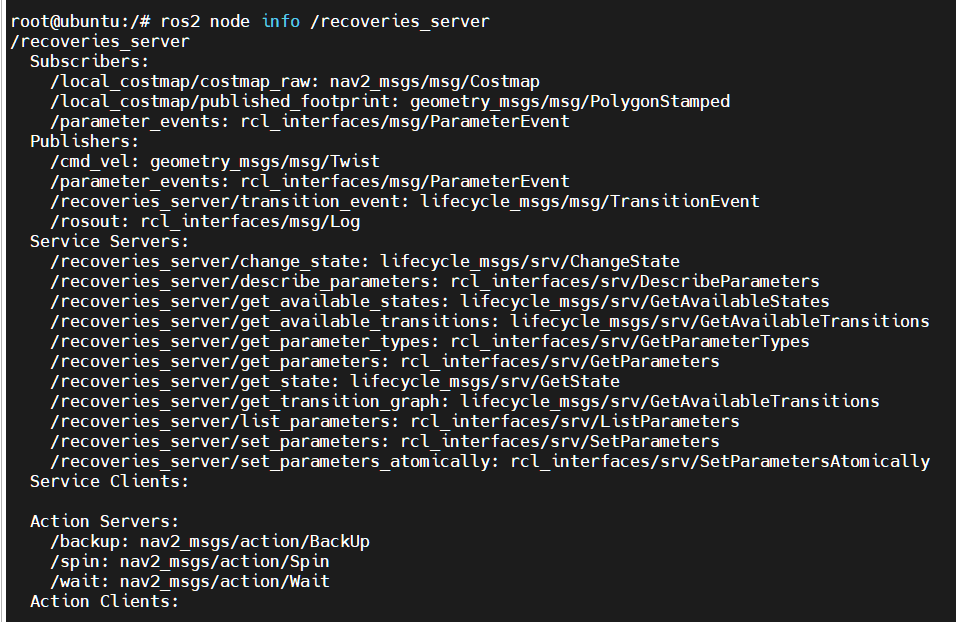
/recoveries_server
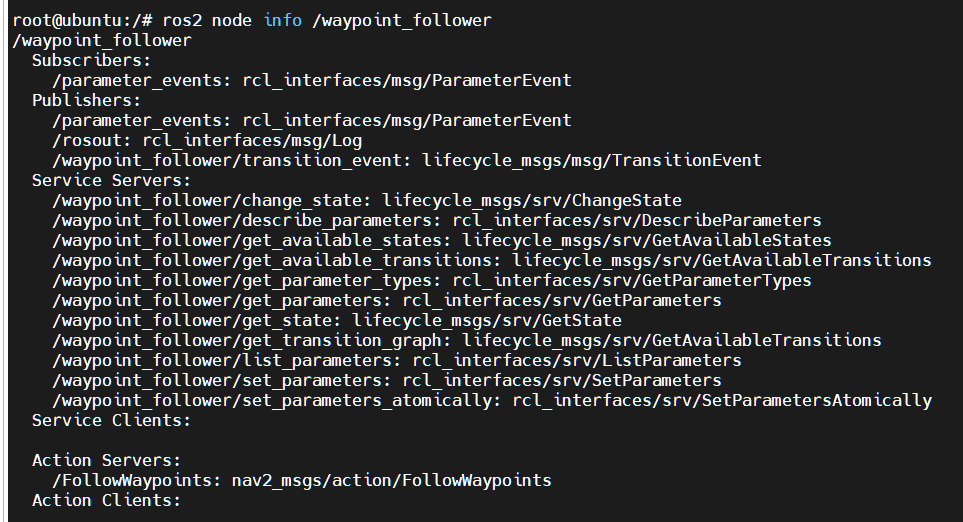
/waypoint_follower
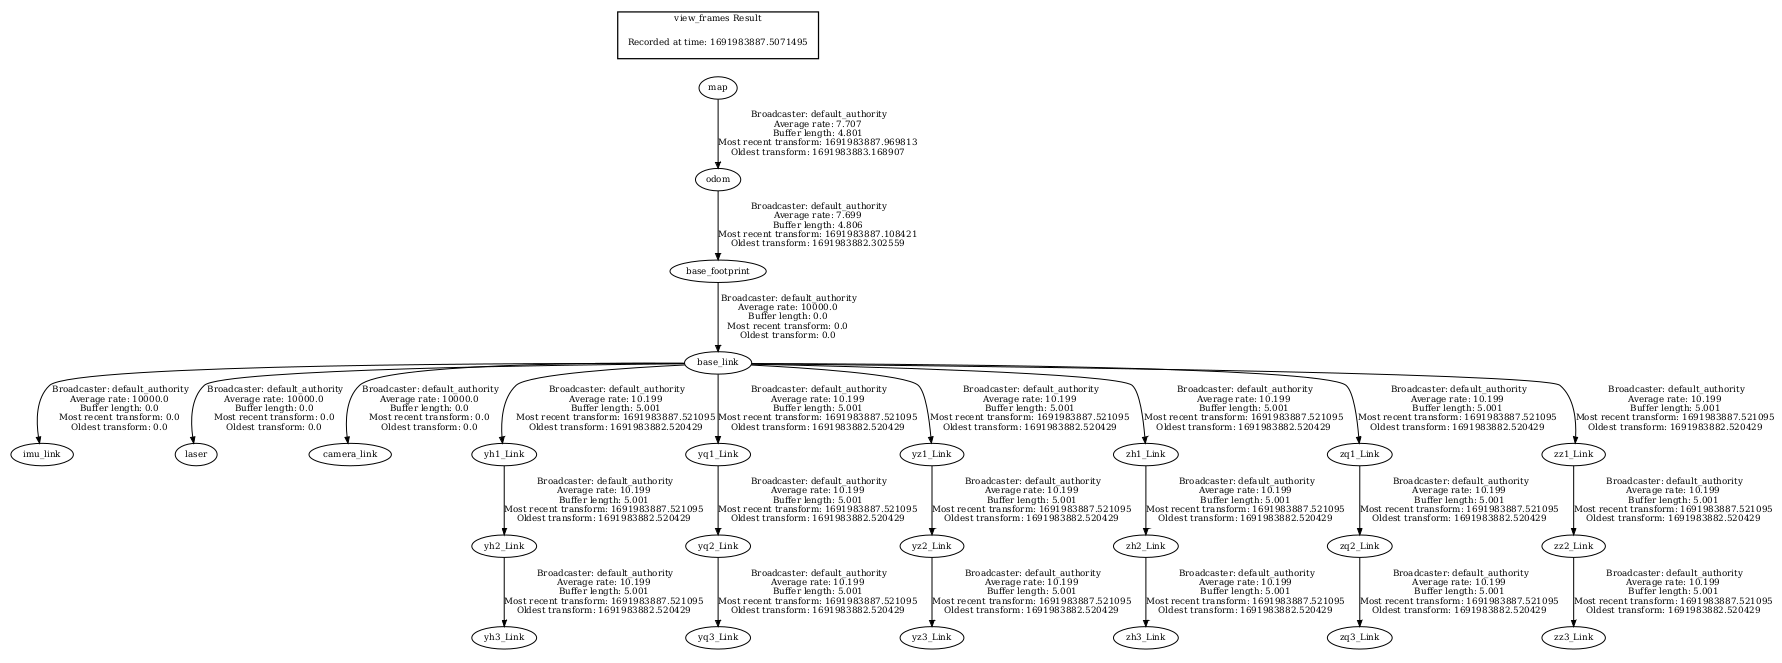
2.3. TF transformation
xxxxxxxxxxros2 run tf2_tools view_frames.py