Welcome to Jetson Orin NANO Developer Kit repository
06.Upgrade to SUPER version (Optional)
Writing the SUPER Official Clean System
Writing the SUPER Official Clean SystemInstalling the Official Clean System from a USB Drive1. Confirming the Device and Boot Prerequisites2. Creating the Installation USB Drive3. Installing from the USB Drive to the NVMe4. Acceptance CheckInstalling the Official Clean System in a Virtual Machine1. File Download2. Recovery Mode2.1. Hardware Connection2.2. Software Connection3. Writing the System3.1. Decompressing the Files3.2. Running the Scripts3.3. Writing the System to the SSD4. Starting the System5. Component Environment
Installing the Official Clean System from a USB Drive
The NVIDIA JetPack download page states that the Jetson Orin Nano Developer Kit no longer provides an SD card image, and that a USB drive is created from the unified Jetson installer ISO instead. The JetPack 7.2.1 / Jetson Linux R39.2.1 ISO uses the Super configuration by default for the Orin Nano Developer Kit. The following applies to the NVIDIA official Orin Nano Developer Kit with the NVMe as the target; for third-party SUB carrier boards or modules that are actually Orin NX, confirmation of QSPI/carrier board support for R39.2.1 must first be obtained from the vendor. Do not directly apply the official board configuration.
This is a reinstallation, not an in-place upgrade that keeps data. The installer clears the selected target disk; back up the system, user files, and configurations on the NVMe first. Creating the installation drive also clears the USB drive. The official clean system does not keep the preinstalled cases of the original course. Use a stable power supply throughout, and do not cut the power while QSPI is being written.
1. Confirming the Device and Boot Prerequisites
This procedure has two different write targets: the onboard QSPI stores the UEFI/boot firmware, and the NVMe stores Jetson Linux. Complete the required QSPI update first, then install to the NVMe. If the official Orin Nano Developer Kit already has a JetPack 6.x generation UEFI (for example, the boot screen shows 36.x), the ISO USB drive can be created and booted directly; when the QSPI update prompt appears, Y must be pressed within 30 seconds, and the two rounds of capsule updates must be allowed to complete. If Y is not pressed and the prompt times out and is skipped, even if the installer continues to run, the NVMe installation may fail in the later stage. For devices that are already on a compatible version and show no update prompt, just continue with the installer flow.
If the UEFI version is older than JetPack 6.x and the device cannot boot from the ISO USB drive, or the update fails after Y is pressed, stop the NVMe installation and consult the official JetPack 6.x firmware upgrade path and QSPI-only flashing. The latter requires an x86-64 Linux host, Recovery mode, and a USB data connection; the actual board configuration must match the module and the carrier board, and third-party SUB carrier boards cannot directly use the official commands. Do not use an unsigned public ISO on a device with Secure Boot enabled.
2. Creating the Installation USB Drive
Prepare a Windows, macOS, or Linux computer (at least 25 GB of available space) and a 16 GB or larger USB drive. Check the USB drive letter; the data on it will be overwritten.
Download the JetPack 7.2.1 ISO from the NVIDIA JetPack download page; the current file is
jetsoninstaller-r39.2.1-2026-08-07-18-30-47-arm64.iso, about 5 GB. If the version or the file name on the download page is updated, the content actually published on the page prevails.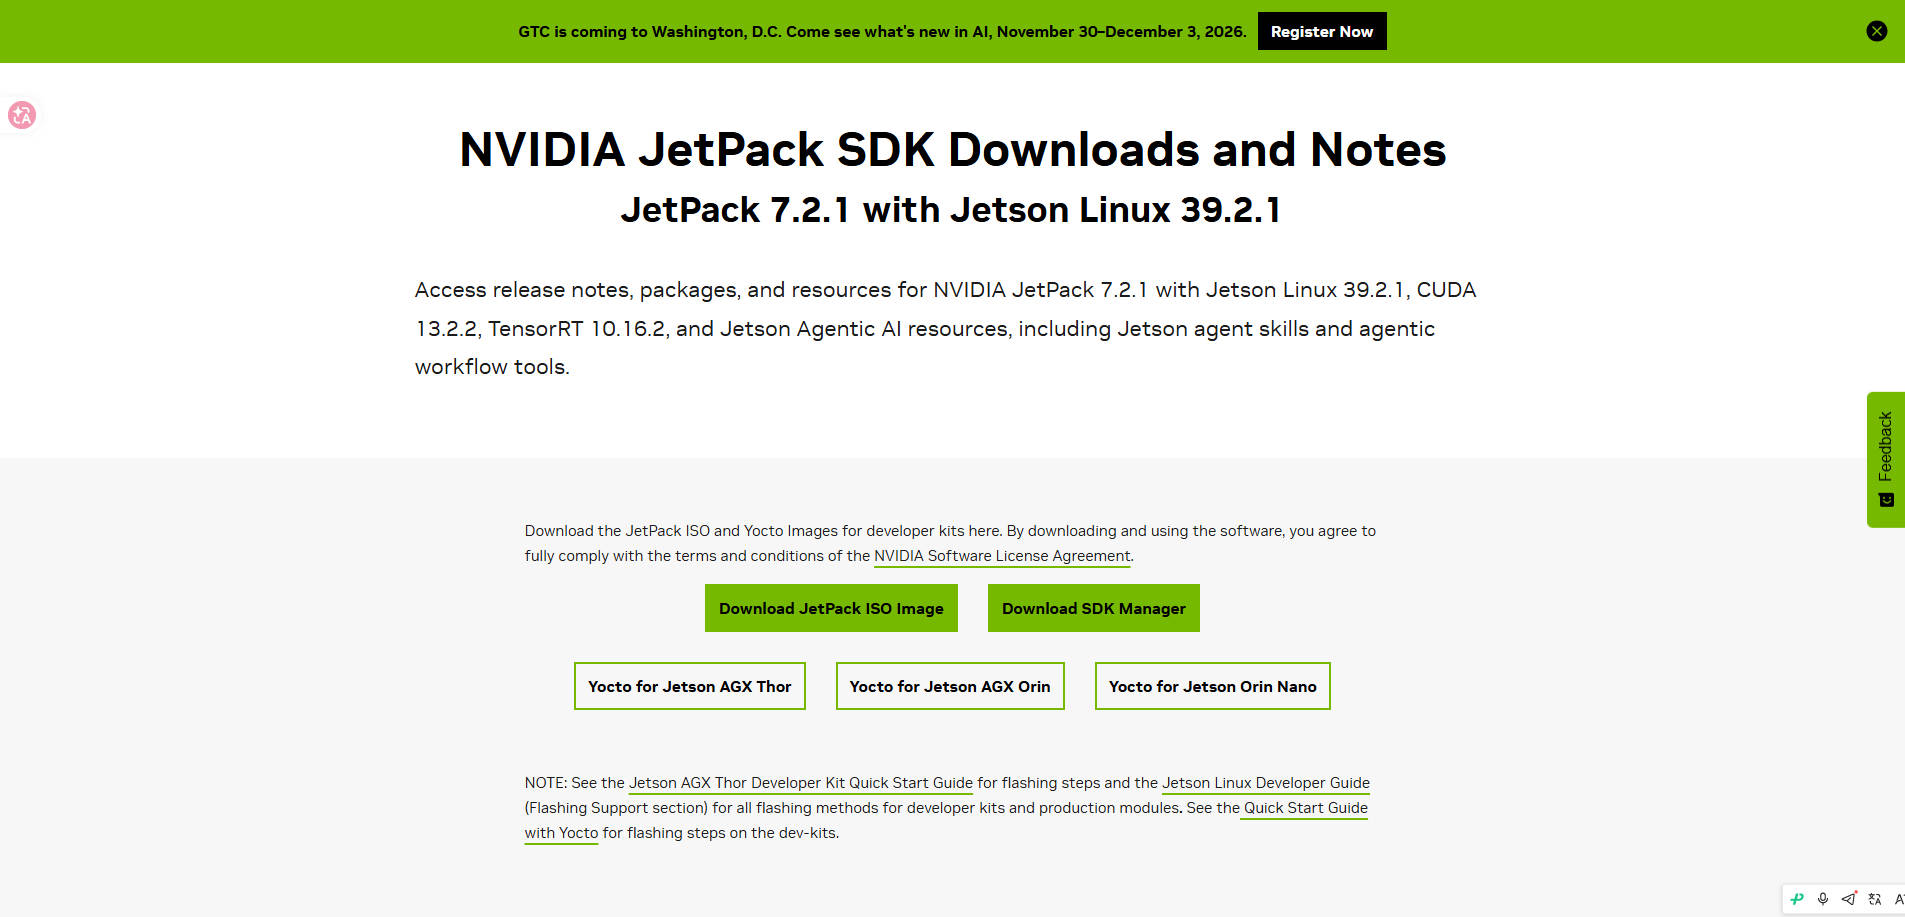
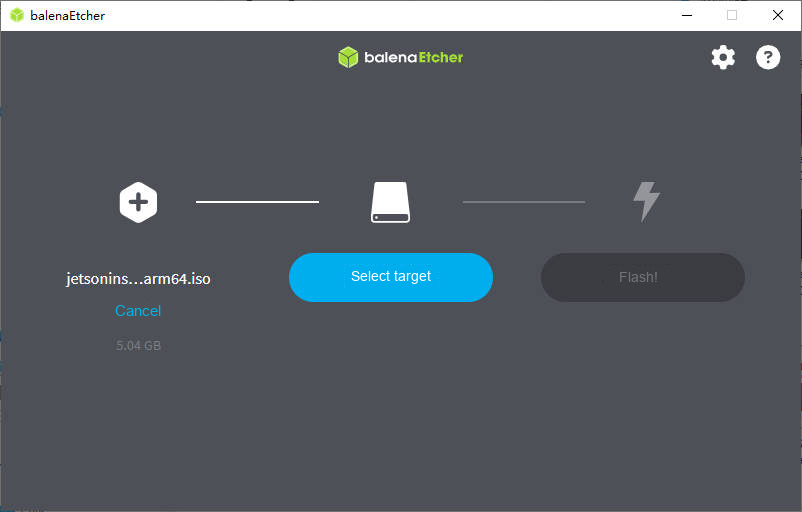
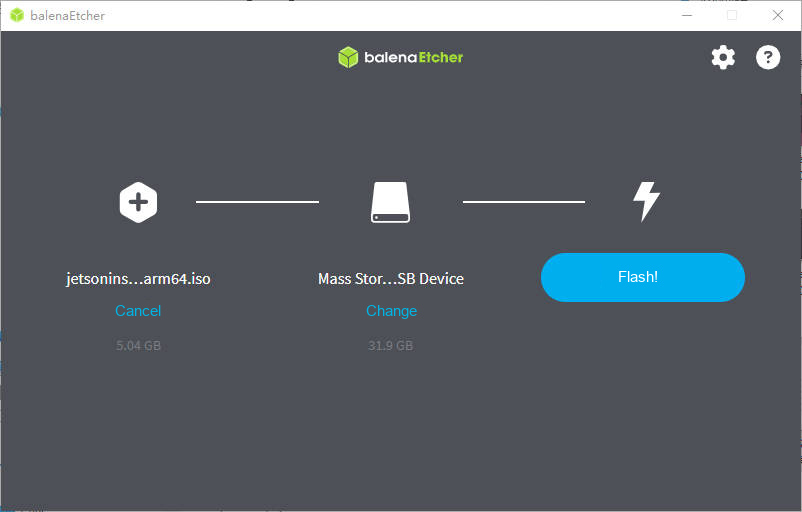
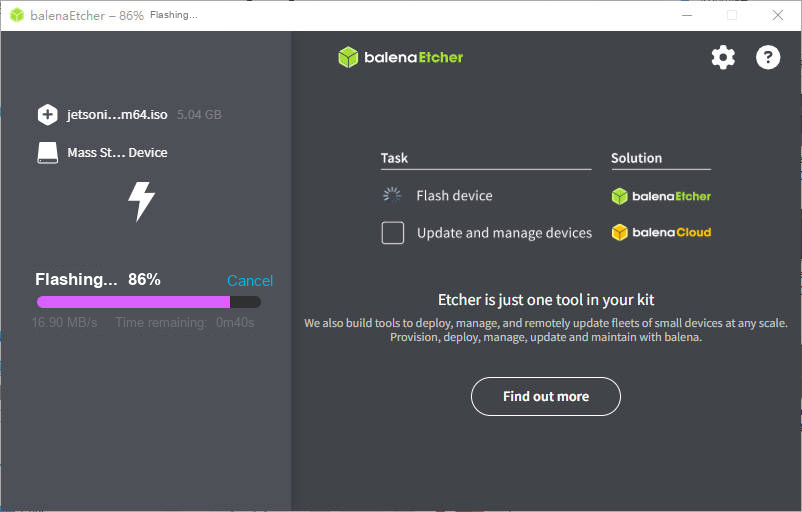
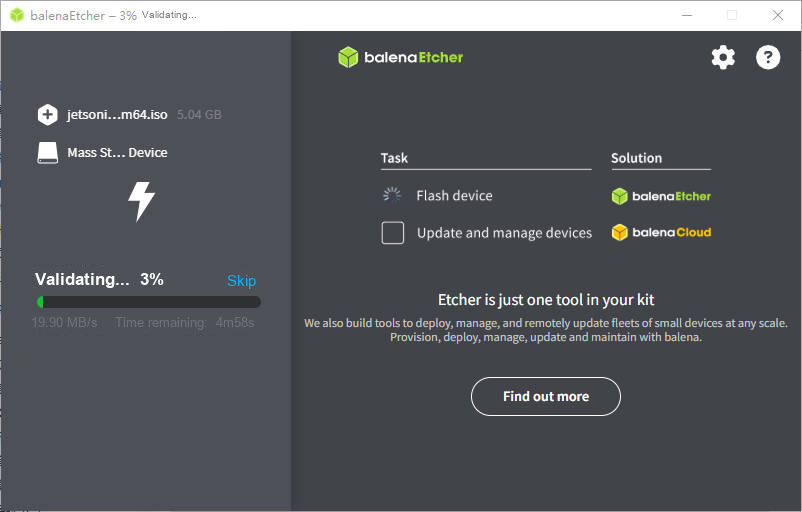
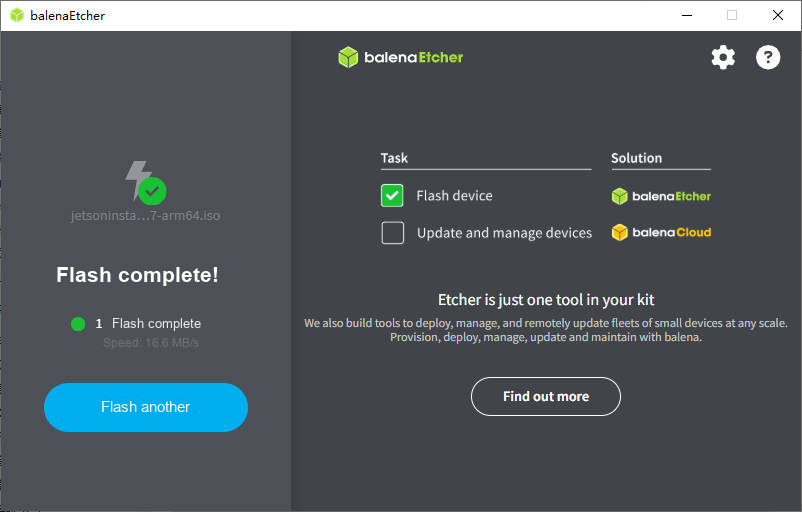
With balenaEtcher, select the ISO and then the target USB drive and execute Flash, then safely eject after the writing and verification are complete.
Note: Copying the
.isofile with a file manager cannot replace writing to the drive, and a TF card inserted into a card reader cannot be used instead of a USB drive. The official documentation explicitly requires writing the ISO to a USB flash drive, not to a microSD.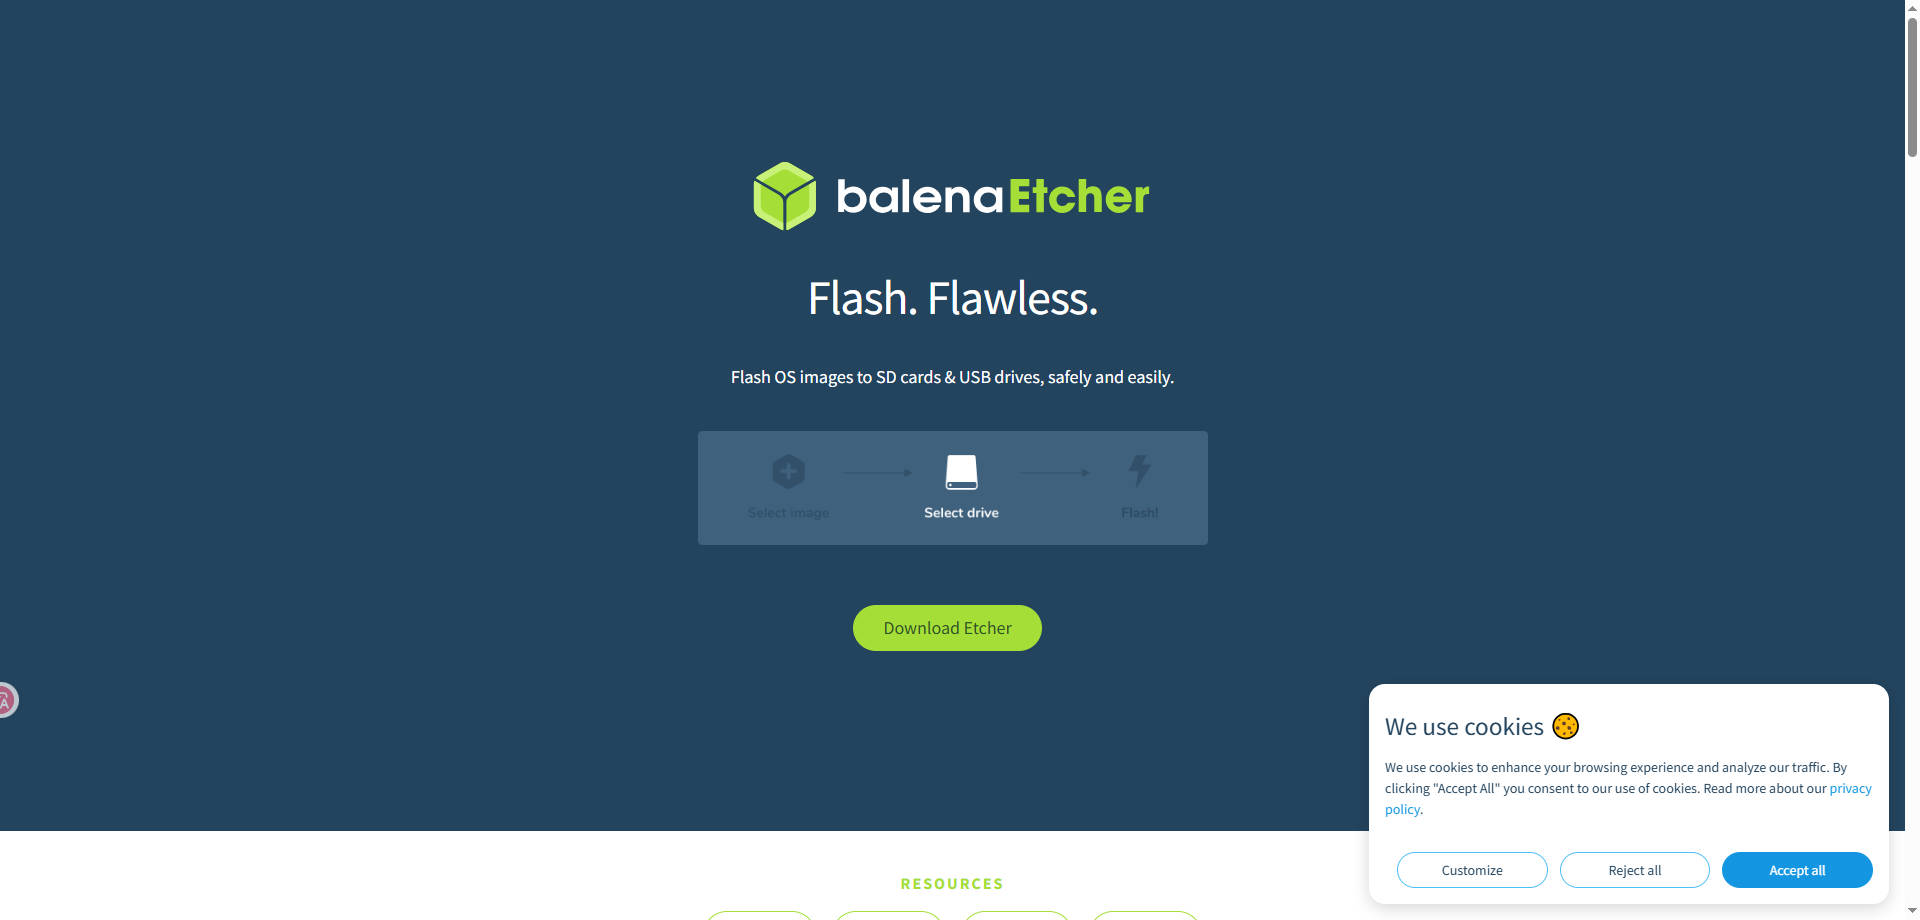
3. Installing from the USB Drive to the NVMe
With the power off, confirm that the NVMe is installed; connect a monitor and a USB keyboard, insert the installation USB drive, and then connect the power. The whole process takes more than twenty minutes; make sure the mainboard stays powered throughout, and keep it away from metal objects to prevent accidents.
Normally the device boots from the USB drive. If the installer is not entered, press
Escrepeatedly when the NVIDIA logo appears to enter the UEFIBoot Manager, and select the USB drive to boot; adjust the boot order, save, and exit if necessary. See the screenshots below: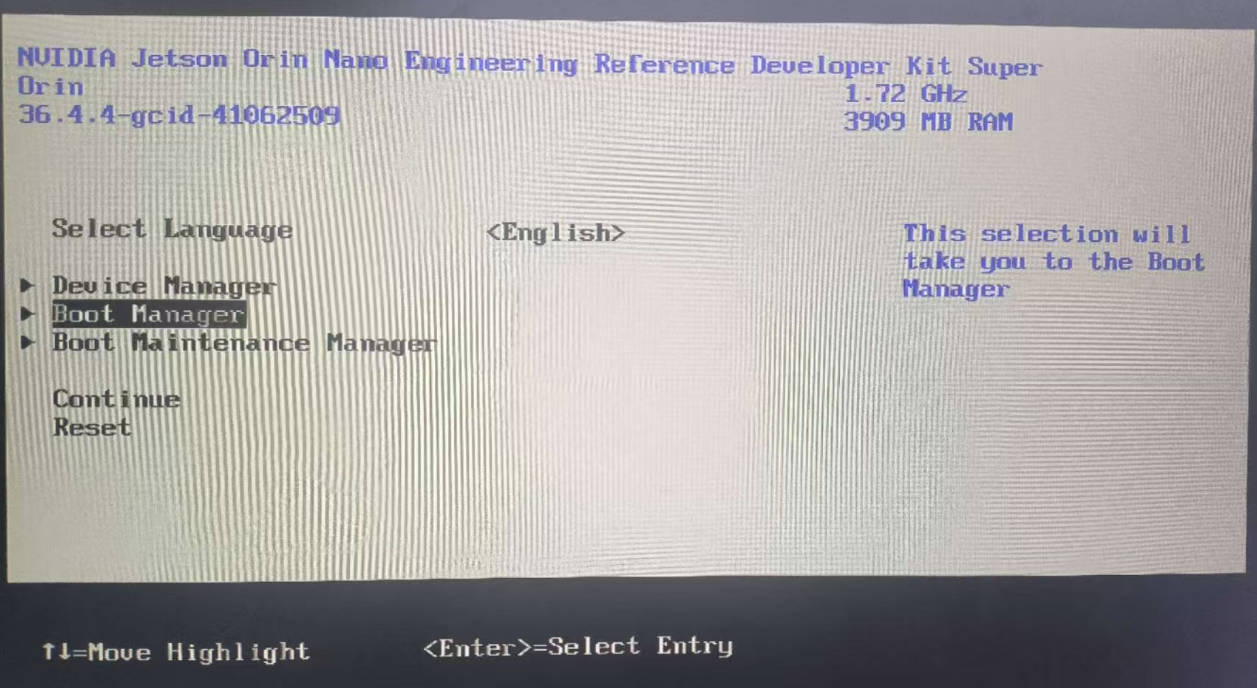
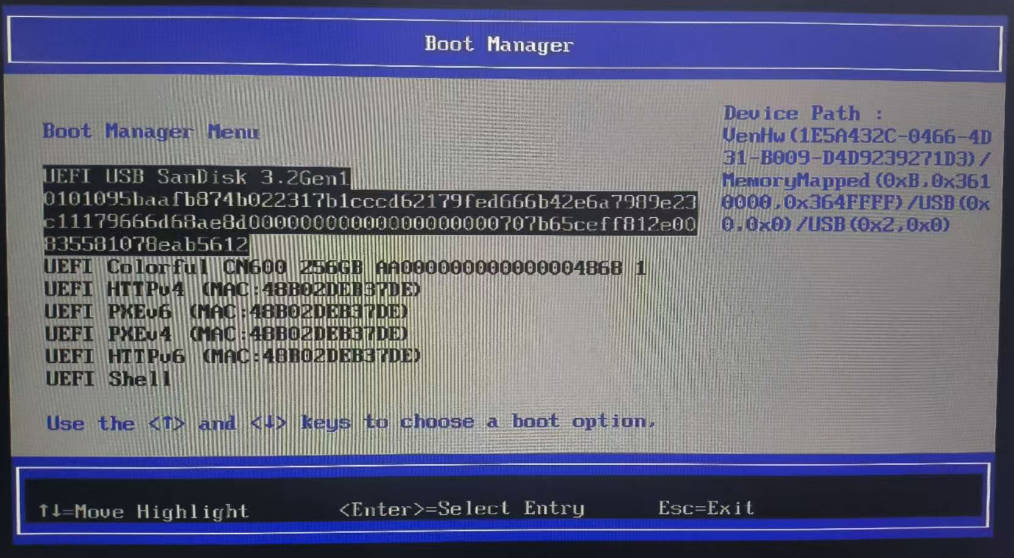
If
NVIDIA QSPI Firmware Update Requiredappears, pressYbefore the 30-second countdown ends, and wait for the two rounds of QSPI updates. The device may reboot automatically during this period; do not cut the power. If it does not return to the USB installer automatically after the reboot, select the USB drive fromBoot Manageragain. If this prompt does not appear, it means the installer does not require this update; continue with the following installation steps, and do not reinstall repeatedly in order to trigger the prompt.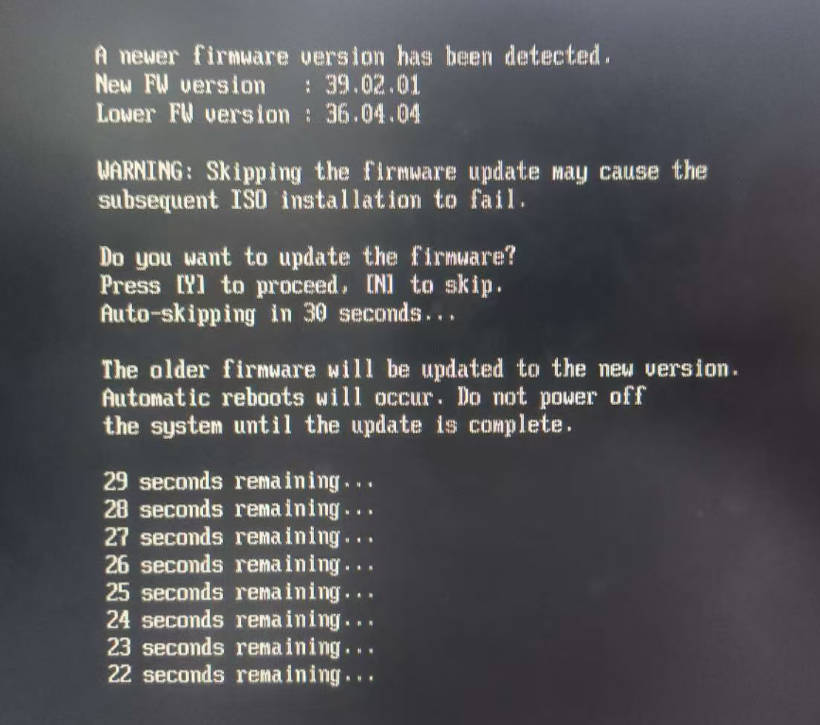
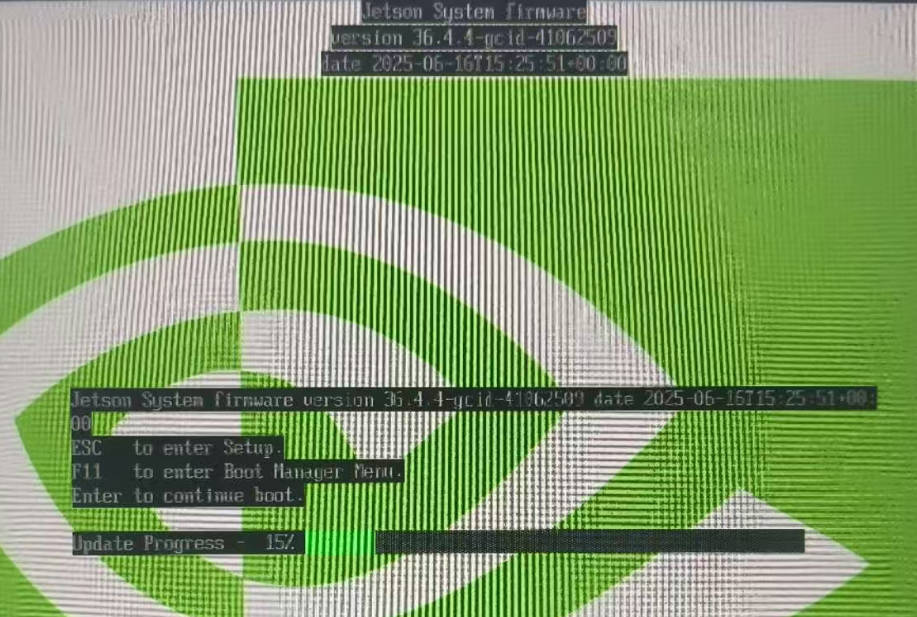
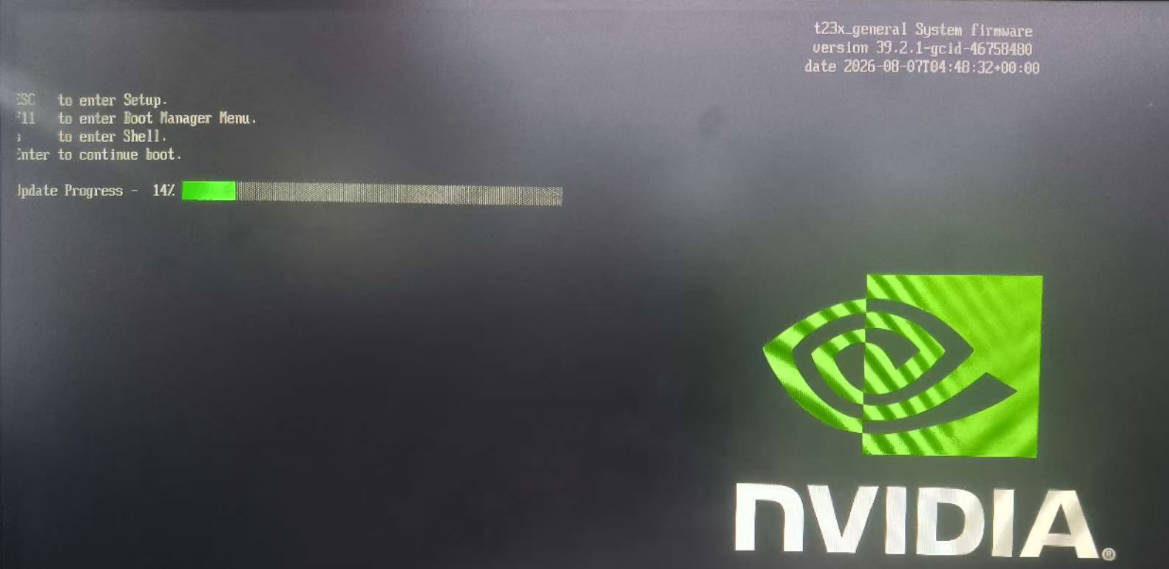
If the QSPI update prompt appeared in step 3, after the two rounds of updates are complete and the boot process resumes, confirm that the firmware version on the boot screen is no longer the old
36.4.4(if it was not this version originally, confirm that the version has been updated as required by the installer). If the old version is still displayed, the update was not successful: stop first and do not continue installing to the NVMe, and record the errors that occurred during the update. If the update prompt did not appear in step 3, there is no need to wait for the version to change; directly selectInstall Jetson ISO r39.2.1→Install on NVMein the installation menu, verify the target SSD, and confirm. The installer automatically partitions, formats, and writes the system, so there is no need to format the SSD manually; the old data will be cleared. Wait until the installer explicitly reports completion and prompts for a restart; do not judge the installation as successful based only on an automatic reboot or a brief black screen.After the installation is complete, unplug the installation USB drive as prompted and boot from the NVMe; if the device has already rebooted automatically but the USB drive is still inserted, shut down normally first, unplug the drive, and then boot. On the first boot, complete the language, network, and account settings as prompted by
oem-config. If the device stops at an underscore in the upper-left corner, returns to the installer, or cannot enter the system, do not repeatedly erase and rewrite the NVMe: first check the UEFI firmware version and the final success/failure information of the installer.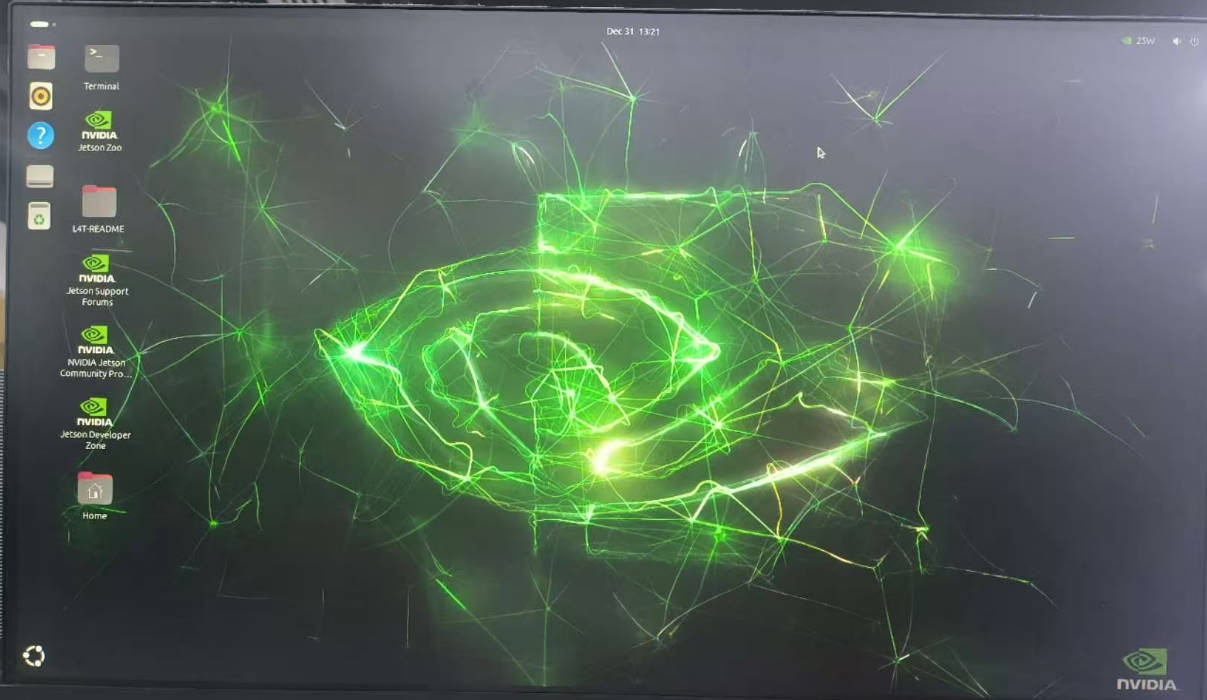
4. Acceptance Check
After entering the new system, run:
cat /etc/nv_tegra_releasecat /etc/os-releasefindmnt /lsblk -o NAME,SIZE,MODEL,MOUNTPOINTSsudo nvbootctrl dump-slots-infoConfirm that the QSPI/UEFI that required updating has been updated, that L4T is R39.2.1, that the root file system is actually located on the expected NVMe, and that the device can boot independently again after the USB drive is removed. The firmware version on the boot screen and the system version in /etc/nv_tegra_release come from the QSPI and the NVMe respectively, and they cannot substitute for each other in the acceptance check. This ISO installs the BSP/operating system first; whether JetPack SDK components such as CUDA and TensorRT are complete should be checked separately and installed by referring to the NVIDIA JetPack download page. Do not judge that the component environment has been restored based only on a successful system boot.
Official references: JetPack 7.2.1 download notes, QSPI update and ISO installation steps for the Orin Nano Developer Kit, Jetson Linux R39.2.1 USB ISO installation.
Installing the Official Clean System in a Virtual Machine
Use an Ubuntu 22.04 host, Recovery mode, and a Type-C data cable
1. File Download
Official website: https://developer.nvidia.com/embedded/jetpack/downloads/archive-7.2.1
Note: NVIDIA Jetson Linux 39.2.1 corresponds to Jetpack 7.2.1
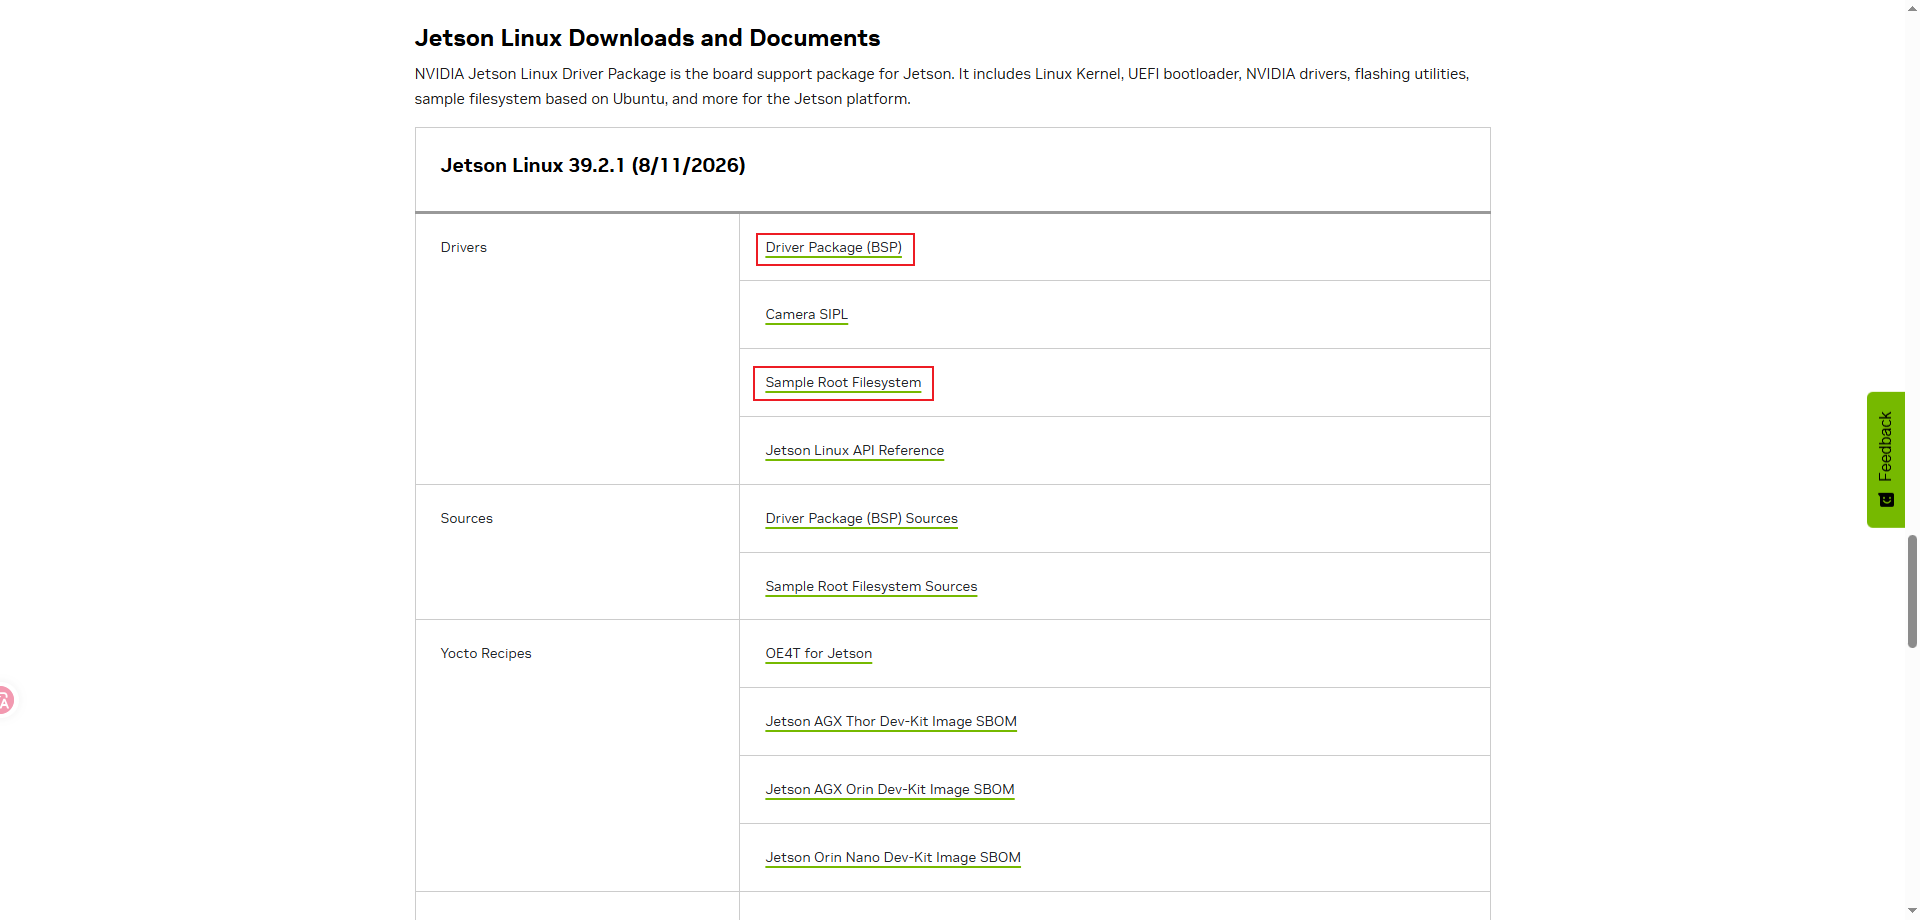
Download the archive files corresponding to Driver Package (BSP) and Sample Root Filesystem:
2. Recovery Mode
2.1. Hardware Connection
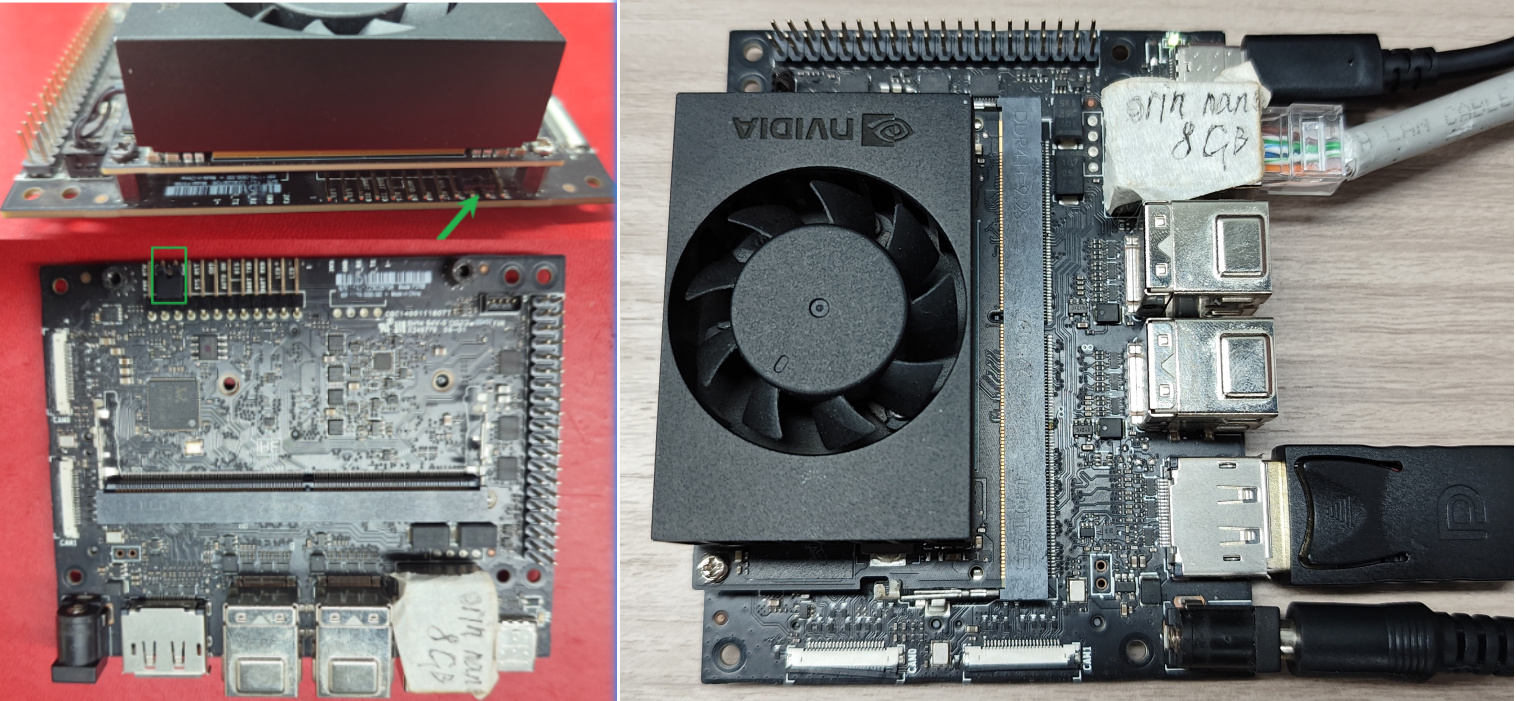
Use a jumper cap to short the FC REC and GND pins under the core board: the core board does not need to be removed, the image is only for clearer observation
The Jetson Orin mainboard needs to be connected to a DC power adapter, a DP data cable, a network cable, and a Type C data cable: the Type C data cable connects to the computer
2.2. Software Connection
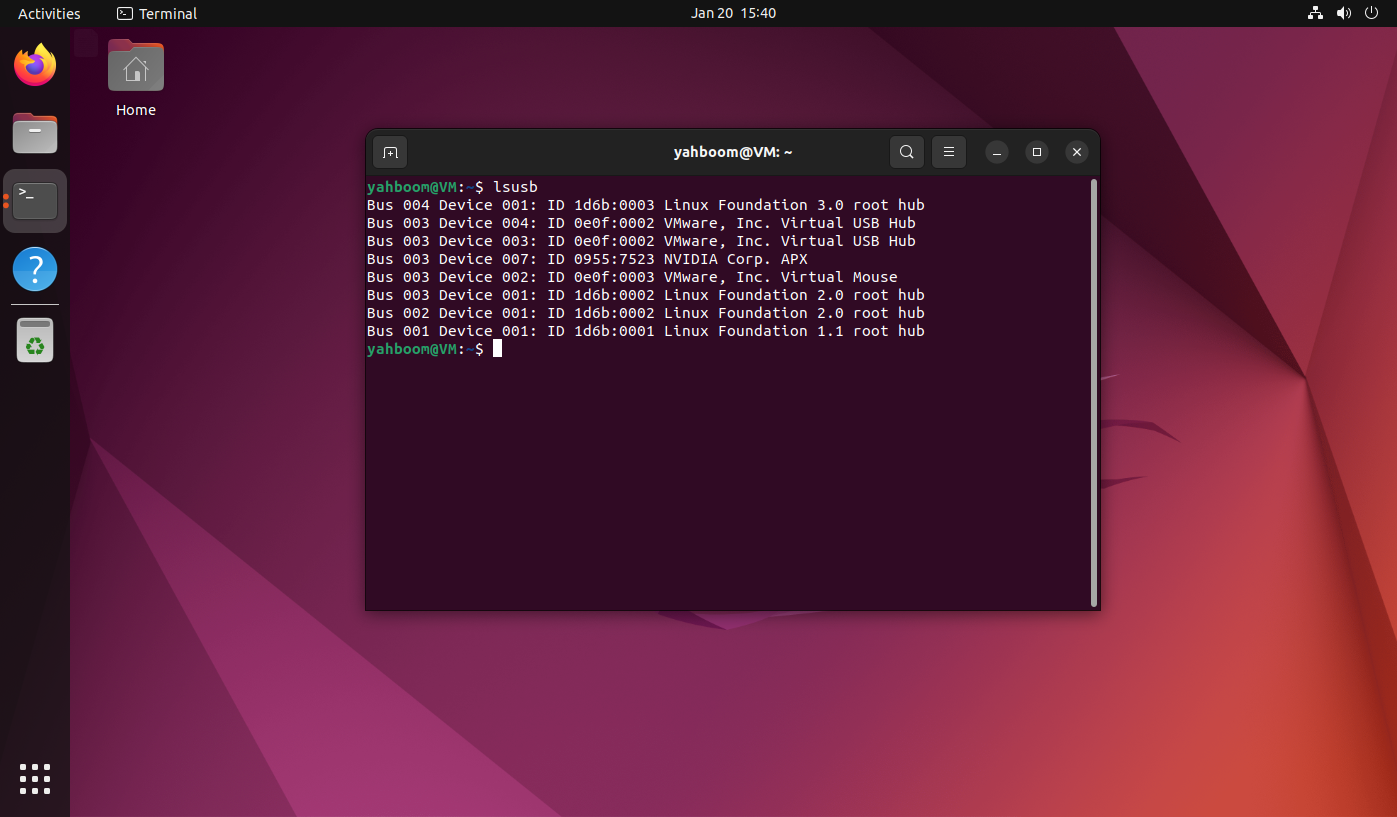
After the mainboard is successfully connected to the Ubuntu system, the lsusb command shows NVIDIA Corp. APX information:
Note: Make sure the virtual machine has enough space before use
3. Writing the System
3.1. Decompressing the Files
Enter the download folder and open a terminal, then decompress the files in the terminal and enter the specified folder:
xxxxxxxxxxtar xvf Jetson_Linux_R39.2.1_aarch64.tbz2sudo tar -xpvf Tegra_Linux_Sample-Root-Filesystem_R39.2.1_aarch64.tbz2 -C Linux_for_Tegra/rootfs/cd Linux_for_Tegra/
3.2. Running the Scripts
xxxxxxxxxxsudo ./tools/l4t_flash_prerequisites.sh
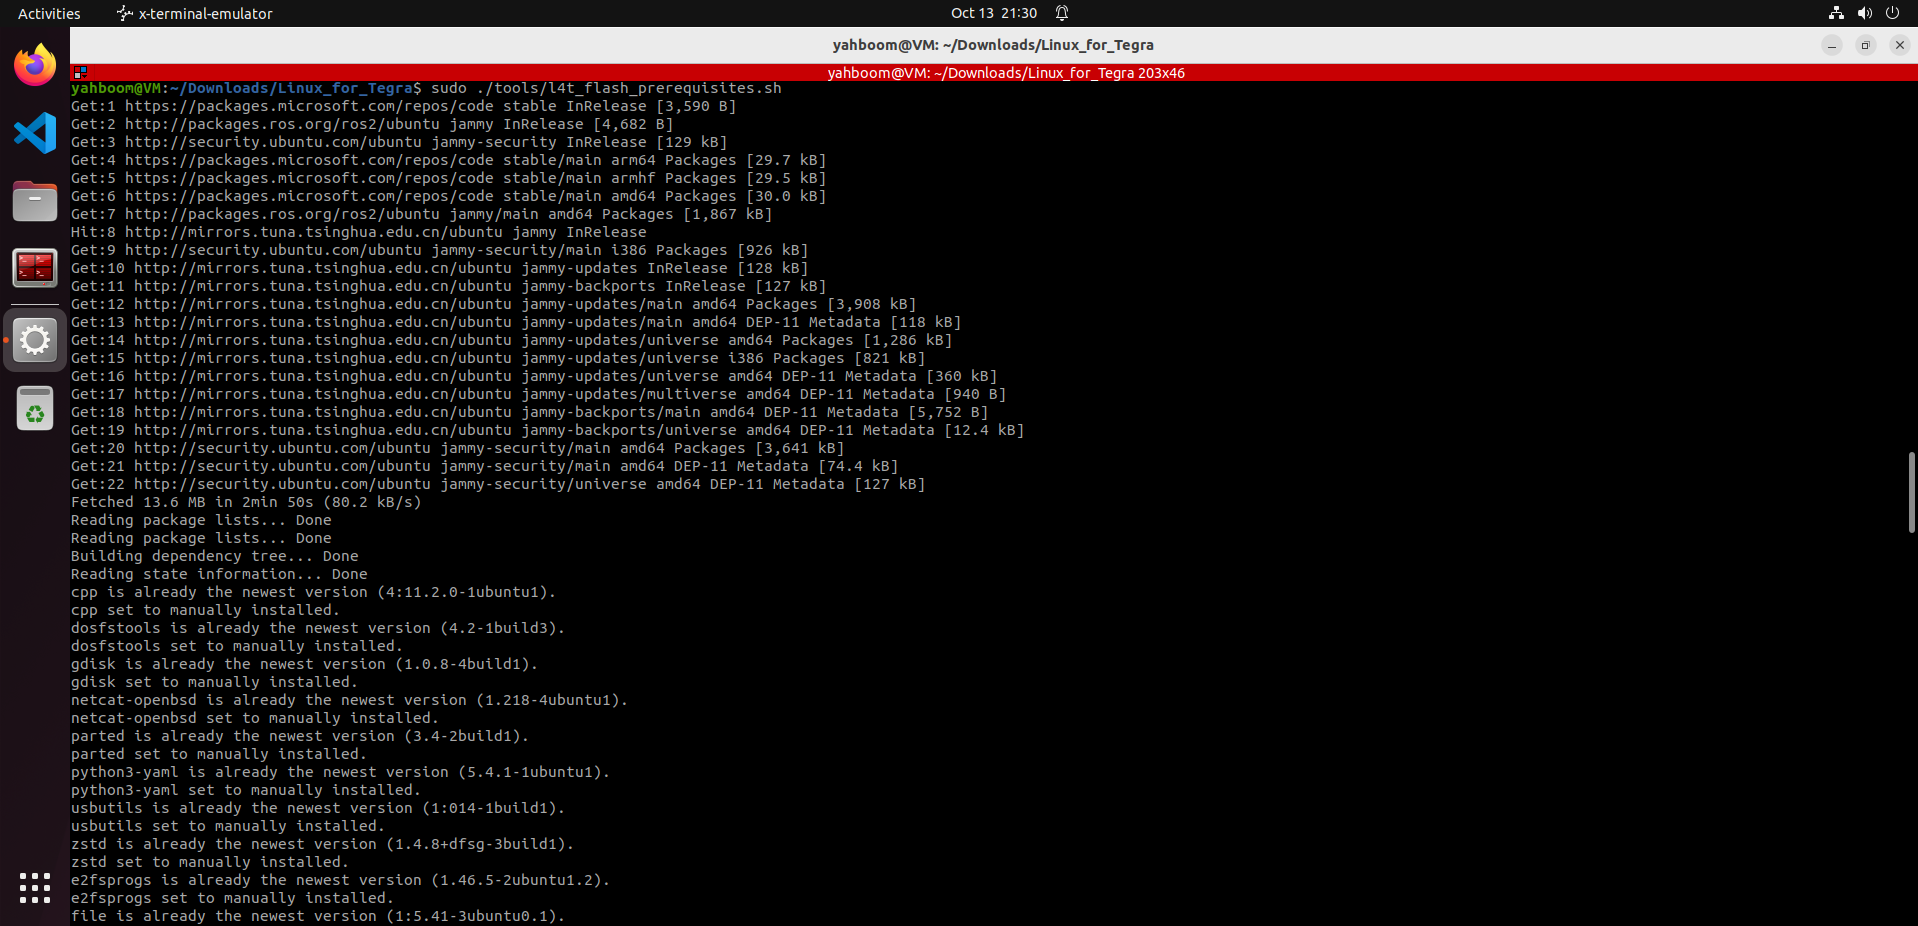
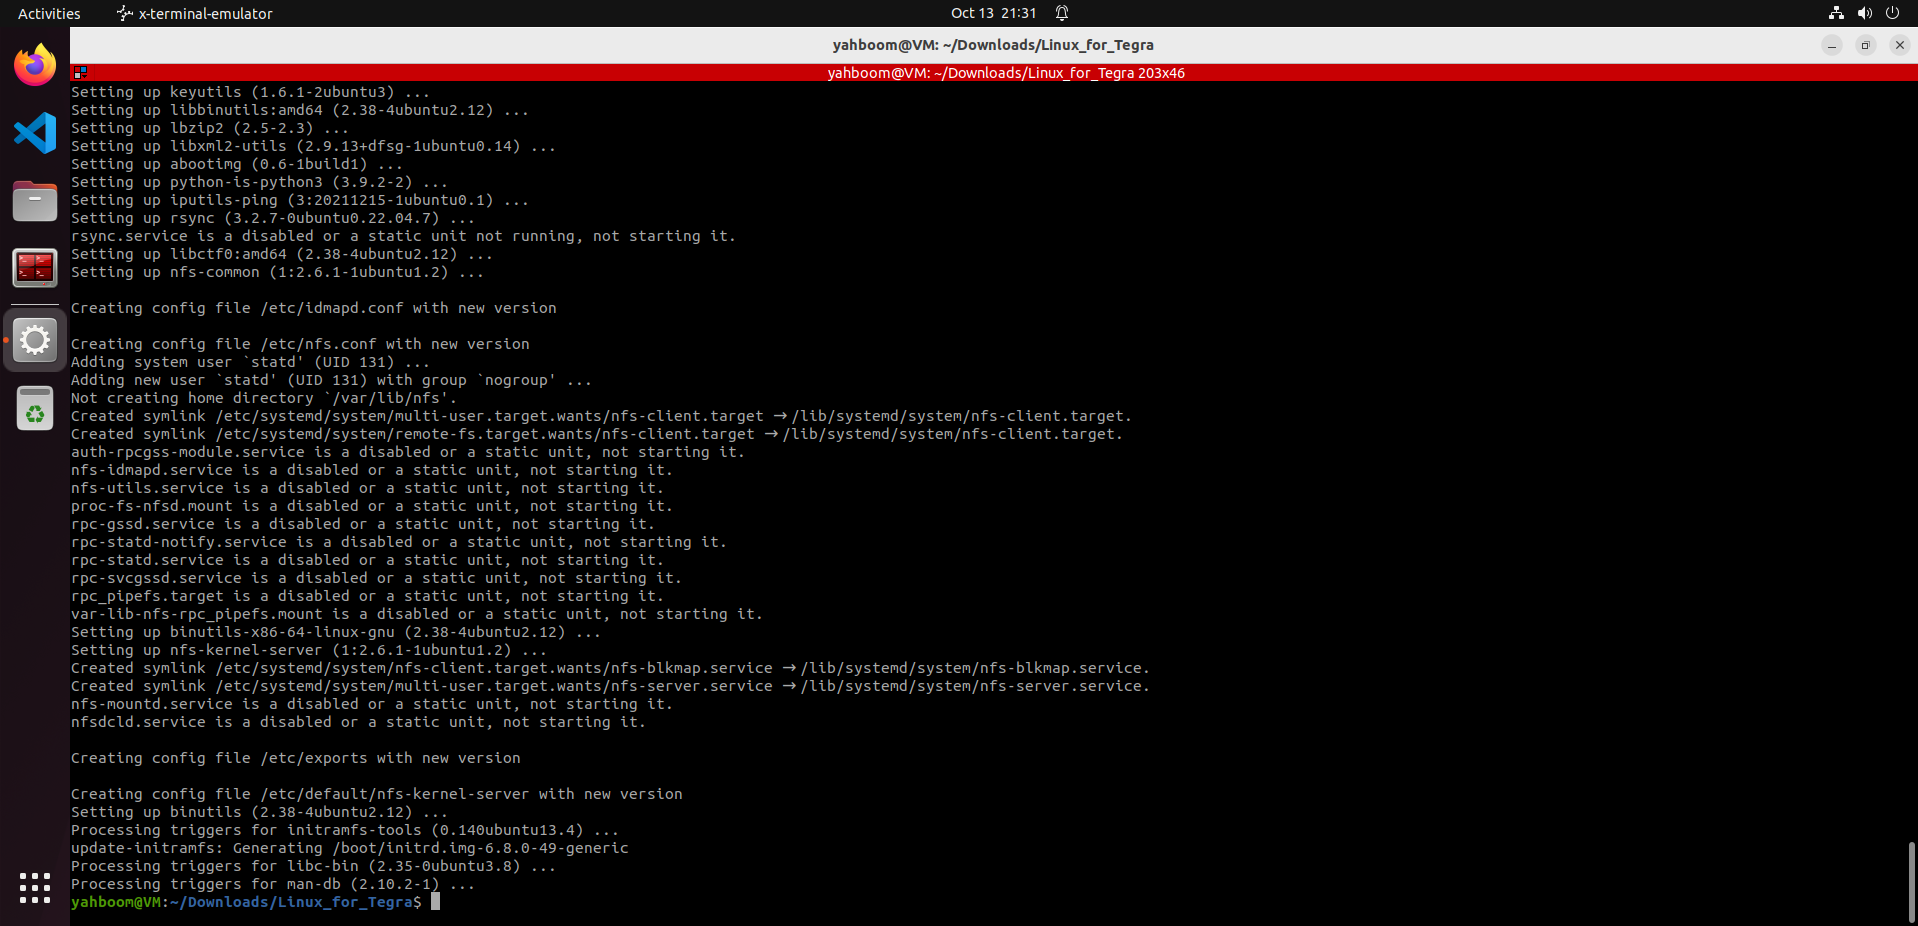
xxxxxxxxxxsudo ./apply_binaries.sh
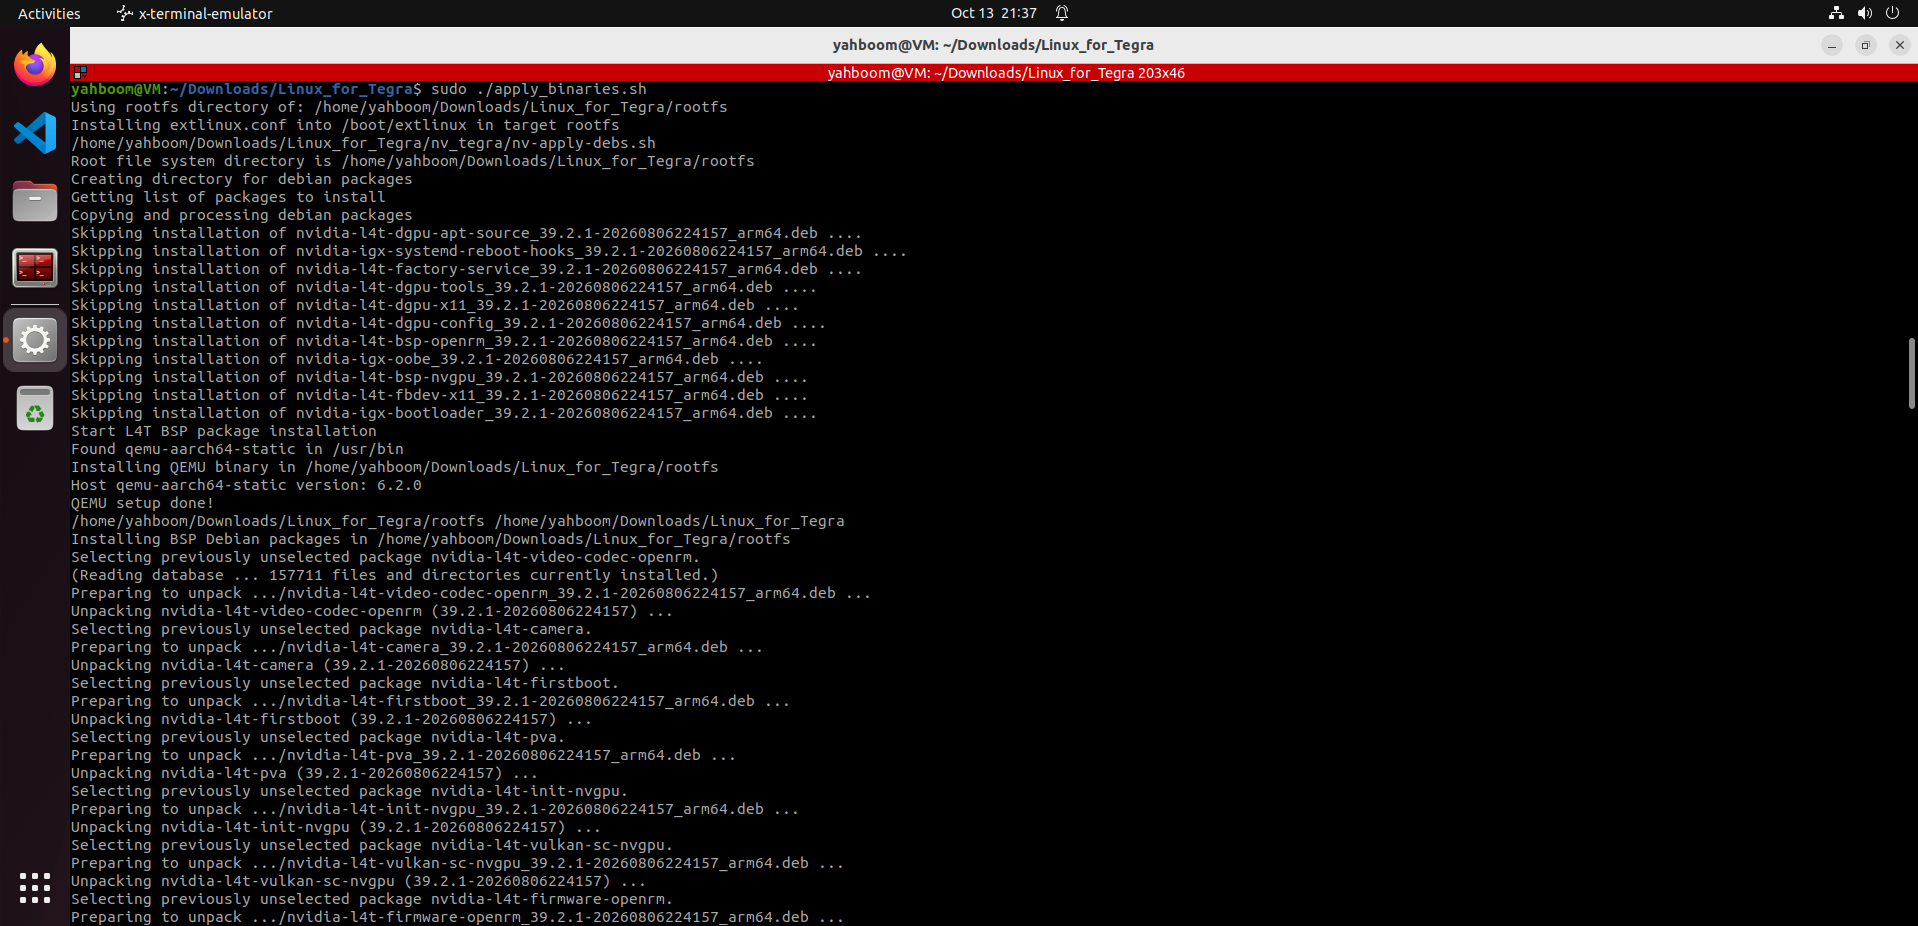
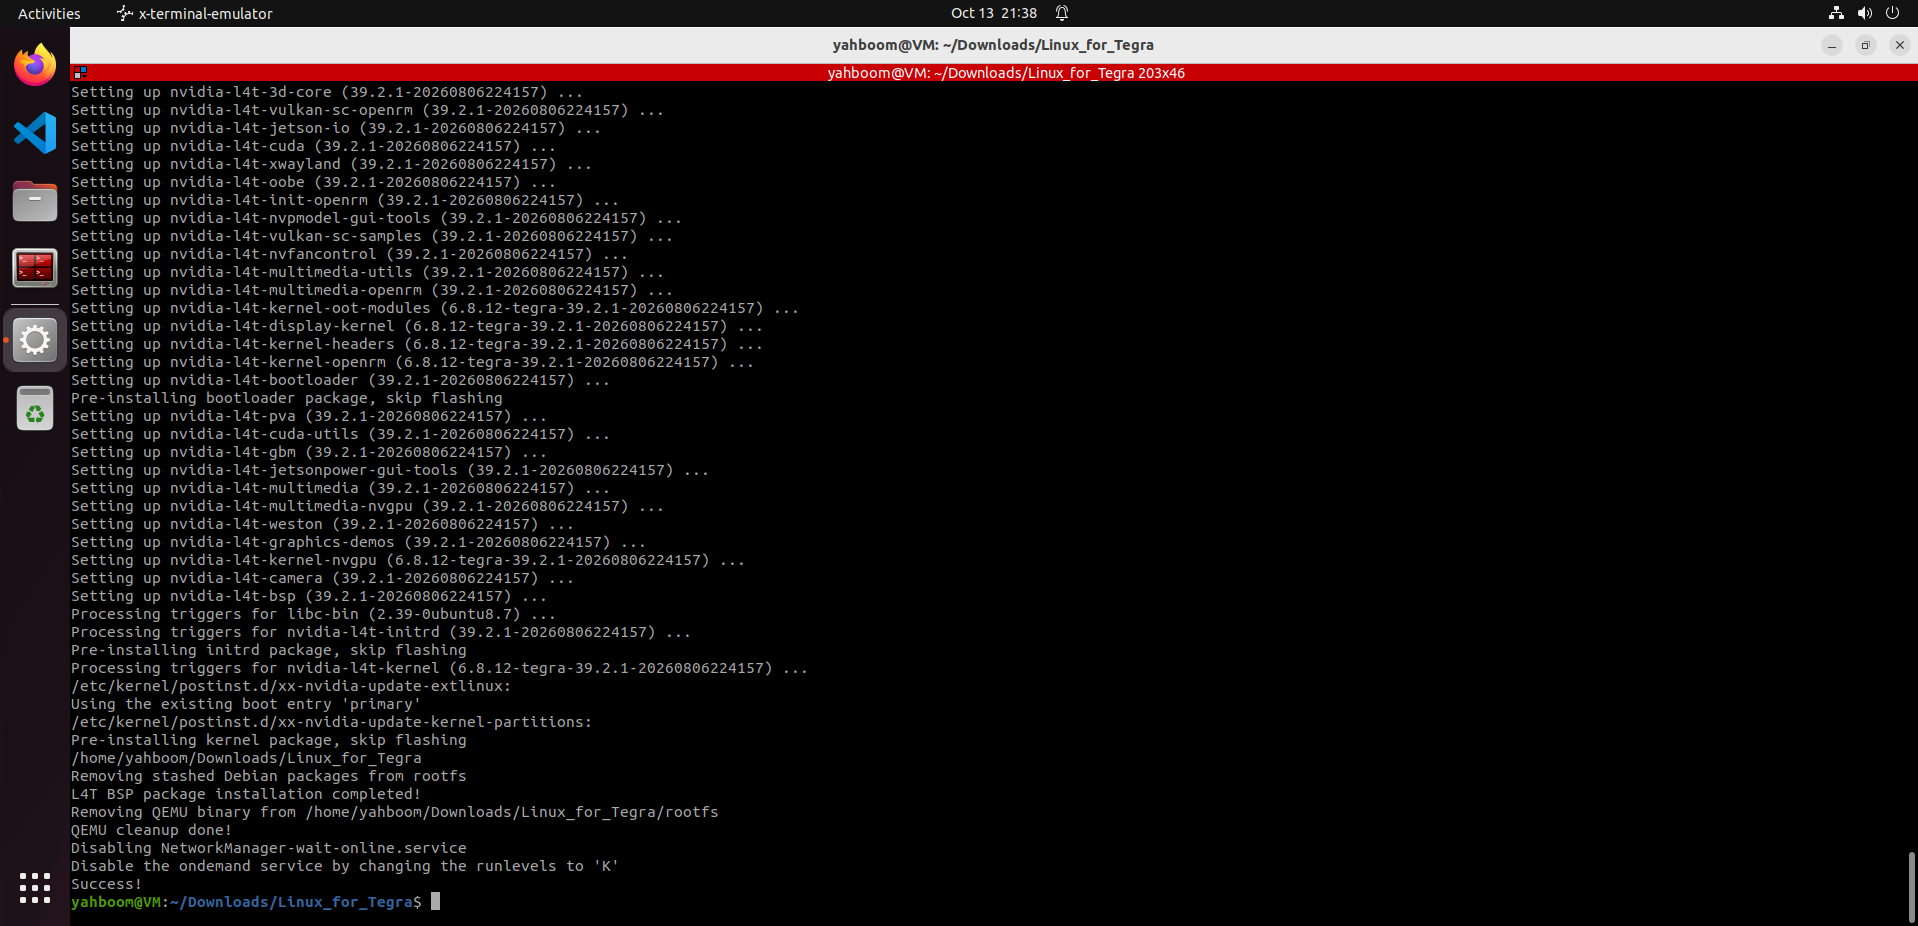
3.3. Writing the System to the SSD
xxxxxxxxxxsudo ./tools/kernel_flash/l4t_initrd_flash.sh --external-device nvme0n1p1 -c tools/kernel_flash/flash_l4t_t234_nvme.xml -p "-c bootloader/generic/cfg/flash_t234_qspi.xml" --showlogs --network usb0 jetson-orin-nano-devkit-super internal
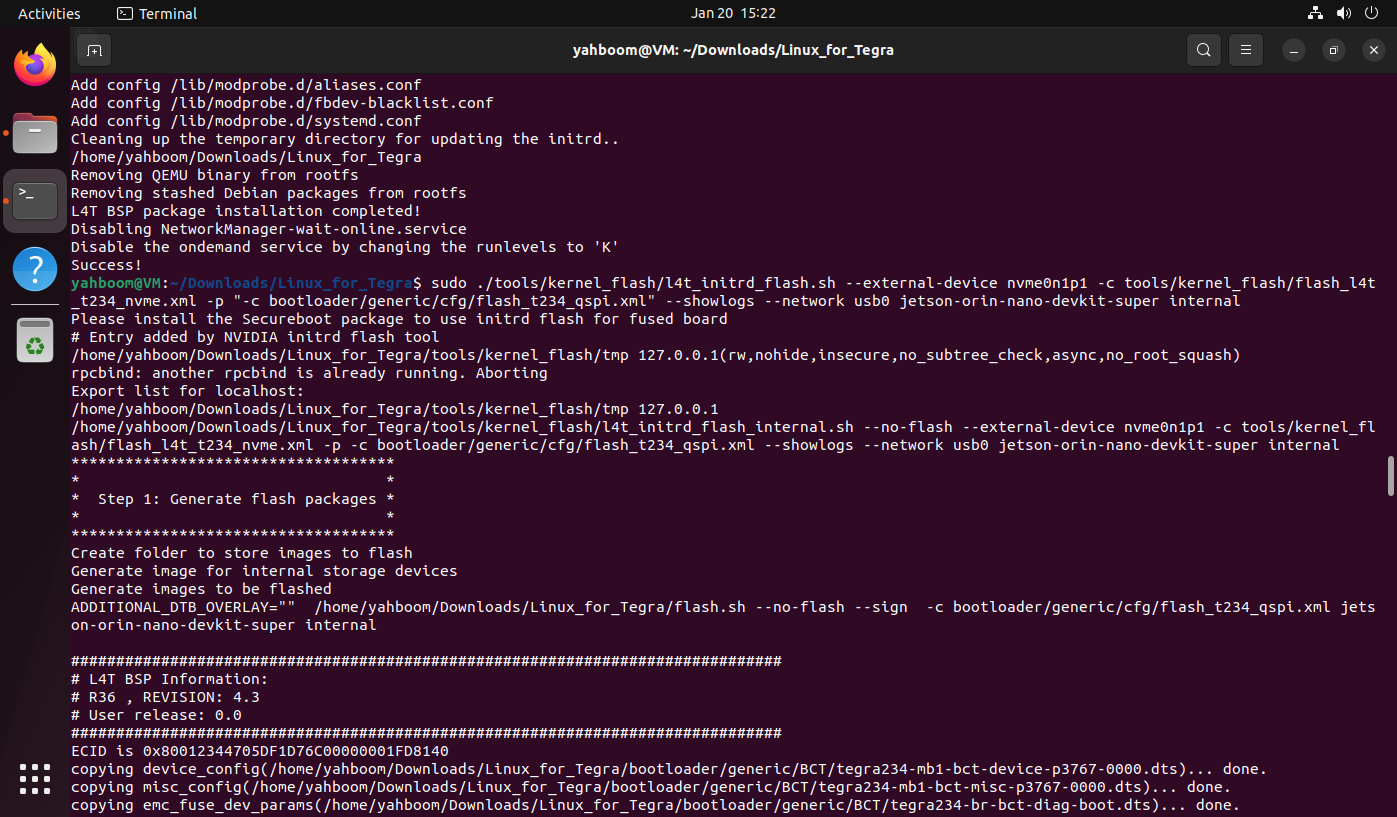
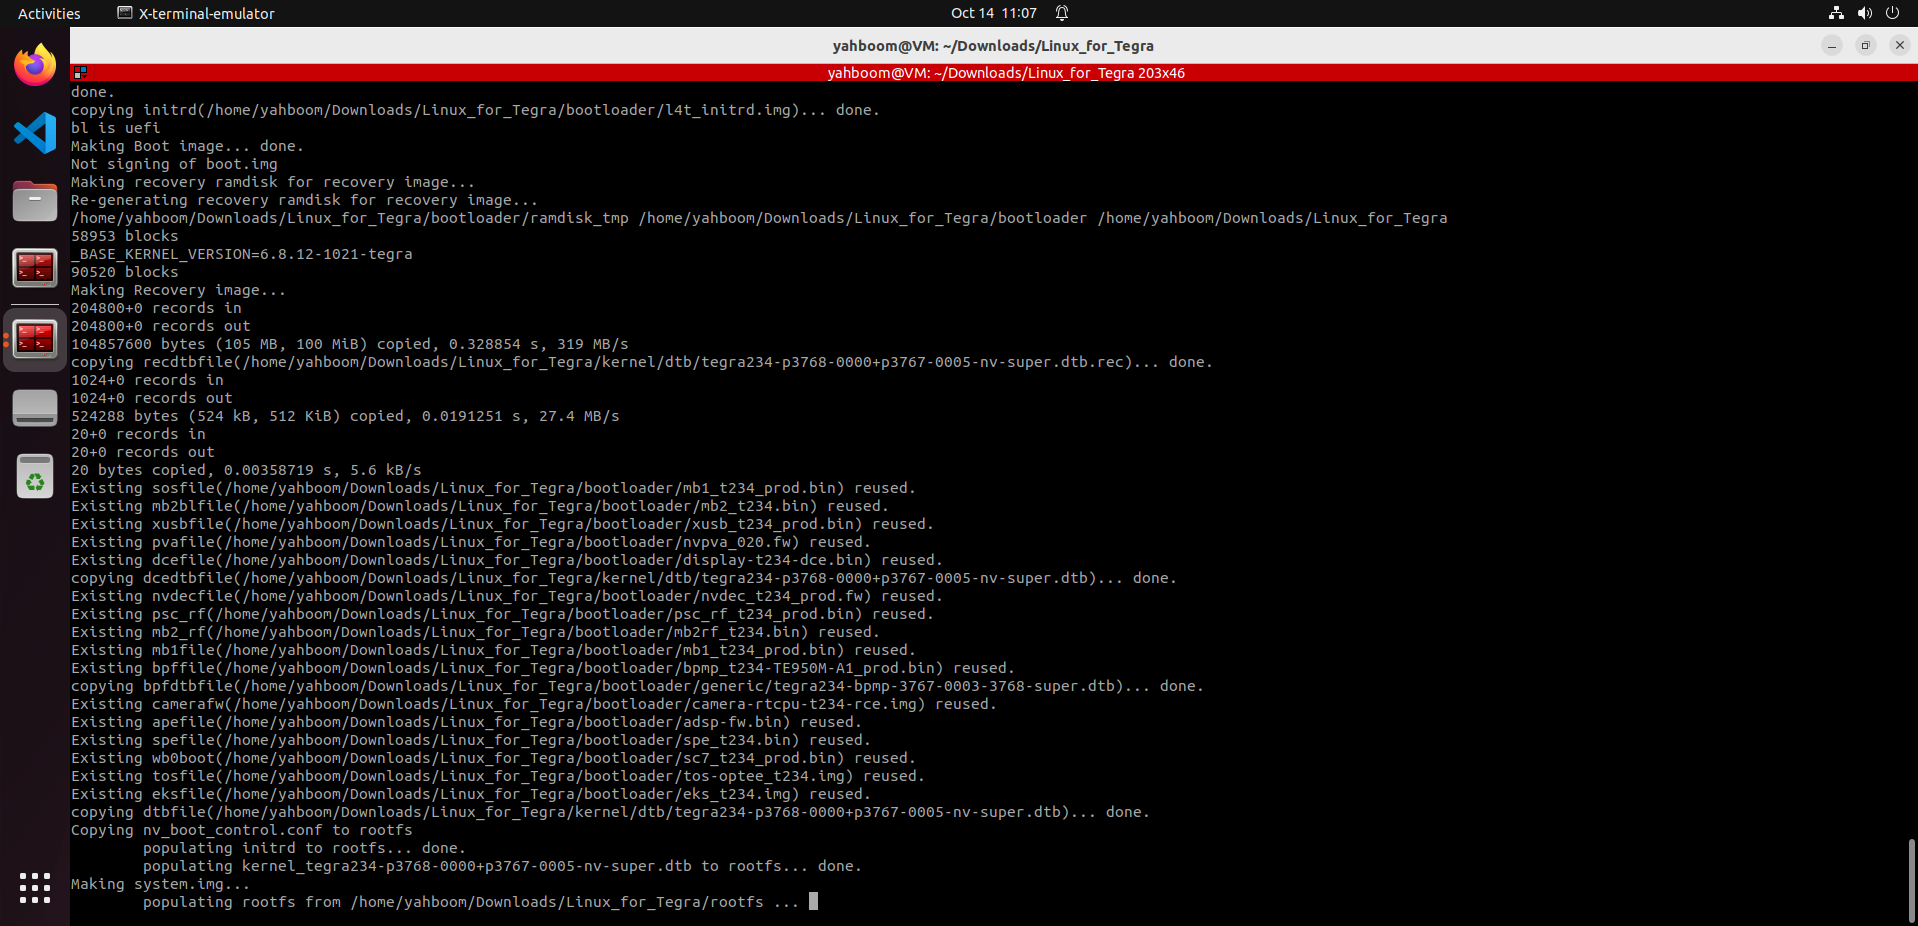
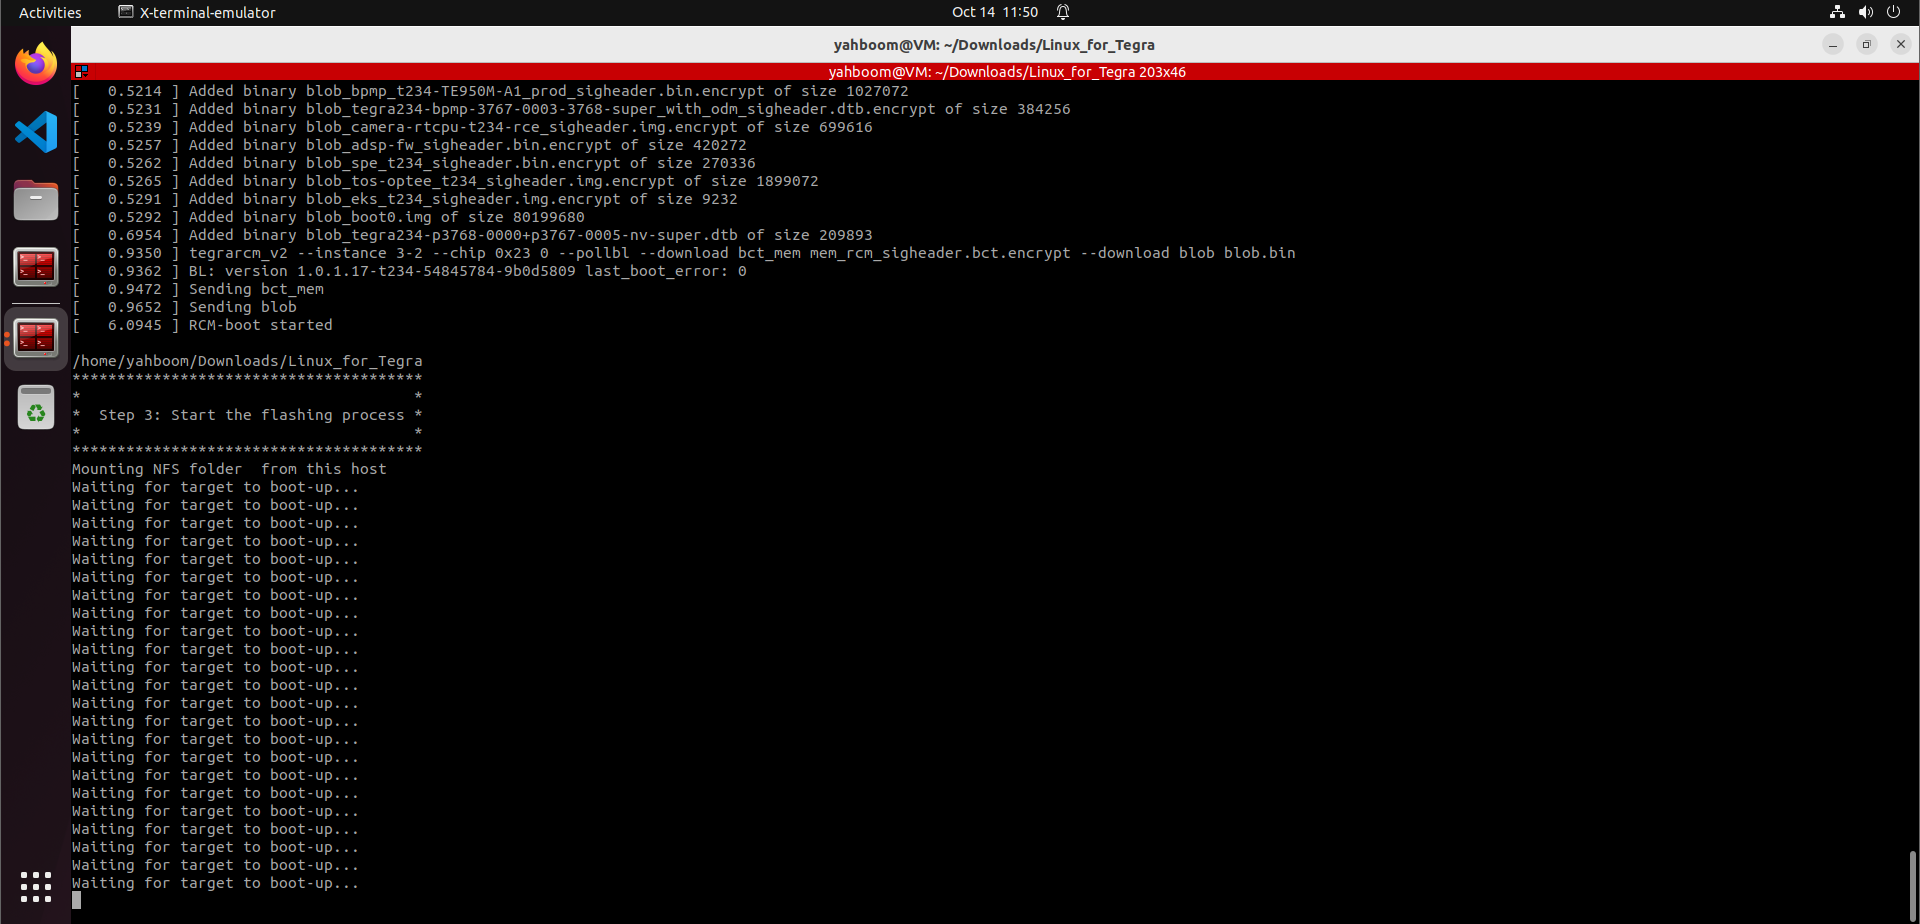
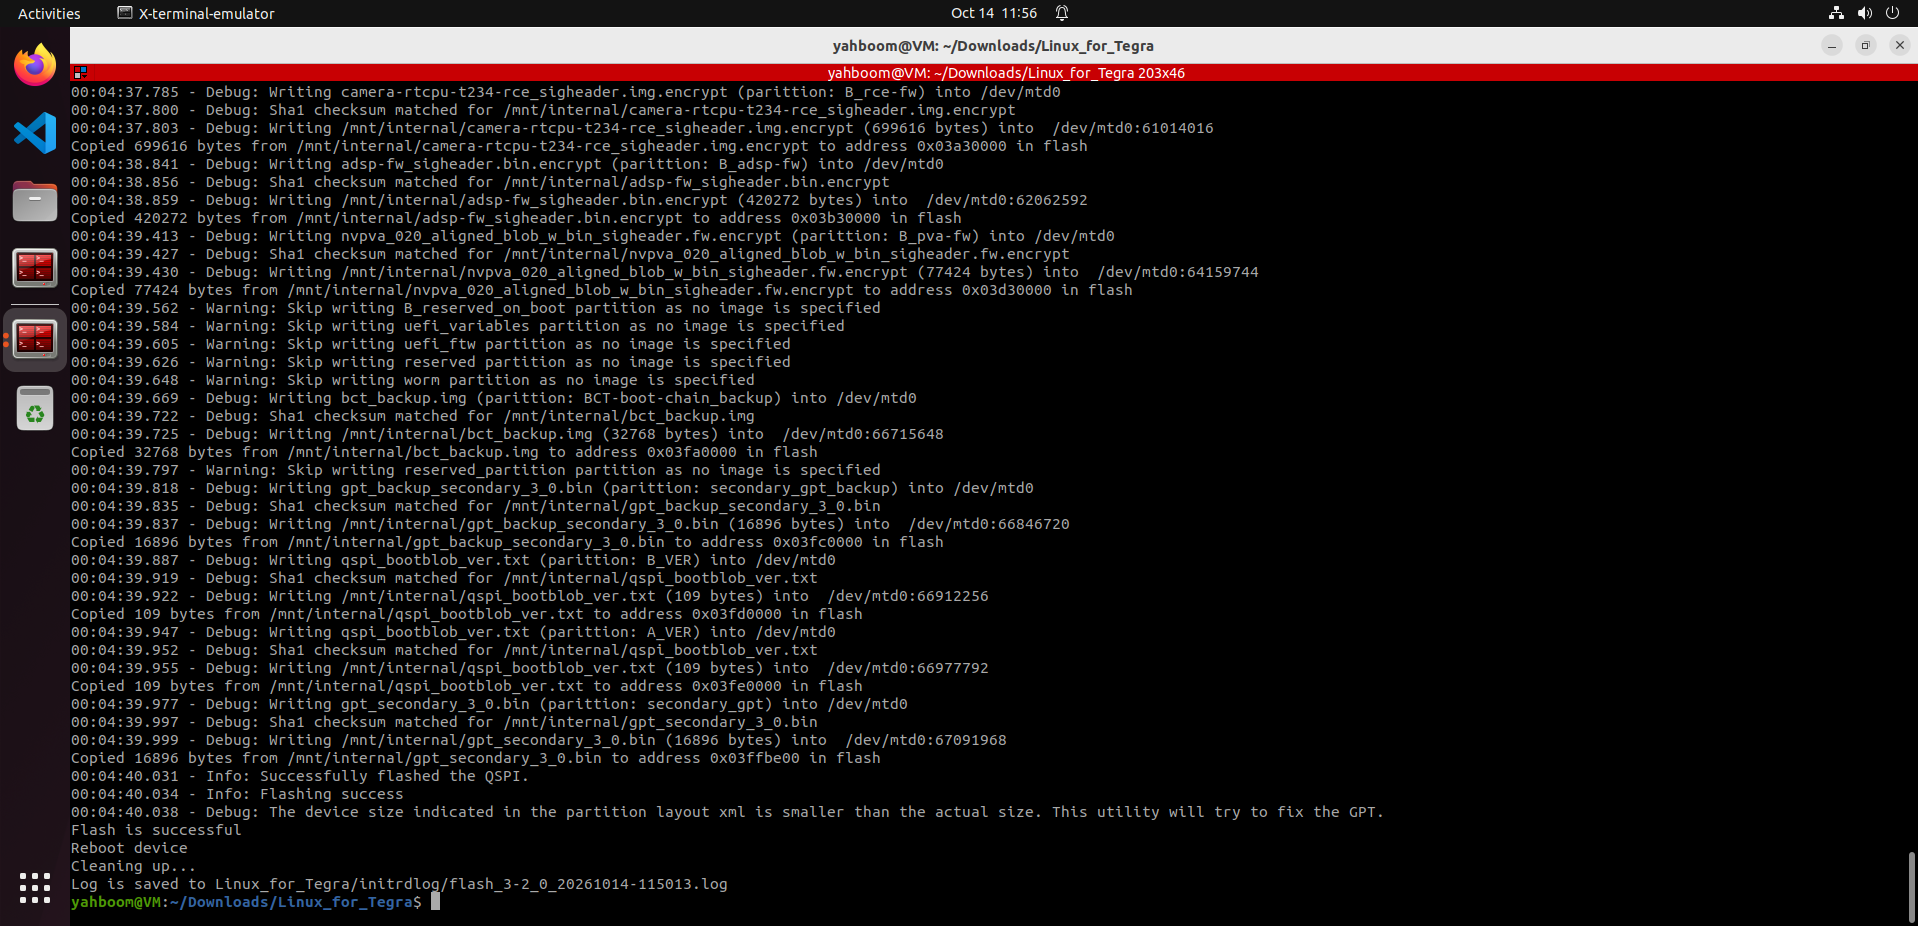
Note: During the writing process, the user needs to connect the device to the virtual machine in time, otherwise the connection will time out!
4. Starting the System
After the system is written successfully, disconnect the mainboard power (disconnect the DC power adapter and the Type-C data cable), then unplug the jumper cap shorting FC REC and GND under the core board; after confirming that the above operations are complete, reconnect the DC power adapter and the DP data cable (connected to the display) to start the system.
Enter the time zone, username, password, and other information as instructed, and then enter the system
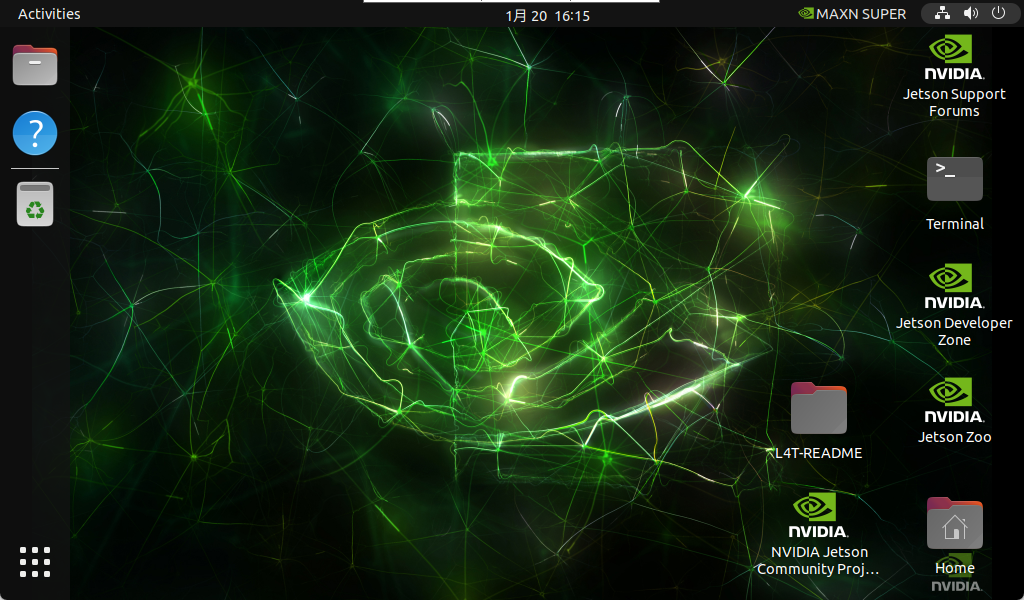
The clean system does not include the jtop tool; refer to 【Chapter 3 Basic Usage -> 08. Using the Jtop Tool】 to install and use it
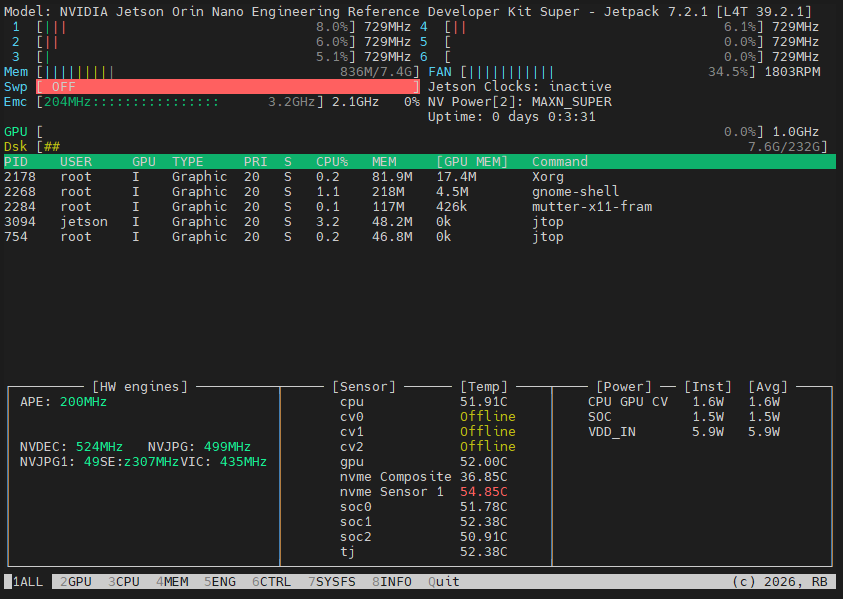
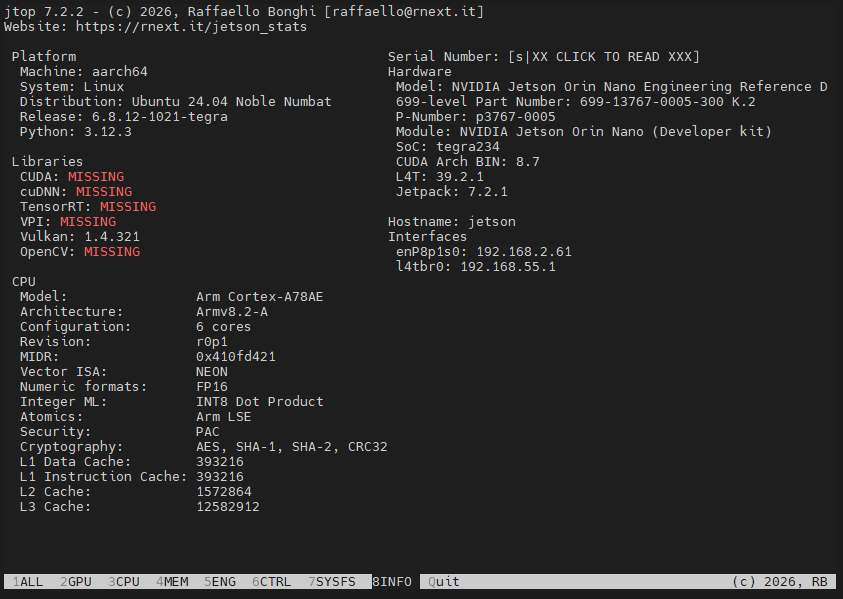
5. Component Environment
The above only completes the writing of the clean system. If environments such as CUDA and TensorRT are required, the user also needs to refer to 【Chapter 2 Mainboard Basics: Installing the Jetson Environment】 for the operation!