Welcome to Jetson Orin NANO Developer Kit repository
01.CSI camera preview
CSI Camera Preview
CSI Camera Preview1. Enable the CSI Camera1.1. Configure the Pins2. Check the Video Device3. Preview the Camera Image3.1. Specify the Camera3.2. Specify the Preview Resolution
1. Enable the CSI Camera
Taking the IMX219 camera as an example, note that the golden fingers of the ribbon cable must face down during installation. Power off before installing or removing it; otherwise, the hardware could be damaged.
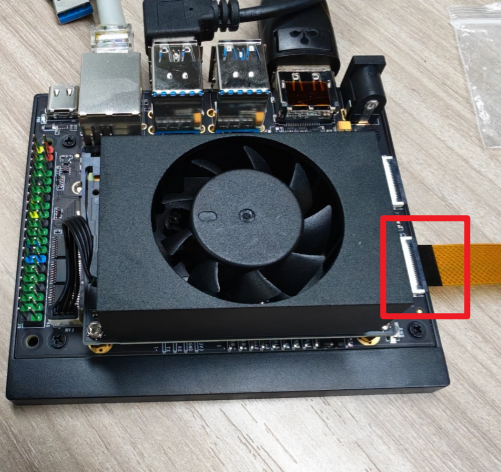
If the CSI camera is installed but there is no /dev/video* device, you can enable the CSI camera pins as follows
1.1. Configure the Pins
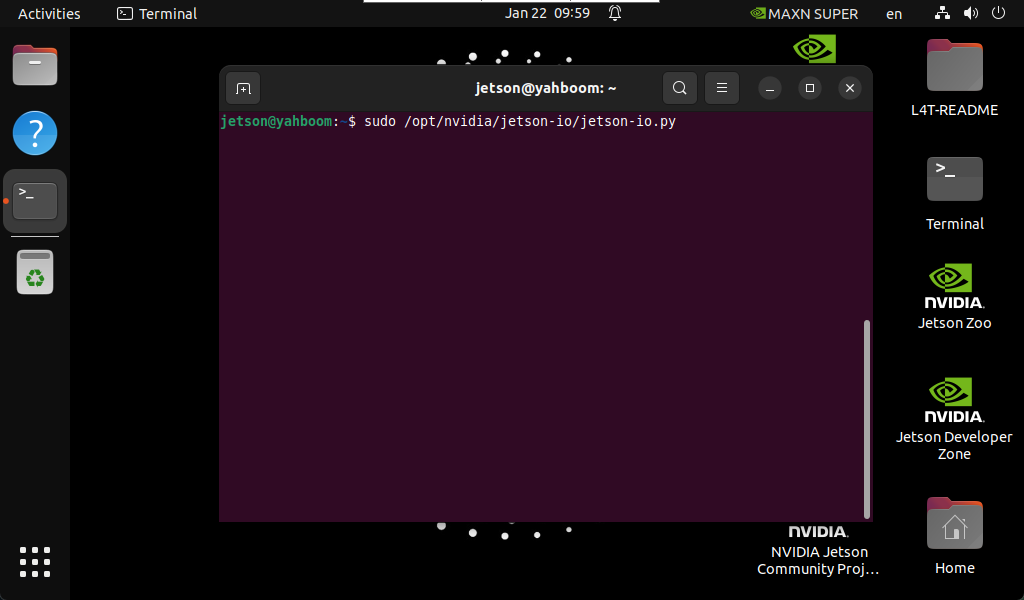
Enter the following command in the terminal:
sudo /opt/nvidia/jetson-io/jetson-io.py
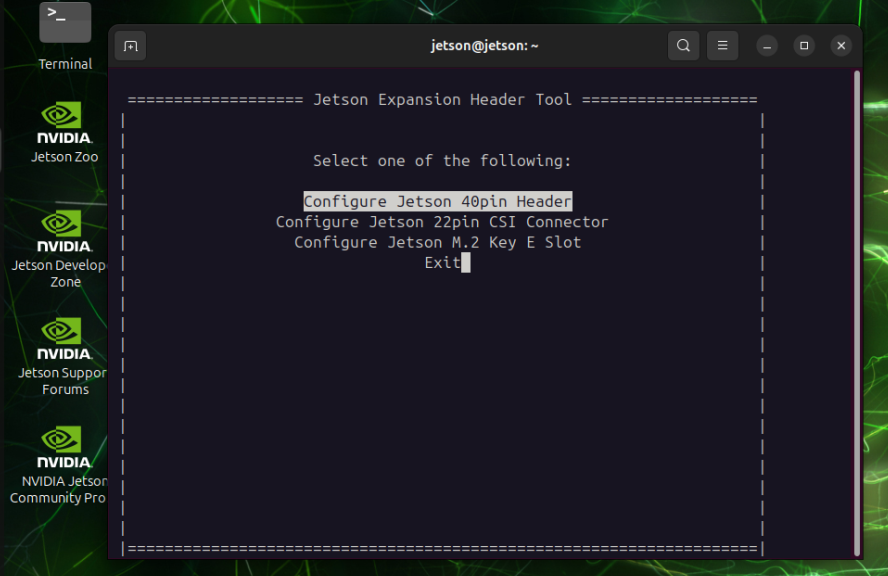
Press the arrow keys to select Configure Jetson 22pin CSI Connector, then press Enter to enter the configuration:
Select Configure for compatible hardware , then press Enter to enter the configuration:
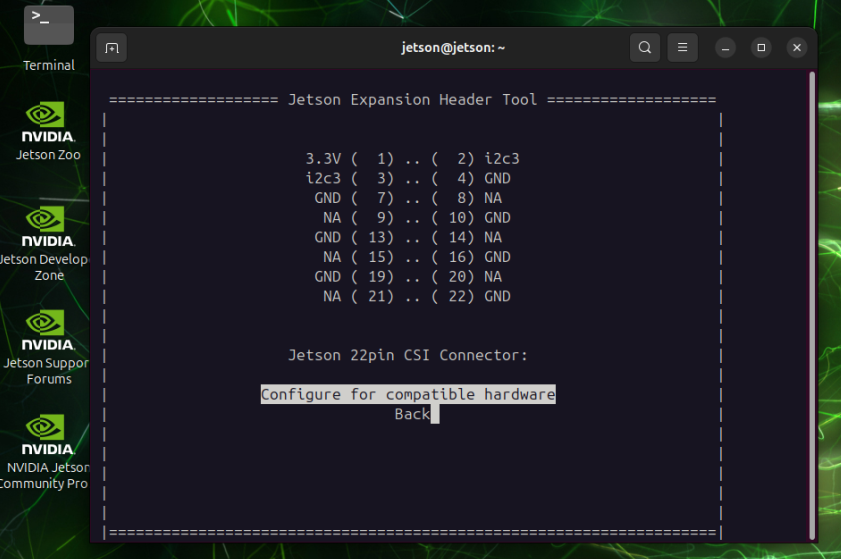
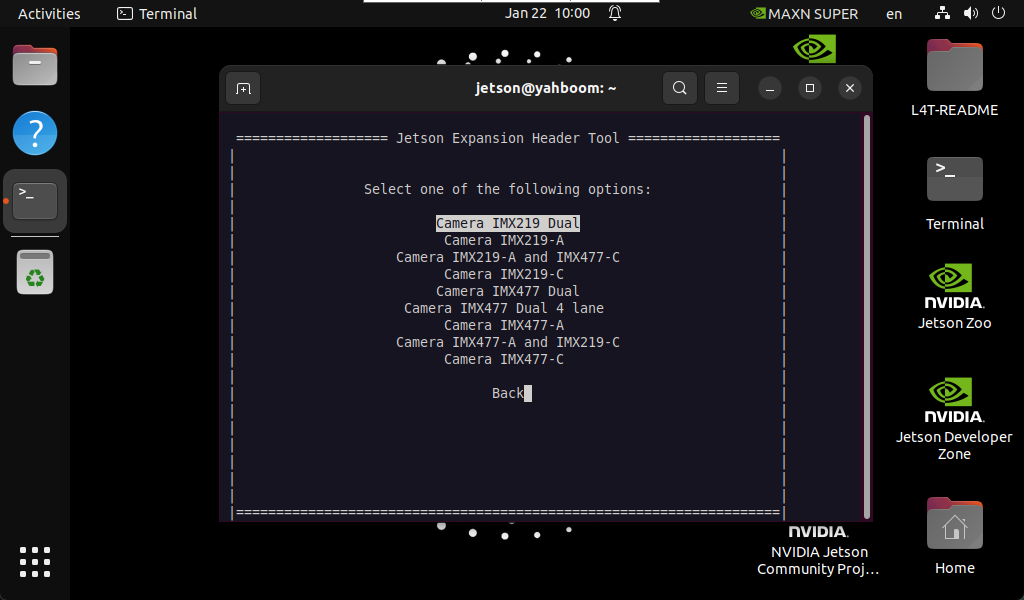
Select Camera IMX219 Dual , then press Enter to enter the configuration:
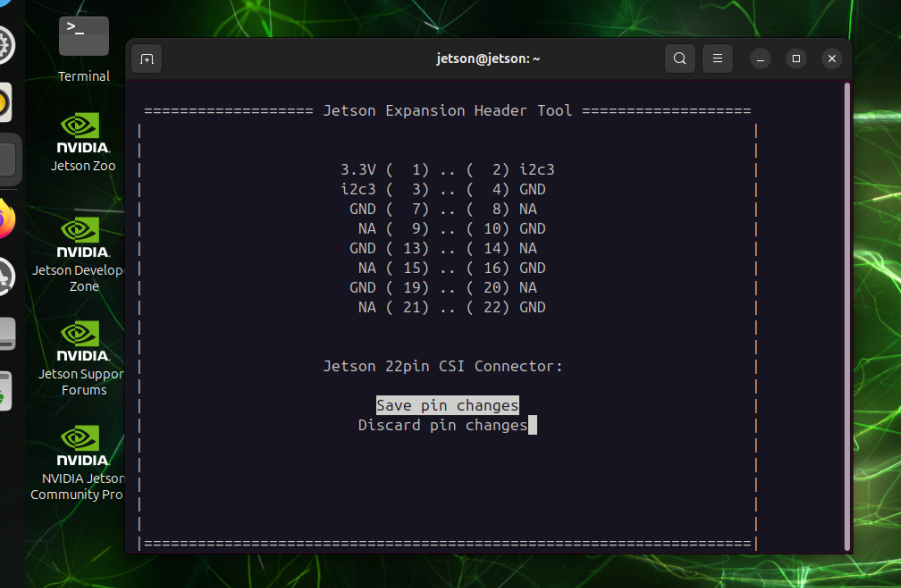
Select Save pin changes , then press Enter to enter the configuration:
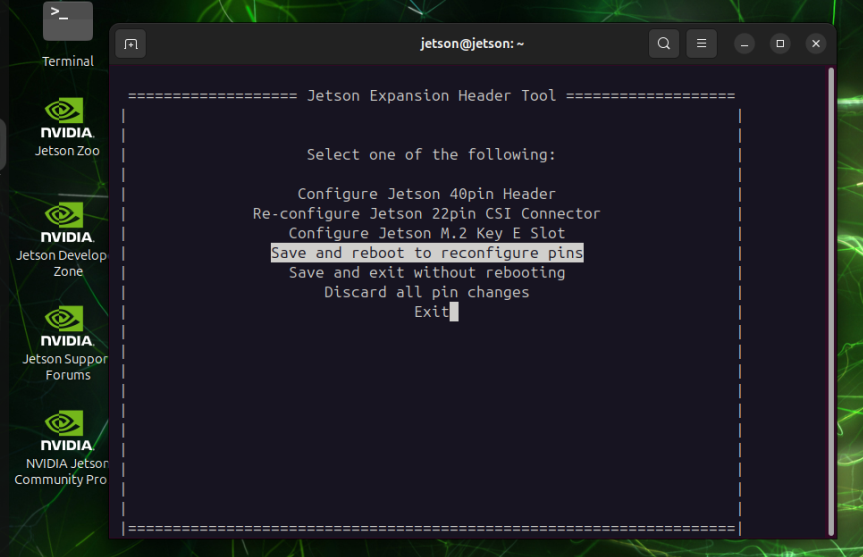
Select Save and reboot to reconfigure pins , then wait for the system to reboot:
2. Check the Video Device
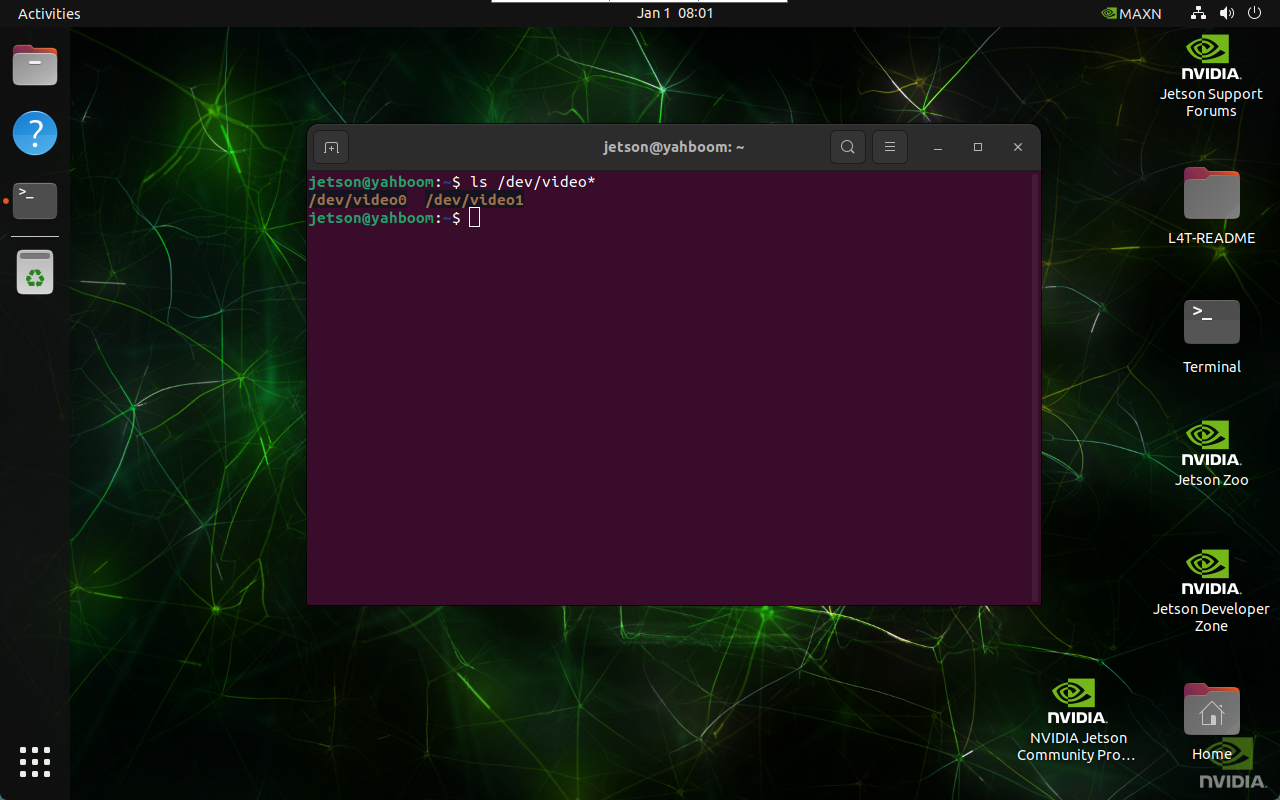
xxxxxxxxxxls /dev/video*
The result in the picture is the result of connecting two CSI cameras: generally, one CSI camera displays one video device
3. Preview the Camera Image
Enter the following command in the terminal, and the system automatically pops up the camera image window: the /dev/video0 device is opened by default
xxxxxxxxxxnvgstcapture-1.0
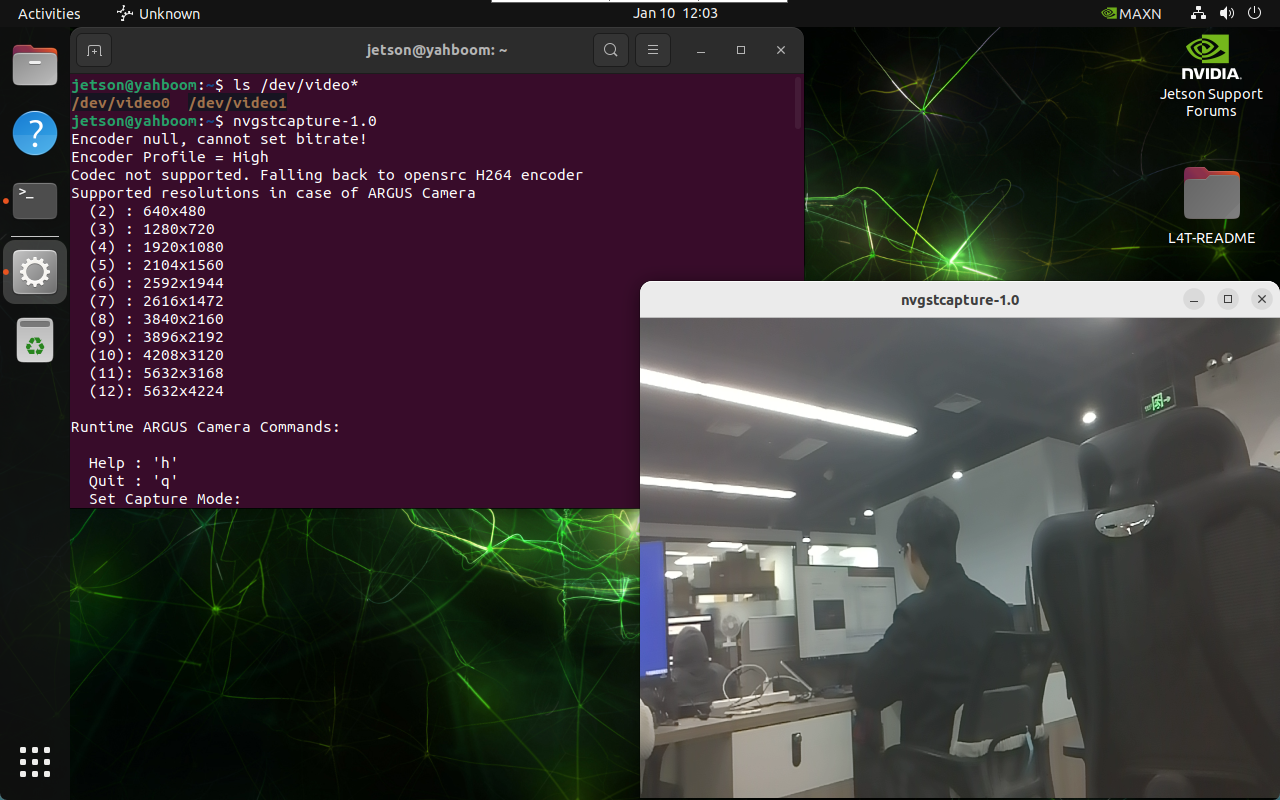
If the preview image is slightly reddish, you can add a parameter to adjust the white balance
xxxxxxxxxxnvgstcapture-1.0 --whitebalance=3
3.1. Specify the Camera
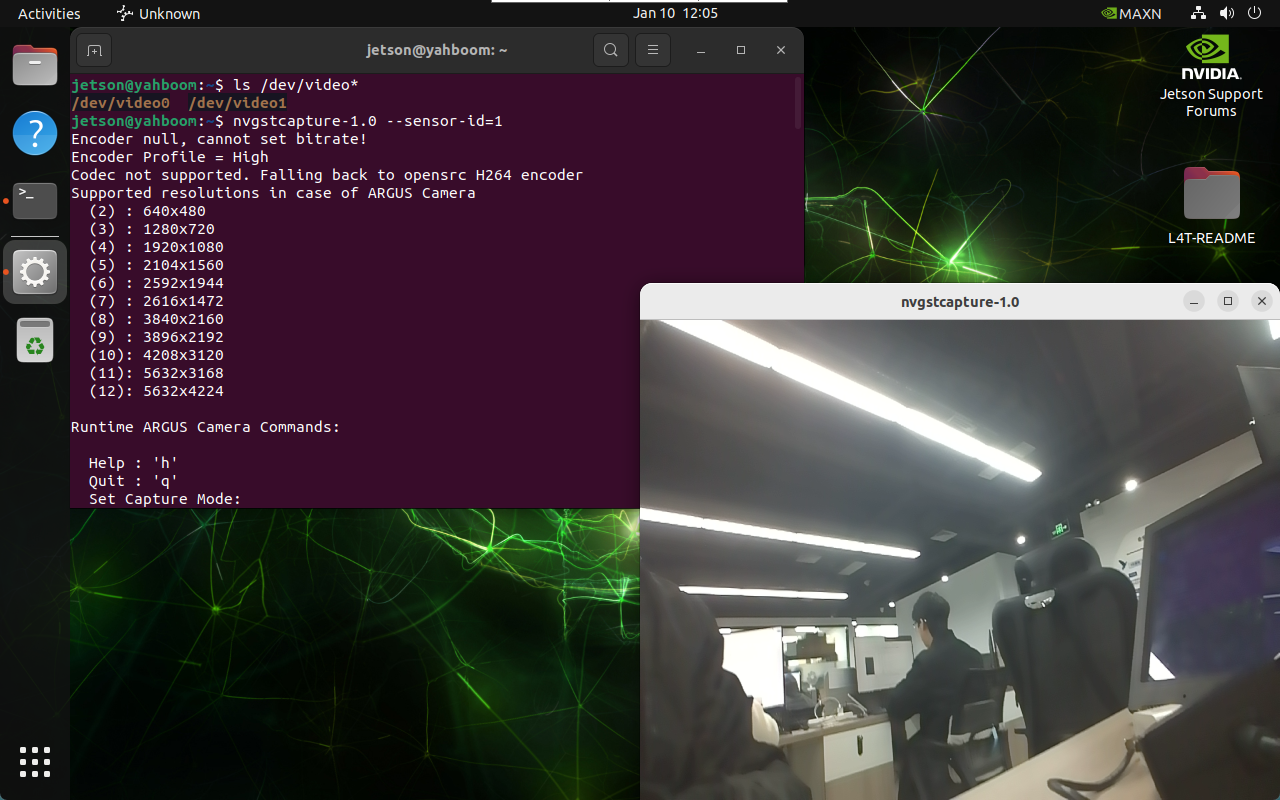
If there are multiple cameras, you can specify the camera ID:
xxxxxxxxxxnvgstcapture-1.0 --sensor-id=1
3.2. Specify the Preview Resolution
If there is only one CSI camera, --sensor-id=1 can be changed to --sensor-id=0:
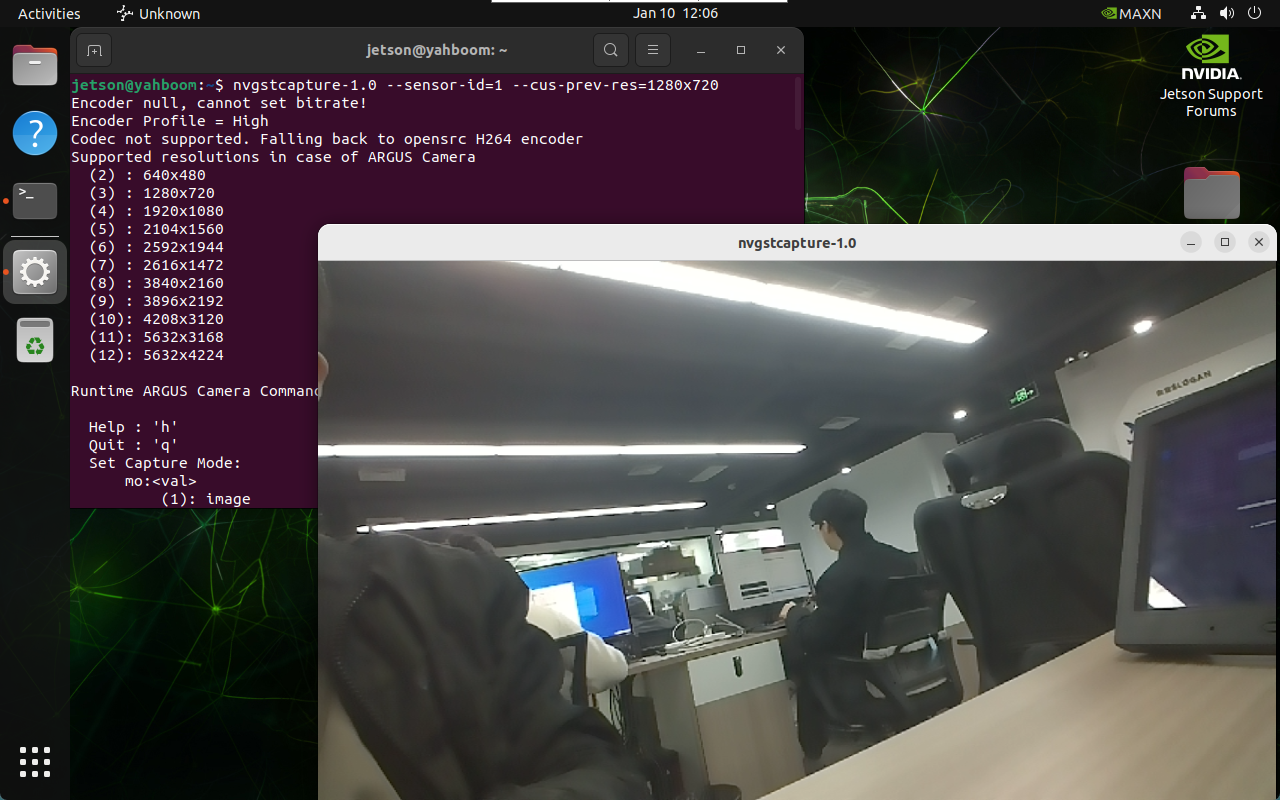
xxxxxxxxxxnvgstcapture-1.0 --sensor-id=1 --cus-prev-res=1280x720