Welcome to ROSMASTER M1 PRO repository
7.Cartographer-SLAM Mapping
Cartographer Algorithm Mapping
Cartographer Algorithm Mapping1. Course Content2. Cartographer Introduction3. Preparation4. Case Demonstration4.1 Saving the Map4.2 Saving the Pose Map in pbstream Format5. Node Analysis5.1 Viewing the Node Graph5.2 TF Transform
1. Course Content
Run the example cartographer mapping algorithm to perform SLAM mapping, and save the grid map and pose map.
2. Cartographer Introduction
Cartographer is a 2D and 3D SLAM library open-sourced by Google that is supported by the ROS system. It is a mapping algorithm based on graph optimization (multi-threaded backend optimization, problem optimization built with cere). It can combine data from multiple sensors (such as LIDAR, IMU, and cameras), simultaneously compute the sensors' positions, and draw the environment around the sensors.
The cartographer source code mainly consists of three parts: cartographer, cartographer_ros, and ceres-solver (backend optimization).
Cartographer adopts the mainstream SLAM framework, namely the three-stage process of feature extraction, loop closure detection, and backend optimization. A certain number of LaserScans form a submap; a series of submaps form the global map. The short-time process of building a submap from LaserScans does not accumulate much error, but the long-time process of building the global map from submaps will have a large accumulated error. Therefore, loop closure detection is needed to correct the positions of these submaps. The basic unit of loop closure detection is the submap, and loop closure detection adopts a scan_match strategy. The key content of cartographer is the creation of submap submaps that fuse multi-sensor data (odometry, IMU, LaserScan, etc.) and the implementation of the scan_match strategy used for loop closure detection.
cartographer_ros
cartographer_ros runs under ROS; it can receive data via ROS messages, and after processing, publish it out again in the form of messages, which is convenient for debugging and visualization.
3. Preparation
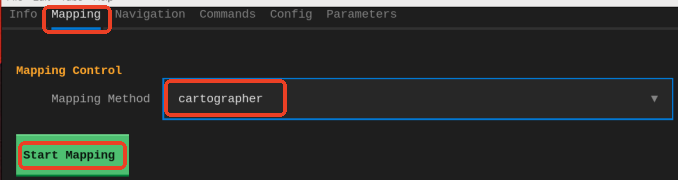
Launch method 1: GUI launch
Launch method 2: CLI command launch in VNC
ros2 launch yahboomcar_bringup cartographer.launch.py
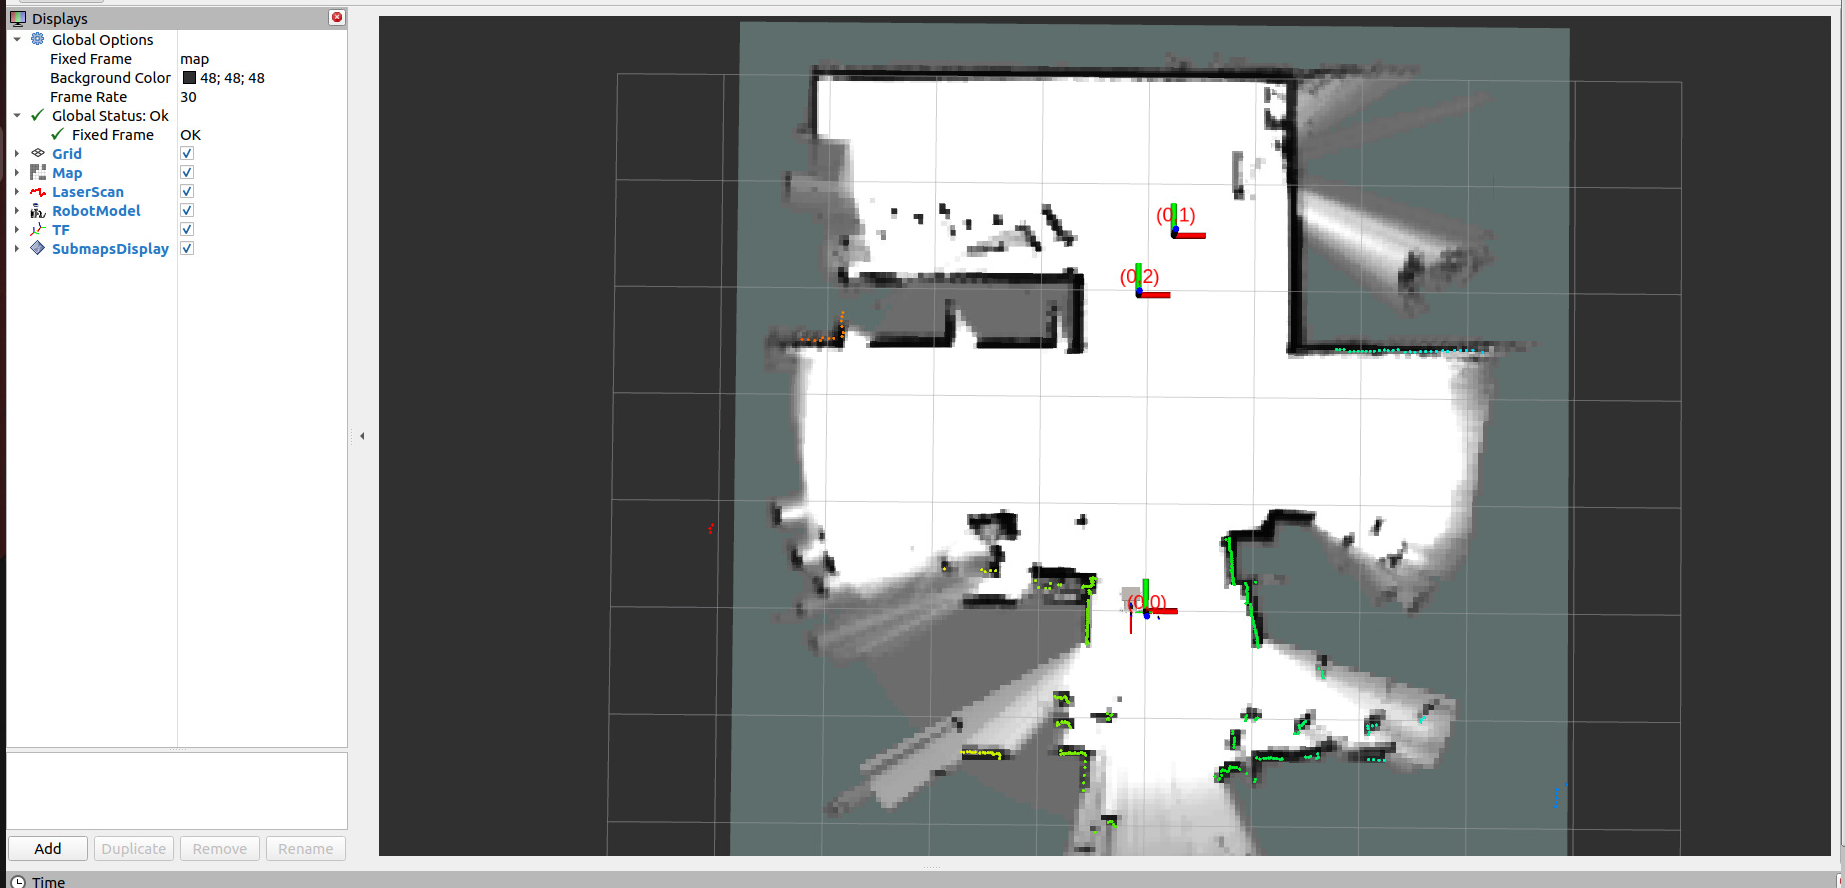
4. Case Demonstration
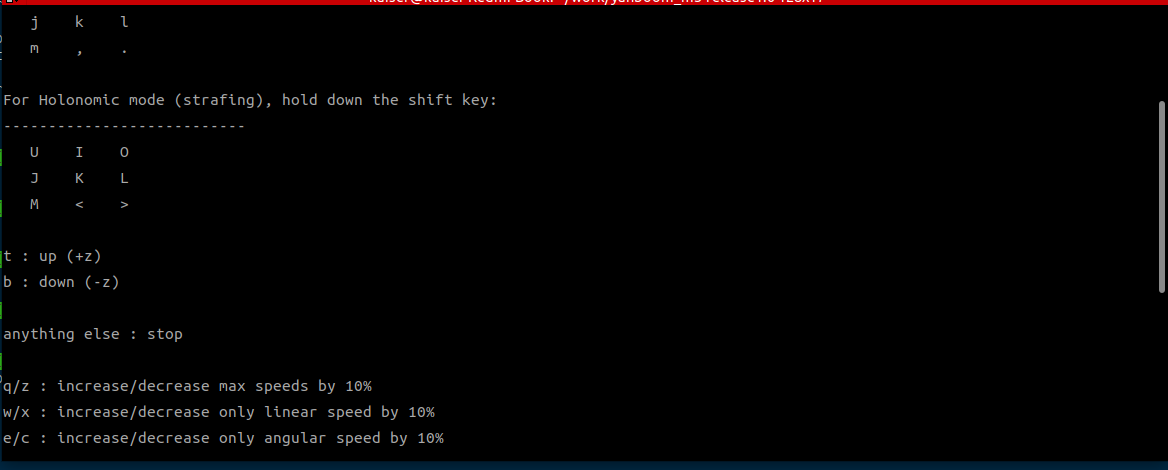
Control the car's movement. You can use keyboard control or handle control; here, keyboard control is used as an example
xxxxxxxxxxros2 run common_demo keyboard_controlClick once on the terminal window with the mouse. Press z to appropriately reduce the speed; press I, <, J, L to control the car's forward, backward, left turn, and right turn respectively, controlling the car to move slowly to complete mapping.
4.1 Saving the Map
Method 1: operate through the UI; start RobotManager
Click Save Map. You can also customize the map name and map type. If the terminal indicates that saving failed, simply save again
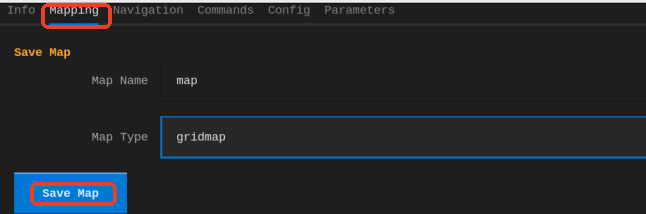
The map save path is as follows:
xxxxxxxxxx~/map/map.yaml
A pgm image and a yaml file map.yaml
xxxxxxxxxximage: map.pgmmode: trinaryresolution: 0.05origin: [-10, -10, 0]negate: 0occupied_thresh: 0.65free_thresh: 0.25
4.2 Saving the Pose Map in pbstream Format
The map file in pbstream format is used for cartographer localization and navigation; it will be explained in subsequent chapters
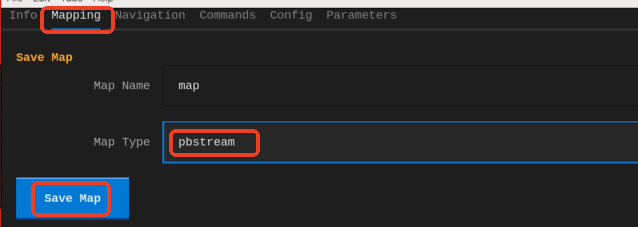
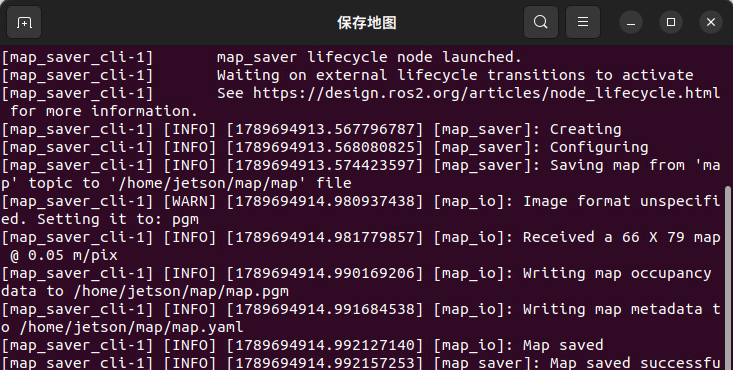
A window will automatically pop up in VNC to save the map; after saving successfully, press Enter to close it
5. Node Analysis
5.1 Viewing the Node Graph
Run the following command in the terminal:
xxxxxxxxxxrqt_graph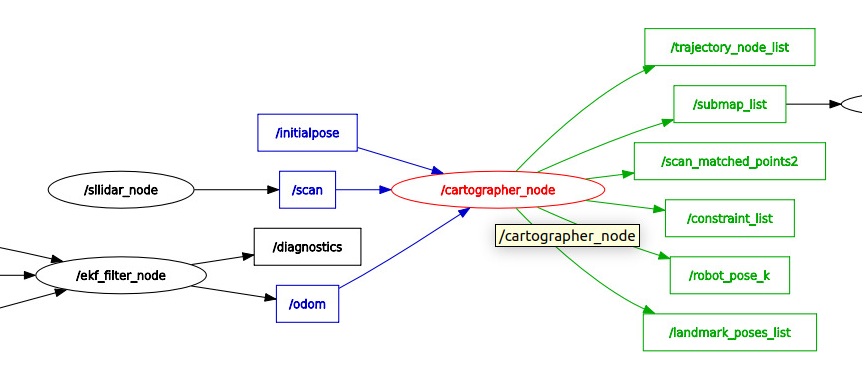
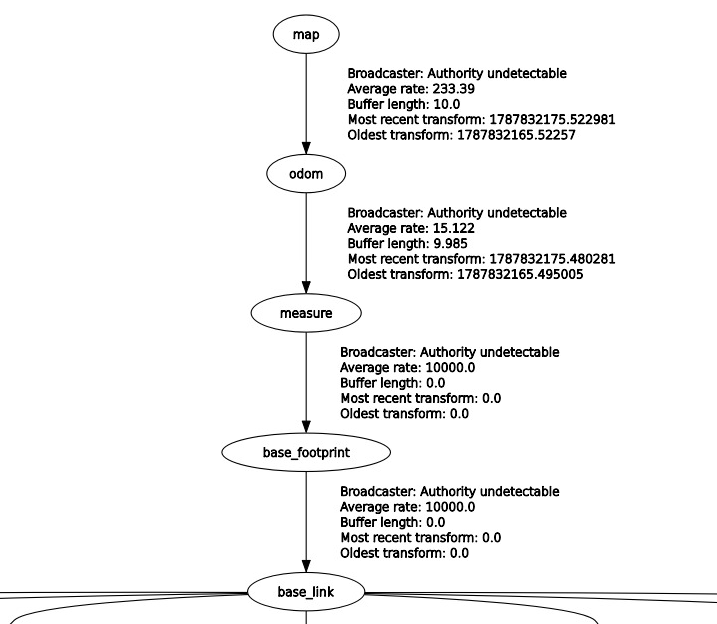
5.2 TF Transform
Run the command in the terminal:
xxxxxxxxxxros2 run rqt_tf_tree rqt_tf_tree