Welcome to ROSMASTER M1 PRO repository
4.Multimodal Visual Understanding and SLAM Navigation
Multimodal Visual Understanding + SLAM Navigation
Multimodal Visual Understanding + SLAM Navigation1. Course Content2. Preparation3. Recording Semantic Locations4. Case Demonstration
1. Course Content
Run the example program to perform a comprehensive task by combining the robot's visual understanding capability with SLAM navigation through text interaction.
Note
All operation steps are the same as those in AI Model - Voice Version. The differences are that the command input method is different and there is no voice reply. For detailed operation steps and source code analysis, refer to the AI Model - Voice Version course content.
2. Preparation
The navigation function requires building a grid map, a pose map, and an annotated road network file first. For details, refer to the tutorial "LiDAR - slam-toolbox Algorithm Mapping" to complete the construction of the grid map and the pose map.
Note
To balance the performance and localization accuracy of different mainboards, the default localization algorithm is slam_toolbox, but you can switch between amcl, cartographer, and slam_toolbox through the parameter localization_mode:=<xxx>. Localization accuracy and CPU usage: cartographer > slam_toolbox > amcl. For users of the Raspberry Pi 5 (4GB) and RDK X5 mainboards, if you feel lag during comprehensive navigation tasks, you can switch the localization mode to amcl (localization_mode:=amcl) to reduce CPU and memory pressure.
ros2 launch yahboomcar_bringup dify_llm_agents.launch.py use_nav:=true use_camera:=true
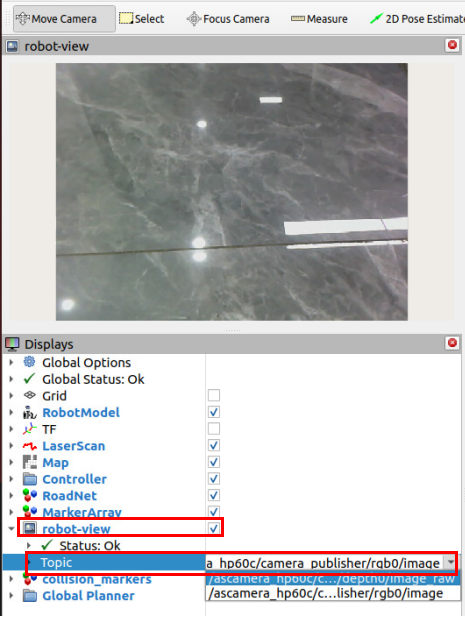
If you need to view the camera image, select the camera topic from the Topic drop-down in the robot_view panel in the sidebar.
3. Recording Semantic Locations
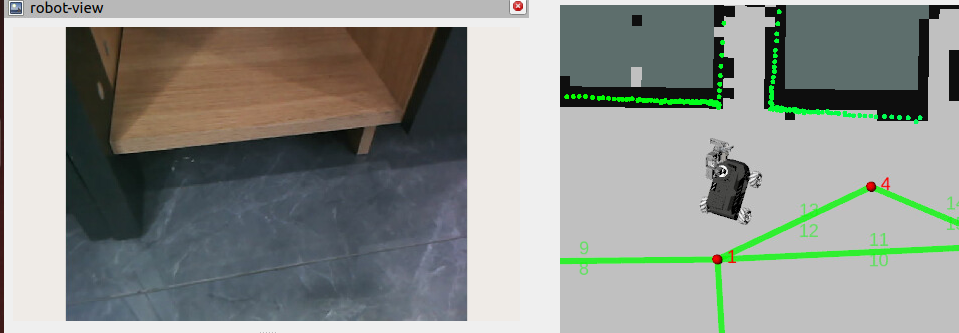
Move the car to the semantic location to be recorded (by any method such as keyboard, gamepad, Nav2 goal, or carrying).
Choose either the RobotManager interface operation or the CLI operation below.
Method 1: Fill in the symbol and semantic location, and click record location.
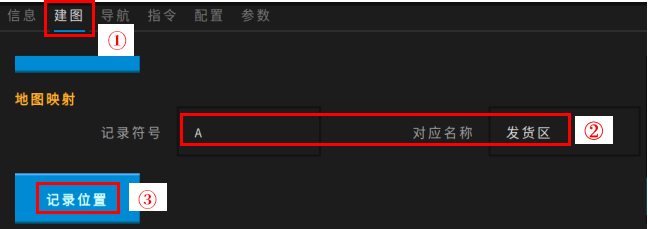
A terminal will pop up in the VNC screen to execute the record location command; press Enter to close it when done.
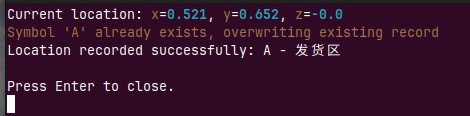
Method 2: Use the robot_control CLI tool to record the position of the car's base_link in the map (Raspberry Pi 5 users need to use the CLI command in the container terminal).
xxxxxxxxxxrobot_control call-tool RecordMapLocation --name ShippingArea --symbol A
--name specifies the name of the record point; --symbol specifies the symbol of the record point for easy recognition and distinction.

If the recording succeeds, the content shown in the figure above is displayed. If a symbol with the same name already exists in the map mapping file, the previous symbol content will be automatically overwritten.
4. Case Demonstration
The cases are for reference only. Just give commands according to your own needs. The virtual kitchen and master bedroom here can be recorded at any location on the map.
Navigate to the kitchen and the master bedroom, remember the items you see, and finally return to the starting position and tell me what you saw in those two places.
Wake up the robot and issue the command. The execution-layer large model will execute subtasks according to the task steps planned by the decision-layer model. For example, first place a pen in the simulated "master bedroom" and a pack of toilet paper in the simulated "kitchen", then issue the command: "Navigate to the 'master bedroom' and observe the items in the environment."
The robot executes the following steps according to the output flow of the decision layer: