Welcome to ROSMASTER M1 PRO repository
2.Building the Sandbox Map
Building the Sandbox Map
Building the Sandbox Map1. Course ContentLearning Objectives2. Preparation3. Building the Road Network Description File
1. Course Content
Learning Objectives
The complete process of building a sandbox grid map using slam_toolbox.
Learn to use the Publish Point tool to create waypoints and the 2D Pose Estimate tool for relocalization.
Understand the basic principles and annotation strategy of sandbox map road network planning.
Important
This lesson is a comprehensive lesson for the sandbox map, introducing the complete process of building the sandbox map. For detailed principles, parameter debugging, and other content, refer to 【OpenClaw Embodied intelligent application — OpenClaw SLAM Mapping And Navigation】 and the 【Road Network Planning and Navigation 1-6】 chapters.
2. Preparation
Tip
The default localization algorithm used during navigation is slam_toolbox; the localization mode can be switched through parameters.
Build the grid map and the map.posegraph pose graph.
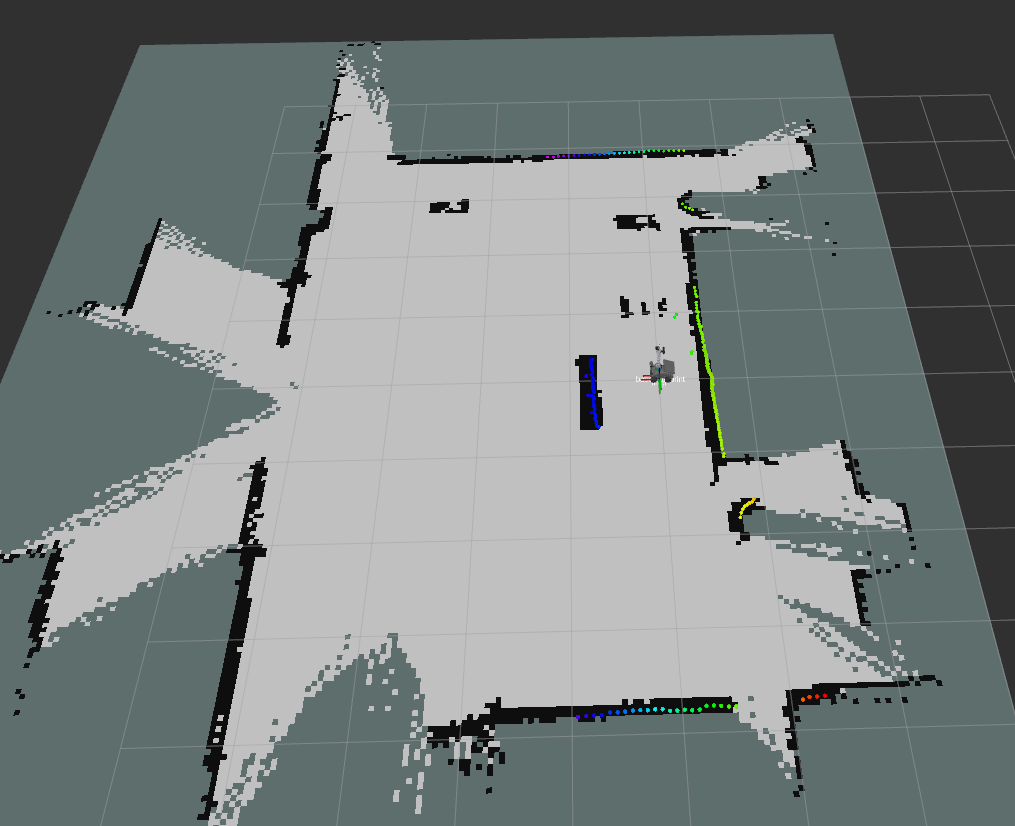
Refer to the operation steps of building a map in the LiDAR chapter 【Slam-Toolbox Mapping】 lesson; you can start mapping through the RobotManager interface.
Check the number of pose points (important)
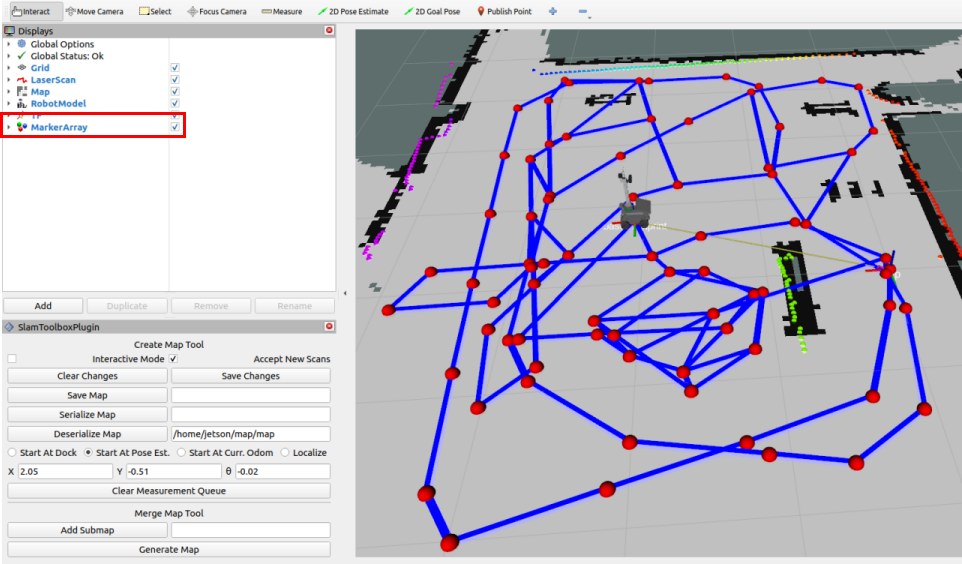
Click the MarkerArray option in the Display panel in Rviz to view the pose points of the pose map. Ensure there are enough pose points within the map area. If there are too few or no pose points in a certain area, the localization effect in that area will be relatively poor during navigation.
3. Building the Road Network Description File
For the detailed road network annotation operation process, refer to the [Road Network Planning and Navigation] chapter tutorial.
ros2 launch yahboomcar_bringup nav2.launch.py rviz_config:=roadnet_edit localization_mode:=slam_toolbox
Click the
Publish Pointtool in the rviz toolbar to enter the waypoint selection state.
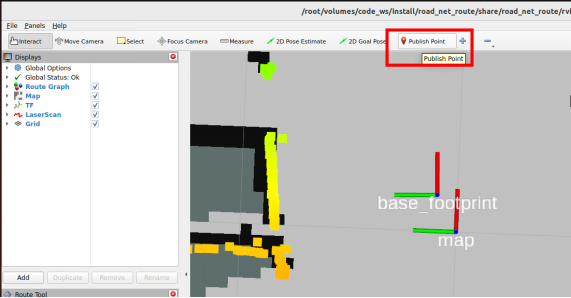
Then click the left mouse button at the blue dot in the center of the base_footprint coordinate system. The
positionin theRoute Tooltab at the lower left will automatically fill in the coordinates of the current point. Then click Create to create a waypoint.
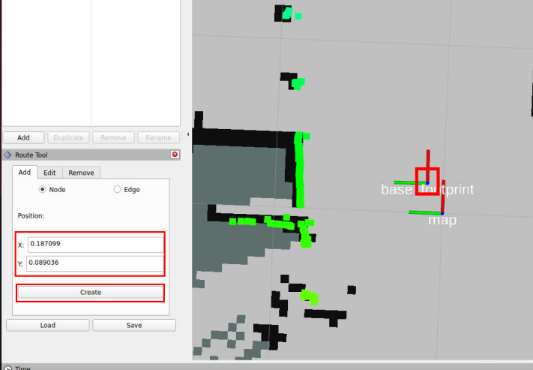
Move the car to the next waypoint that needs to be marked, then click the
2D Pose Estimatetool to give an estimated position near the approximate position of the robot car for relocalization.
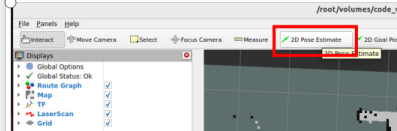
Repeat the above process until all required waypoints are marked and the road network is connected (annotate according to actual needs).
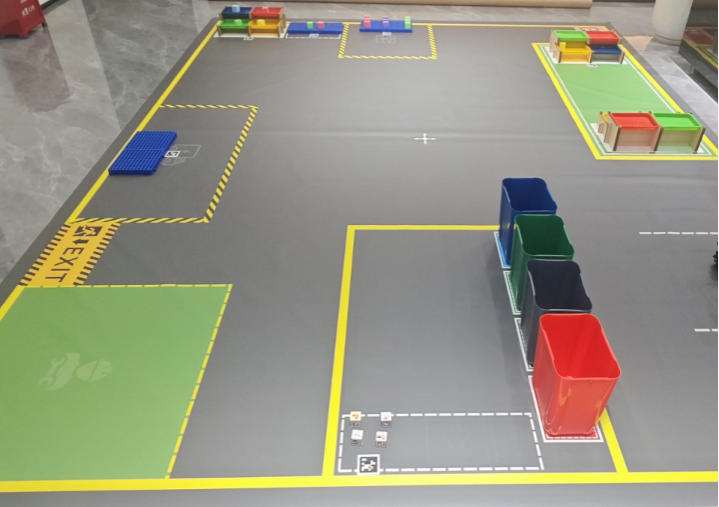
The reference sandbox map road network is as follows. Here, waypoints are marked on the main roads and important areas of the sandbox map. You can annotate the road network according to the tasks you actually need to perform.
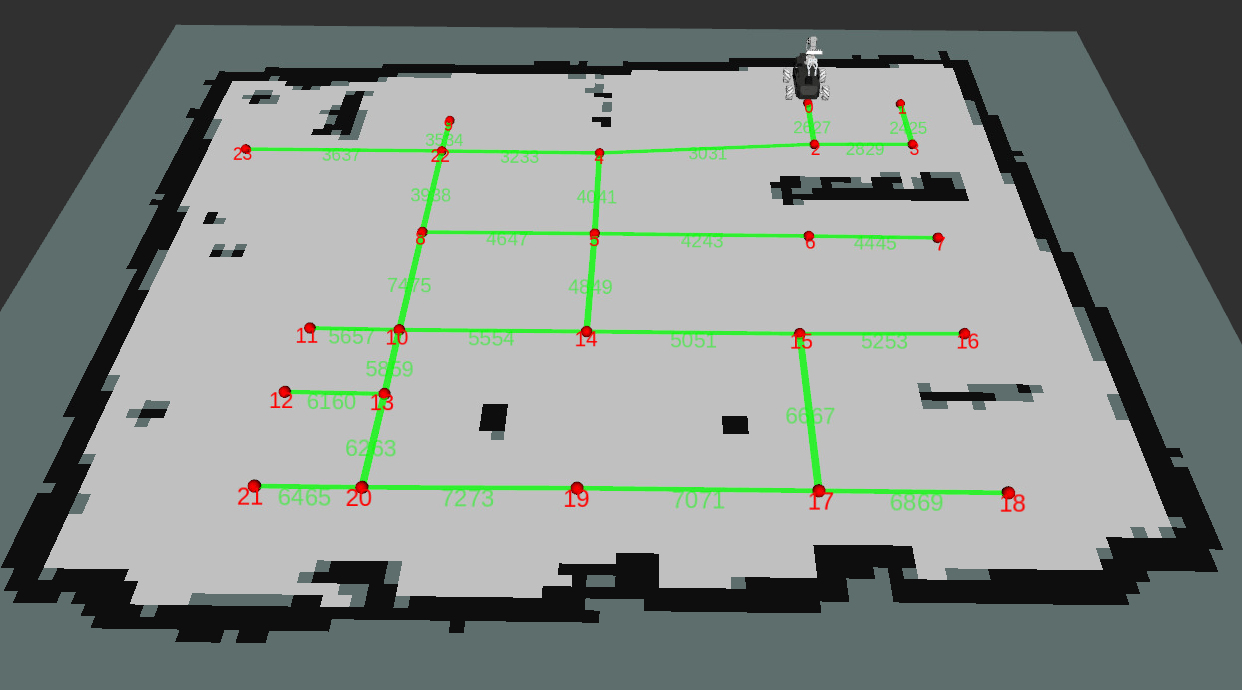
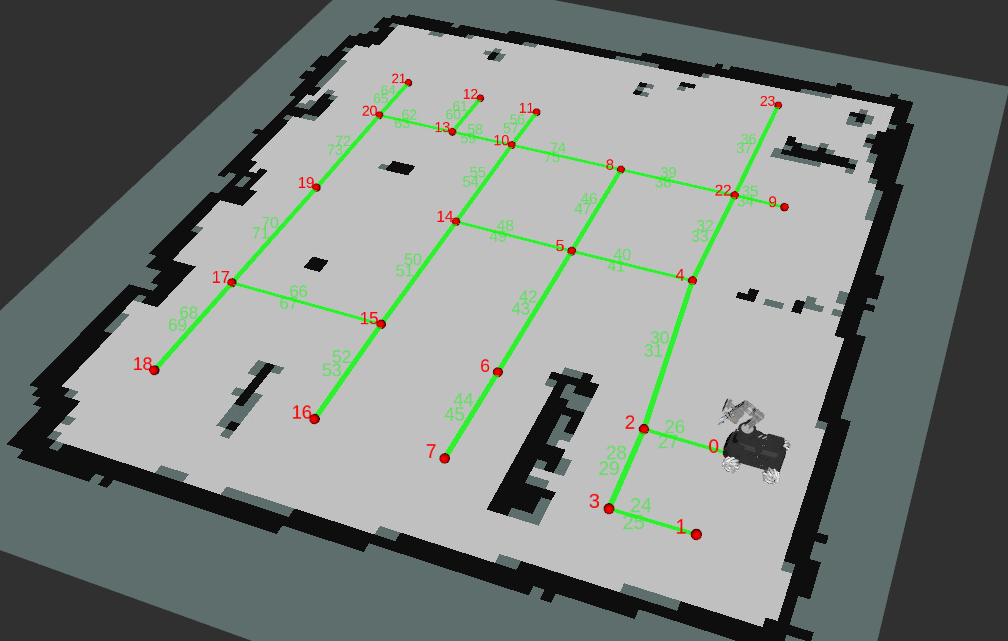
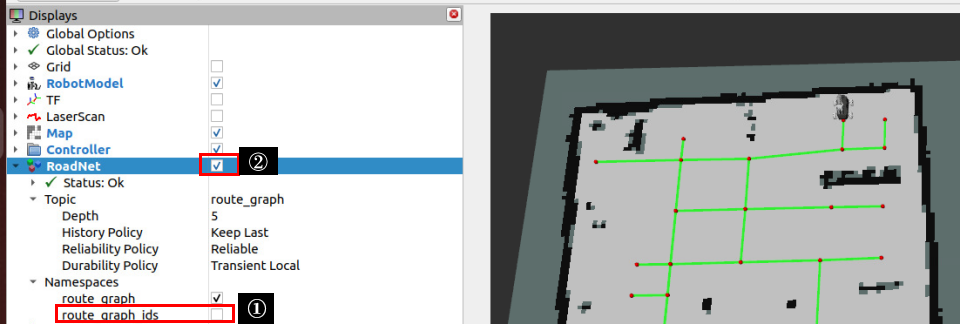
If you need to hide the numeric markers of edges and waypoints, uncheck route_graph_ids and click RoadNet display to re-display it.