Welcome to ROSMASTER A1 PRO repository
1.Robot Information Publishing
🤖 Robot Information Publishing
1. Course Introduction
This course will introduce how to interact with the A1 Pro robot through ROS 2 topics and services, including:
Reading sensor data: IMU, wheel odometry, battery voltage, firmware version, etc.
Controlling chassis movement: Publishing velocity commands via
cmd_veland understanding Ackerman chassis steering constraintsControlling the buzzer: Turning the buzzer on/off
Controlling the robotic arm: Controlling 6-axis robotic arm joint angles and status queries
Service calls: Querying battery voltage, firmware version, and actual robotic arm pose via ROS 2 services
🎯 Course Objectives
Understand the ROS 2 node architecture and software/hardware data flow of A1 Pro
Master basic operations for subscribing to topics and publishing control commands via command line
Learn to use ROS 2 services to query robot status
2. Prerequisites
2.1 Start the Robot Driver
Open a terminal and run the following command to start all driver nodes for A1 Pro:
ros2 launch yahboomcar_bringup yahboomcar_bringup_A1_launch.py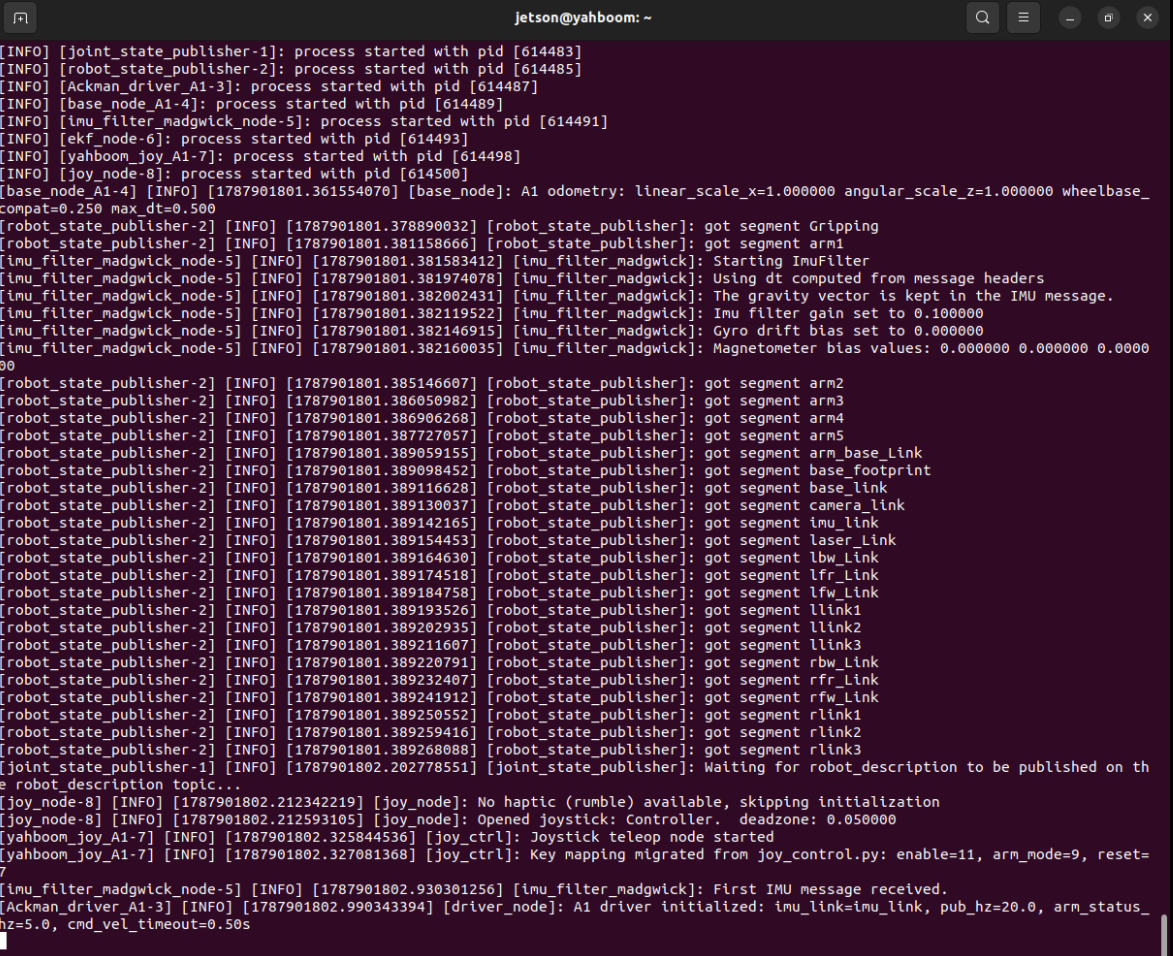
2.2 Verify Nodes Started Successfully
Execute in a new terminal:
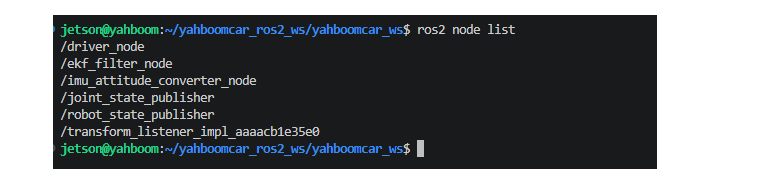
xxxxxxxxxxros2 node listYou will see output similar to the following (the core driver has been unified in driver_node, no separate base_node is needed):
xxxxxxxxxx/driver_node/ekf_filter_node/imu_attitude_converter_node/joint_state_publisher/robot_state_publisher
Note
/transform_listener_impl_xxxxx is a node automatically created by the tf2_ros library in the background. No need to pay attention to it.
3. Topic (Topic) Details
3.1 Published Topics
The following are topics published by the chassis driver driver_node (Ackman_driver_A1P.py) and related processing nodes:
| Topic | Message Type | Publisher | Description |
|---|---|---|---|
/imu/data_raw | sensor_msgs/msg/Imu | driver_node | IMU raw data (three-axis acceleration + angular velocity, coordinate system calibrated) |
/imu/data | sensor_msgs/msg/Imu | imu_attitude_converter_node | Fused and converted IMU data |
/vel_raw | geometry_msgs/msg/Twist | driver_node | Actual chassis velocity feedback |
/odom_raw | nav_msgs/msg/Odometry | driver_node | Raw wheel odometry calculated from midpoint integration |
/odom | nav_msgs/msg/Odometry | ekf_filter_node | Filtered odometry after EKF fusion (/odom_raw + /imu/data) |
/voltage | std_msgs/msg/Float32 | driver_node | Real-time battery voltage (V) |
/edition | std_msgs/msg/String | driver_node | Chassis firmware version number |
/arm_status/arm_joint | sensor_msgs/msg/JointState | driver_node | Current actual joint angles feedback of the robotic arm (used for RViz model state synchronization) |
3.2 Subscribed Topics
The following are control topics subscribed by driver_node:
| Topic | Message Type | Description |
|---|---|---|
/cmd_vel | geometry_msgs/msg/Twist | Chassis velocity control command (linear velocity $v_x$ + angular velocity $\omega_z$) |
/Buzzer | std_msgs/msg/Bool | Buzzer on/off control (true: on, false: off) |
/arm6_joints | dofbot_pro_interface/msg/ArmJoints | Simultaneously control 6 joint target angles and execution time |
/arm_joint | dofbot_pro_interface/msg/ArmJoint | Control a single specified joint target angle and execution time |
4. Hands-on Demonstration
4.1 View Topic List and Data
xxxxxxxxxx# View all current topicsros2 topic list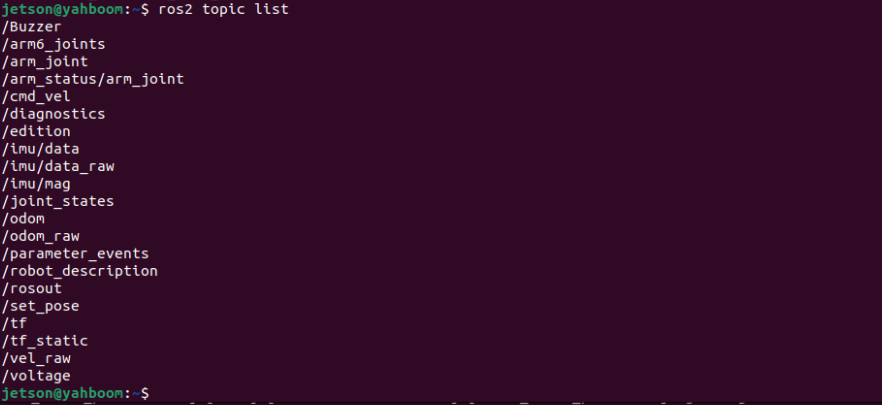
xxxxxxxxxx# View IMU raw data (output only one message)ros2 topic echo /imu/data_raw --once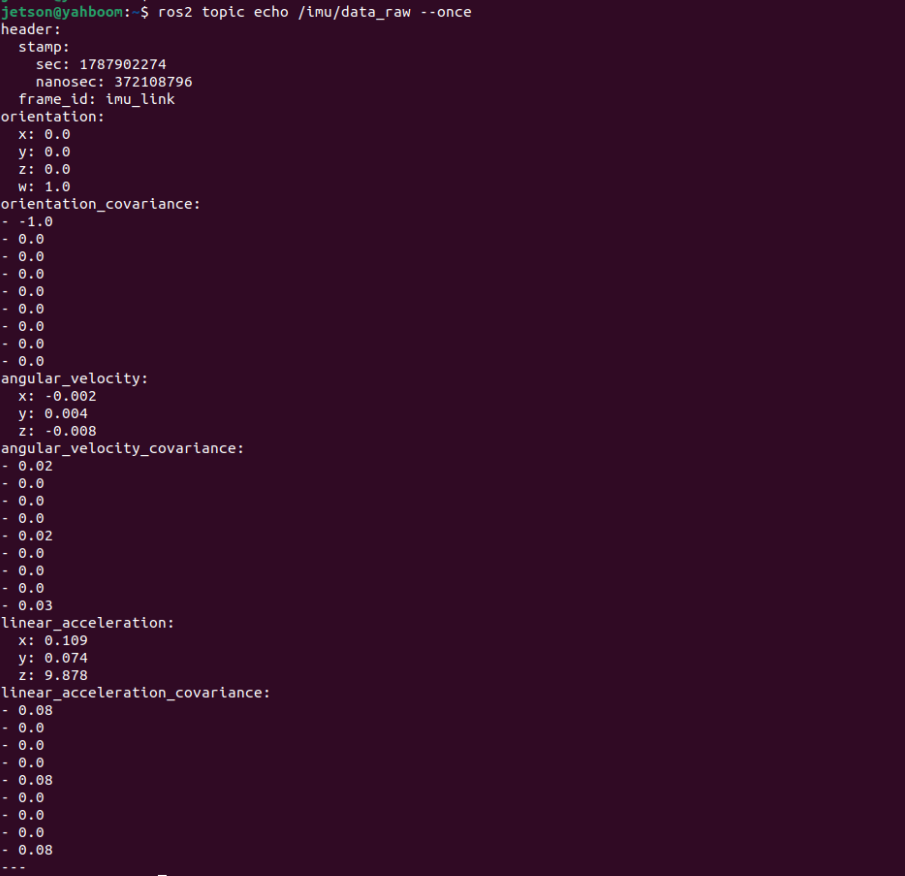
xxxxxxxxxx# View fused IMU dataros2 topic echo /imu/data --once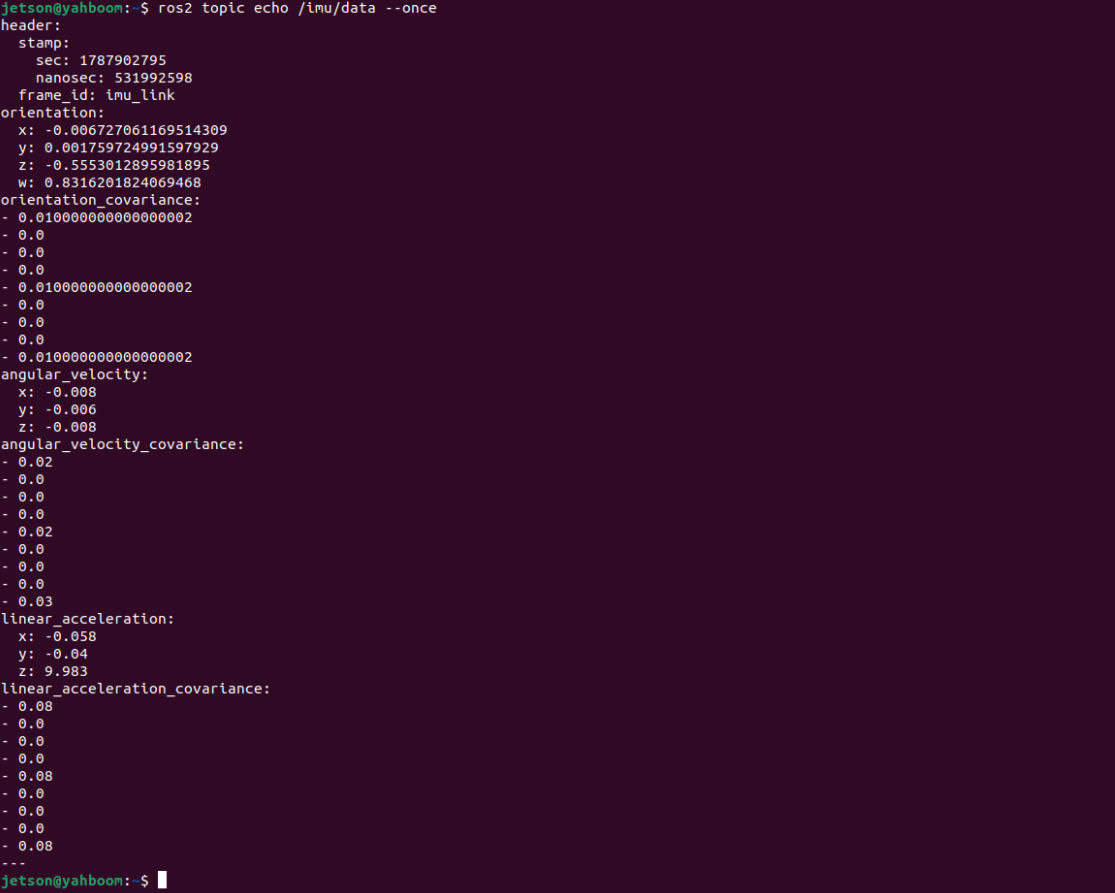
xxxxxxxxxx# View wheel odometry dataros2 topic echo /odom_raw --oncexxxxxxxxxx# View battery voltageros2 topic echo /voltage --once
xxxxxxxxxx# View chassis firmware versionros2 topic echo /edition --once
Tip
The command format is universal. Simply replace the topic name to view the publishing rate (ros2 topic hz <topic>) or data content (ros2 topic echo <topic>) of any topic.
4.2 Control Chassis Movement
Control the robot's movement by publishing geometry_msgs/msg/Twist messages to the /cmd_vel topic:
Move forward (linear velocity 0.3 m/s):
xxxxxxxxxxros2 topic pub -r 20 /cmd_vel geometry_msgs/msg/Twist "{linear: {x: 0.3}, angular: {z: 0.0}}"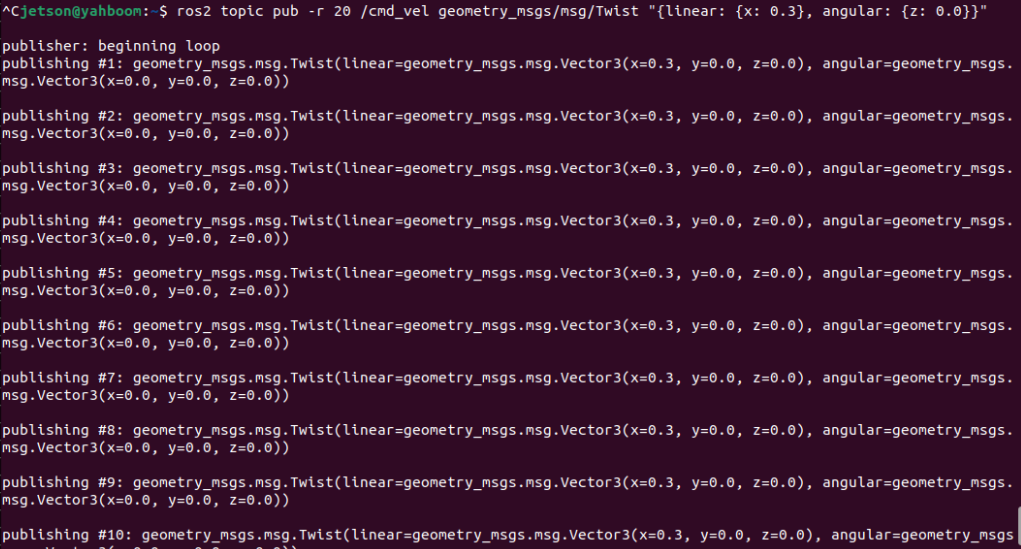
Move forward and turn (linear velocity 0.3 m/s, angular velocity 1.0 rad/s):
Warning
The A1 Pro uses an Ackerman steering mechanism (not an omnidirectional chassis), does not support in-place rotation. If the linear velocity is 0 (linear.x ≈ 0), the driver node will ignore pure in-place angular velocity commands to protect the front wheel steering servo.
Vehicle steering must be accompanied by linear velocity (linear.x ≠ 0) so that the front wheels can form a turning arc during movement.
xxxxxxxxxx# Move forward at 0.3 m/s while turningros2 topic pub -r 20 /cmd_vel geometry_msgs/msg/Twist "{linear: {x: 0.3}, angular: {z: 1.0}}"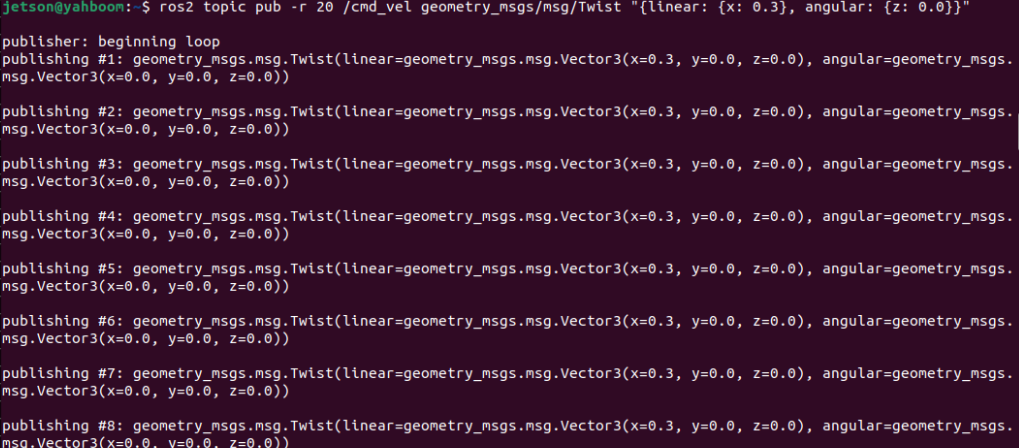
Stop movement:
xxxxxxxxxxros2 topic pub -r 20 /cmd_vel geometry_msgs/msg/Twist "{linear: {x: 0.0}, angular: {z: 0.0}}" --once
Note
The driver node has a built-in cmd_vel timeout safety protection mechanism (default 0.5 seconds). If the upper computer stops sending velocity commands, the robot will automatically decelerate and stop safely.
4.3 Control the Buzzer
The buzzer receives std_msgs/msg/Bool messages via the /Buzzer topic:
x# Turn on the buzzerros2 topic pub /Buzzer std_msgs/msg/Bool "{data: true}" --once
# Turn off the buzzerros2 topic pub /Buzzer std_msgs/msg/Bool "{data: false}" --once
4.4 Control Robotic Arm Angles
Method 1: Simultaneously Control 6 Joints
Send all 6 joint target angles (unit: degrees) and motion duration (unit: milliseconds) via the /arm6_joints topic:
xxxxxxxxxx# Set 6 joint target angles, motion time 1000msros2 topic pub /arm6_joints dofbot_pro_interface/msg/ArmJoints \ "{joint1: 90, joint2: 120, joint3: 0, joint4: 0, joint5: 90, joint6: 0, time: 1000}" --once
Method 2: Control a Single Joint
Control a specified single joint via the /arm_joint topic:
xxxxxxxxxx# Control joint 1 (base) to rotate to 120°, duration 500msros2 topic pub /arm_joint dofbot_pro_interface/msg/ArmJoint \ "{id: 1, joint: 120, time: 500}" --onceJoint angle limit range description:
| Joint ID | Joint Name | Physical Effective Range |
|---|---|---|
| 1 | arm1_Joint (base rotation) | 0° ~ 180° |
| 2 | arm2_Joint (upper arm pitch) | -60° ~ 180° |
| 3 | arm3_Joint (forearm pitch) | -20° ~ 180° |
| 4 | arm4_Joint (wrist pitch) | -20° ~ 180° |
| 5 | arm5_Joint (end effector rotation) | 0° ~ 270° |
| 6 | rlink1_Joint (end effector gripper) | 0° ~ 180° |
Caution
The driver node internally configures angle boundary protection (arm_bounds). Commands exceeding the range will be automatically clamped. Please send angles within the specified range.
4.5 Query Robot Information via Services
In addition to topic publishing, the driver node also provides the following ROS 2 services:
| Service Name | Service Type | Description |
|---|---|---|
/get_battery_voltage | std_srvs/srv/Trigger | Query real-time battery voltage |
/get_car_edition | std_srvs/srv/Trigger | Query chassis MCU firmware version |
/arm_driver/get_actual_arm_position | dofbot_pro_interface/srv/ArmPosition | Query actual feedback angles of each robotic arm joint |
Query battery voltage:
xxxxxxxxxxros2 service call /get_battery_voltage std_srvs/srv/Trigger
Query firmware version:
xxxxxxxxxxros2 service call /get_car_edition std_srvs/srv/Trigger
Query current actual angles of the robotic arm:
xxxxxxxxxxros2 service call /arm_driver/get_actual_arm_position dofbot_pro_interface/srv/ArmPosition
5. Core Source Code and Driver Architecture Analysis
5.1 Launch Startup File Architecture
Source code path:
xxxxxxxxxx$HOME/yahboomcar_ros2_ws/yahboomcar_ws/src/yahboomcar_bringup/launch/yahboomcar_bringup_A1_launch.py
This Launch file is responsible for loading parameters and uniformly starting all core subsystems:
xxxxxxxxxx# 1. Chassis and robotic arm main driver node —— Unified serial communication with MCU, odometry calculation and topic publishingdriver_node = Node(    package='yahboomcar_bringup',    executable='Ackman_driver_A1P',    output='screen',    parameters=[driver_config],)
# 2. IMU attitude conversion node —— Subscribe to /imu/data_raw and convert to /imu/dataimu_attitude_converter_node = Node(    package='yahboomcar_bringup',    executable='imu_attitude_converter',    output='screen',    parameters=[{        'imu_input_topic': '/imu/data_raw',        'imu_output_topic': '/imu/data',        'publish_tf': False,        'use_odom_position': False,    }],)
# 3. EKF fusion localization node —— Fuse /odom_raw and /imu/data, output final filtered odometry /odomekf_node = Node(    package='robot_localization',    executable='ekf_node',    name='ekf_filter_node',    output='screen',    parameters=[ekf_config],    remappings=[('odometry/filtered', '/odom')],)
# 4. Robot model and state publishing nodesrobot_state_publisher_node = Node(    package='robot_state_publisher',    executable='robot_state_publisher',    parameters=[{'robot_description': robot_description}],)joint_state_publisher_node = Node(    package='joint_state_publisher',    executable='joint_state_publisher',    parameters=[{'source_list': ['/arm_status/arm_joint'], 'rate': 30}],)
5.2 Chassis Integrated Driver Node (Ackman_driver_A1P.py)
Source code path:
xxxxxxxxxx$HOME/yahboomcar_ros2_ws/yahboomcar_ws/src/yahboomcar_bringup/yahboomcar_bringup/Ackman_driver_A1P.py
Ackman_driver_A1P.py is the core hardware hub of the entire vehicle, uniformly integrating communication, control, dead reckoning, and status feedback:
① ROS Interface Registration and Service Binding
xxxxxxxxxxdef _create_ros_interfaces(self):    # ---- Hardware service registration ----    self.create_service(ArmPosition, '/arm_driver/get_actual_arm_position', self.get_actual_arm_position_callback)    self.create_service(Trigger, 'get_car_edition', self.get_car_edition_callback)    self.create_service(Trigger, 'get_battery_voltage', self.get_battery_voltage_callback)
    # ---- Control subscription registration ----    self.create_subscription(ArmJoints, 'arm6_joints', self.arm_callback, 10)    self.create_subscription(ArmJoint, 'arm_joint', self.single_arm_callback, 10)    self.create_subscription(Twist, 'cmd_vel', self.cmd_vel_callback, 5)    self.create_subscription(Bool, 'Buzzer', self.buzzer_callback, 10)
    # ---- Sensor and status publishing registration ----    self.edition_pub = self.create_publisher(String, 'edition', 10)    self.voltage_pub = self.create_publisher(Float32, 'voltage', 10)    self.vel_pub = self.create_publisher(Twist, 'vel_raw', 50)    self.odom_pub = self.create_publisher(Odometry, 'odom_raw', 50) if self.pub_odom else None    self.imu_pub = self.create_publisher(Imu, 'imu/data_raw', 50)    self.arm_status_pub = self.create_publisher(JointState, '/arm_status/arm_joint', 10)
② Velocity Control and Ackerman Steering Non-holonomic Constraints
xxxxxxxxxxdef cmd_vel_callback(self, msg: Twist):    vx = float(msg.linear.x)    angular = float(msg.angular.z)
    # 1. Abnormal data filtering    if not math.isfinite(vx) or not math.isfinite(angular):        self._stop_car()        return
    # 2. Velocity limiting    vx = max(-self.max_linear_speed, min(self.max_linear_speed, vx))    angular = max(-self.max_angular_speed, min(self.max_angular_speed, angular))
    # 3. Ackerman steering constraint: Prohibit pure in-place turning when linear velocity is zero to protect front wheel mechanism    if abs(vx) < 1e-4:        vx = 0.0        angular = 0.0
    with self._car_lock:        self.car.set_car_motion(vx, 0.0, angular)        self._last_cmd_vx = vx        self._last_cmd_angular = angular    self._last_cmd_time = time.monotonic()    self._command_active = abs(vx) > 0.0 or abs(angular) > 0.0
③ Trapezoidal Midpoint Integration Dead Reckoning Odometry Publishing (_integrate_and_publish_odom)
The driver node directly reads motor encoder and servo feedback internally, and uses the Trapezoidal Midpoint Integration algorithm to calculate high-precision wheel odometry /odom_raw:
xxxxxxxxxxdef _integrate_and_publish_odom(self, vx, angular_z, current_time):    if self._last_odom_time is not None:        dt = (current_time - self._last_odom_time).nanoseconds / 1e9        if 0.0 < dt <= self.odom_max_integration_dt:            # Trapezoidal midpoint heading angle calculation            delta_heading = angular_z * dt            heading_midpoint = self._odom_heading + 0.5 * delta_heading            self._odom_x += vx * math.cos(heading_midpoint) * dt            self._odom_y += vx * math.sin(heading_midpoint) * dt            self._odom_heading = math.remainder(self._odom_heading + delta_heading, 2.0 * math.pi)
    self._last_odom_time = current_time
    # Construct and publish nav_msgs/Odometry message    odom = Odometry()    odom.header.stamp = current_time.to_msg()    odom.header.frame_id = self.odom_frame          # 'odom'    odom.child_frame_id = self.base_footprint_frame  # 'base_footprint'    odom.pose.pose.position.x = self._odom_x    odom.pose.pose.position.y = self._odom_y    half_heading = 0.5 * self._odom_heading    odom.pose.pose.orientation.z = math.sin(half_heading)    odom.pose.pose.orientation.w = math.cos(half_heading)    odom.pose.covariance = self.odom_pose_covariance    odom.twist.twist.linear.x = vx    odom.twist.twist.angular.z = angular_z    odom.twist.covariance = self.odom_twist_covariance    self.odom_pub.publish(odom)
④ IMU Sensor Direction Correction and Data Flow
Since the expansion board is structurally installed upside down, after collecting raw IMU gyroscope and accelerometer data, the driver node automatically performs axis inversion correction to align with the standard ROS coordinate system (X forward, Y left, Z up):
xxxxxxxxxxdef _publish_imu(self):    with self._car_lock:        ax, ay, az = self.car.get_accelerometer_data()        gx, gy, gz = self.car.get_gyroscope_data()
    imu = Imu()    imu.header.stamp = self.get_clock().now().to_msg()    imu.header.frame_id = self.imu_link    # Structure inversion calibration: Y/Z axis inversion for ROS coordinate system adaptation    imu.linear_acceleration.x = float(ax)    imu.linear_acceleration.y = float(-ay)    imu.linear_acceleration.z = float(-az)    imu.angular_velocity.x = float(gx)    imu.angular_velocity.y = float(-gy)    imu.angular_velocity.z = float(-gz)    self.imu_pub.publish(imu)
6. Core Parameter Description
Driver parameters are located in $HOME/yahboomcar_ros2_ws/yahboomcar_ws/src/yahboomcar_bringup/param/a1_driver.yaml:
| Parameter Name | Default Value | Description |
|---|---|---|
pub_date_hz | 20.0 | Sensor and odometry data publishing frequency (Hz) |
status_pub_hz | 1.0 | Battery voltage and version status publishing frequency (Hz) |
arm_status_pub_hz | 5.0 | Robotic arm physical joint status /arm_status/arm_joint publishing frequency (Hz) |
cmd_vel_timeout | 0.5 | Velocity command timeout (seconds), automatic braking on timeout |
max_linear_speed | 1.0 | Maximum linear velocity limit (m/s) |
max_angular_speed | 3.0 | Maximum angular velocity limit (rad/s) |
pub_odom | true | Whether this driver node calculates and publishes /odom_raw wheel odometry |
pub_odom_tf | false | Whether this node directly publishes odom -> base_footprint TF transform (must be set to false when EKF is enabled) |
odom_linear_scale_x | 1.0 | Odometry linear velocity scale calibration coefficient |
odom_angular_scale_z | 1.0 | Odometry angular velocity scale calibration coefficient |
odom_frame | odom | Odometry reference coordinate system name |
base_footprint_frame | base_footprint | Robot chassis projection base coordinate system name |