Welcome to ROSMASTER A1 PRO repository
10.OpenClaw Multi-Agent Intelligent Agent
OpenClaw Multi-Agent System
OpenClaw Multi-Agent System1. Course ContentCourse OverviewLearning Objectives2. Case Demonstration2.1 Creating an Agent Using CLI Agent Wizard2.2 Agent Directory Structure2.3 Verifying Agent Creation2.4 Restarting Gateway to Apply Configuration2.5 Agent Conversation4. Deleting an Agent4.1 Deleting Using CLI Command4.2 Manually Cleaning Up Agent Directory4.3 Cleaning Up Binding Configuration
1. Course Content
Course Overview
The OpenClaw multi-agent system allows running multiple isolated agents within the same Gateway, each with its own workspace, state directory, and session history
The multi-agent architecture is suitable for multi-role collaboration scenarios, for example, one agent handles programming development while another handles social media operations, with complete data isolation and no interference between them
Learning Objectives
Understand the concept and applicable scenarios of OpenClaw multi-agent system
Learn how to create new agents using CLI commands
Learn how to edit agent prompt files (AGENTS.md / SOUL.md / IDENTITY.md, etc.)
Learn how to delete agents
2. Case Demonstration
OpenClaw runs a default agent (agentId is main). The following methods can be used to create additional isolated agents.
2.1 Creating an Agent Using CLI Agent Wizard
For example, to create a work agent named work:
xxxxxxxxxxopenclaw agents add work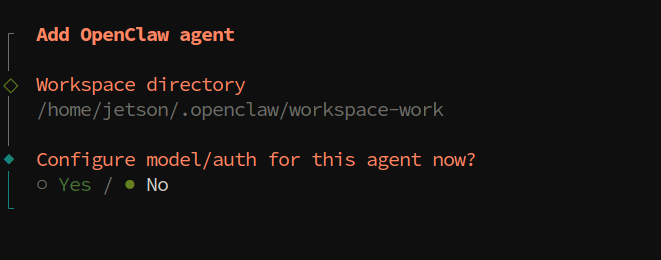

After execution, OpenClaw automatically performs the following:
Creates the agent directory:
~/.openclaw/agents/<agentId>/Creates workspace bootstrap files: including
AGENTS.md,SOUL.md,IDENTITY.md,TOOLS.md,USER.md, etc.
2.2 Agent Directory Structure
After creating an agent, a complete file structure is generated under the ~/.openclaw/agents/<agentId>/ directory:
xxxxxxxxxx~/.openclaw/agents/<agentId>/├── agent/│ ├── auth-profiles.json # Authentication configuration file│ ├── config.json # Agent configuration│ └── ...└── sessions/ # Session history storage└── <SessionId>.jsonl
The agent's workspace files are located in their respective workspace directories, where you can edit bootstrap files to define the agent's behavior and personality.
2.3 Verifying Agent Creation
After creation, you can view all agents and their binding status using the following command:
xxxxxxxxxxopenclaw agents list --bindings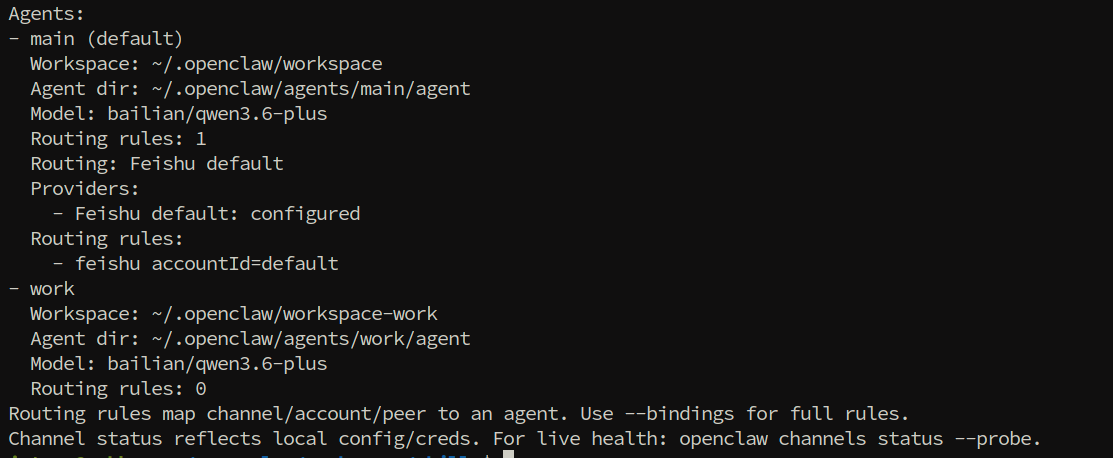
2.4 Restarting Gateway to Apply Configuration
After creating an agent or modifying binding configuration, you need to restart the Gateway:
xxxxxxxxxxopenclaw gateway restartAfter restart, verify the agent and channel status:
xxxxxxxxxxopenclaw agents list --bindings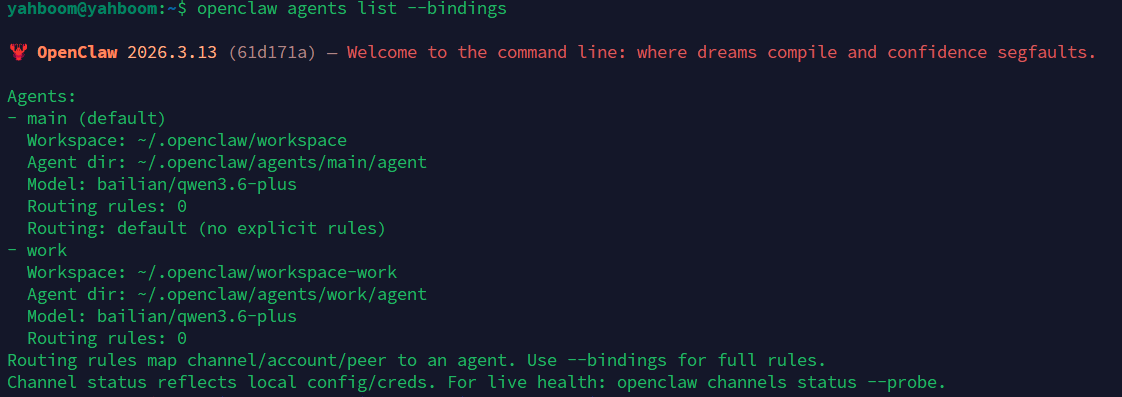
2.5 Agent Conversation
xxxxxxxxxxopenclaw tui
In the dialog box, enter /agent, press Enter, and select the newly created agent
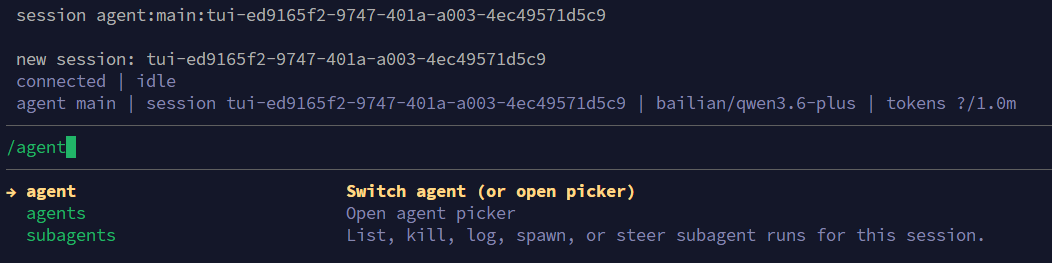
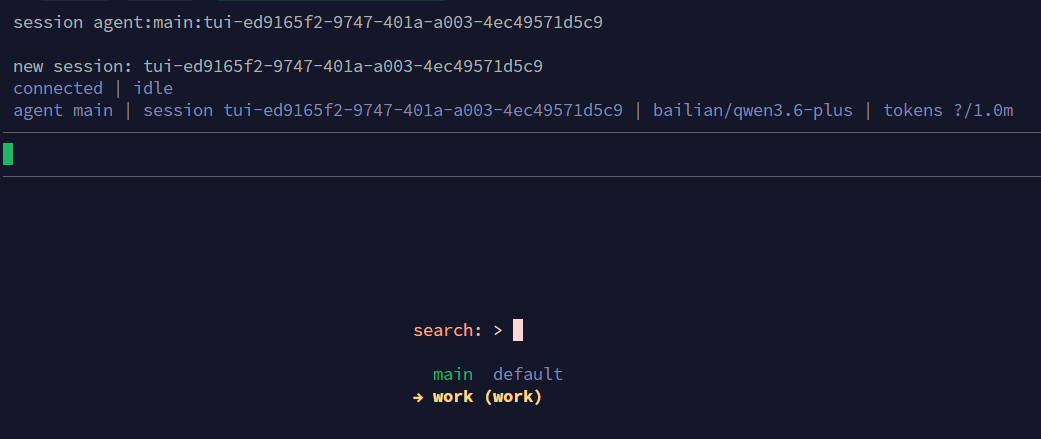
Enter text in the input box to converse with the agent
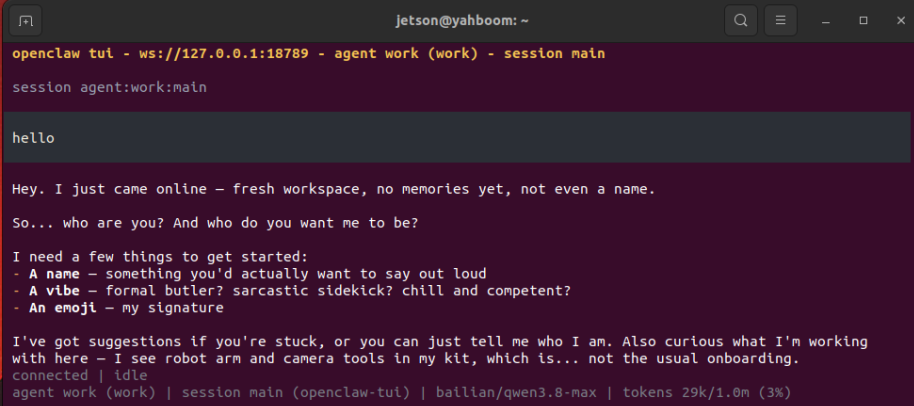
4. Deleting an Agent
4.1 Deleting Using CLI Command
For example, to delete an agent named work:
xxxxxxxxxxopenclaw agents delete work
4.2 Manually Cleaning Up Agent Directory
After executing the CLI command, it is recommended to also clean up the following residual data:
x# Delete agent data directoryrm -rf ~/.openclaw/agents/<agentId>
# Delete agent workspacerm -rf ~/.openclaw/workspace-<agentId>4.3 Cleaning Up Binding Configuration
After deleting an agent, you also need to clear the corresponding binding records and agent list entries from the openclaw.json configuration file:
Open the configuration file:
~/.openclaw/openclaw.jsonRemove the corresponding agent entry from
agents.listRemove binding rules related to this agent from
bindingsSave and restart the Gateway:
openclaw gateway restart