Welcome to ROSMASTER A1 PRO repository
6.OpenClaw Navigation Transport
OpenClaw Navigation Transfer
OpenClaw Navigation Transfer1. Course ContentCourse OverviewLearning Objectives2. Preparation3. Navigation Transfer Comprehensive Demonstration CaseStep 1: Confirm or Mark Workstation Location Names in AdvanceStep 2: Issue Long-Process Transport CommandStep 3: Autonomously Go to Shipping Area and Precisely GraspStep 4: Cross-Area Transfer and Shelf Fixed-Point Placement4. Embodied Long-Process Core Source Code and Coordination Mechanism Analysis4.1 Tool Chain Sequential Transfer and Data Dependency4.2 Chassis-Arm Coordinated Safety Interlock Mechanism (State Interlock)5. Comprehensive Practical Parameter Linkage and Tuning GuideCommon Comprehensive Task Fault Troubleshooting Tree
1. Course Content
Course Overview
Navigation Transfer (Autonomous Mobile Manipulation & Logistics) is the core comprehensive practical application of embodied intelligence robots!
In previous lessons, we separately conquered skills in individual dimensions:
In 【01-Target Tracking】 we mastered hand-eye servoing;
In 【02-Tracking And Grasping】 we mastered chassis and robotic arm coordinated grasping;
In 【03-Fixed-point Placement】 we mastered semantic spatial positioning and gentle release;
In 【05-SLAM Mapping And Navigation】 we mastered semantic location mapping, road network high-speed cruise and centimeter-level reverse parking fine-tuning.
This course deeply integrates all basic skills. Faced with a user's high-level, abstract compound natural language command:
"Transport a yellow block from the shipping area to the processing center blue shelf area."
This case uses 4 * 4 * 4 matching cubes
Learning Objectives
Master the interaction command specifications for compound long-process natural language transport tasks.
Understand OpenClaw embodied Agent's underlying sequencing logic for decomposing complex human intent into multi-tool call chains (Tool Calling Chain).
Master the chassis and robotic arm state machine interlock mechanism (long-distance navigation state vs. workstation operation state).
Possess full-link parameter linkage debugging and fault troubleshooting capabilities for long-cycle embodied tasks.
2. Preparation
Important
Before running this comprehensive case, ensure you have completed environmental grid map, pose map construction and road network file annotation (refer to 【Road Network Planned and Navigation — Road Network Annotation】).
Ensure you have completed "ShippingArea" and "ProcessingCenter" workstation map mapping annotations through the
RecordMapLocationtool in previous lessons.
Start core nodes:
ros2 launch dofbot_pro_bringup mcp_service.launch.py relocation:=false display_windows_only_track:=trueIf you need voice broadcast replies:
xxxxxxxxxxros2 launch dofbot_pro_bringup mcp_service.launch.py relocation:=false display_windows_only_track:=true launch_openclaw_bridge:=true
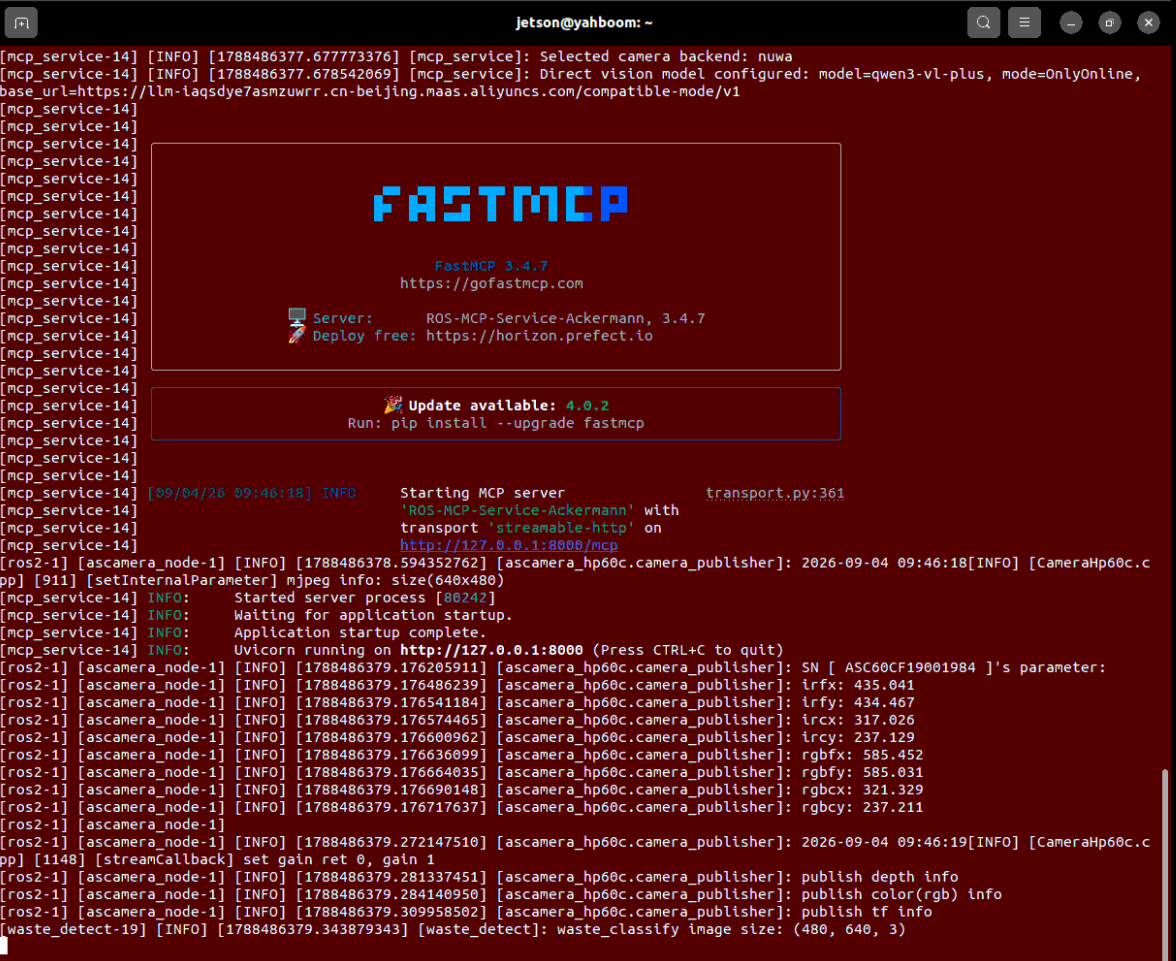
Enter the road network Docker container environment to start the visualization tool RViz:
xxxxxxxxxx# Quick startup commandbringup_ros2kilted# Enter container terminalexec_ros2kiltedros2 launch road_net_route rviz_only.launch.py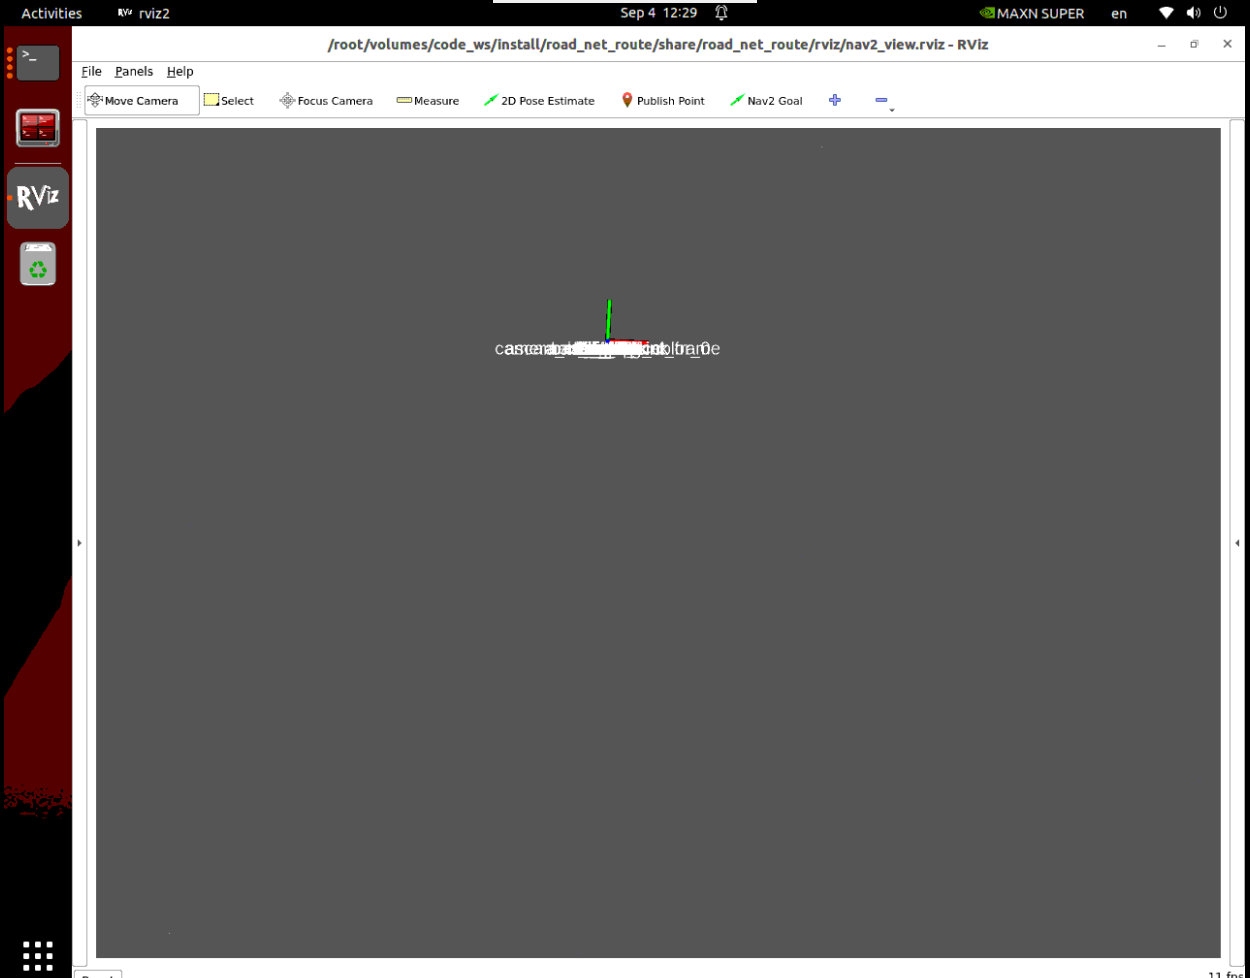
Start mapping and localization matching:
xxxxxxxxxxros2 launch yahboomcar_nav localization_imu_odom.launch.py use_rviz:=false load_state_filename:=/home/jetson/map/map.pbstream# For Raspberry Pi:ros2 launch yahboomcar_nav localization_imu_odom.launch.py use_rviz:=false load_state_filename:=/root/map/map.pbstream# For RDK:ros2 launch yahboomcar_nav localization_imu_odom.launch.py use_rviz:=false load_state_filename:=/home/sunrise/map/map.pbstream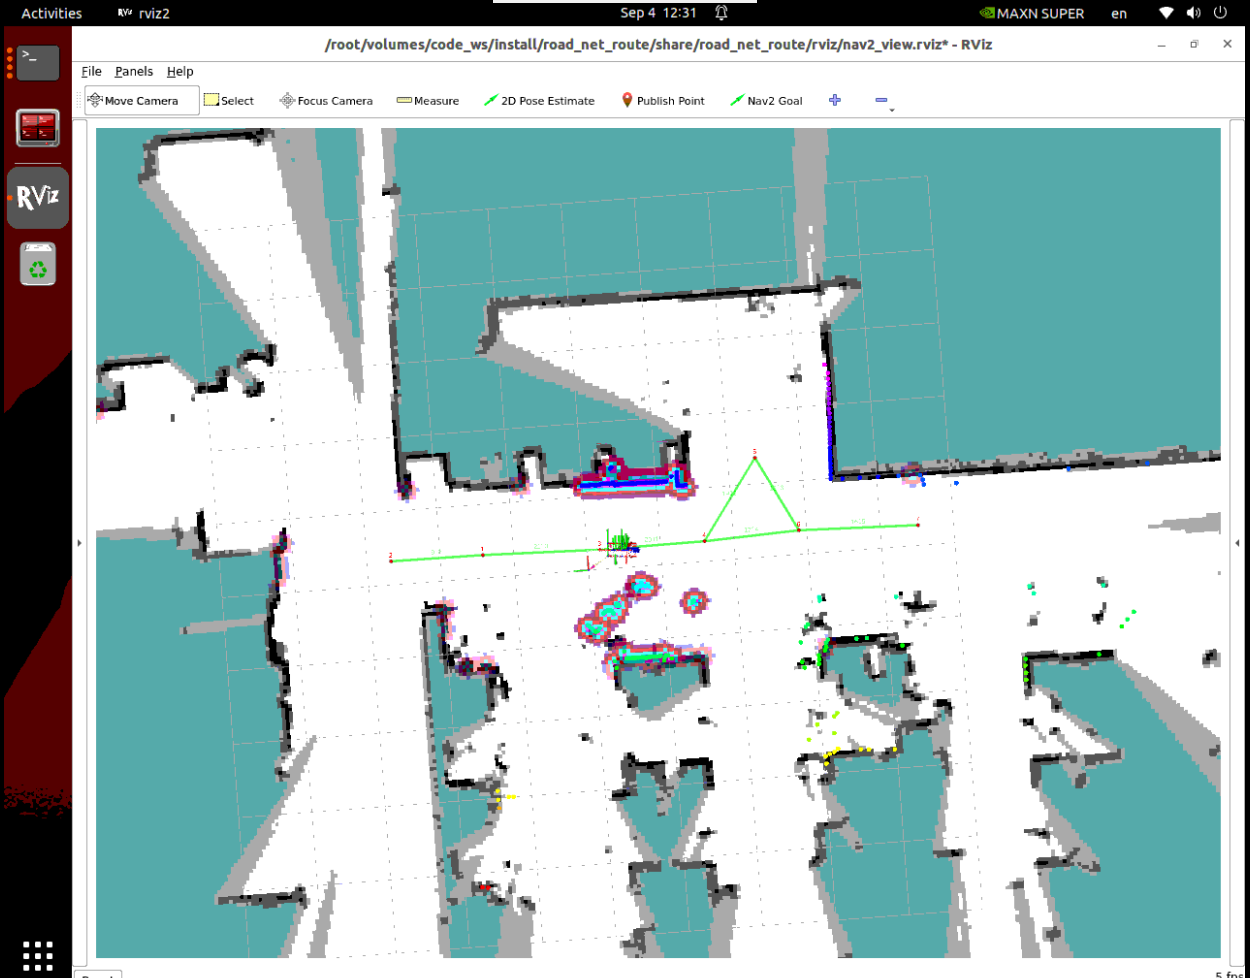
Enter the road network Docker container environment to start the navigation main service:
xxxxxxxxxxros2 launch road_net_route roadnet_nav2.launch.py For voice dialogue interaction:
xxxxxxxxxxros2 run ackermann_mcp asr_detect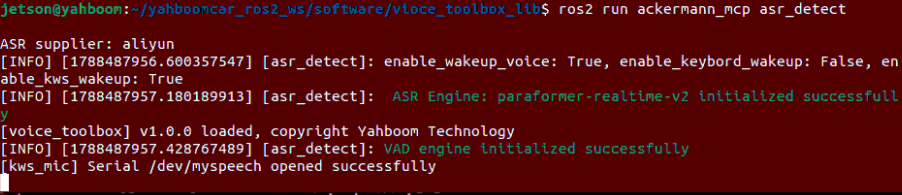
3. Navigation Transfer Comprehensive Demonstration Case
Tip
Instructions can be edited freely according to your actual scenario. Below is a typical reference case.
Step 1: Confirm or Mark Workstation Location Names in Advance
Ensure you have recorded coordinates for "ShippingArea" and "ProcessingCenter" in the map mapping file. If not yet recorded, drive the car to the two workstations respectively and use the CLI tool to one-click check-in and save:
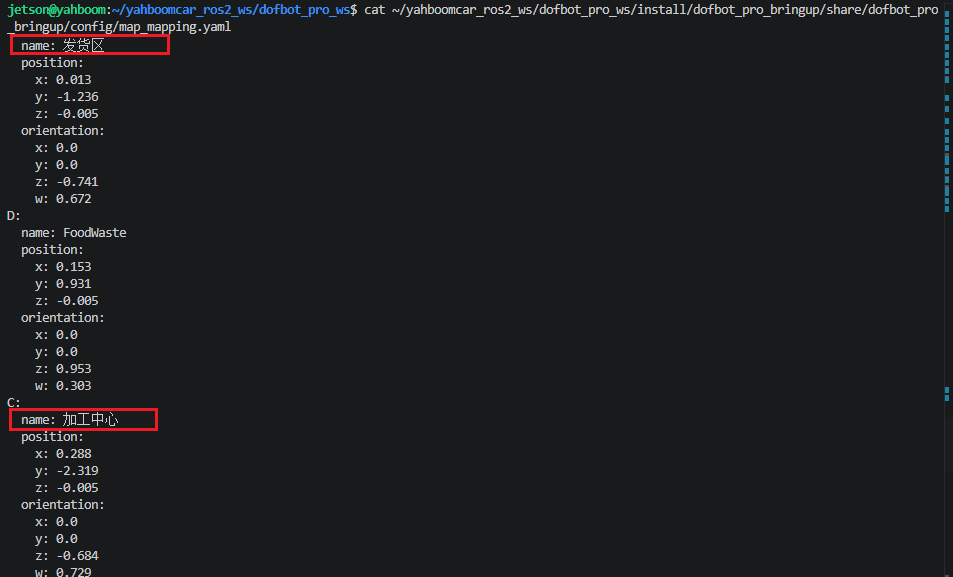
Step 2: Issue Long-Process Transport Command
No matter where the car currently is in the sandbox map, enter the command in the WebChat interface:
"Transport a yellow block from the shipping area to the processing center blue shelf area"

OpenClaw immediately displays its large model reasoning process:
Identifies starting workstation as "ShippingArea", transport target as "yellow block", destination workstation as "ProcessingCenter", target placement point as "blue shelf area";
Automatically plans the call chain: Navigate to shipping area → Visual recognize yellow block → Grasp → Navigate to processing center → Position blue shelf area → Place
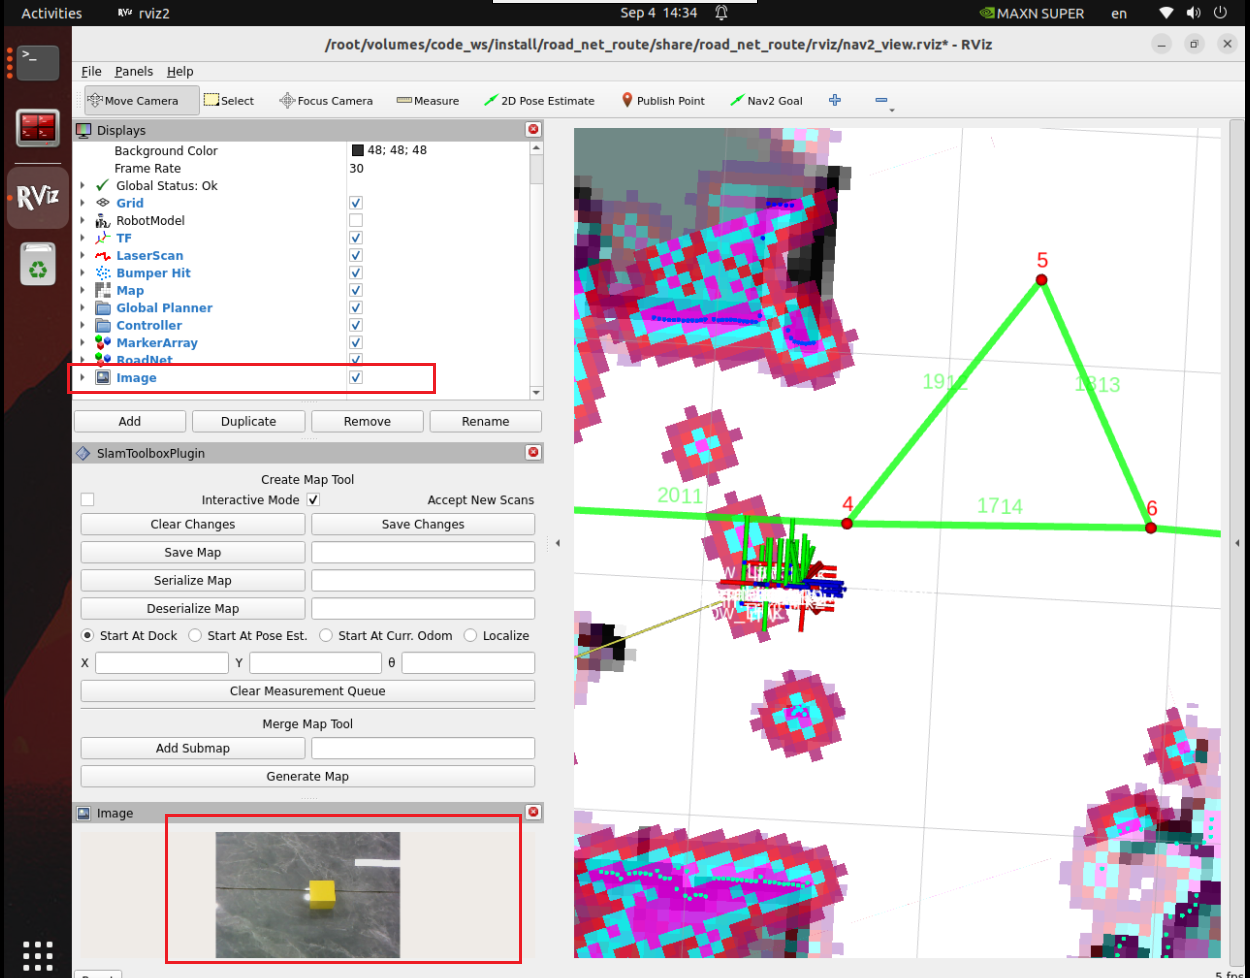
Step 3: Autonomously Go to Shipping Area and Precisely Grasp
The car travels along the road network trunk to the shipping area at high speed;
After arrival, performs ArUco visual re-localization and PID fine-tuning to precisely stop in front of the shipping platform;
The robotic arm raises the camera to take a photo, recognizes and boxes the yellow block, executes
pickaction to smoothly grasp the cube, tightens it in front of the chest:
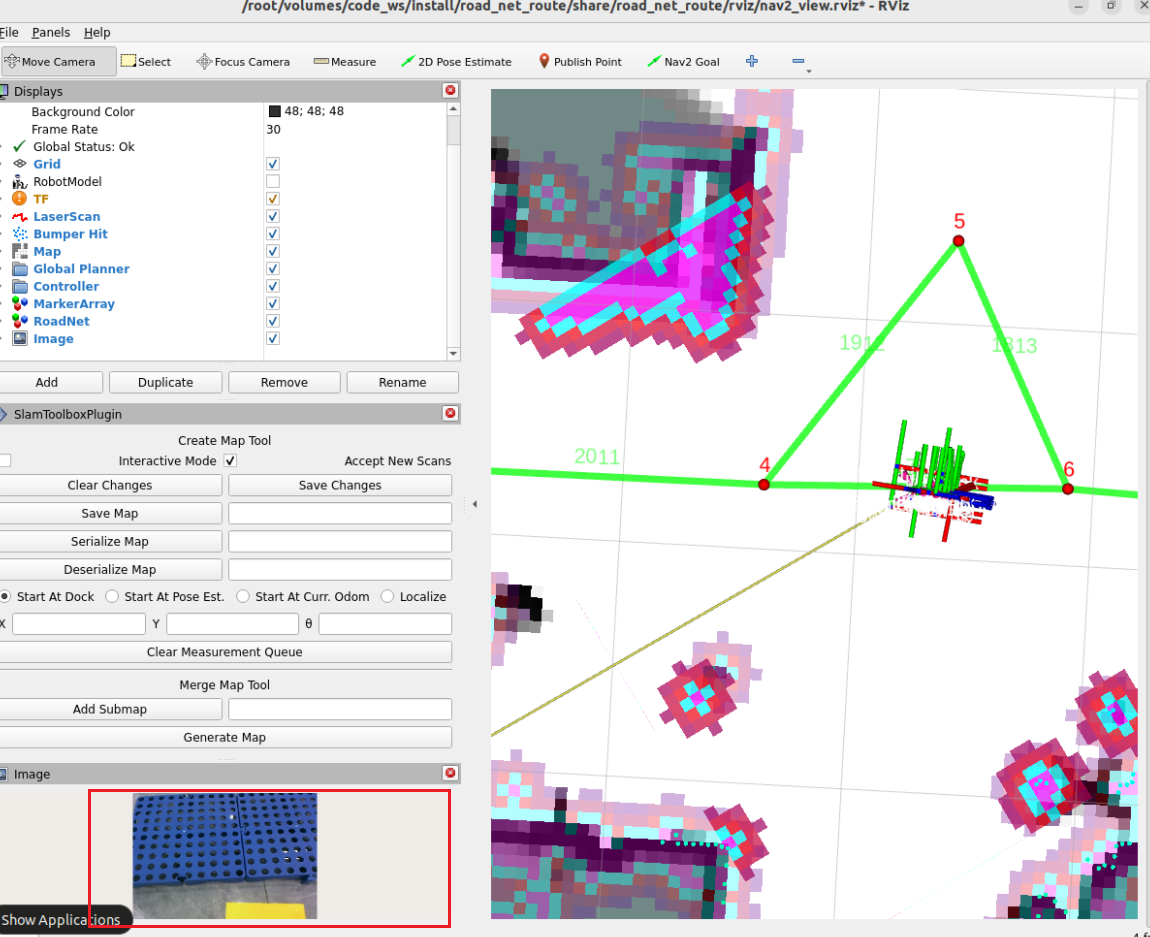
Step 4: Cross-Area Transfer and Shelf Fixed-Point Placement
The car firmly starts navigation to the processing center while gripping the cube;
After arriving at the processing center shelf front, performs high-precision parking alignment again;
Calls
GetPlacePoint, and generates placement point verification image in the background:
xxxxxxxxxx~/MODELS/multi_brains_file/place_verify_image.png
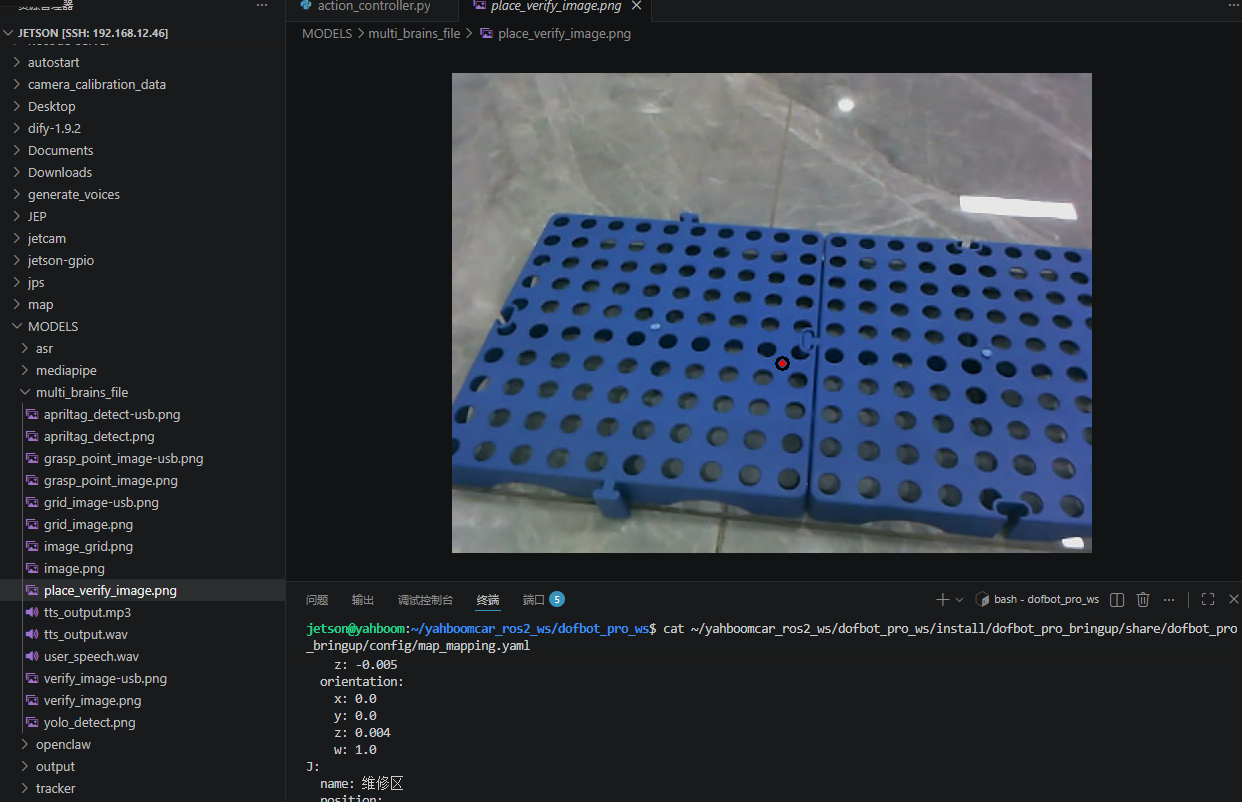
After confirming the placement point is within the shelf safe range, the robotic arm extends the big arm and steadily places the yellow block on the blue shelf, releases the gripper, and the chassis automatically backs up 13cm for safe exit. The entire transport closed loop is successfully completed!
4. Embodied Long-Process Core Source Code and Coordination Mechanism Analysis
Source code file path:
xxxxxxxxxx~/yahboomcar_ros2_ws/dofbot_pro_ws/src/ackermann_mcp/ackermann_mcp/action_controller.py
In comprehensive transport long tasks, completing the task with a single function is impossible. The core soul lies in "ordered orchestration of tool chains" and "chassis-arm state safety interlock".
4.1 Tool Chain Sequential Transfer and Data Dependency
In OpenClaw's reasoning loop, multiple MCP tools form a closed-loop data flow pipeline:
xxxxxxxxxx[Natural Language Requirement]│▼1. Navigation("ShippingArea") ─────────> Chassis moves into position, trigger TF stable wait│▼2. GetBbox("YellowBlock") ──────────> Return detection box [x1, y1, x2, y2]│▼3. pick(x1, y1, x2, y2) ─────────> 1) Start tracking 2) Chassis alignment 3) Calculate 3D grasping point 4) IK grasp│▼4. GraspKeepPose posture lock ─────> Robotic arm retracts, gripper continuously maintains 140 closing torque│▼5. Navigation("ProcessingCenter") ────────> Carry cube for cross-area driving, PID fine-tuning to position│▼6. GetPlacePoint("BlueShelf") ────> Grid-assisted positioning, output shelf 3D placement point [px, py, pz]│▼7. place(px, py, pz) ────────────> 1) IK extend arm 2) Release gripper 3) auto_back reverse exit
4.2 Chassis-Arm Coordinated Safety Interlock Mechanism (State Interlock)
During full-speed chassis navigation, if the robotic arm extends forward randomly, it's easy to collide with walls or shelves passed by, or even cause the car to become unstable and tip over. The code design includes strict state interlock:
xxxxxxxxxx# State machine constraint: When long-distance navigation starts, forcibly reset robotic arm to retracted protection postureif hasattr(self, '_current_task') and self._current_task == "navigation": # Keep robotic arm close to body in retracted posture to avoid blocking lidar scanning plane or hitting obstacles self._pubSix_Arm(self.init_arm_pose)And after grasping is complete, the robotic arm executes the following posture:
xxxxxxxxxx# Grasping held object posture: Gripper closure maintained at 140, joints 2 and 3 appropriately raisedGraspKeepPose: [90, 125, 3, 0, 90, 140]This posture firmly secures the cube within the car's top projection range, ensuring the cube doesn't fall on bumpy roads while minimizing the car's overall dimensions.
5. Comprehensive Practical Parameter Linkage and Tuning Guide
Core parameter configuration file path:
xxxxxxxxxx~/yahboomcar_ros2_ws/dofbot_pro_ws/src/dofbot_pro_bringup/config/common.yaml
In long tasks, parameters of each module are interconnected. Below are key linkage configuration suggestions:
xxxxxxxxxxmcp_service ros__parameters # 1. Grasping and placement offset (millimeter-level fine-tuning) grasp_offset0.015 0.015 -0.03 2.0 # Ensure stable grasping of cube at shipping area place_offset-0.01 0.00 0.05 1.3 # Ensure safe 5cm elevation and steady material dropping at processing center usb_grasp_offset0.00316 -0.00433 0.0 1.3963 # USB camera Grasp IK offset [x,y,z,pitch] # 2. Safe obstacle avoidance and exit auto_back_dist0.13 # Auto reverse 13cm after grasping and placement, never collide with the workbench enable_auto_backTrue # Strongly recommend keeping True in long tasks! # 3. Navigation and precise positioning nav_mode_threshold0.8 # Strictly use road network trunk when distance exceeds 0.8 meters, prevent getting lost precise_adjust_pos_tolerance0.01 # Entry fine-tuning error strictly controlled within 1 centimeterCommon Comprehensive Task Fault Troubleshooting Tree
Phenomenon: Car arrived at shipping area but prompts "yellow block not found"?
Troubleshoot: Check if the shipping platform check-in coordinates are too far or the angle is crooked. The car head must face the shipping platform directly, and the distance from the object should be approximately 25~35cm. If too far, the camera perspective can't capture the table. You can recalibrate the shipping area stop point by calling
RecordMapLocation.
Phenomenon: Successfully grasped yellow block but it fell during transfer navigation?
Troubleshoot: Check
GraspKeepPoselast item gripper angle incommon.yaml. For wooden blocks, set to140or larger to ensure the servo continuously outputs sufficient closing friction.
Phenomenon: When placing on shelf, the cube was pushed over or hit the shelf edge?
Troubleshoot: Open
~/MODELS/multi_brains_file/place_verify_image.pngto check if the red point deviates toward the edge. If toward the edge, you can add directional modifiers in the command (e.g., "place it in the exact middle empty space of the blue shelf"), or fine-tuneplace_offsetfront-rear and left-right offset.