Welcome to ROSMASTER A1 PRO repository
2.Build Sand Table Map
Build Sand Table Map
1. Course Content
Course Overview
Before a robot can autonomously navigate and perform long-process embodied tasks such as transport and sorting in a sandbox map, it must first build a set of high-precision digital twin sandbox map and pose constraint graph for the robot.
This system uses the industry-leading Google Cartographer SLAM algorithm:
2D Grid Map (
map.yaml/map.pgm): Presents the sandbox physical outline in black and white grid (black for walls/columns/shelves as obstacles, white for open drivable ground), providing a foundation for path planning and obstacle avoidance;Cartographer Pose Constraint Graph (
map.pbstream): Records all non-linear loop topology constraints between the cart's laser scan points and submaps during mapping. The localization algorithm uses this.pbstreamfile to achieve second-level high-precision global repositioning, completely eliminating long-distance cumulative drift;Route Network Planning Topology Description (Road Network): Based on Cartographer localization, through calibrating waypoints and connections, planning the cart's high-speed cruise "main road" to prevent the cart from taking shortcuts or getting stuck in shelf gaps.
Learning Objectives
Master the complete process of building sandbox high-precision grid map and pose graph (
.pbstream) using Cartographer algorithm.Learn commands for saving 2D maps and calling
/write_stateservice to save Cartographer pose graphs.Learn to load
map.pbstreamfor localization startup and usePublish Pointtool to calibrate route network files.
2. Build Grid Map and Pose Map
Terminal 1: Start Cart Chassis and Cartographer Mapping Node (Cart Side)
xxxxxxxxxxros2 launch yahboomcar_nav map_cartographer_launch.py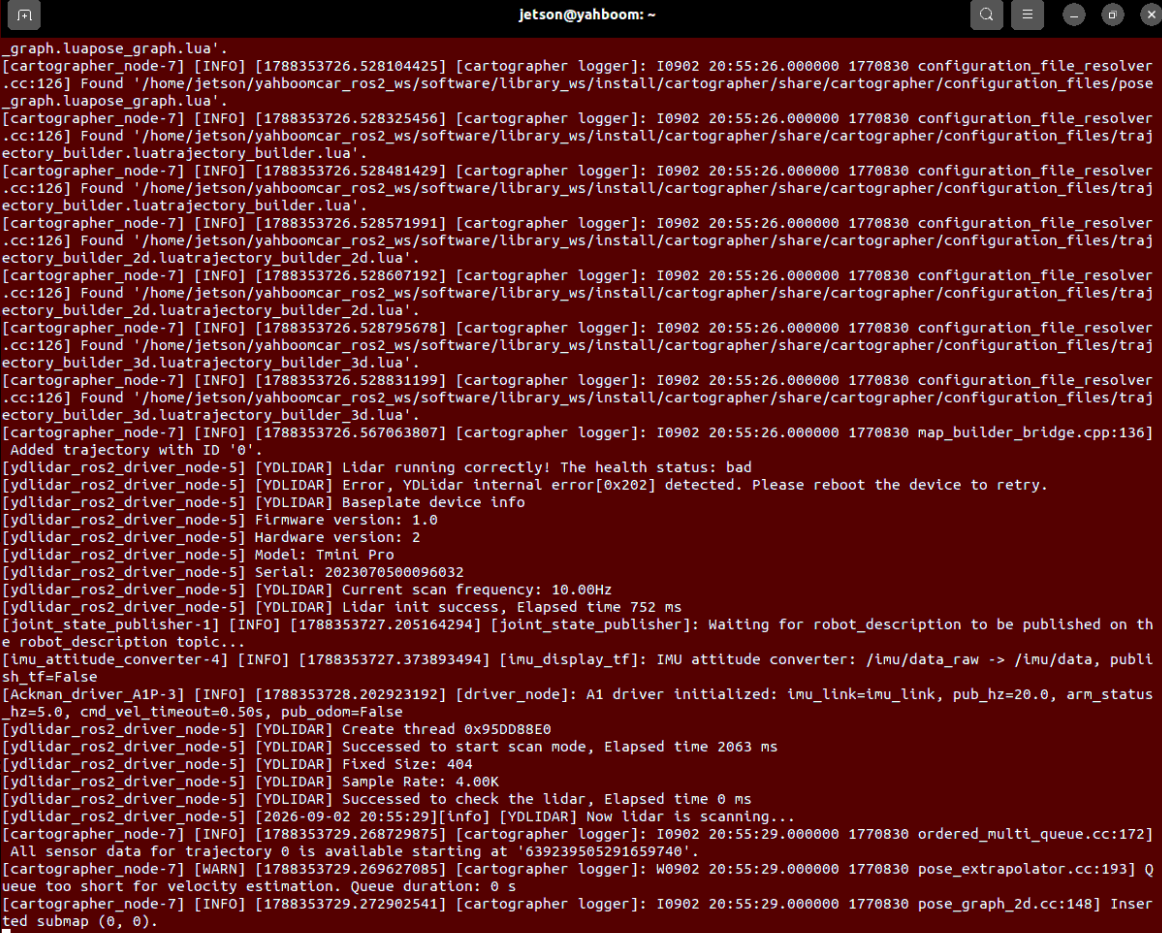
Terminal 2: Start RViz Mapping Visualization (RDK board and Raspberry Pi board recommend using virtual machine side)
xxxxxxxxxxros2 launch yahboomcar_nav display_map_launch.pyTerminal 3: Start Keyboard Control Node
xxxxxxxxxxros2 run yahboomcar_ctrl yahboom_keyboard2.3 Save Grid Map and Pose Map
After mapping is complete, execute save commands in terminal in sequence:
1. Save 2D Grid Map (map.yaml + map.pgm)
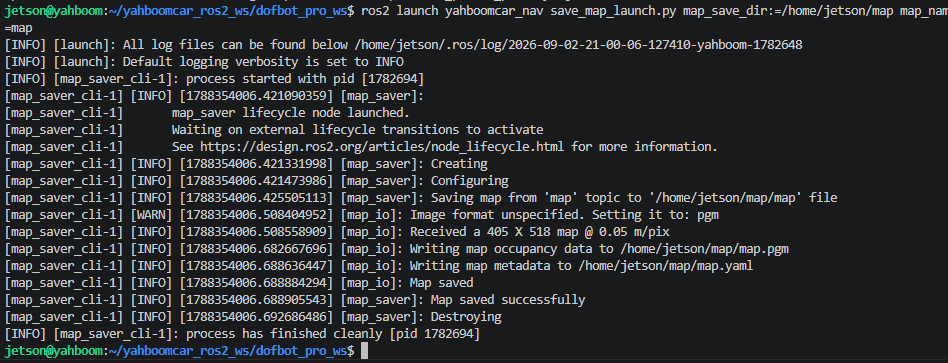
xxxxxxxxxx# Save map to ~/mapros2 launch yahboomcar_nav save_map_launch.py map_save_dir:=/home/jetson/map map_name:=map#rdk and Raspberry Pi commandsros2 launch yahboomcar_nav save_map_launch.py map_save_dir:=/root/map map_name:=mapros2 launch yahboomcar_nav save_map_launch.py map_save_dir:=/home/sunrise/map map_name:=mapTerminal printing Map saved successfully indicates the 2D map was saved successfully:
2. Save Cartographer Pose Graph (map.pbstream)
Through ROS 2 service call, write the current trajectory graph and submap constraints to .pbstream file:
xxxxxxxxxx# RDK X5 system (sunrise user)ros2 service call /write_state cartographer_ros_msgs/srv/WriteState "{filename: '/home/sunrise/map/map.pbstream'}"
# For host jetson userros2 service call /write_state cartographer_ros_msgs/srv/WriteState "{filename: '/home/jetson/map/map.pbstream'}"
# For host pi5 userros2 service call /write_state cartographer_ros_msgs/srv/WriteState "{filename: '/root/map/map.pbstream'}"
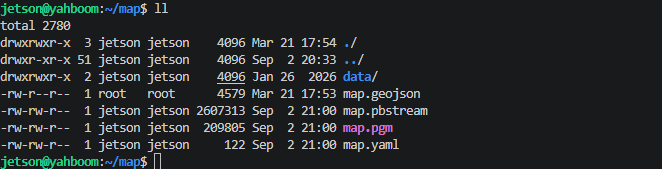
Map files are saved in ~/map or specified directory by default, containing three core assets: map.yaml, map.pgm, and map.pbstream:
3. Phase 2: Route Annotation
3.1 Start Global Localization and Annotation Tools
When annotating route network, the system needs to know the cart's precise coordinates in the global map in real-time, so start chassis drive and navigation localization node first.
Terminal 1: Start Cart Chassis and LiDAR Driver (Cart Side)
xxxxxxxxxxros2 launch yahboomcar_nav laser_bringup_launch.py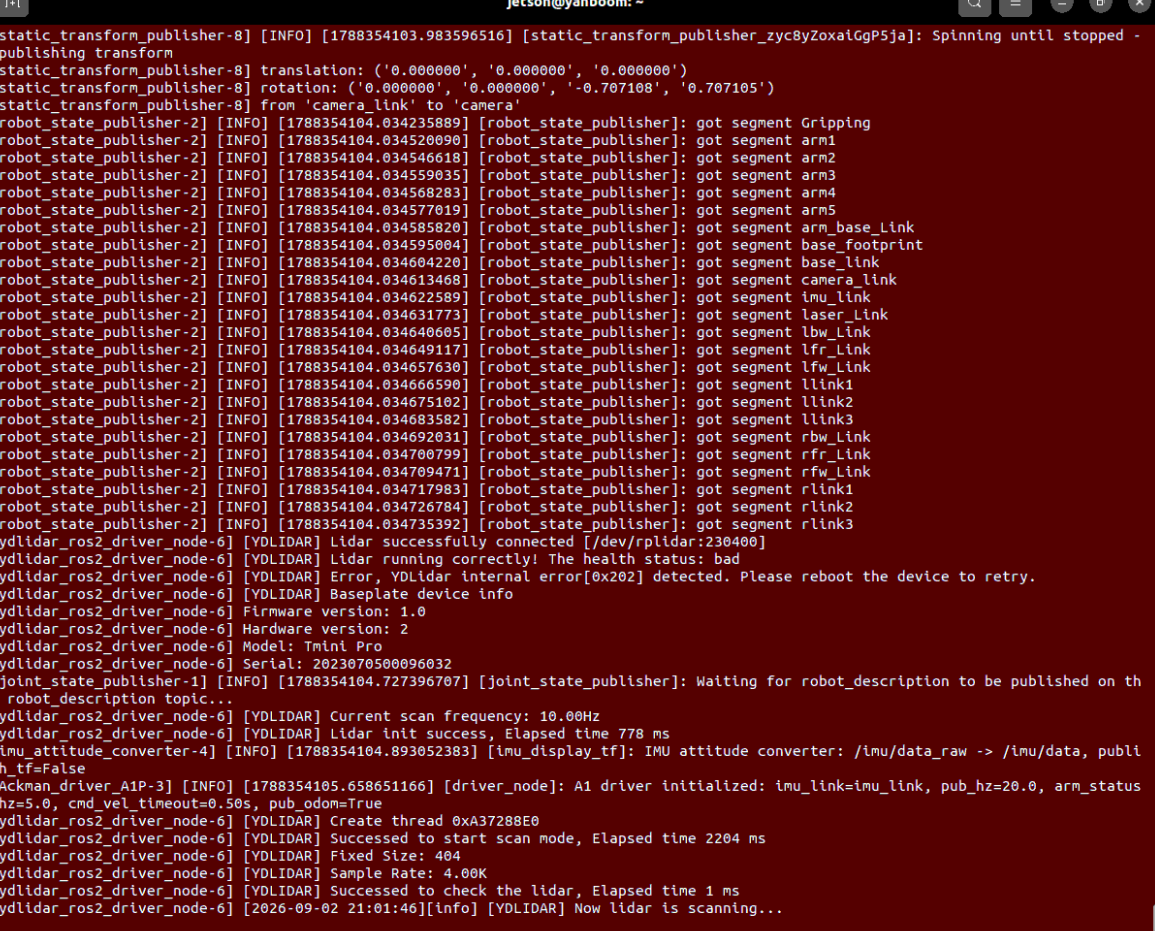
Terminal 2: Start Docker Container Environment (Optional/If Using Pre-installed Image)
If using ros2_kilted container environment:
xxxxxxxxxx# Quick start commandbringup_ros2kilted# Enter container terminalexec_ros2kilted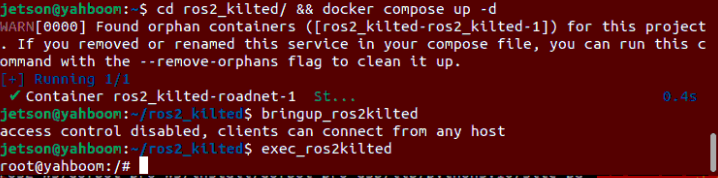
In terminal input, ensure ROS_DOMAIN_ID is consistent between container and host:
xxxxxxxxxxvi ~/.bashrc
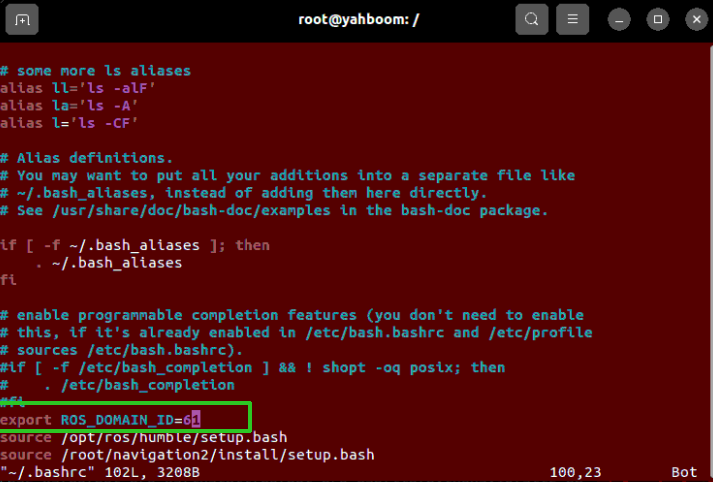
Terminal 3: Start Route Annotation RViz Tool Panel
Run annotation interface on board/virtual machine or container:
xxxxxxxxxx# Start annotation tool standalone panelros2 launch road_net_route route_tool.launch.py
# RDK and Raspberry Pi boards need to start RViz with integrated tools on virtual machine:ros2 launch road_net_route rviz_only.launch.py tools:=true
Here demonstrating on Orin board,
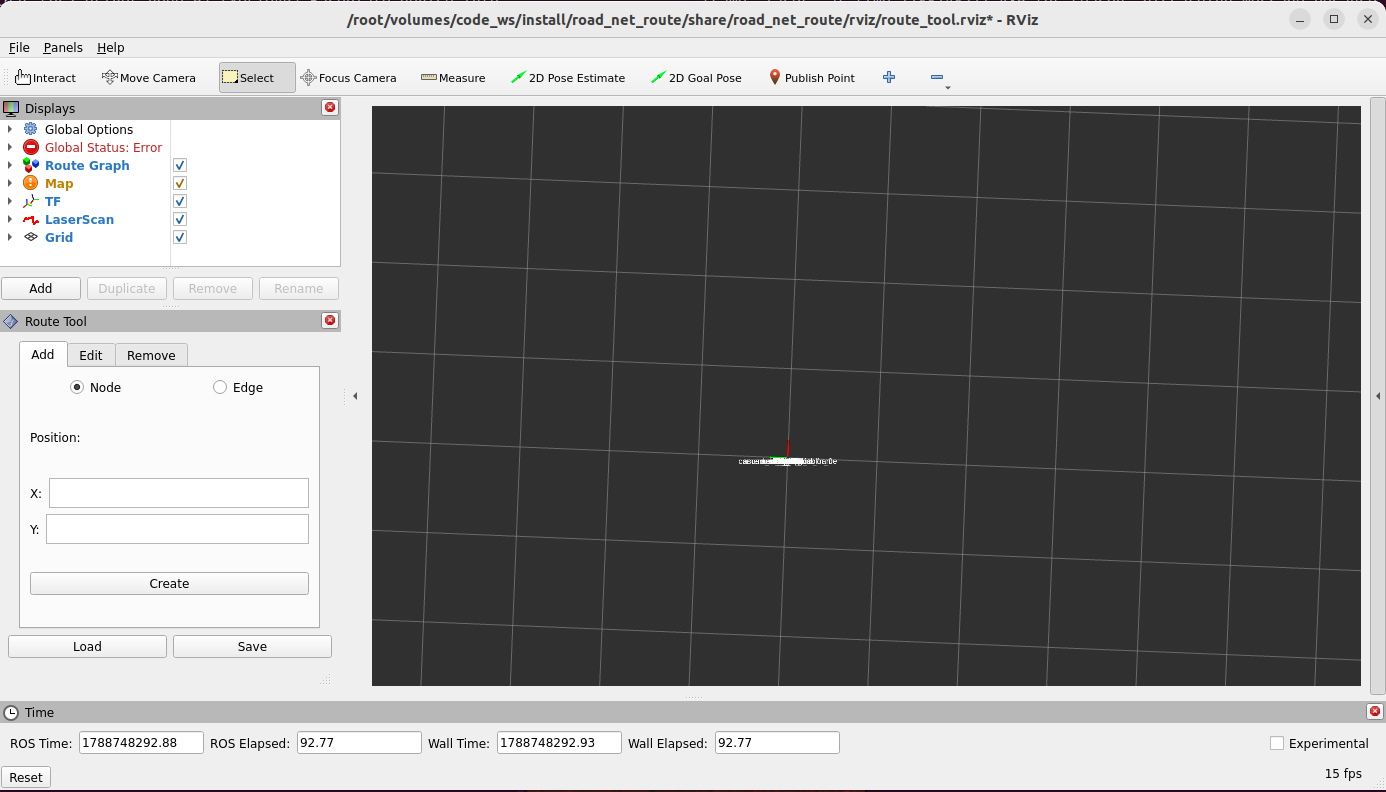
Terminal 4: Start Navigation Base Load Map (Cart Side)
xxxxxxxxxx# RDK X5 systemros2 launch yahboomcar_nav navigation_teb_launch.py map:=/home/sunrise/map/map.yaml
# Or Jetson hostros2 launch yahboomcar_nav navigation_teb_launch.py map:=/home/jetson/map/map.yaml
# Or pi5 hostros2 launch yahboomcar_nav navigation_teb_launch.py map:=/root/map/map.yaml
In RViz, use the 2D Pose Estimate button in the toolbar to give the cart an initial pose on the map, aligning the LiDAR scan outline precisely with the map black and white obstacle edges:
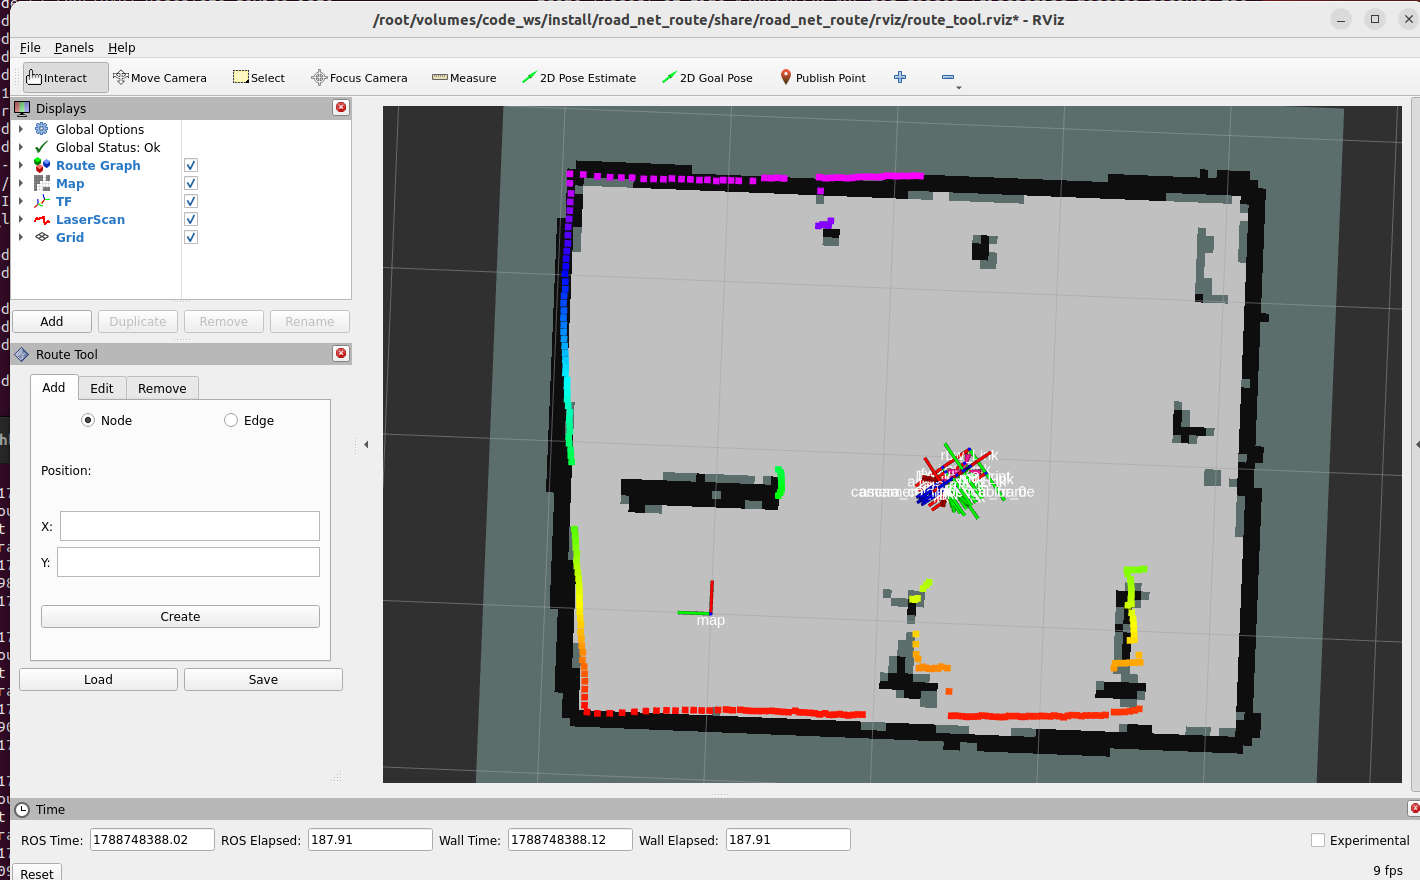
3.2 Interactively Add Waypoints (Nodes)
Click the
Publish Pointtool in RViz top toolbar;Move mouse to the cart's current center position (or channel center you want to set as a station on the map), left-click;
The
Route Toolpanel at bottom-left will automatically read and fill in the X/Y coordinates of that point, clickCreateto create that waypoint:
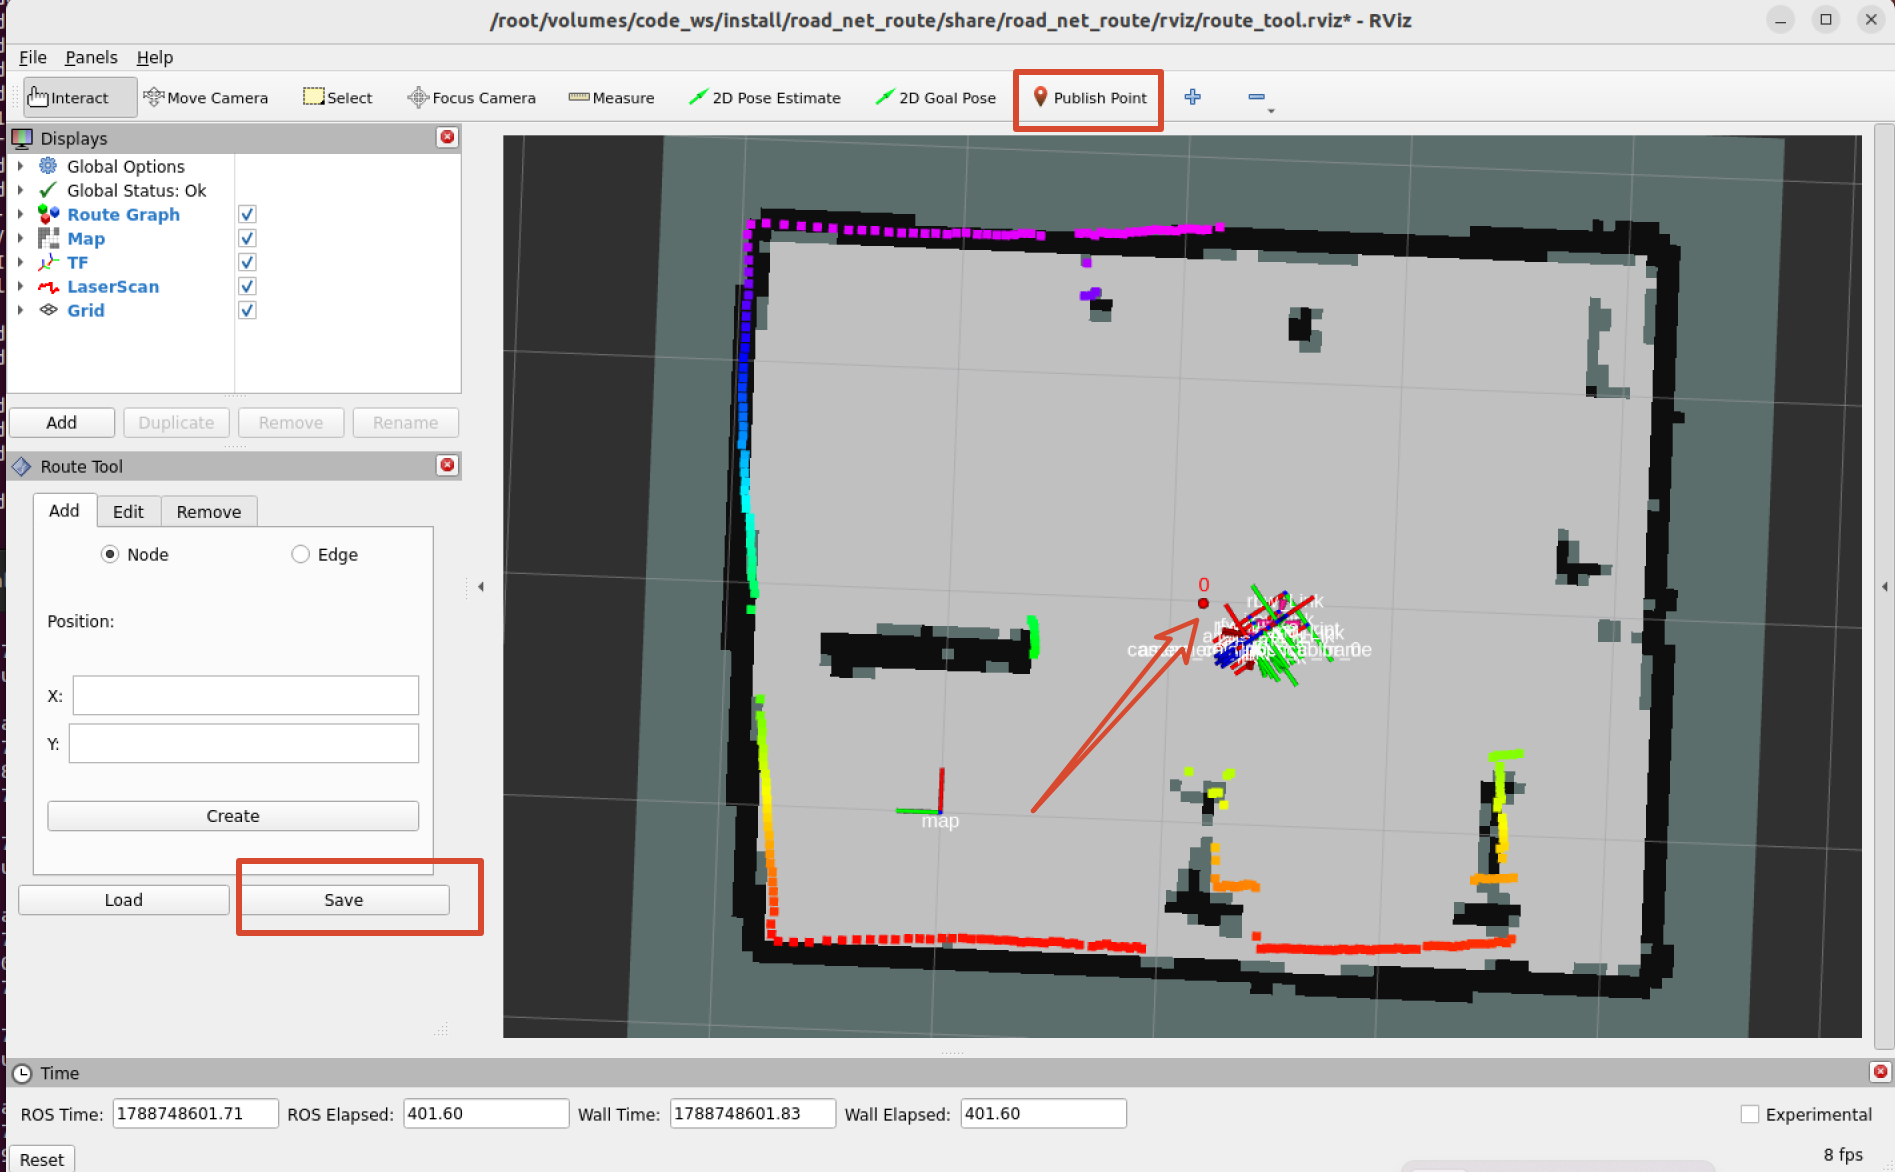
Use keyboard control to move the cart to the next position that needs waypoint marking, repeat clicking
Publish Point->Create:xxxxxxxxxxros2 run yahboomcar_ctrl yahboom_keyboard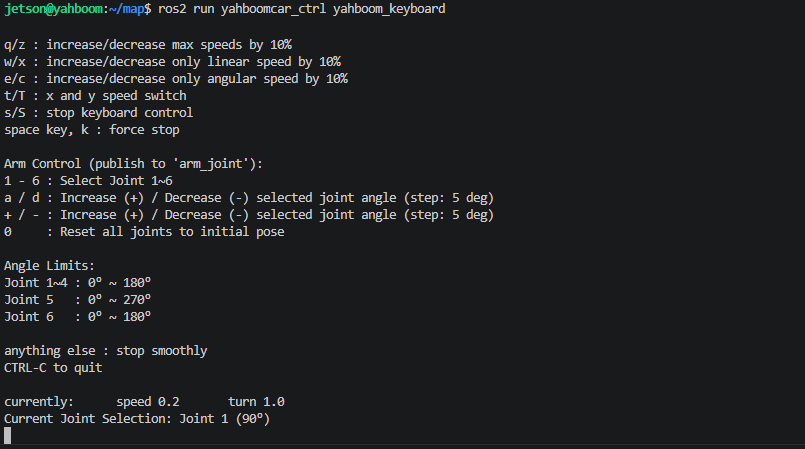
Warning
If the laser outline slightly misaligns with the map due to wheel slipping during waypoint marking, you can manually use 2D Pose Estimate in RViz. After positioning converges and matches, calibrate the next waypoint.
Calibrate all target key stations in sequence (such as waypoints 0, 1, 2, ...):
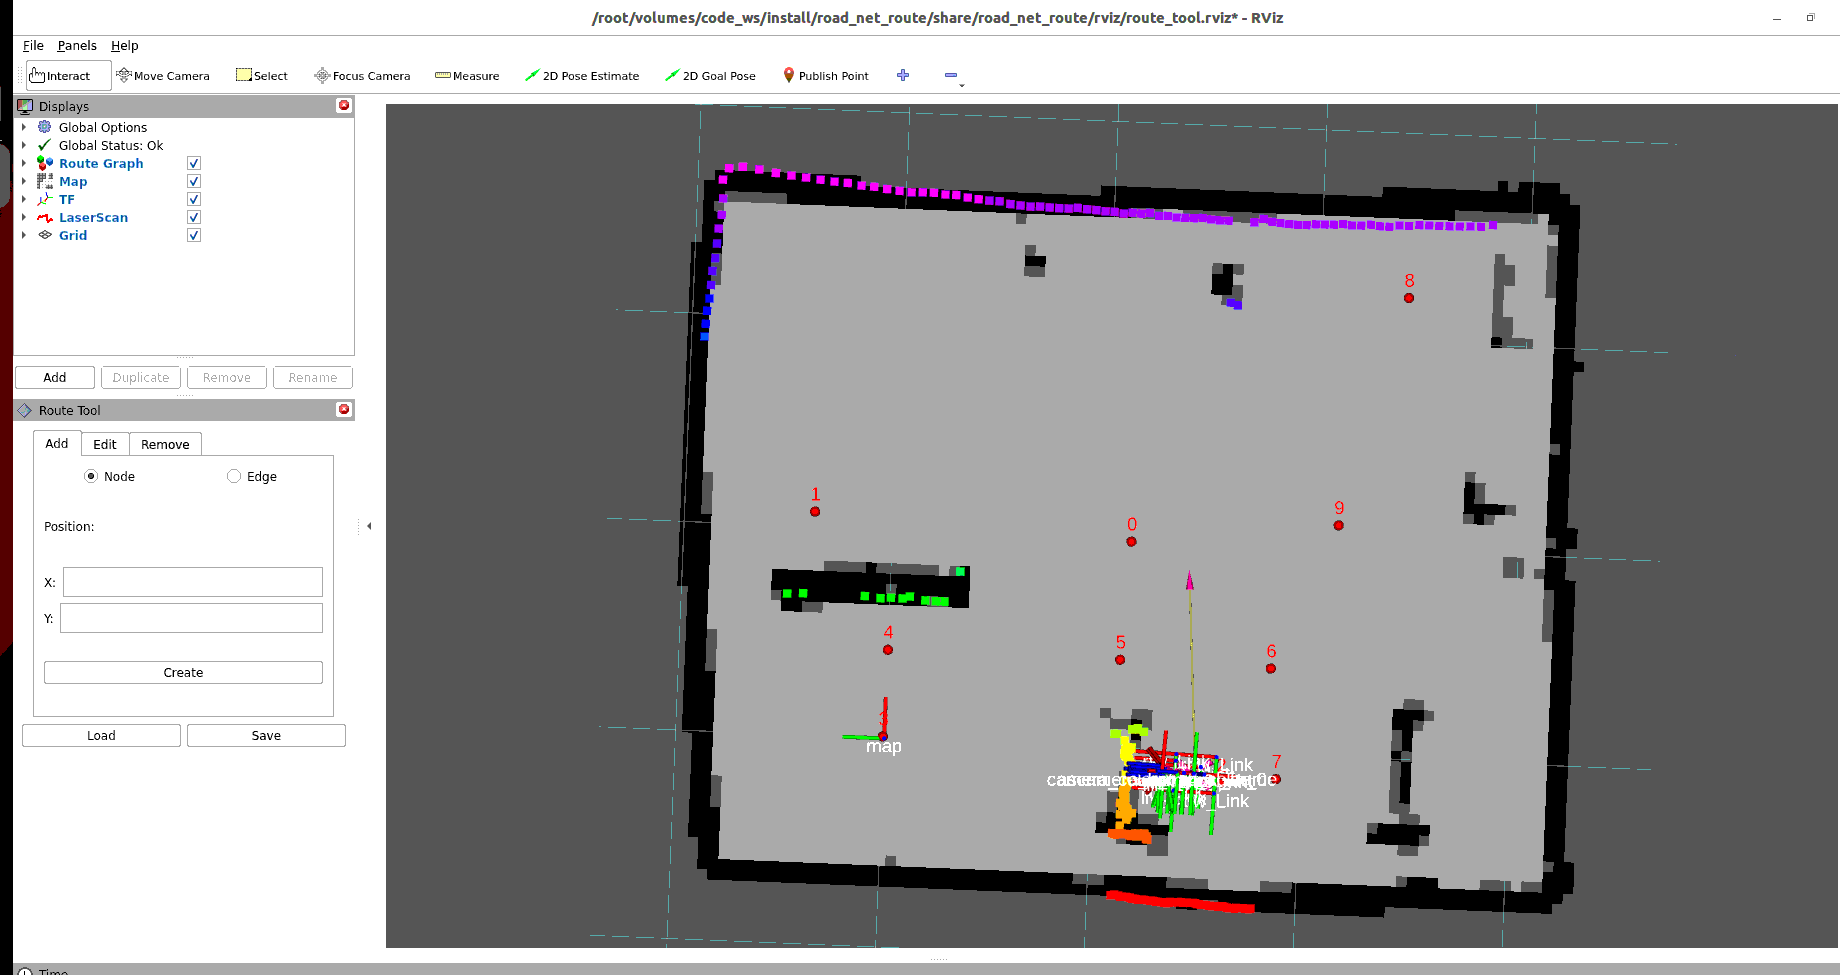
3.3 Interactively Add Directed Edges (Edges)
Route network is a typical directed topology graph structure. Only when points are connected by "edges" can the cart travel between them.
Switch to
Edgepage at the top ofRoute Tooltab;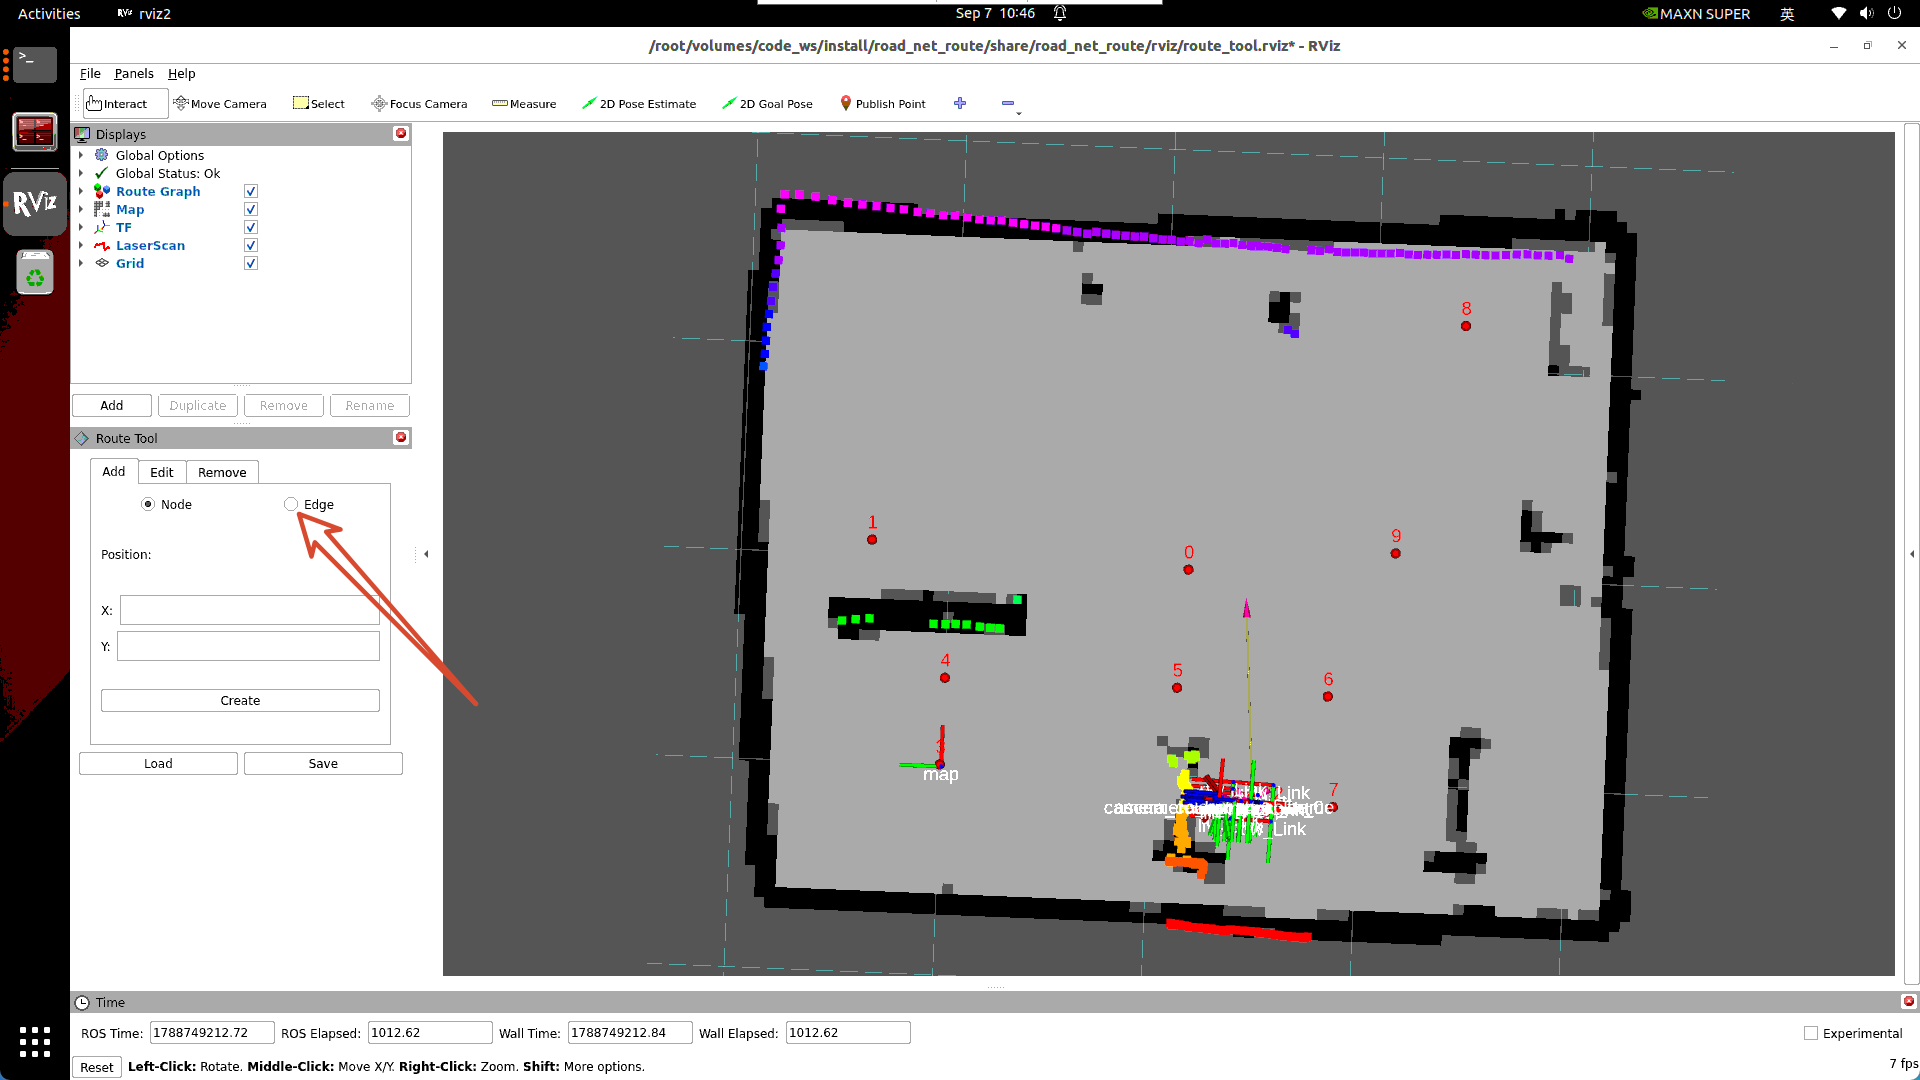
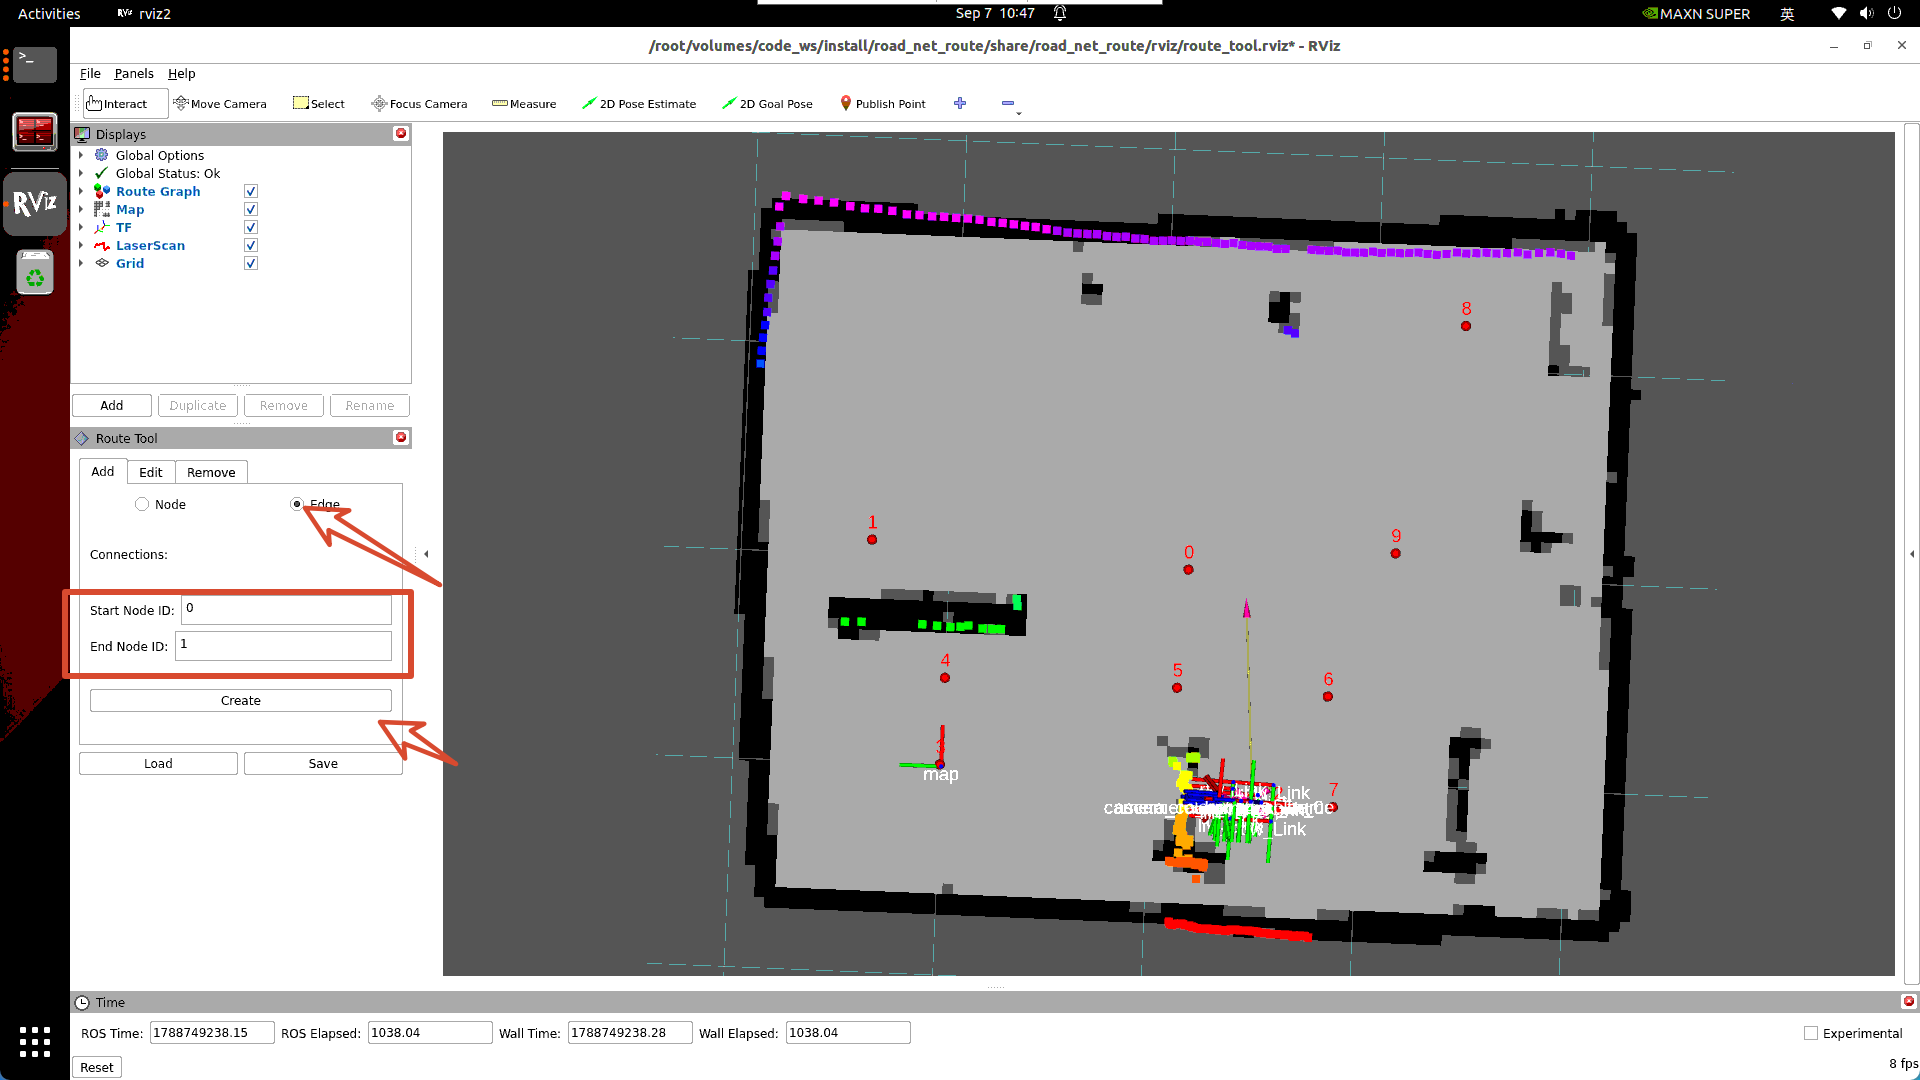
Fill in the start node number in
Start Node ID(such as 1), fill in the end node number inEnd Node ID(such as 2), clickCreate:
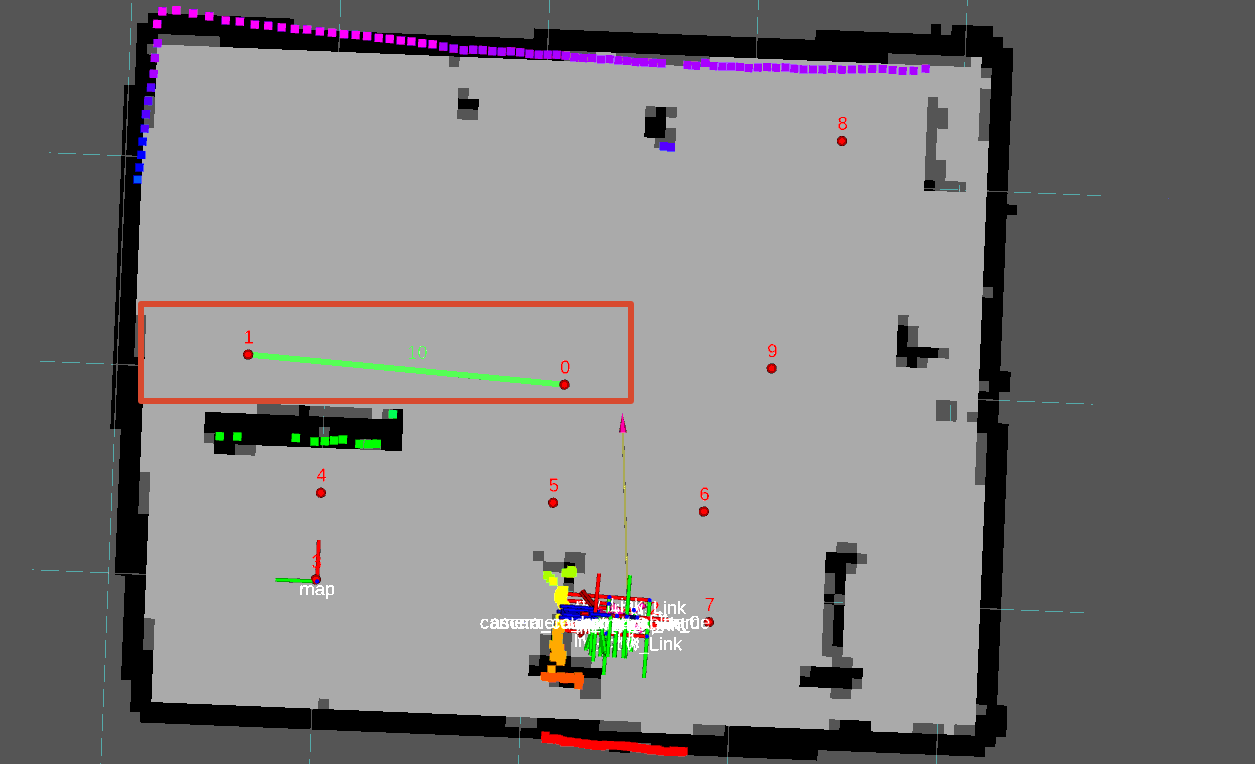
Important
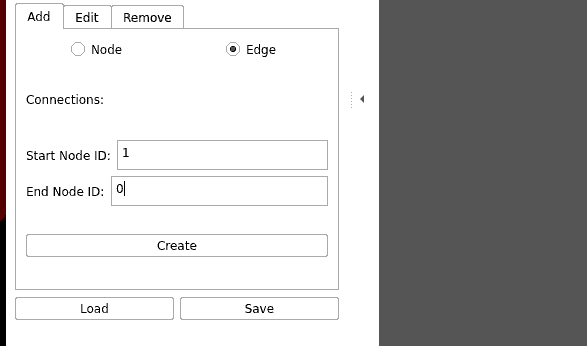
Special Note: Edges have direction! Creating 1 -> 2 means this is a one-way road (only allowed from 1 to 2, no reverse). If this road allows two-way traffic, you must create another edge 2 -> 1!
Establish reverse edge for two-way traffic lanes:
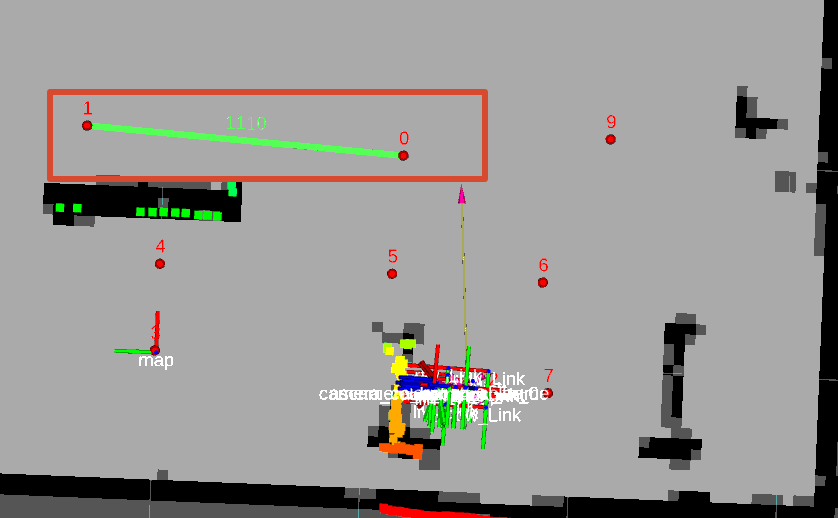
Complete connections for all passable road segments in the venue in sequence:
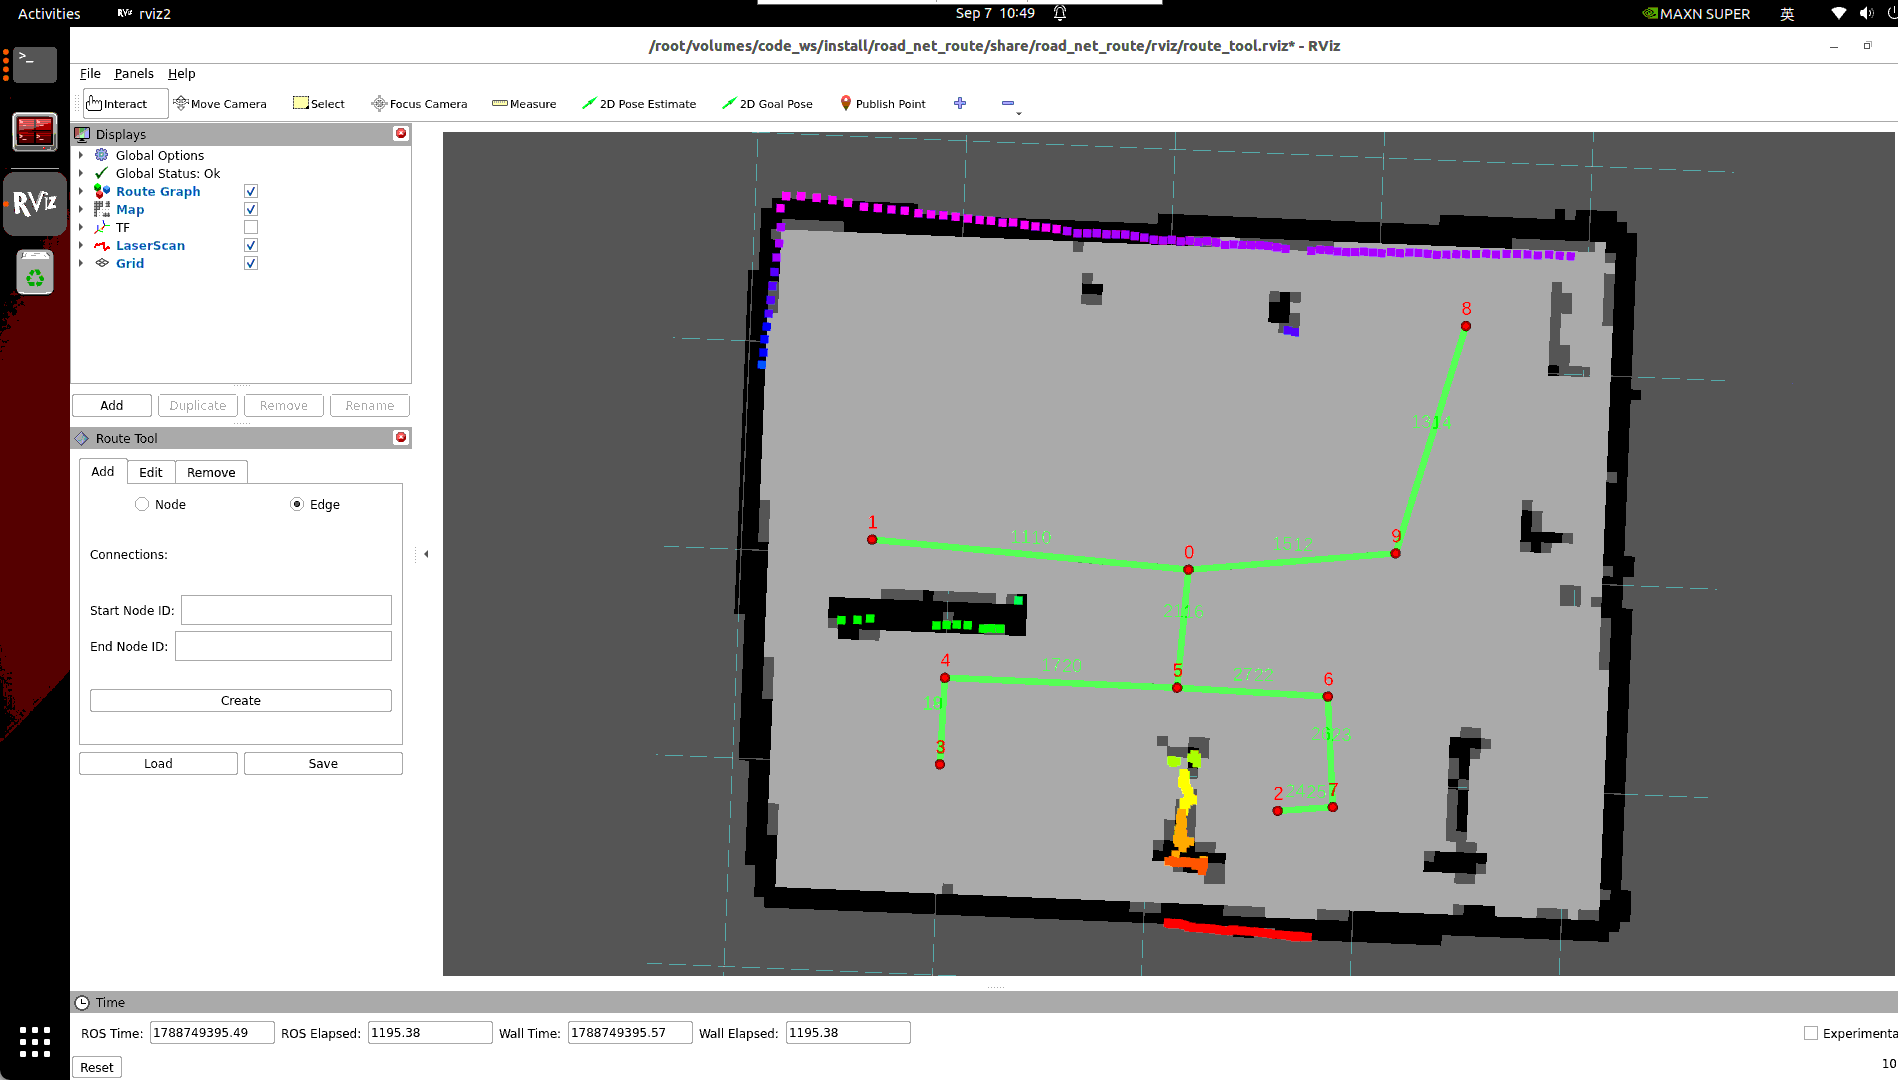
3.4 Save Route Network Description File (.geojson)
Click
Savebutton inRoute Toolpanel;In the pop-up file save dialog, name the file
map.geojson(recommended to save in~/map/directory with same name as grid map): may lag and wait a while
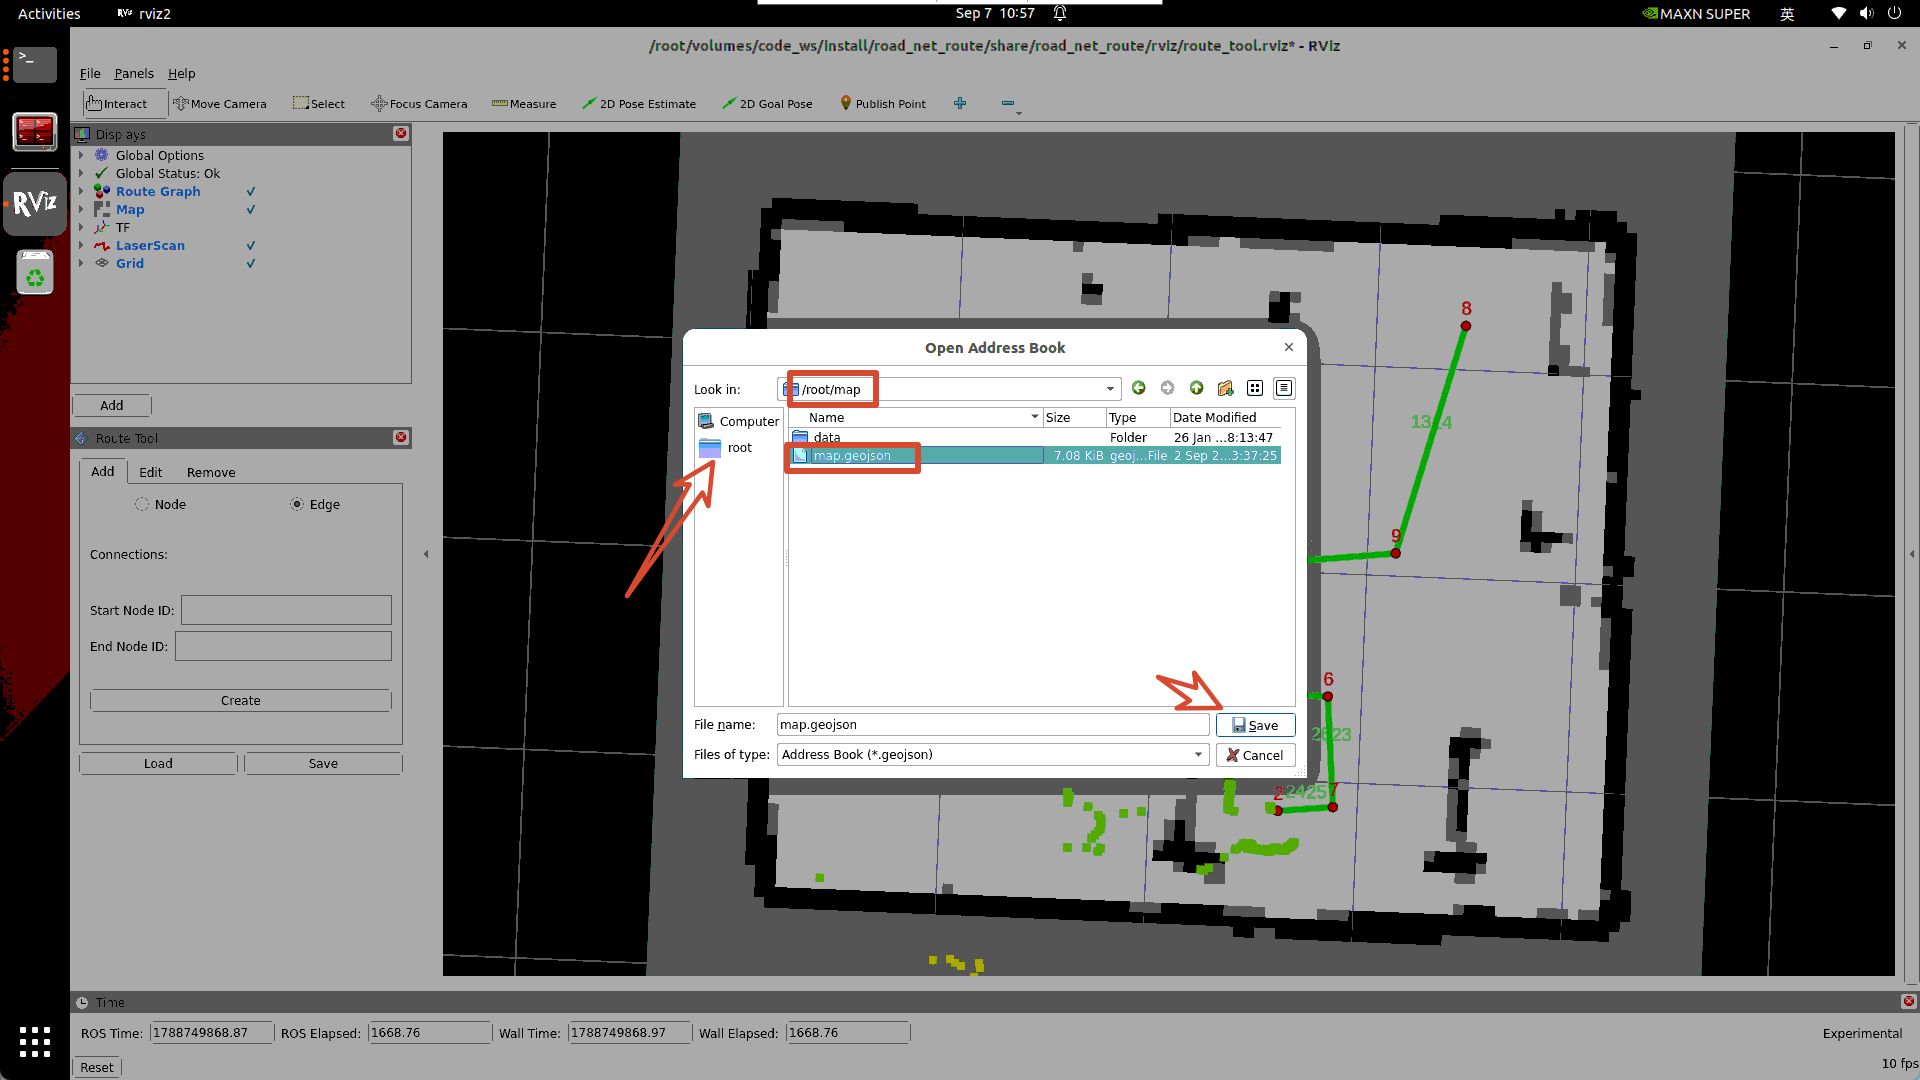
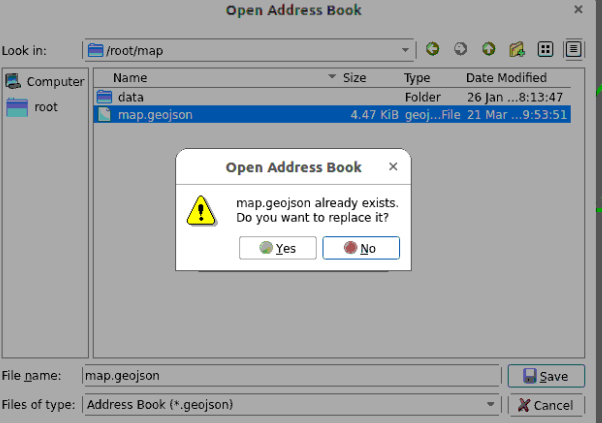
Select overwrite
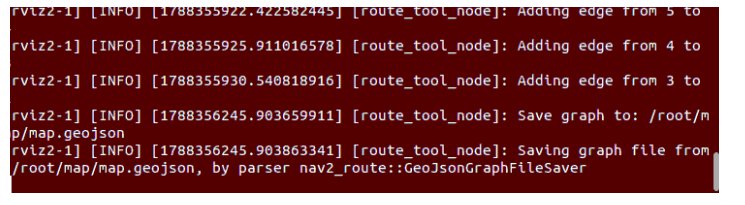
Terminal prints successful JSON save record: